
Understanding Hardening Off

Successfully hardening cabbage seedlings is a crucial step that can make or break your harvest. “Hardening off” means gradually acclimating young, tender plants to the outdoor environment after they’ve spent their early days growing indoors or in a greenhouse.
This process is vital because seedlings pampered inside are shielded from harsh sun, wind, and fluctuating temperatures—conditions that can be shocking if faced all at once. Without proper hardening off, cabbage seedlings are likely to suffer transplant shock, showing symptoms like wilting, yellowing leaves, or even stunted growth that sets your crop back weeks. Worse yet, some seedlings might not survive the abrupt change at all.
What makes hardening off especially important is how it mimics nature’s slow transition from spring’s cool, gentle weather to the bright, variable conditions outdoors. By exposing seedlings to increasing amounts of sunlight, airflow, and brief chillier temperatures over a week or two, you toughen them up, helping them develop stronger stems and more resilient leaves.
For example, setting trays of seedlings outside for just a few hours on a sheltered patio the first day, then gradually increasing their outdoor exposure each day, gives them time to adapt safely. Skipping these steps is a bit like tossing someone who’s only read about swimming straight into the deep end.
Thoughtful hardening off provides your cabbage seedlings with their best chance to thrive, ensuring robust growth and a bountiful cabbage patch.
When and How to Start the Hardening Off Process
Knowing when to start hardening off your seedlings is key to their survival, and it all begins with checking your local frost-free date. This date marks the average last frost in spring, and you’ll want to start hardening off your plants about 7 to 10 days before you plan to transplant them outside.
For cool-season crops like broccoli, lettuce, or kale, you can usually begin this process 2 to 3 weeks before the last predicted frost since these plants can handle a bit of chill. Warm-season crops such as tomatoes, peppers, and squash, however, should not be hardened off until after the risk of frost has truly passed, as a single cold snap can set them back or even kill them.
Besides the calendar, consider your seedlings’ maturity: they should have at least two to three sets of true leaves and be sturdy enough to handle a breeze without toppling over. Keep an eye on the weather forecast too—choose a week with mild temperatures, minimal wind, and no predicted heavy rain.
If sudden cold or heat is forecast, pause your hardening-off schedule for a day or two; it’s better to go slow than to shock your plants. Your garden’s microclimate matters as well—a sheltered patio or a spot with dappled sun works great at first as you ease your seedlings into outdoor conditions.
Always start with just 1 to 2 hours of outdoor exposure, gradually increasing the time, sunlight, and wind each day. For example, move trays under a tree or onto a covered porch for the first few days, then let them sit in direct morning sun, and eventually leave them outdoors overnight once minimum temperatures remain well above freezing. By the end of a week or so, your plants will be hardy, ready to handle life in the ground, and much more likely to thrive.
Step-by-Step Guide: Hardening Off Seedlings
Hardening off seedlings is all about helping tender, indoor-grown plants adjust to the real world outside. A gradual routine makes all the difference.
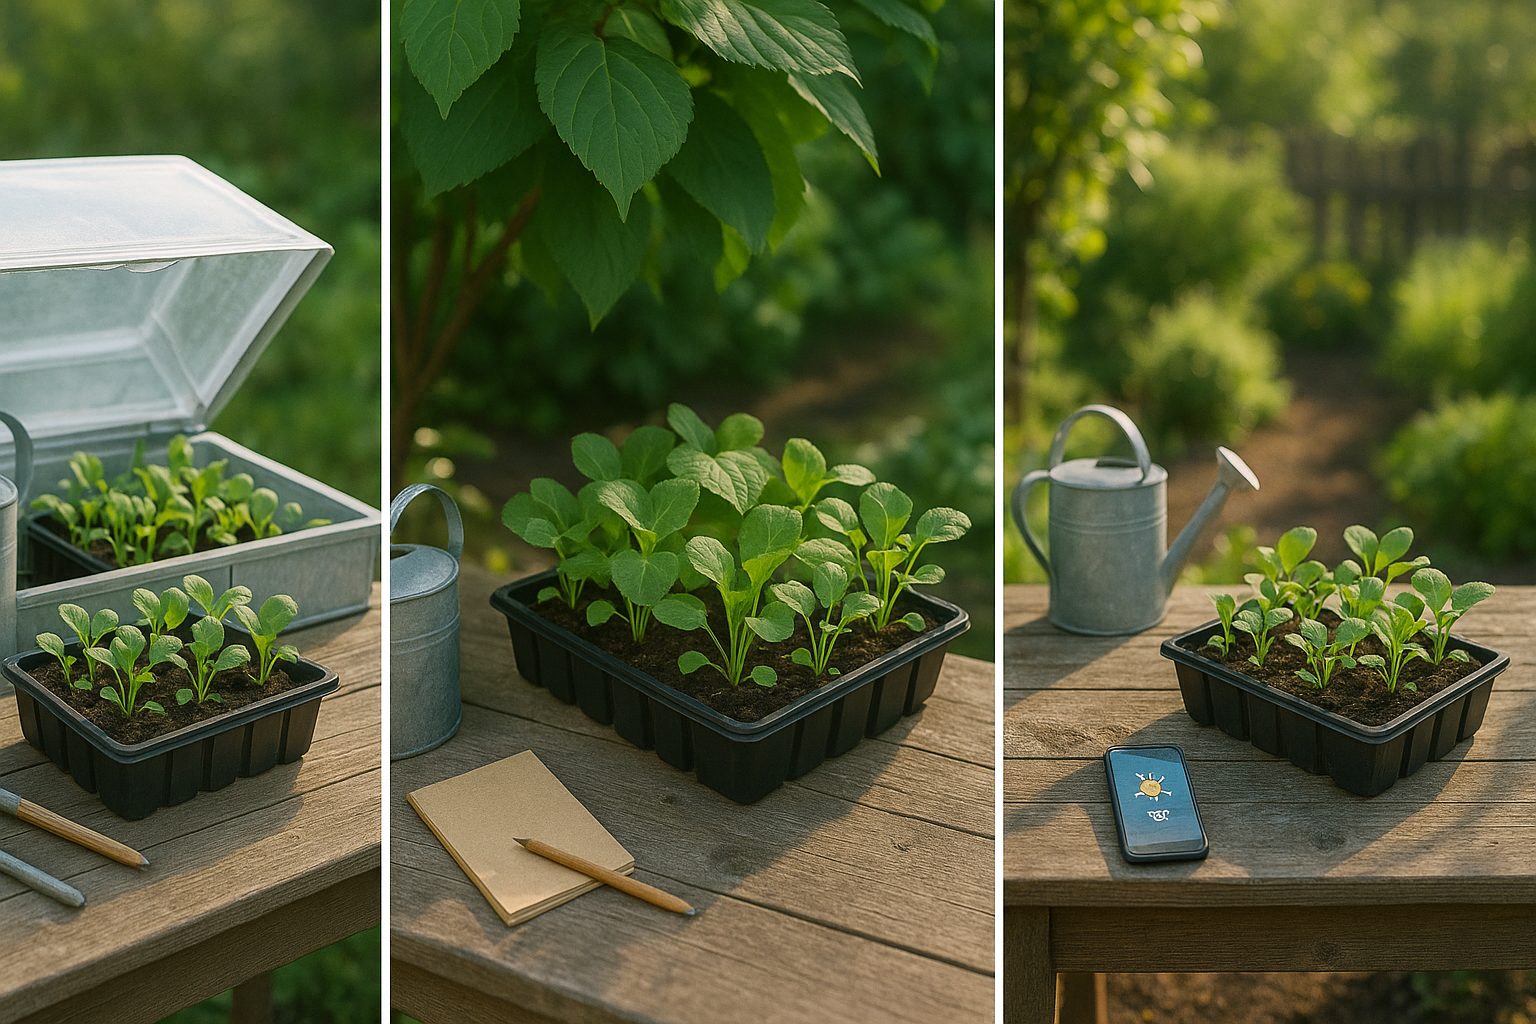
Start on day one by placing your seedlings in a sheltered, shaded area outdoors for one to two hours, preferably in mild afternoon weather—think a balcony corner or under a tree. Over the following days, increase the time outside by an hour or two each day, always bringing them indoors at night for the first week.
By midweek, let them have some gentle morning sun for an hour, but shield them from harsh midday rays to avoid leaf burn.
If you have a cold frame, use it to provide a buffer—keeping it slightly open on warmer days and closing it overnight or during chilly winds. This protects seedlings from sudden changes while introducing them to fresh air, variable temperatures, and natural light.
For heat-lovers like tomatoes or peppers, move a bit slower; they’re sensitive and can stay in the cold frame longer before experiencing more sun. Conversely, brassicas like broccoli and cabbage usually handle brisk winds and cooler temps better and can remain in the sheltered area a bit longer each day.
Throughout the process, keep an eye out for stress symptoms: wilting, scorched leaves, purpling, or stunted growth all indicate too much exposure too soon. If you spot these signs, dial back the exposure time and rely more on shade or the cold frame for a couple of days.
Don’t forget to water seedlings well, as wind and sun increase evaporation, and avoid fertilizing during this transition.
After about 7–10 days—when your seedlings are spending all day (and, if frost allows, all night) outside—they’re ready for transplanting. With steady, incremental exposure and careful observation, you’ll prep your seedlings to thrive in the garden from day one.
Choosing the Best Location for Hardening Off
When hardening off seedlings, picking the right location can make all the difference. Ideally, choose a spot that provides shelter from strong winds and avoids intense, direct midday sun—think a north- or east-facing garden corner, a screened porch, or even a shaded balcony. These locations let plants acclimate gradually without getting scorched or battered.
Outdoor areas are easy and provide natural conditions, but they can expose tender seedlings to temperature swings and gusts, so check the forecast daily. Cold frames, cloches, and row covers offer added protection and steady warmth, acting like mini-greenhouses. They are great for early spring but may need venting on warm afternoons to prevent overheating. The main downside is cost and the extra steps involved.
Be ready for sudden weather changes: if a cold snap or heavy rain is predicted, quickly gather seedlings back indoors or tuck them under covers at night. It’s smart to keep lightweight frost blankets or plastic sheeting handy for emergencies.
As a rule of thumb, seedlings should come inside or be well-covered whenever night temperatures drop below 45°F (7°C) or wind becomes too severe. Consistent monitoring and flexibility will ensure your seedlings make a healthy transition to life outdoors.
Common Hardening Off Mistakes & How to Avoid Them
One of the most common hardening off mistakes is rushing the process by placing seedlings outdoors all day right away, which can shock their delicate systems. Instead, gradually increase their time outside over 7–10 days, starting with just one to two hours in a shaded, sheltered spot before exposing them to direct sun and wind.
Another frequent error is exposing seedlings to extreme weather conditions—like chilly nights, gusty winds, or harsh midday sun—before they’re ready. If you notice droopy leaves or sunburn (white or brown spots), bring the plants back inside, and let them recover in indirect light while keeping the soil consistently moist but not soggy.
Organize your hardening off by setting reminders on your phone or using a simple checklist to log each seedling’s hours outside and daily weather notes; this helps you stay consistent and spot potential issues early.
Remember, patience pays off—a gradual, well-monitored transition sets your plants up for a strong, healthy start in the garden.
Successfully Transplanting Hardened Seedlings
Knowing when your seedlings are ready to be transplanted outdoors is crucial for their survival and growth. Look for sturdy stems, a vibrant green color, and at least two to four true leaves above the initial seed leaves—these are signs that your plants have been properly hardened off and are tough enough to face the outside world.
Before taking them out, prepare your garden beds by loosening the soil about a foot deep and mixing in plenty of compost to boost nutrients and improve drainage. Well-prepared soil reduces transplant shock and encourages strong root growth.
Water your seedlings thoroughly a couple of hours before planting, and choose a cool, cloudy, or late afternoon time slot to minimize heat stress. Blistering sun and midday heat can wilt young plants quickly.
As you plant, pay close attention to recommended spacing:
- Give tomatoes at least 18–24 inches apart
- Space basil or marigolds 10–12 inches apart
Crowding can lead to disease or stunted growth.
Companion planting can enhance both yield and pest resistance—think marigolds with tomatoes to deter pests, or planting peas near carrots to enrich the soil.
After transplanting, water gently yet thoroughly, keeping the soil evenly moist but not waterlogged for the first week. Mulching helps retain moisture and moderate soil temperature swings.
Check daily for signs of wilting or pest damage, and shade delicate transplants if a late cold snap or strong sun is forecast.
With attentive aftercare during these first critical days, your seedlings will be well on their way to a healthy, thriving season.