Introduction to Growing Broccoli from Seed
If you’re interested in hardening broccoli seedlings for a successful garden, starting your broccoli from seed is one of the smartest moves you can make. Not only does it mean lower costs compared to buying established plants at a nursery, but it also opens up a world of variety you simply can’t find in most garden centers—think purple broccoli, sprouting types, or heirloom favorites. Plus, nothing beats the taste of home-grown broccoli, harvested straight from your own backyard beds or containers.
Many gardeners wonder whether it’s better to start broccoli seeds indoors or sow them directly into the garden. While both methods can work, indoor sowing gives you more control over temperature and timing, resulting in earlier harvests and stronger seedlings. Direct sowing, on the other hand, is simpler but heavily dependent on unpredictable spring weather and soil conditions, which can slow down or even hinder germination.
In this article, you’ll discover the essentials of growing broccoli from seed—how to choose the right varieties, when to start seeds for your climate, and how to care for tender young plants. We’ll cover the crucial steps for hardening broccoli seedlings to ensure they thrive after transplanting outdoors. Follow along for practical tips and timing strategies that will set you up for a bumper crop of delicious, homegrown broccoli.
Timing: When to Start Broccoli Seeds

Getting the timing right when starting broccoli seeds is crucial because broccoli thrives in cool weather and struggles in summer heat. To maximize your harvest, it’s best to start seeds indoors 6-8 weeks before your area’s last expected spring frost. For example, if your last frost is in early April, start your seeds indoors by early to mid-February. This gives the seedlings enough time to grow strong before moving outside.
If you live in a milder climate with short, cool summers or want a fall crop, you can also start seeds outdoors. Sow them directly about 2-3 weeks before your region’s last spring frost for spring harvests, or in mid- to late-summer for fall harvests—making sure your plants mature as temperatures begin to cool.
Always check your local frost dates to plan correctly—most state extension offices provide this information and planting calendars tailored to your location.
Broccoli seeds usually germinate in 5 to 10 days when kept consistently moist and at temperatures around 70°F (21°C). Once your indoor seedlings have grown two or three true leaves and outdoor temperatures are consistently above 50°F (10°C), it’s time to harden them off and transplant them outside. A handy tip is to transplant broccoli in the late afternoon or on an overcast day to reduce transplant shock.
By syncing your planting and transplanting schedule with the weather, you’ll help your broccoli plants stay healthy and productive.
Choosing Seeds, Soil, and Containers
When starting broccoli from seed, picking the right variety can make all the difference in your harvest. For beginners and experienced gardeners alike, Calabrese is a popular choice thanks to its fast growth, reliable heads, and adaptability to various climates. Another favorite, Waltham 29, stands out for its cold tolerance and compact plants, making it ideal if you want a steady supply of side shoots after the main head is cut.
When selecting a variety, consider your local climate, the plant’s maturity time, and your garden space—early types work well for shorter seasons, while larger-headed varieties suit bigger beds.
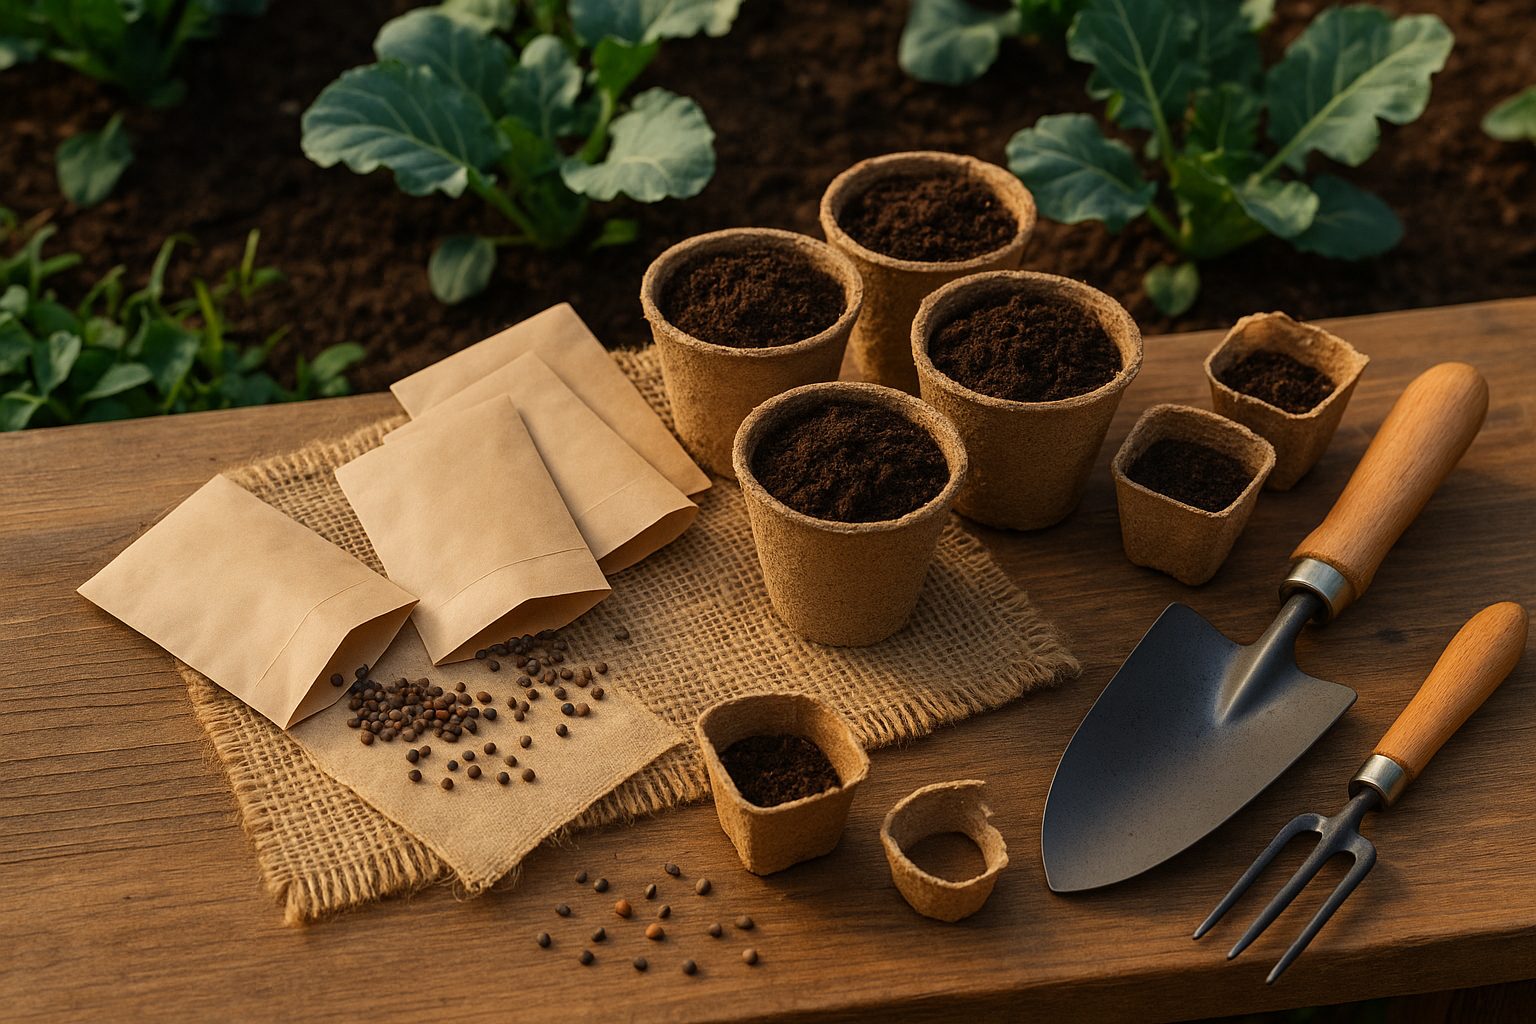
Equally important is your seed starting mix. Use a light, well-draining, sterile medium—such as a blend of peat moss, vermiculite, and perlite—to prevent diseases and give delicate roots plenty of oxygen. Regular garden soil tends to be too heavy and can harbor pests, so opt for seed-starting mixes from garden centers or make your own.
For containers, traditional seed trays offer the benefit of maximum seedling capacity in a small space, but roots can become tangled and require careful handling when transplanting. Cell packs solve this by separating roots, reducing shock when moving plants outdoors, though they hold less soil and dry out faster. Small pots are perfect for those who want to minimize disturbance at transplanting, but they take up more space and use more soil.
Whatever you choose, make sure containers are clean and have drainage holes, as broccoli dislikes soggy roots. With the right variety, soil, and container setup, you’ll give your broccoli the best possible start for strong, healthy transplants.
Planting and Caring for Broccoli Seedlings
Start by sowing broccoli seeds about a quarter to half an inch deep in fertile, well-draining soil—using seed trays or small pots indoors for the best results. Space each seed about two inches apart to give them room to develop strong roots from the beginning.
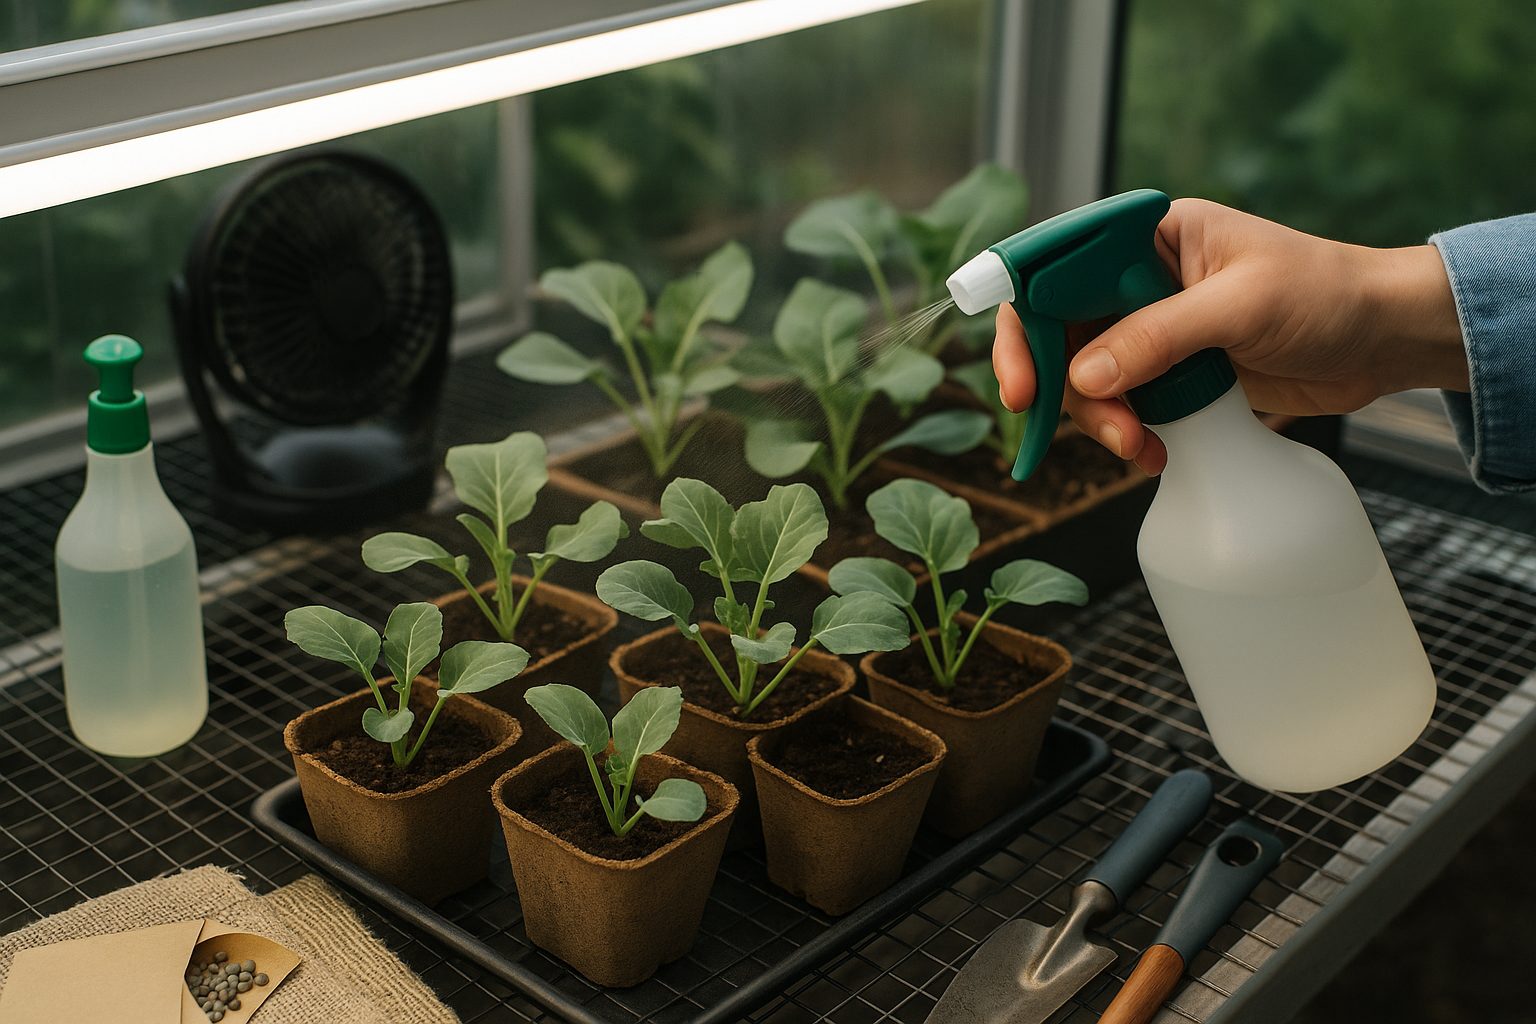
Keep the soil consistently moist but not soggy; it should feel like a wrung-out sponge. Use a spray bottle to gently mist the topsoil each morning and check moisture daily, since tiny seeds can quickly dry out.
When it comes to light, broccoli seedlings crave bright, indirect sunlight—about 6 to 8 hours a day is ideal. A sunny south-facing window works well, but if you’re short on natural light, set up grow lights about two inches above the seedlings and keep them on for 14 to 16 hours daily for even, healthy growth. Rotate trays every few days so seedlings grow straight and sturdy.
Once sprouts have two sets of true leaves, thin them to one plant every three inches to prevent crowding. Avoid letting young seedlings dry out or sit in water; consistent but moderate watering is key. If you notice the seedlings getting leggy or pale, increase their light exposure.
Finally, gently brush your hand over the seedlings once a day or set up a small fan on low to simulate wind—this helps strengthen stems and prepares them for transplanting. With mindful attention to moisture, lighting, and air movement, you’ll set your broccoli seedlings up for a healthy, productive start.
Fertilizing, Thinning, and Troubleshooting Seedlings
To help your young broccoli seedlings thrive, start fertilizing once they develop their first true leaves. Use a half-strength, balanced liquid fertilizer every 7-10 days—over-fertilizing can burn delicate roots, so remember that less is more. Water the soil gently before and after fertilizing to avoid shocking the roots.
As your seedlings grow, thinning is also crucial: overcrowded plants compete for light, water, and nutrients, leaving them weak and spindly. Once seedlings are about two inches tall, gently snip the extras at soil level, leaving the healthiest-looking plant in each cell or pot about 18 inches apart. Avoid yanking, as this can disturb roots.
Watch for common seedling issues like damping off, a fungal disease that causes stems to rot at the soil line. Prevent this by using sterile seed-starting mix and providing good air circulation. If your seedlings look tall and floppy, they’re likely “leggy” from insufficient light. Move them closer to a sunny window or use a grow light positioned just a few inches above.
Yellow or pale leaves can signal nutrient deficiency or overwatering, so check both your watering schedule and fertilizer strength. With the right feeding, thinning, and troubleshooting, your broccoli seedlings will be robust and ready for transplanting.
Preparing for Transplant: Hardening Off Seedlings
Hardening off is the process of gradually introducing indoor-grown seedlings to outdoor conditions, helping them adjust to differences in temperature, sunlight, and wind. Skipping this step can shock seedlings, causing stunted growth or even death, since tender plants aren’t used to the harsher outdoor environment.
To start, place seedlings in a sheltered spot outside for two to three hours on the first day, avoiding direct midday sun and windy areas. Each following day, slowly increase their outdoor time by an hour or two, moving them into brighter light as the days progress. After about a week, leave them out overnight if temperatures are mild. This gentle exposure builds their defenses, toughening stems and leaves so they’re ready to thrive in the garden.
If you notice signs of stress such as wilting, leaf burn, or drooping, scale back their sun exposure and bring them inside until they perk up. Make sure to water seedlings just enough—the soil should be moist, not soggy—since both dryness and overwatering add stress. On especially windy or chilly days, pause the process and resume when better conditions return.
Using this step-by-step approach means your seedlings will be healthier, more resilient, and primed for successful transplanting.
Transplanting to the Garden and Post-Transplant Care
Transplanting seedlings to your garden starts with choosing the right day—look for overcast weather or late afternoon to reduce transplant shock. Prepare your garden beds by loosening the soil and mixing in some compost. When placing each seedling, make sure to follow recommended plant spacing; crowded plants compete for nutrients and sunlight, while too much space can invite weeds.
Most plants should be set at the same depth as they were in their pots, though tomatoes are an exception and can be buried deeper to encourage stronger root growth. Once your seedlings are in the ground, give them a thorough but gentle watering, soaking the soil well without causing runoff.
Apply a two- to three-inch layer of mulch around each plant, keeping it an inch or two from the stems—this helps retain moisture, regulate soil temperature, and suppress weeds.
For pest protection, consider using row covers or cloches for vulnerable crops, or try companion planting with herbs like basil or flowers like marigolds to deter common pests.
As your plants settle in, monitor them daily for signs of wilting, disease, or chewed leaves, and fertilize lightly about two weeks after transplanting if the plants look pale or growth seems slow. Adjust watering as needed, keeping the soil consistently moist but never soggy.
With attentive care, your seedlings will thrive and reward you with a healthy, productive garden all season long.