Introduction
If you’ve been curious about growing Little Gem lettuce, you’re not alone—this sweet, mini lettuce variety has become a favorite among gardeners and food lovers alike. With its irresistible crunch, buttery texture, and perfectly sized heads, Little Gem lettuce brings both flavor and convenience to your table. Its compact size means you don’t need much space to get started, making it an ideal choice for small gardens, raised beds, window boxes, or even container growing on a sunny windowsill.
Whether you’re hoping to enhance your salads with freshly picked greens or just experimenting with kitchen gardening for the first time, Little Gem’s suitability for tight spaces and rapid growth is a real win.
In this article, we’ll dive into everything you need to know about growing Little Gem lettuce successfully, even if you’re short on time or gardening know-how. You’ll learn how to select the right location, prepare your soil, and care for your seedlings at every stage of growth. We’ll cover watering tips to prevent bitter leaves, share real examples for dealing with common pests, and offer easy harvest and kitchen ideas so your Little Gems end up crisp and delicious in every salad. Get ready to enjoy fresher, tastier greens right from your garden!
Choosing & Understanding Little Gem Lettuce
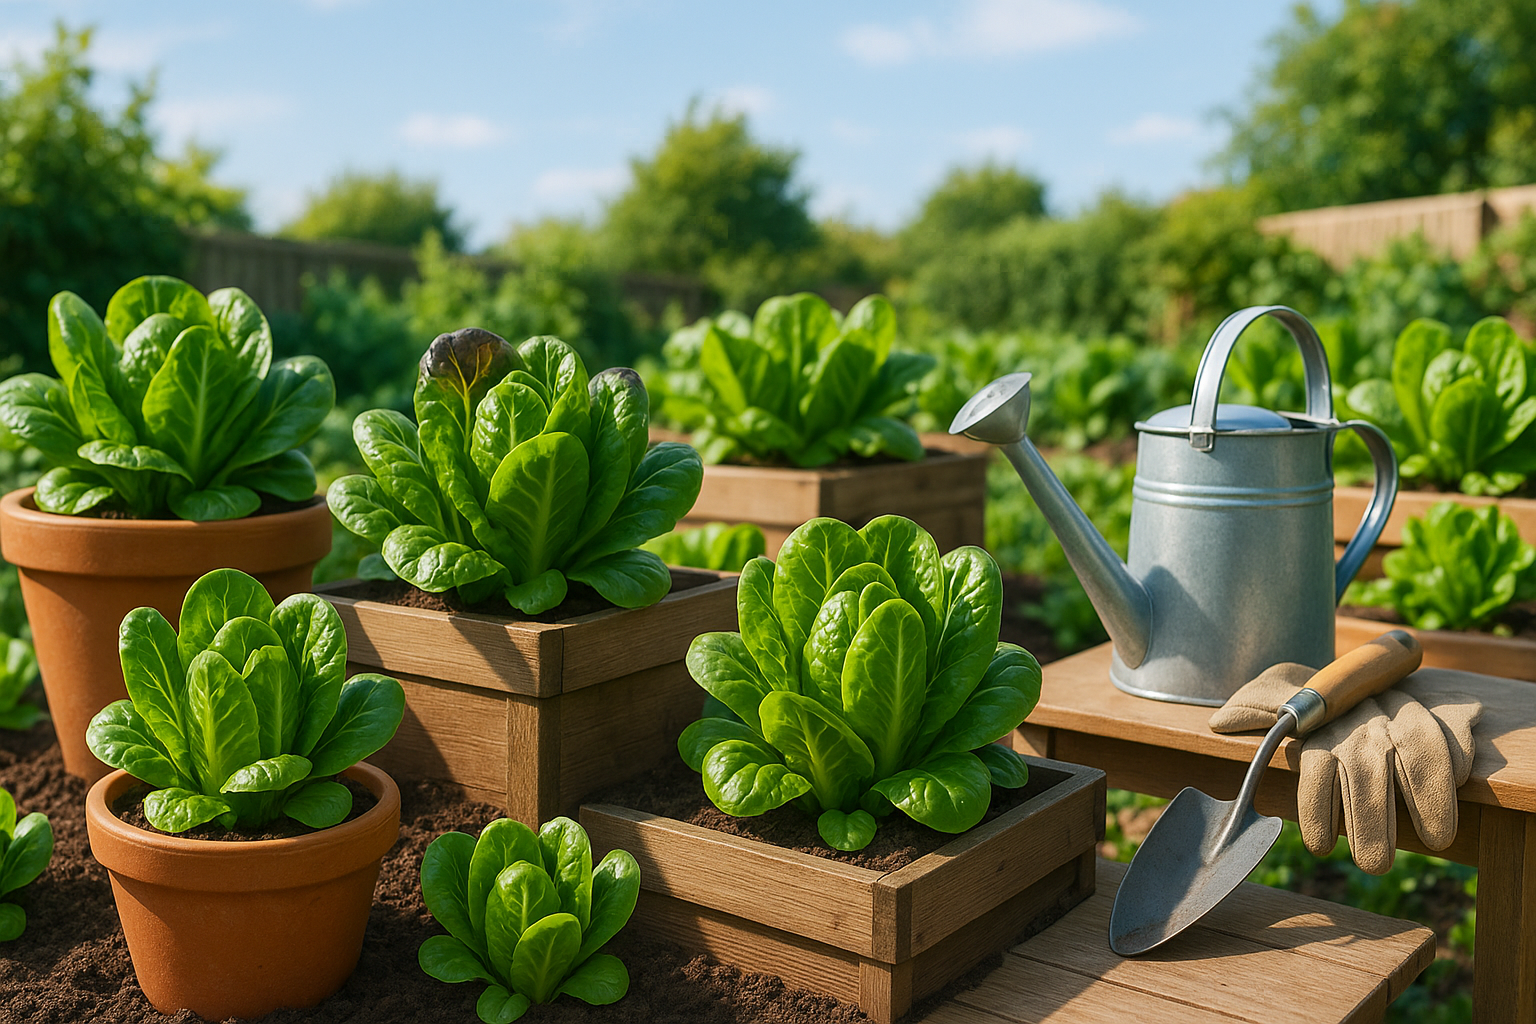
Little Gem lettuce stands out with its petite size, crisp texture, and notably sweet, nutty flavor, making it a favorite among salad lovers and chefs alike. Each rosette is compact—usually about four to six inches tall—with firm, shiny green leaves tightly wrapped around a refreshing, tender heart.
Little Gem matures quickly, often ready for harvest in just 30 to 50 days, which is faster than many other lettuce varieties. This means you can enjoy multiple plantings throughout the season. Its easy-going nature means it thrives in containers, raised beds, or traditional garden plots. This makes it ideal for beginner gardeners seeking quick, satisfying results, as well as for experienced growers aiming for high yields in limited space.
Little Gem is less prone to bolting and bitterness than butterhead or romaine, offering consistent crunch even in warmer weather. Compared to larger lettuces, its compact size wastes less produce in small households and fits perfectly in single-serve salads or sandwiches.
For the best quality, purchase seeds from reputable sources like Johnny’s Selected Seeds, Baker Creek Heirloom Seeds, or your local garden center. Look for seeds labeled as “fresh” or with current-year packaging. Prioritize organic or untreated seeds if you prefer natural growing methods, and consider choosing varieties bred for resistance to common lettuce pests and diseases.
With its superior flavor, versatility, and reliable growth, Little Gem is a smart choice for any home gardener.
Preparing Your Garden or Containers
Getting your garden or containers ready for Little Gem lettuce starts with healthy, well-prepared soil. This compact variety thrives in loose, fertile, well-draining soil with a slightly acidic to neutral pH—ideally between 6.0 and 7.0.
Whether you’re planting in the ground, raised beds, or containers, begin by removing weeds and breaking up large clumps in the top few inches of soil. For in-ground gardens, blend in a generous layer of compost or well-rotted manure to boost nutrients and improve texture. Make sure the site receives at least 6 hours of sunlight daily.
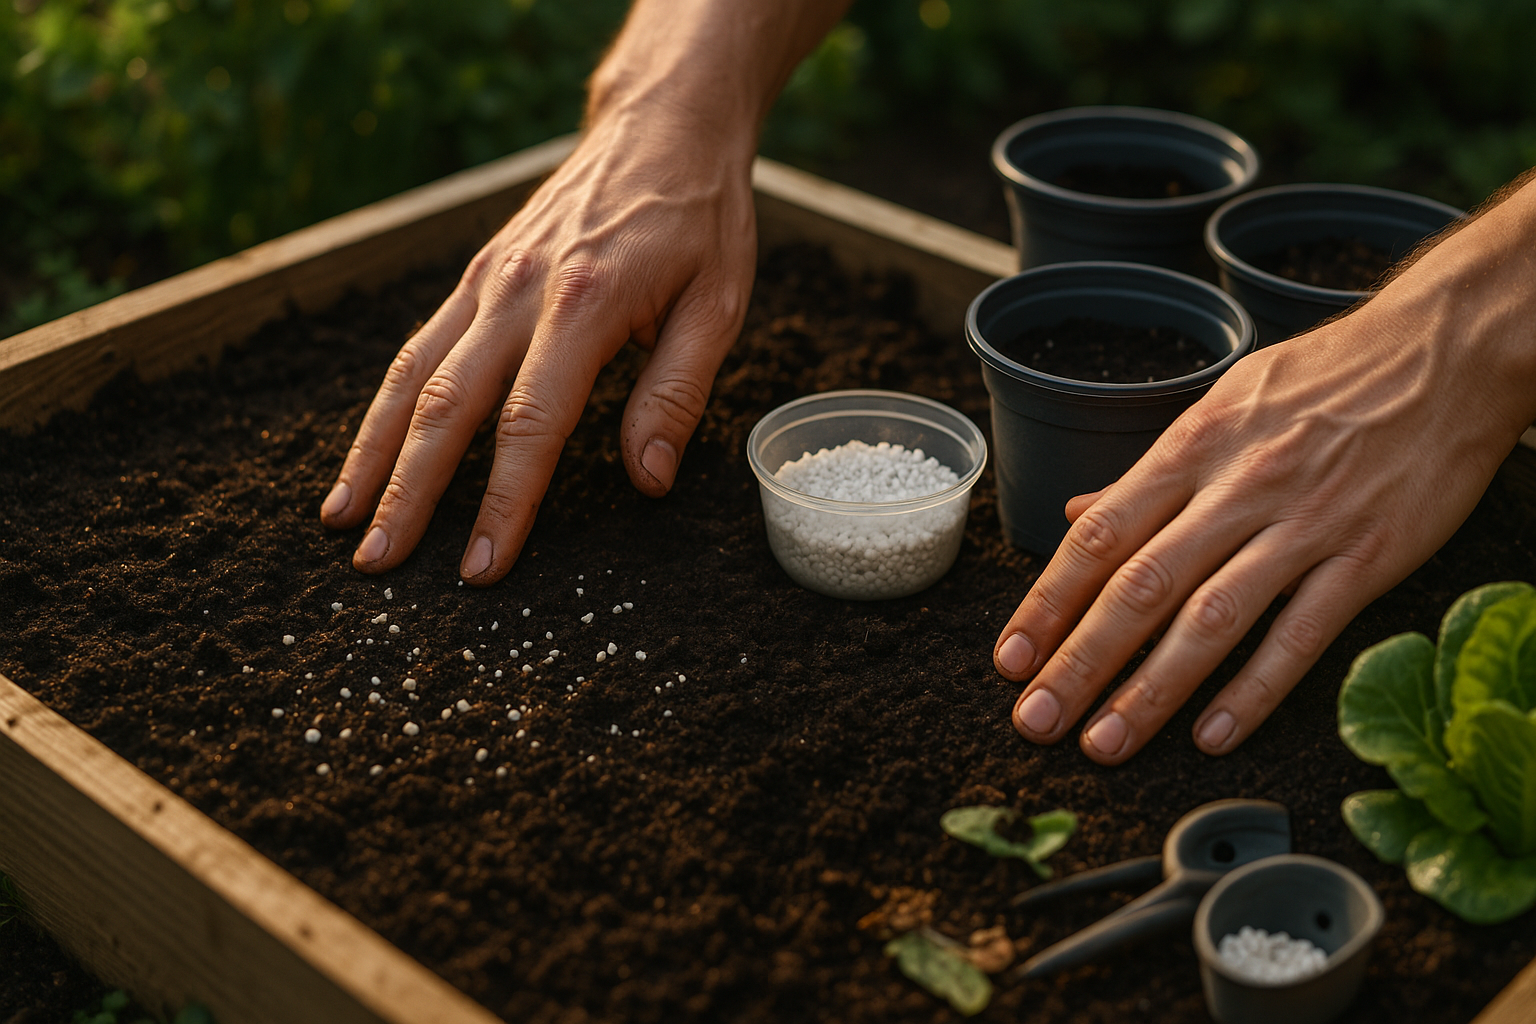
If space or poor soil is a concern, raised beds and deep pots (at least 6-8 inches) give you more control over growing conditions. Containers should have drainage holes and be filled with high-quality potting mix, enriched with a handful of organic fertilizer like blood meal or fish emulsion.
For all setups, avoid overly wet sites—Little Gem needs steady moisture but can develop root rot in soggy ground. To make the most of its tidy root system, loosen but don’t overly compact the soil before planting. Consider incorporating a scoop of perlite or sand to further improve drainage.
As the plants grow, watch for nutrient deficiencies: leggy or pale leaves indicate the need for a top-up of all-purpose organic fertilizer. Regularly fluff the soil around the bases and top off with mulch or additional compost throughout the season. This keeps roots happy and helps Little Gem stay crisp, sweet, and productive.
Planting & Sowing
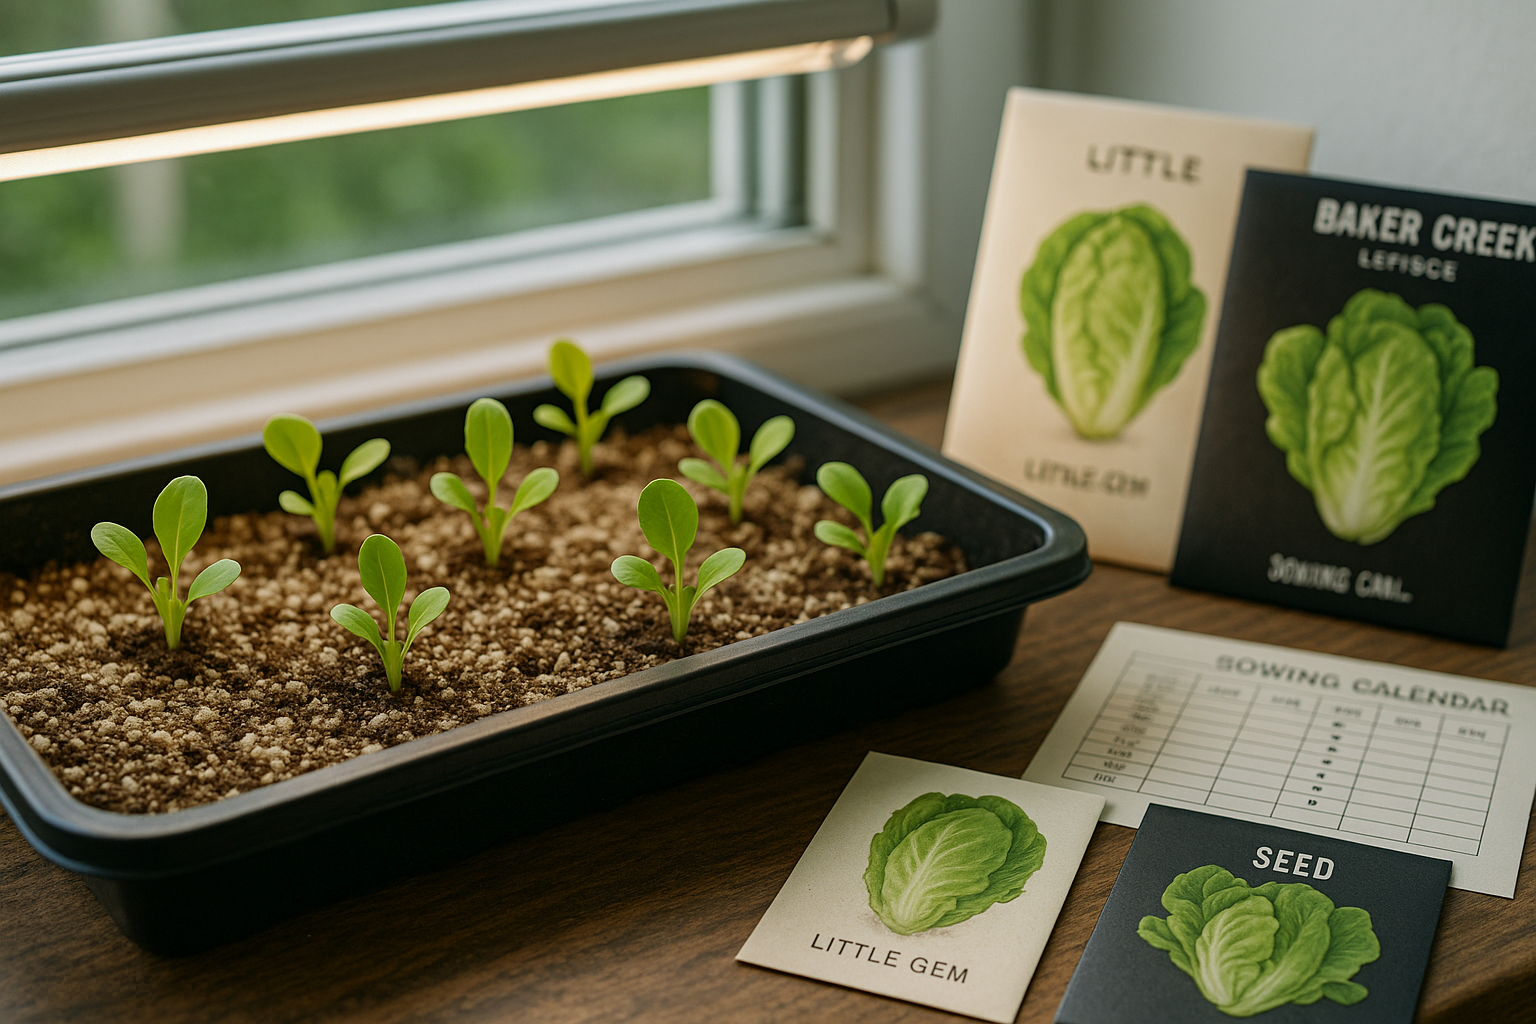
When it comes to planting and sowing, timing is everything—your local climate and the specific plant’s needs heavily influence success. For most warm-season vegetables like tomatoes and peppers, start seeds indoors about 6–8 weeks before your region’s last expected frost. Use seed trays or small pots filled with a light, sterile seed-starting mix, and place them under grow lights or in a sunny window.
Cool-season crops such as lettuce, peas, or spinach can often be sown directly outdoors in early spring, as soon as the soil is workable. In mild or frost-free climates, take advantage of longer growing seasons by sowing or transplanting in late winter or late summer for fall crops.
Always check the seed packet for the ideal sowing depth—small seeds like lettuce should be barely covered, while larger seeds like beans or squash may need to be planted 1–2 inches deep. For spacing, follow the recommendations on seed packets or plant tags; crowding plants can stunt growth and invite disease, so give each seedling enough room to reach its full size.
Deciding between direct sowing and transplanting depends on the crop and your preferences. Direct sowing is simple and less labor-intensive—ideal for root crops like carrots that dislike disturbance. Transplanting, on the other hand, allows you to get a head start indoors and move sturdy seedlings outdoors once conditions are right. It also helps avoid early pest or weather challenges.
To keep your garden productive all season, try succession planting—sow a small batch of seeds every two to three weeks instead of all at once. This approach provides a steady supply of fresh greens or beans, rather than a single overwhelming harvest, and makes great use of your growing space.
Consider drawing a quick calendar for sowing and re-sowing, adjusting to your area’s average frost dates and the days to maturity listed on seed packets for each crop.
Caring for Little Gem Lettuce as It Grows
Little Gem lettuce thrives when you strike the perfect balance of moisture and sunlight, and a little thoughtful TLC during the growing season goes a long way. Start by keeping the soil consistently damp—Little Gem prefers moist soil but never let it sit in standing water, as soggy roots can lead to rot and disease. A top tip is to water in the morning, aiming directly at the base of the plants rather than overhead, which helps prevent mildew.
To maintain even moisture, lay a 1- to 2-inch layer of mulch—such as straw, finely shredded leaves, or untreated grass clippings—around your lettuce. This not only locks in hydration but also suppresses pesky weeds that compete for nutrients.
When it comes to feeding your Little Gems, start with rich, compost-amended soil, then supplement with a balanced fertilizer (like a 10-10-10 or organic liquid feed) every three to four weeks. Avoid overfeeding, which encourages leafy growth but may dilute flavor; just a little boost goes a long way.
For sunlight, these lettuces do best in full sun—aim for six hours daily. However, if you’re growing in a hotter region, consider providing afternoon shade or using a lightweight shade cloth to protect plants from scorching temperatures. Likewise, if an unexpected cold snap threatens, simple cloches, plastic covers, or even an upturned bucket overnight can shield your crops from frost.
By closely monitoring these factors and making small environmental adjustments, you’ll encourage tender, flavorful heads of Little Gem lettuce all season long—perfect for crisp salads and garden-fresh wraps.
“`html
Harvesting & Using Little Gem Lettuce
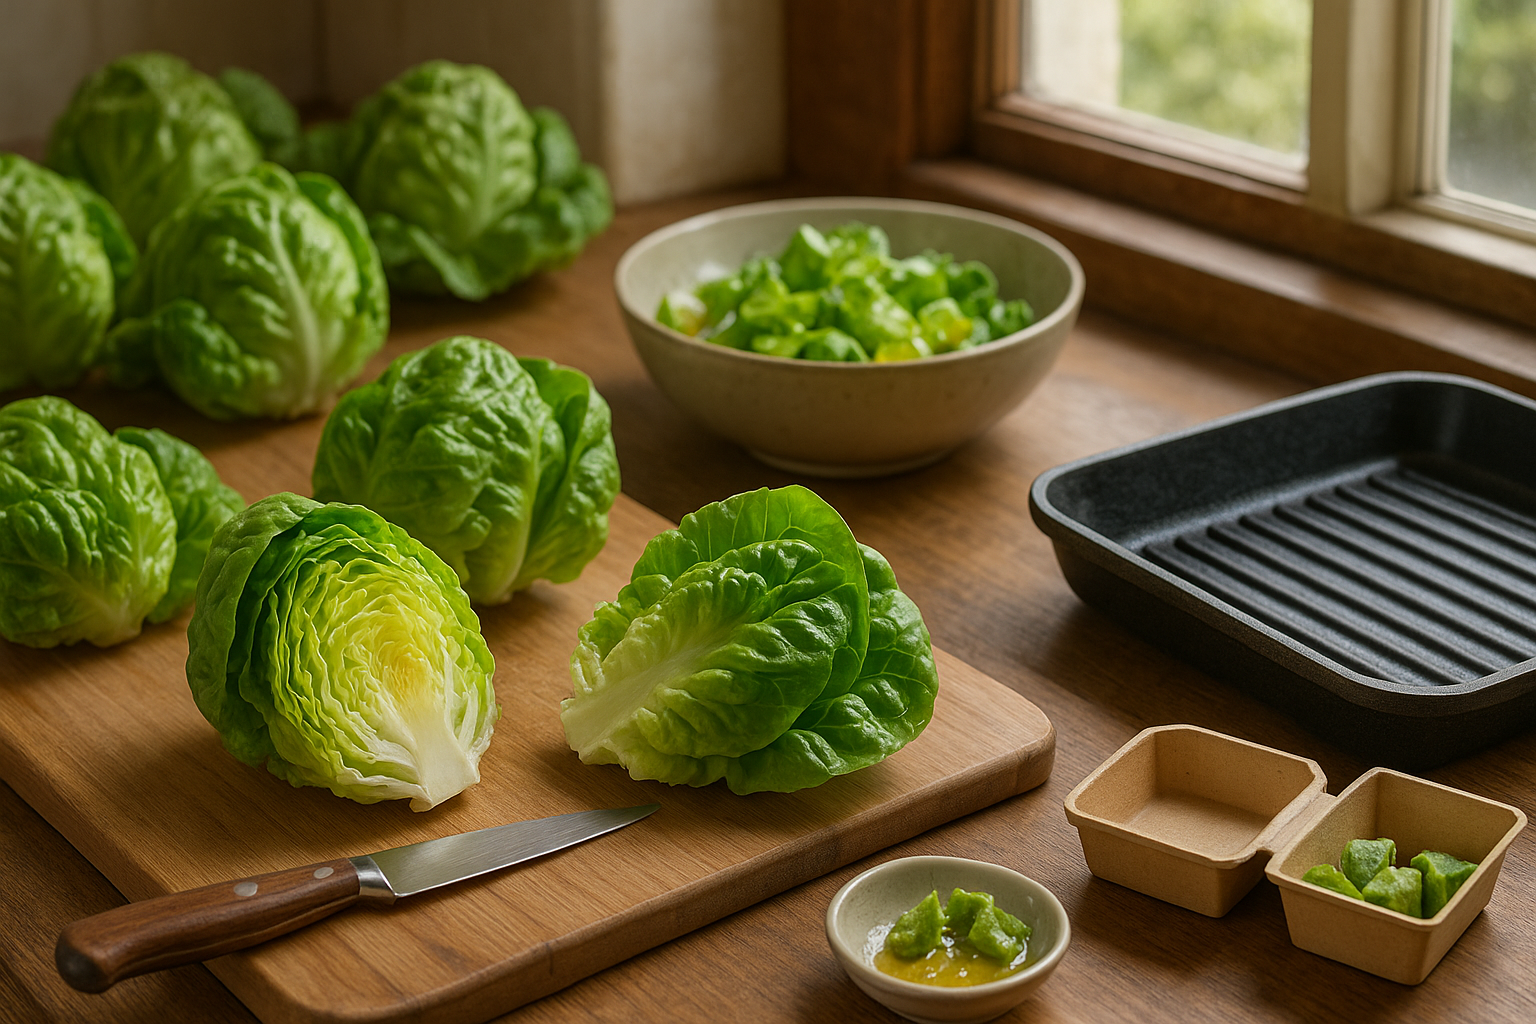
Little Gem lettuce is ready to harvest when the heads are compact, crisp, and about 4 to 6 inches tall. Look for tight, bright green leaves with a slight gloss—this means the plant is mature but still tender. Avoid waiting until the outer leaves yellow or the stem begins to elongate, as these signs indicate over-maturity.
To harvest for regrowth, use a sharp knife or scissors to cut the head just above the base, leaving about an inch of the stem and a few outer leaves. This allows the plant to produce new growth for a second, smaller crop. To avoid bruising, always harvest early in the morning when the leaves are most hydrated.
Once picked, immediately rinse the lettuce to remove soil and insects. Pat it dry and store it unwashed in the fridge, wrapped loosely in a paper towel inside a perforated plastic bag—this keeps it crisp for up to a week.
In the kitchen, Little Gem’s sweet crunch shines in simple salads with vinaigrette, makes perfect cups for chicken or shrimp wraps, and stands up well to grilling. Just halve the heads and brush with olive oil before charring them on the barbecue. With its petite size and dense leaves, Little Gem brings fresh, vibrant flavor to all kinds of dishes.
Troubleshooting Pests & Problems
Gardening often comes with its share of unwelcome visitors and plant issues, but learning to spot them early can save your crops and reduce frustration.
Common pests like slugs, those slimy leaf-munchers, can be discouraged by spreading crushed eggshells or diatomaceous earth around your plants; both are effective organic barriers. Aphids, tiny green or black bugs that cluster on tender stems, can be gently sprayed off with a diluted mixture of water and mild soap.
Bolting—when vegetables like lettuce or spinach suddenly shoot up and flower—is usually triggered by heat or inconsistent watering. To prevent this, plant heat-resistant varieties and keep soil consistently moist.
Fungal diseases such as powdery mildew appear as a white, dusty coating on leaves. Improve airflow by spacing plants correctly and water at the soil line to keep foliage dry.
Practicing crop rotation—changing where you plant the same crop each year—helps break pest and disease cycles, while maintaining clean beds and promptly removing diseased plant matter keeps problems from spreading.
Be vigilant for signs of plant stress such as yellowing leaves, stunted growth, or droopy stems; these symptoms often signal pests, under-watering, or nutrient deficiencies. Address issues quickly by removing affected leaves, checking for pests, and adjusting watering habits.
By combining good garden hygiene, early intervention, and safe, organic pest control tactics, you create a healthy growing environment where your plants—and your harvest—can thrive.