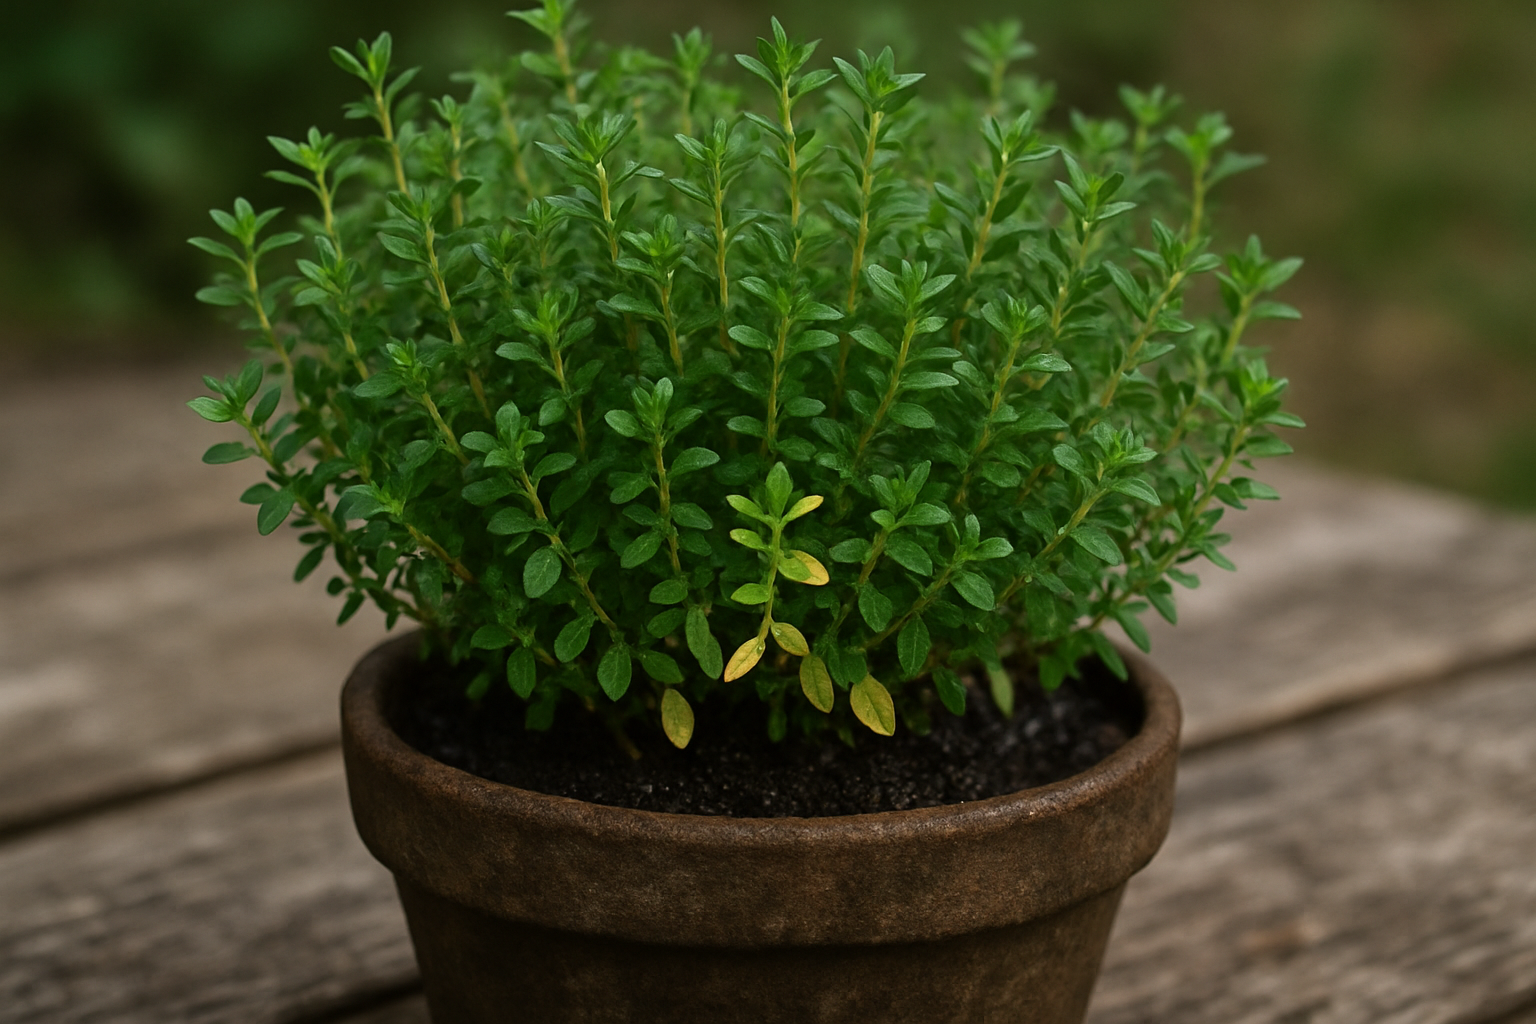
Recognizing Yellow Leaves on Thyme
Not all yellow leaves on thyme are cause for alarm—knowing the difference between natural leaf yellowing and problematic discoloration can help you care for your plant with confidence. It’s common for thyme to shed older, lower leaves as part of its growth cycle. These leaves usually turn a pale yellow evenly before gently dropping off; this is completely normal and nothing to worry about.
However, if you notice yellowing spreading quickly across multiple stems, especially when full leaves change color at once or display irregular pale patches, it could indicate an issue such as overwatering, nutrient deficiency, or root problems. Brown tips or edges on yellowing leaves often signal stress, possibly from underwatering or excessive heat.
Another red flag is when yellow leaves become soft, mushy, or are accompanied by wilting. Healthy thyme maintains its structure, but stressed plants may appear limp or droopy. Rapid or heavy leaf drop, especially alongside a generally unhealthy appearance, almost always points to an underlying problem rather than a normal process.
If you’re unsure, check the soil moisture with your finger—damp soil could mean the roots are waterlogged, while dry, crumbly soil might indicate drought stress. Regularly inspect your thyme for these visual cues, and don’t panic over the occasional yellow leaf. But if you see widespread yellowing along with signs like wilting or leaf drop, it’s time to adjust your plant care routine.
A little attention goes a long way in keeping thyme healthy, lush, and flavorful for your kitchen.
The Main Causes Behind Thyme Leaves Turning Yellow
Yellowing thyme leaves can be a frustrating sight for any herb gardener, and several common culprits might be to blame. Overwatering is one of the top issues—when thyme sits in soggy soil, its roots can’t get enough oxygen, leading leaves to turn yellow and the base to look mushy or blackened.
On the flip side, underwatering starves the plant of moisture, causing dry, brittle leaves that also yellow, often with the soil pulling away from the sides of the pot.
Poor drainage goes hand-in-hand with overwatering; if your pot or garden bed traps water, roots suffocate and rot, so always check for waterlogged soil if you notice yellowing.
Fungal infections thrive in humid, wet conditions as well; yellow patches with fuzzy mold or dark spots are a warning sign—prune affected leaves and make sure there’s good air flow.
Nutrient deficiencies, especially a lack of nitrogen, can also cause thyme’s leaves to fade from vibrant green to pale yellow. If your plant’s growth is sluggish and you haven’t fertilized in a while, a balanced, organic fertilizer can help.
Finally, pests such as aphids or spider mites sap juices from the leaves, leading to yellowing and sticky residue or fine webs on the undersides. Regularly inspect plants for these signs and treat with insecticidal soap if needed.
Keeping an eye on your thyme’s soil, environment, and foliage will help you quickly identify and treat the cause of yellow leaves, ensuring healthy, fragrant harvests.
How to Diagnose the Real Problem
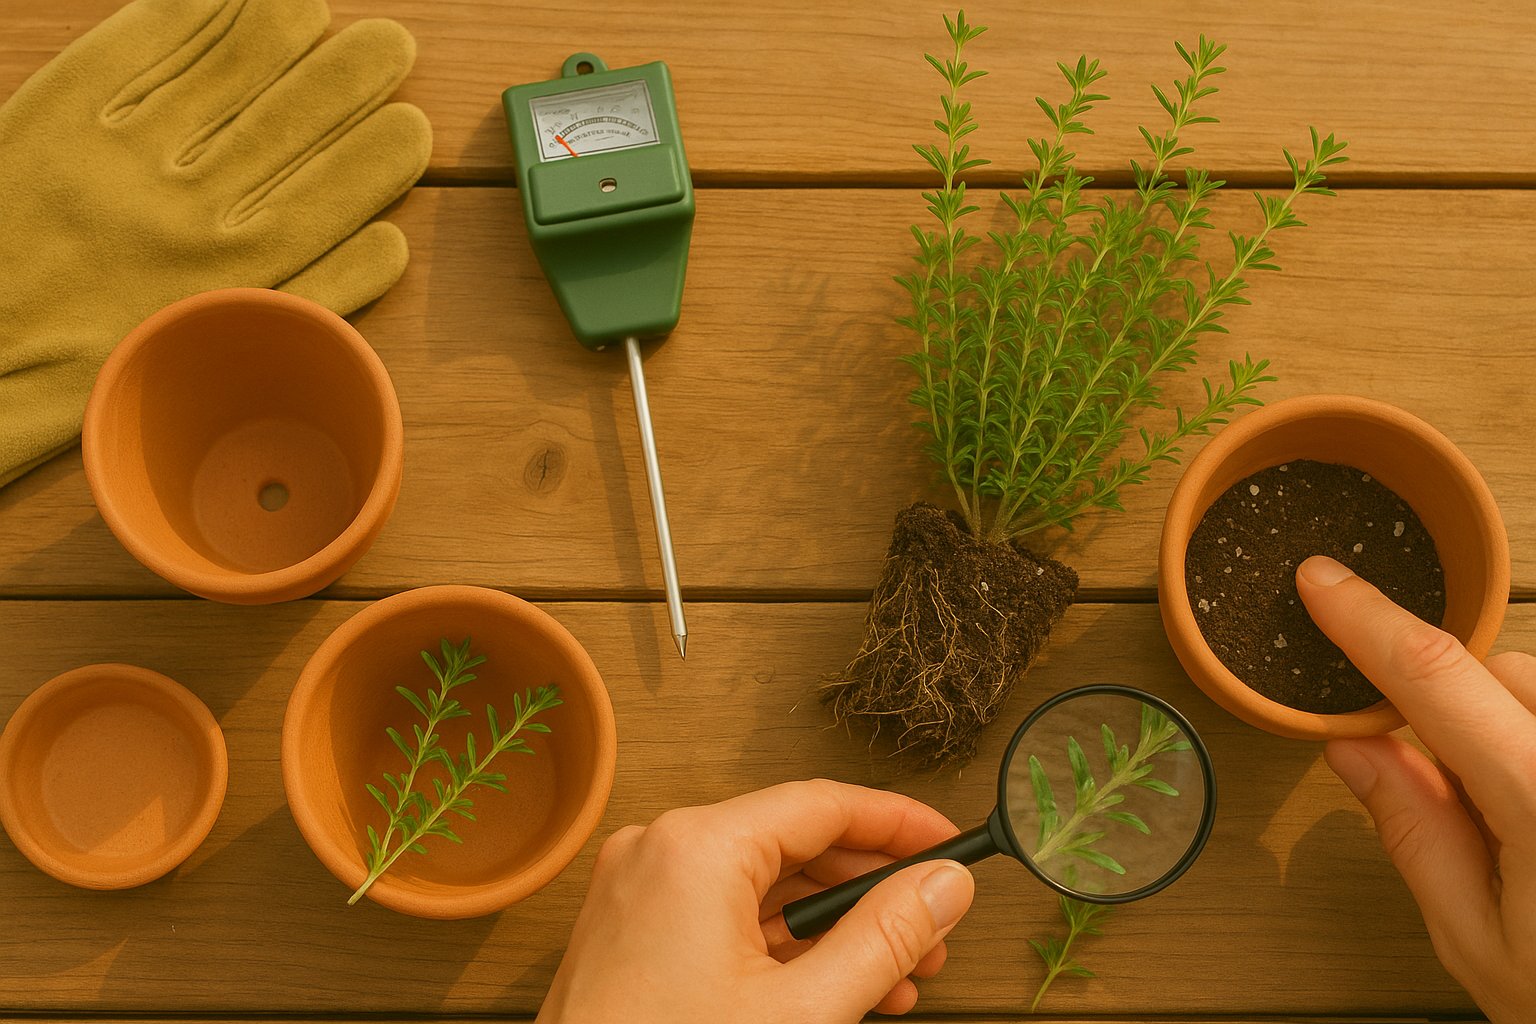
Diagnosing plant problems starts with checking the basics, and moisture is a good first step. Stick your finger about an inch into the soil—if it feels dry, water may be the issue, but if it’s soggy, roots could be suffocating. For more precision, a simple moisture meter from a garden store can help you know exactly how wet the soil is beneath the surface.
Next, gently lift the plant from its pot or dig a small section to peek at the roots. Healthy roots are white or light tan and firm, while brown, mushy, or foul-smelling roots signal root rot, often caused by overwatering.
As you inspect, also look for pests like small bugs or webbing on leaves and soil; a magnifying glass can reveal the culprits hiding in plain sight. Don’t forget to consider the surrounding environment—are there cold drafts, hot sun, or sudden temperature changes affecting your plant? Move the plant to a more stable spot if necessary.
If everything looks fine so far, check your watering habits, fertilizer use, and light exposure, changing just one factor at a time so you know what works. Keeping notes on what you see and any changes you make can speed up finding the real cause and help your plant recover quicker.
By breaking the diagnosis into small, easy steps—observe moisture, check roots, scan for pests, and review environmental changes—you can eliminate possible causes one by one, solving the mystery without second-guessing.
Effective Fixes for Yellowing Thyme Leaves

Yellowing thyme leaves often signal underlying issues, but with the right targeted fixes, your plant can bounce back quickly. First, address watering: thyme dislikes soggy roots, so only water when the top inch of soil feels dry. Improve drainage by using a well-draining soil mix and placing your pot on pebbles or a saucer with holes.
If overwatering caused the yellowing, let the soil dry out before the next watering, and trim away any mushy, yellow leaves to prevent rot from spreading. For underwatered plants—often crispy or wilting—soak the soil thoroughly, then resume a consistent yet moderate watering schedule.
Nutrient deficiencies can also cause yellowing; applying a diluted, balanced liquid fertilizer once a month during the growing season can help, but avoid overfeeding. Fungal diseases like root rot or powdery mildew may be culprits too; prune off all heavily affected leaves and stems using sanitized scissors, dispose of this plant material (don’t compost it), and treat with an organic fungicide or a homemade mix of baking soda and water sprayed onto leaves.
If pests such as spider mites or aphids are present, wash the plant with a gentle burst of water or apply an insecticidal soap available at home improvement stores.
As a regular practice, keep thyme in a location with six hours of sunlight daily, and avoid overcrowding—good air circulation keeps disease at bay. Pruning is beneficial even for healthy thyme because it promotes fresh growth, so snip back stems periodically, focusing especially on any yellow, weak, or dying areas.
With these targeted steps, your thyme will stay healthy and productive all season.
Keeping Thyme Green
Consistent care is key to keeping your thyme plants lush and green year-round. Start by watering thyme sparingly—let the top inch of soil dry out between waterings to prevent root rot, as thyme thrives in drier conditions. Place your thyme where it gets at least six hours of sunlight daily, whether it’s a sunny garden spot or a south-facing windowsill.
To avoid overcrowding and encourage good air circulation, space plants about 12 to 18 inches apart; this helps deter mildew and yellowing leaves. Use well-draining, slightly sandy soil to mimic thyme’s native Mediterranean habitat, and choose pots with drainage holes if you’re growing indoors.
Fertilize sparingly—once in early spring with a balanced, all-purpose fertilizer is enough, as too much can reduce flavor and promote weak growth. Seasonally, give your thyme a quick trim in early spring and after flowering to keep it bushy and prevent woody stems; always snip off dead or yellowing leaves as you notice them.
As temperatures drop in fall, check for waterlogged soil and reduce watering further, since thyme dislikes wet feet in cool months.
In summary, for each season, remember this checklist:
- Monitor sunlight
- Check soil moisture
- Space plants well
- Fertilize lightly
- Prune regularly
For beginner gardeners, adopting a “less is more” mindset is the best approach; thyme is drought-tolerant and fuss-free if you avoid overwatering and overfeeding. More experienced gardeners can strengthen plants by lightly mulching with gravel to increase drainage and by dividing mature thyme clumps every few years to rejuvenate growth.
With just a few mindful routines, you’ll keep your thyme thriving and flavorful throughout the seasons.