Introduction
Transplanting bay leaf (Laurus nobilis) is a rewarding step for gardeners who want to give their beloved bay trees more space to thrive. Bay leaf, prized for its aromatic foliage and classic presence in both ornamental and kitchen gardens, often begins its journey in a pot. However, as these trees mature, their roots need more room and nutrients than containers can provide.
By transplanting bay leaf from pot to ground, you’ll help your tree reach its full potential—think lush new leaves and bountiful harvests for your stews and soups. The process involves more than just digging a hole; you’ll need to select the right spot, prepare the ground, and ensure a gentle transition.
In this post, we’ll walk you through every step, from prepping your bay tree to post-transplant care, so you can grow a resilient, thriving bay laurel in your own garden.
“`html
When and Why to Transplant Bay Laurel
Transplanting bay laurel from a pot to the ground is a smart move when your plant outgrows its container, starts to look pot-bound, or if you want a more vibrant, bushy shrub to enhance your landscape. Giving bay trees extra space allows their roots to stretch out, increasing vigor and ensuring lush, healthy new growth.
To make the move successful, time the transplant for either early spring or early autumn, when temperatures are mild and the soil is workable. Avoid transplanting during extreme heat, as strong sun can dry out and stress the plant, or during frosty periods, which can damage delicate roots.
Sudden cold snaps and heat waves both increase the risk of transplant shock, where your bay drops leaves or stops growing for a while. Pick a calm, overcast day for moving your bay laurel, water the plant well before and after transplanting, and mulch lightly to protect roots. This careful timing and a little TLC will help your bay laurel thrive in its new home.
“`
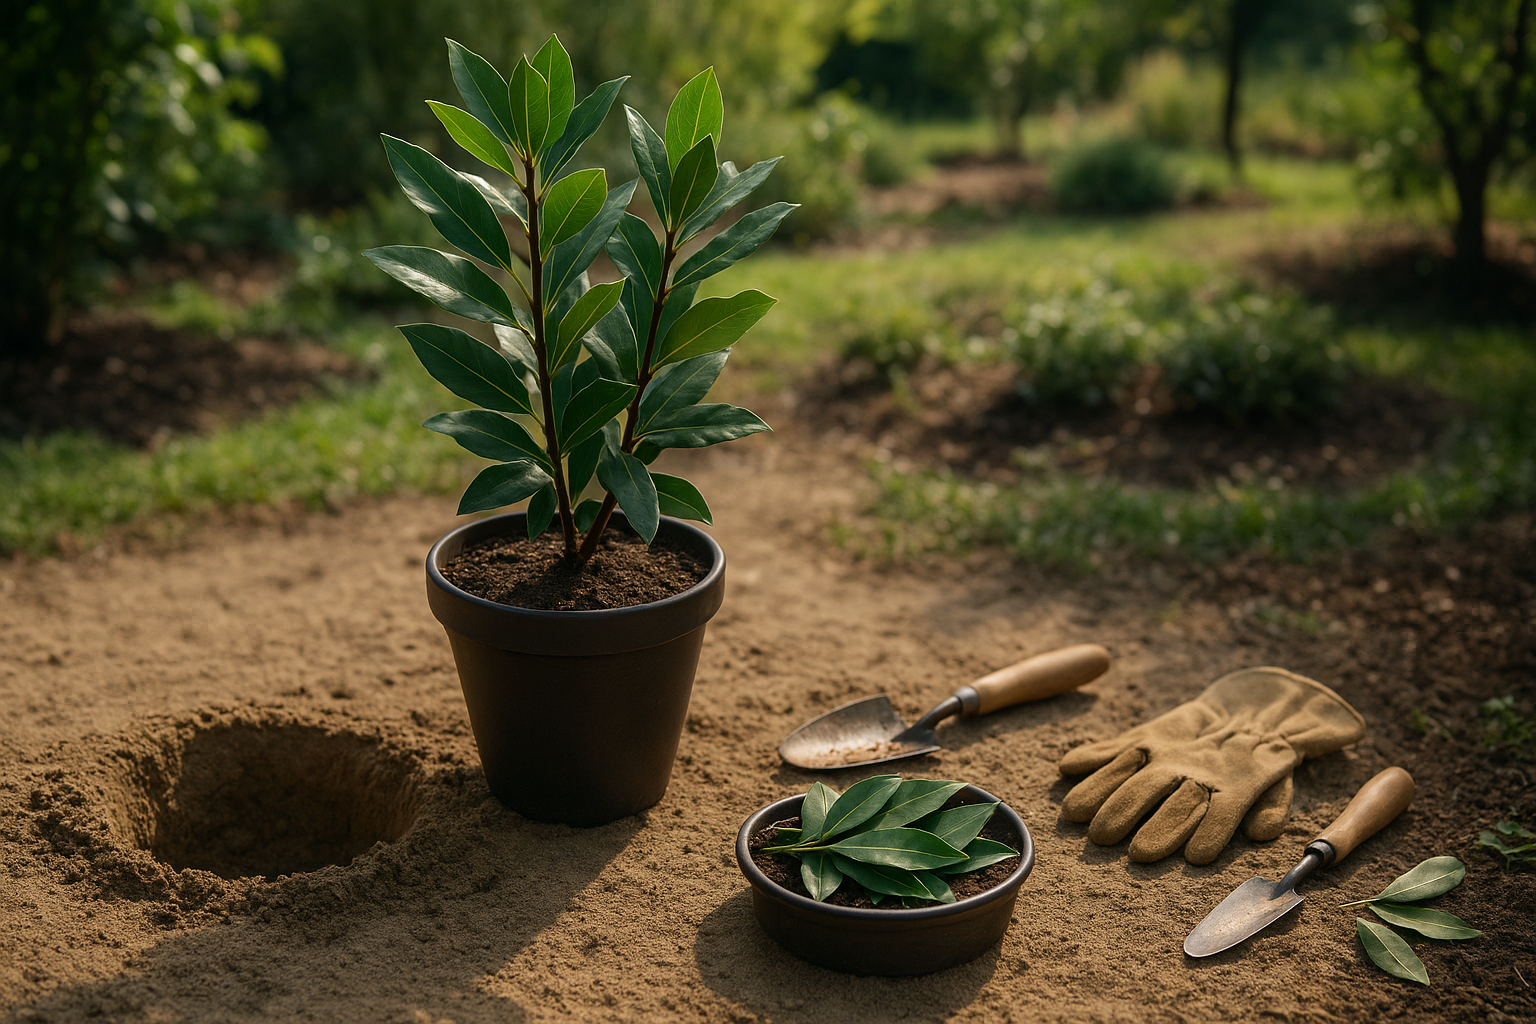
How to Prepare the Ground and the Bay Plant
For successful bay tree growth, start by choosing a spot with well-draining soil—loamy or sandy soil is ideal, as heavy clay can cause root rot. Bay trees thrive in full sun but tolerate light shade, so aim for a place that gets at least six hours of sunlight daily. Good airflow is also helpful, so space your trees or container plants about four to five feet apart.
Before planting, loosen the soil to a depth of 12 inches, remove weeds, and mix in compost or well-rotted manure for extra nutrients. If drainage is poor, consider raising the bed or adding grit to the planting hole.
When preparing your bay plant, water it well a few hours before transplanting—this helps reduce stress. Gently tip the plant from its pot and loosen any circling roots by teasing them out with your fingers. This encourages the roots to grow outward into the new soil.
Whether planting in the ground or a large pot, set the root ball at the same depth as it was in the nursery pot, and backfill with amended soil, pressing lightly to remove air pockets. Water thoroughly once planted, and add a mulch layer to conserve moisture and suppress weeds.
These careful steps set your bay tree up for healthy, long-term growth.
Step-by-Step Guide to Transplanting a Bay Tree
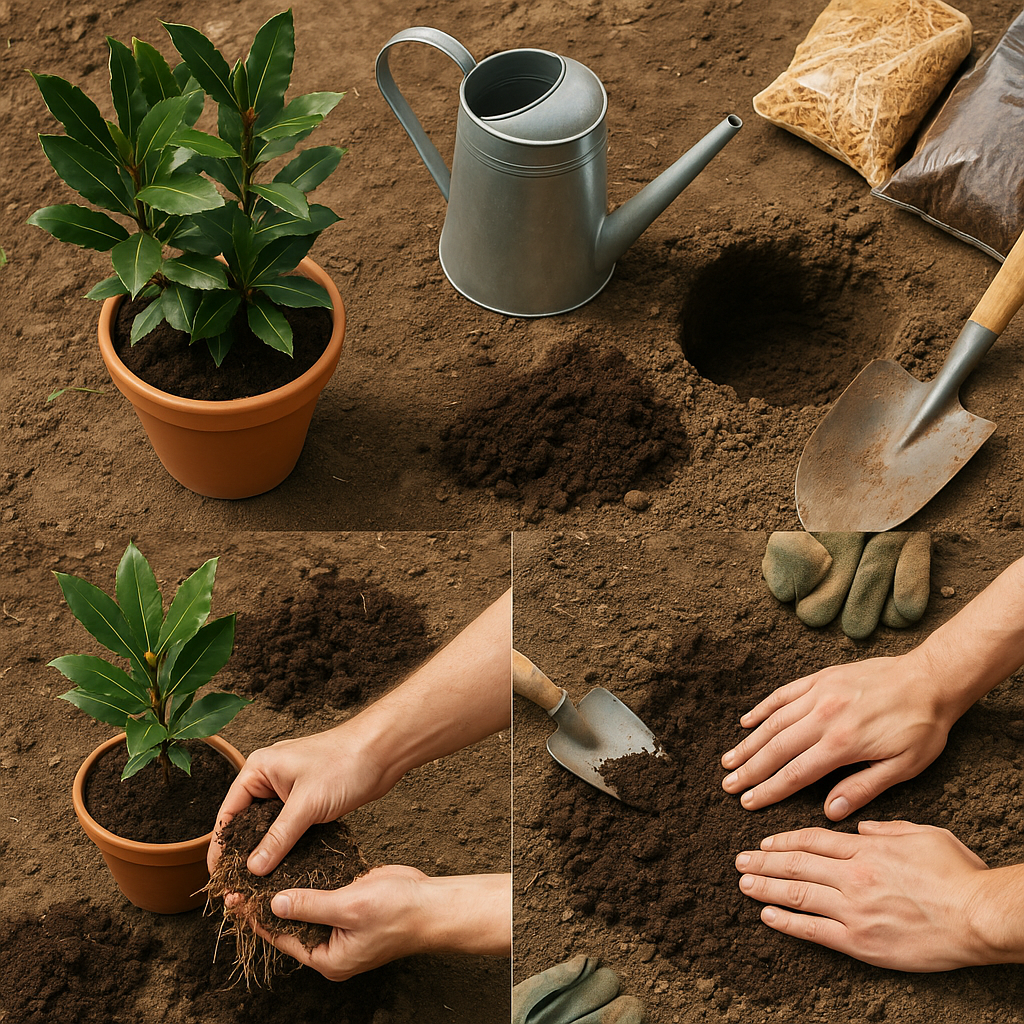
Transplanting a bay tree from a pot into the ground is straightforward if you follow a few careful steps. First, choose a well-drained spot with plenty of sunlight, as bay trees thrive in full sun and don’t like soggy roots.
Water your potted bay thoroughly a day before the move—this helps ease it out and keeps the root ball intact. When you’re ready to transplant, gently tip the pot on its side and tap the sides or run a blunt knife around the inside rim to loosen the root ball. If the roots are circling the edge, tease them apart gently with your fingers to encourage outward growth.
Dig a hole twice as wide and the same depth as the pot, so the root ball will sit at the same level it did in the container—too deep and the stem can rot; too high and the roots may dry out. Carefully set the bay tree in the hole, making sure the top of the root ball is level with the soil surface.
Start backfilling with the original soil, firming gently to eliminate any air pockets but taking care not to compact it too much around the roots. Once planted, create a shallow watering basin around the base to direct water to the roots and give it a deep soak to help settle the soil.
In the first few weeks, keep the soil consistently moist but not waterlogged. Mulching around the base can help retain moisture and deter weeds. Avoid heavy fertilizing straight away; your bay needs time to adjust, so let it settle in before feeding. Keep an eye out for any signs of transplant shock, such as drooping leaves, and address them with extra water if needed.
With these steps, your bay tree should adapt happily to its new home.
Caring for Bay After Transplanting
After transplanting your bay tree, proper care is crucial to help it settle into its new home. During the first two weeks, water the tree thoroughly every two to three days to keep the soil consistently moist but not soggy. This helps the roots establish without drowning them.
As the plant adjusts, gradually reduce watering to once a week over the next few months, always checking that the top two inches of soil do not dry out completely. Watch for signs of transplant shock such as drooping leaves, yellowing, or leaf drop. If you notice any of these, increase watering frequency, provide shade during hot afternoons, and avoid fertilizing until the tree recovers.
To reduce stress and conserve moisture, apply a two-inch layer of organic mulch around the base, keeping it a few inches away from the trunk to prevent rot. Wait about four weeks after transplanting before applying a light, balanced fertilizer, as early feeding may burn sensitive new roots.
If your transplanted bay looks leggy or unbalanced, trim only damaged or crossing branches—major pruning should wait until the following growing season. For young or tall specimens, a simple stake can provide gentle support, especially in windy areas.
With these steps, your bay tree will be on track to flourish in its new spot.
Common Problems and Solutions
After transplanting, it’s normal for plants to experience some leaf drop, yellowing, or slow growth as they adjust to their new environment. These signs of transplant shock usually resolve within a couple of weeks if you keep the soil moist (but not waterlogged) and provide shade from harsh sun.
However, persistent wilting or no new growth might mean the roots are struggling. Gently check for signs of root rot or compacted soil.
Pests like aphids and spider mites can quickly target stressed plants, so regularly inspect leaves and rinse off any bugs with water or a mild soap spray. Watch for disease symptoms such as dark spots, powdery substances, or drooping stems. Removing any affected leaves can stop the spread and aid recovery.
Most problems resolve themselves with attentive watering and a little patience. But if your plant looks worse every day, droops irreversibly, or you spot aggressive pests, it’s time to intervene. Consider repotting, treating with natural remedies, or seeking expert advice.
Knowing the difference between normal stress and serious trouble will help your plant bounce back stronger and healthier.
Long-Term Bay Tree Care in the Ground
Caring for a bay tree planted in the ground means staying consistent with a few simple practices to keep it healthy year after year. Water deeply but less often, letting the soil partially dry between each soak—bay trees dislike soggy roots.
Feed in spring with a balanced, slow-release fertilizer to boost growth and leaf flavor; avoid over-fertilizing, as lush, tender leaves attract pests. Prune lightly each spring to maintain your preferred shape—whether you’re going for a neat lollipop or a full shrub—snipping out crossing branches and encouraging good airflow.
To harvest, pick mature leaves as needed; for the richest flavor, let them dry for a few days before cooking. Watch out for pests like scale insects and bay sucker—remove visible pests by hand or spray with horticultural soap, and encourage birds or ladybugs to visit your garden for natural control.
Bay trees are tough, but in areas with harsh winters, mound mulch around the base and wrap young or tender trees with horticultural fleece during cold snaps. By giving your bay tree a little regular attention, you’ll enjoy aromatic leaves for cooking and an attractive evergreen addition to your landscape.
Conclusion
Transplanting a bay tree doesn’t have to be daunting—just remember to choose a good spot with plenty of sunlight, gently handle the roots, and water well after replanting. With these steps, your bay tree can thrive and reward you with fragrant leaves for cooking and gorgeous greenery all year round. Enjoy watching your tree flourish and become a centerpiece in your garden!
If you have any questions or would like to share your own tips, feel free to leave a comment below—we’d love to hear from you.