Introduction
There’s nothing quite like clipping fresh sprigs of thyme from your own garden—its aromatic leaves elevate everything from roasted vegetables to homemade marinades, and its medicinal benefits have been prized for centuries. But what happens when you put in all the effort, yet your thyme isn’t growing? For many gardeners, seeing thyme wilt, yellow, or stubbornly refuse to flourish can be a real disappointment.
Maybe you’ve tried moving it to a sunnier spot, watered it more (or less), or changed the soil, yet the plant simply won’t take off. Don’t worry, you’re not alone! From improper watering habits and poor soil drainage to over-fertilizing or lack of sunlight, several common pitfalls can hold your thyme back. Sometimes, it’s as simple as using the wrong variety for your climate or missing subtle signs of pests.
In this article, we’ll break down the top reasons why your thyme isn’t growing as it should and offer clear, actionable steps you can take right away. Whether you’re a first-time herb gardener or looking to perfect your kitchen garden, you’ll find practical tips and real-world fixes to help your thyme thrive in any setting.
Understanding Thyme’s Growing Needs
Thyme is a resilient Mediterranean herb, but it thrives best when a few basic growing needs are met. Start with sunlight—thyme loves at least six hours of direct sun daily, so pick a bright spot in your garden or a sunny windowsill if you’re growing indoors.
Soil is another key factor: thyme prefers well-draining, slightly alkaline soil with plenty of grit or sand. Many gardeners make the mistake of using rich, moisture-retentive soil, but that often leads to root rot—this herb actually does better in lean, rocky soils.
Watering is another common pitfall; thyme’s drought resistance means it wants the soil to dry out between waterings. Overwatering can quickly kill the plant, so water only when the top inch of soil feels dry.
Climate-wise, thyme tolerates heat and even light frost, but won’t thrive in overly humid or consistently wet environments. Meeting these needs isn’t just about survival—healthy thyme produces more aromatic leaves and resists diseases.
Tips for Thriving Thyme
- If your thyme looks leggy or the leaves lose their pungency, it may need more sun or less water.
- Avoid mulching heavily around thyme roots, as excess moisture can spell trouble.
In short, treat thyme to conditions that mimic its native Mediterranean hills—lots of light, gritty soil, and the occasional dry spell—and you’ll be rewarded with robust, flavorful growth season after season.
Common Reasons Your Thyme Isn’t Growing
If your thyme plant seems to be struggling, there are a few common culprits worth checking before you give up on your green thumb.
Insufficient sunlight is a leading issue—thyme loves full sun, and if it’s kept in partial shade, you’ll notice limp stems, small pale leaves, and generally slow growth. If possible, move your plant to a south-facing window or a sunnier part of the garden.
Another big problem is soggy or poor-draining soil. Thyme hates wet feet; persistent moisture leads to yellowing leaves and mushy stems, a tell-tale sign of root rot. Try growing thyme in raised beds or adding gravel to pots to improve drainage.
Incorrect watering also causes trouble. Overwatering leads to similar symptoms as soggy soil, while underwatering will leave leaves brittle, brown, and dry at the tips. Make sure to only water thyme when the top inch of soil feels dry.
Lastly, low temperatures can slow your thyme’s progress—exposed to cold drafts or nighttime chills, your plant may stop growing altogether or produce purplish, stunted leaves. If you notice this, consider moving the plant indoors or shielding it with a garden cloche during cooler months.
Before you start making changes, take a few minutes to inspect your thyme and see which problem matches your symptoms. Diagnosing the exact issue not only saves time but makes it easier to get your thyme thriving again.
Choosing and Planting Thyme Properly

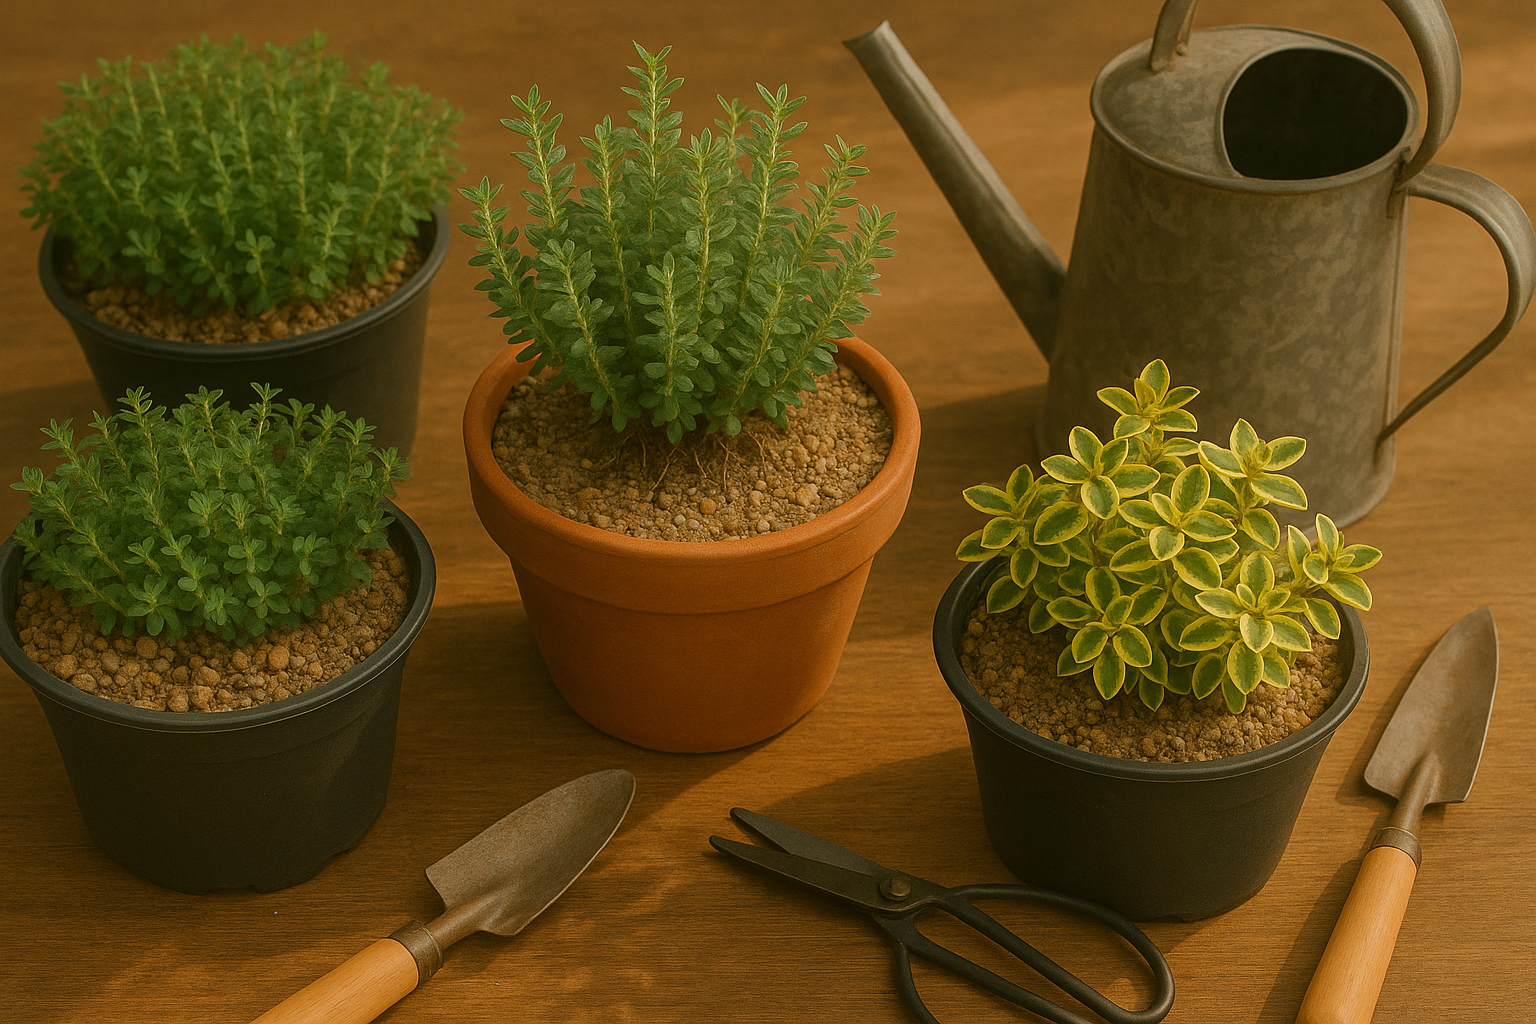
When starting a thyme garden, begin by choosing varieties that thrive in your climate and suit your cooking or landscaping needs. Creeping thyme works best as a fragrant groundcover, filling gaps between stepping stones and adding curb appeal—ideal for warmer climates. For culinary uses, French and English thyme are reliable classics, with English thyme tolerating colder winters better. Lemon thyme adds a citrusy kick both in the garden and the kitchen.
Purchase well-established seedlings from local nurseries when possible, as they’ll already be suited to your regional conditions. Healthy thyme starts with well-draining soil—amend heavy clay with sand or compost before planting. Space plants about 12 to 18 inches apart to promote air circulation and prevent mildew.
If you’re planting seeds, start them indoors about 8–10 weeks before the last frost, gently pressing them into moist but not soggy potting mix. Seedlings can take a few weeks to emerge, so be patient. Transplant seedlings outdoors after the risk of frost has passed, watering well until established.
For all types, avoid overwatering and never let their roots sit in soggy soil. A sunny spot ensures robust growth, so choose a location that gets at least six hours of sun a day. With a thoughtful approach to variety selection and planting, your thyme patch will thrive—offering fresh flavor and hardy foliage all season long.
Essential Thyme Care Tips
Caring for thyme is refreshingly simple, making it a go-to herb for both beginner and seasoned gardeners. Water your thyme sparingly; let the soil dry out between waterings, as thyme prefers slightly dry conditions and too much moisture can lead to root rot. A deep, thorough watering every 7–10 days is usually enough, and in rainy climates, you may need even less.
Fertilizer isn’t a must, but a light feeding with a balanced, organic fertilizer in early spring helps support new growth. Use mulch, like straw or gravel, to retain soil warmth and suppress weeds, but leave space around the stems to prevent rot.
Thyme thrives in full sun—choose a spot that gets at least six hours of direct sunlight daily. If you’re growing thyme in pots, position your container on a sunny patio or windowsill for optimal growth.
As seasons change, give thyme a gentle trim after flowering to keep it bushy and healthy, and snip off any dead stems. In colder regions, protect plants with a layer of mulch or move pots indoors to a bright, cool room before the first frost.
Even if the foliage dies back in winter, established thyme will often return strong in spring—just remove any winter-damaged, woody stems to encourage fresh growth. By following these care tips, you’ll have healthy, fragrant thyme at your fingertips year-round.
Preventing & Solving Common Problems
Growing thyme is generally easy, but gardeners sometimes face a few common issues that can stunt growth or damage the herbs. Pests like aphids and spider mites often cluster on stems or the undersides of leaves, causing yellowing or curling.
To manage these pests, gently spray your thyme with a strong stream of water to knock off insects, or use neem oil as an organic option. Chemical insecticidal soaps are also available for severe infestations.
Root rot is another common problem, usually caused by soil that stays too wet. Make sure your thyme is planted in well-draining soil and water only when the top inch of soil feels dry.
Powdery mildew, which appears as a white dust on leaves, thrives in crowded or humid conditions. Improve air circulation by spacing plants out and prune affected stems right away.
If your thyme is growing slowly or looking weak, check for overcrowding and provide more sunlight—thyme thrives with at least six hours of direct light. Don’t hesitate to remove severely infected plants to protect the rest.
Regular maintenance, including pruning dead or diseased foliage, keeps your thyme healthy and productive all season long.
When & How to Harvest Thyme For Best Results
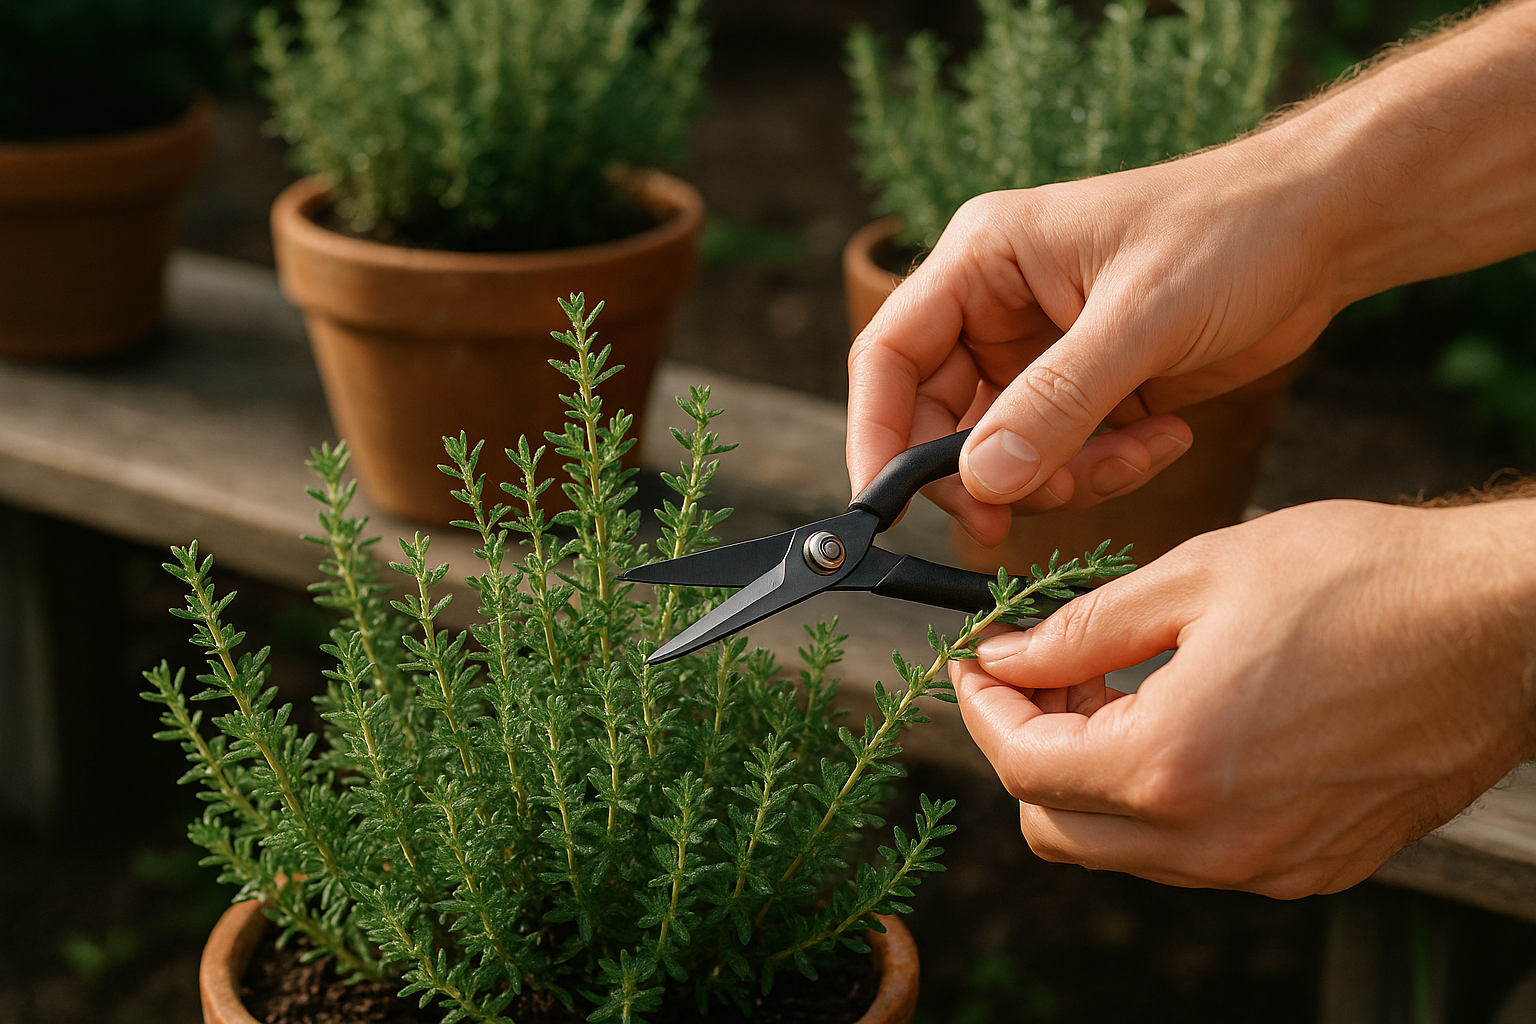
Harvest thyme in the morning, after the dew has dried but before the sun gets too hot—this is when the essential oils, and therefore the flavor, are at their peak. Use clean, sharp scissors or garden shears to snip stems just above a leaf node or set of leaves; this encourages the plant to branch out and regrow vigorously.
Never remove more than one-third of the plant at a time, as overharvesting can stress thyme and stunt its future growth. Regular trimming throughout the growing season not only provides you with fresh herbs but also keeps the plant bushy and healthy.
For the best flavor, harvest before thyme blooms, since the leaves are most aromatic before flowering. After cutting, rinse the stems gently in cool water and pat them dry.
To store fresh thyme, wrap the stems loosely in a damp paper towel inside a plastic bag and keep them in the fridge, where they’ll stay fresh for about a week. Alternatively, place the stems upright in a jar with a little water, changing the water every couple of days.
When ready to use, strip the leaves from the stems and add them to dishes like roasted vegetables, soups, or marinades for a burst of garden-fresh flavor.
Conclusion
Thriving thyme in your garden is absolutely possible with a little know-how and attention. Remember to diagnose potential issues by checking for signs like drooping leaves or yellowing, and always aim to meet thyme’s specific needs: well-draining soil, plenty of sunlight, and minimal watering.
If you run into trouble, try adjusting one thing at a time to see what works best. With patience and simple troubleshooting, your thyme should bounce back quickly.
Don’t hesitate to leave a comment or question below if you’re facing a unique challenge—every garden is different, and we’re here to help!