Introduction to Growing Chamomile Indoors
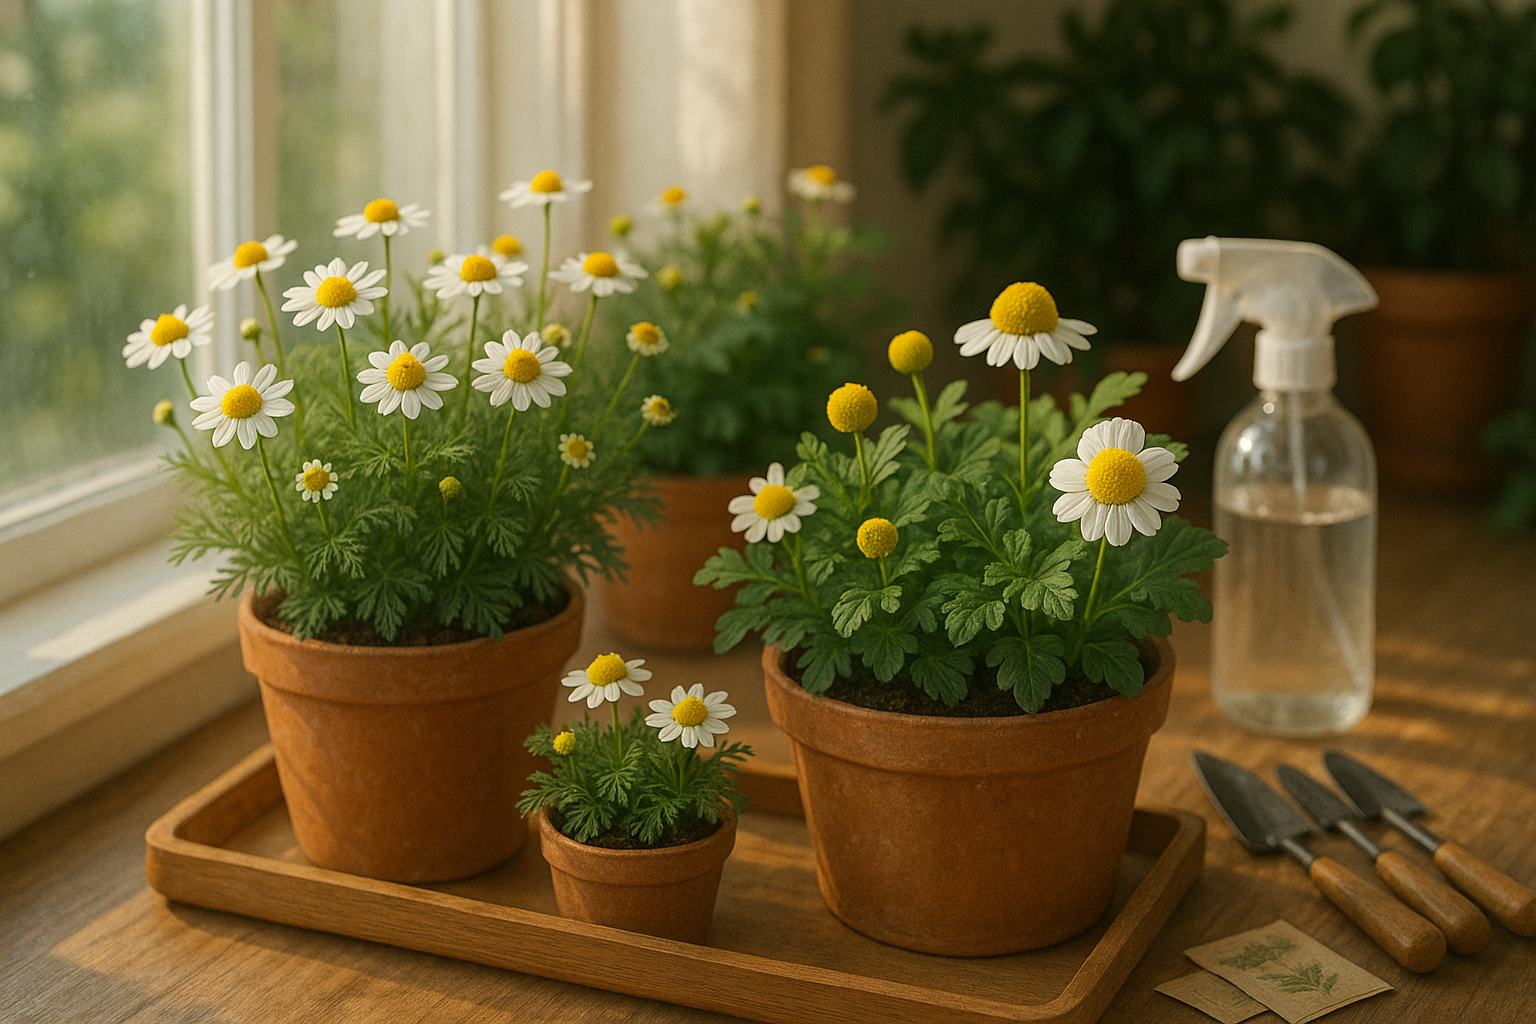
Starting chamomile indoors is a rewarding way to enjoy the calming aroma and health benefits of this beloved herb right at home. Known for its delicate, daisy-like flowers and gentle, apple-like scent, chamomile has long been cherished for its soothing properties.
Whether you’re brewing a comforting cup of herbal tea to relax after a long day, crafting homemade skincare remedies, or simply enjoying the soft beauty of its blooms on your windowsill, chamomile is a versatile addition to any indoor garden.
One of the biggest advantages of starting chamomile seeds indoors is the ability to control temperature and humidity, providing your plants with a stable environment to thrive from the very beginning. This method also extends your growing season, ensuring vigorous seedlings before exposing them to unpredictable outdoor elements—or keeping them inside for a year-round supply. Plus, healthy indoor-grown starts are less susceptible to pests and diseases.
In this guide, you’ll find practical tips for every step of the process, from choosing high-quality seeds to creating the ideal potting mix, setting up a successful germination tray, and caring for young seedlings as they grow. With just a little planning, you’ll be harvesting fresh chamomile in no time, ready to enjoy in your favorite ways.
Selecting the Right Chamomile Seeds
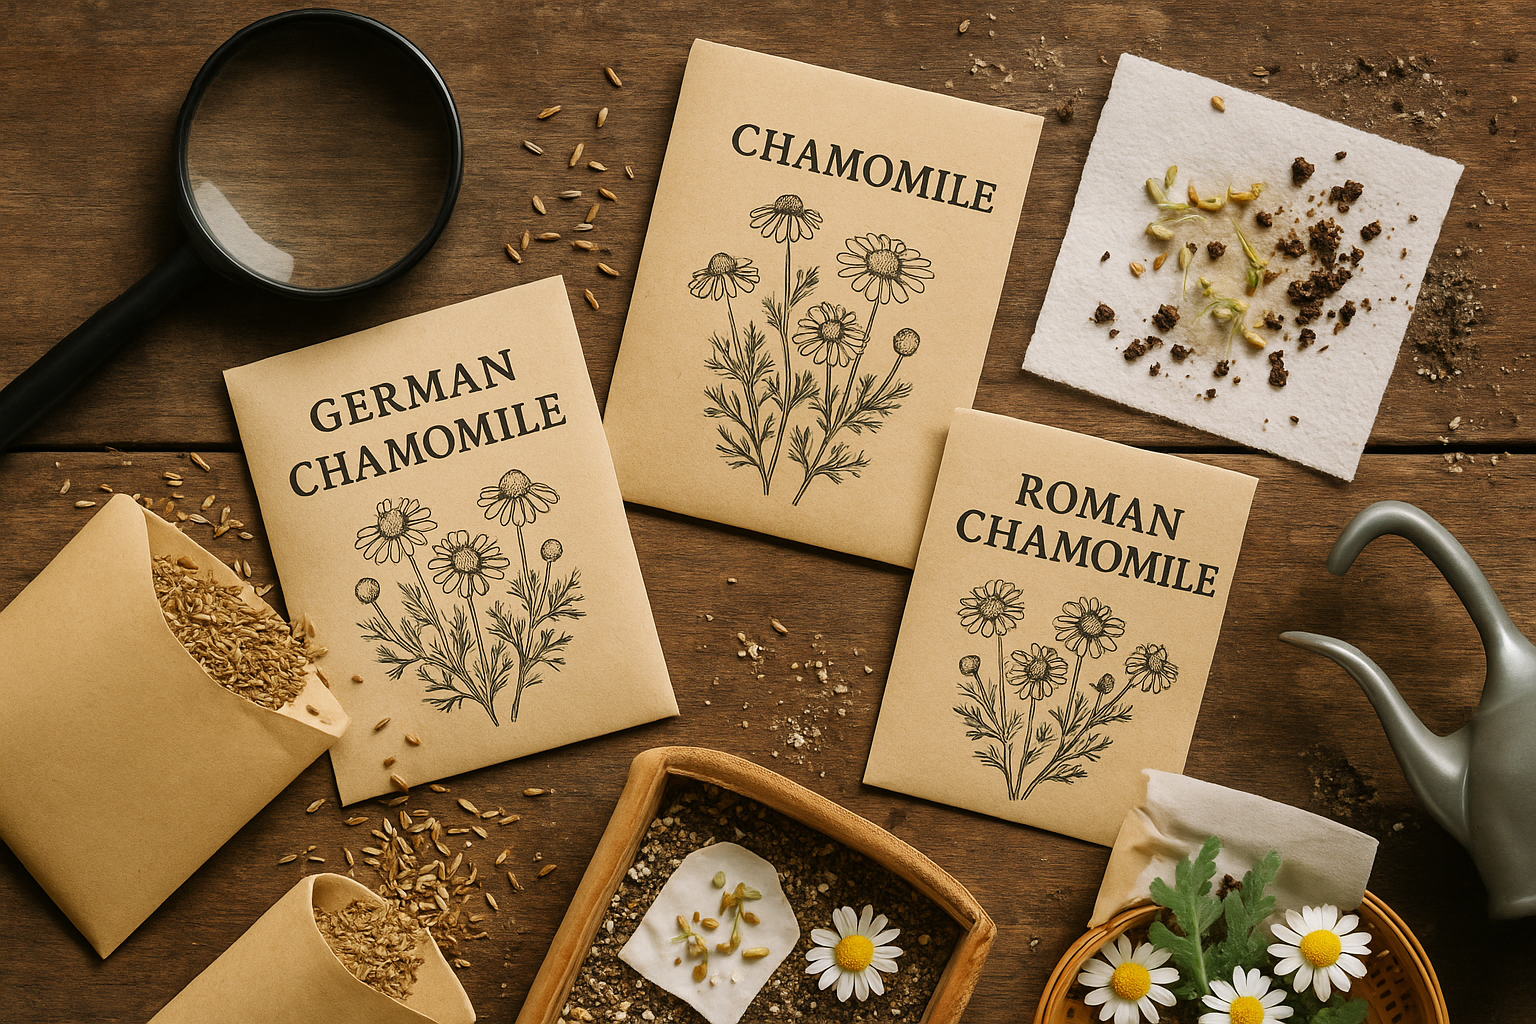
Choosing the right chamomile seeds is a crucial first step for a successful herb garden. You’ll likely encounter two main varieties: German chamomile (Matricaria chamomilla) and Roman chamomile (Chamaemelum nobile).
German chamomile is an annual that grows up to two feet tall and is known for its prolific, daisy-like blooms—perfect for tea. It’s generally the better choice for seed starting because it’s easy to grow and produces abundant blossoms within a single season, making it ideal for home gardeners seeking quick, rewarding results.
Roman chamomile, on the other hand, is a hardy perennial with a lower, mat-forming growth habit. While lovely as ground cover or an edging plant, it can be trickier to start from seed and grows best from plugs or divisions.
When shopping, look for organic chamomile seeds labeled as non-GMO and high-germination. Reputable sources include botanical gardens, specialty seed companies, or online nurseries with positive reviews. Check the packaging for a recent “packed for” date, as chamomile seeds lose viability quickly—older seeds may yield disappointing results.
Before sowing, perform a quick freshness test by placing a few seeds on a wet paper towel for a week; viable seeds should start to sprout. No special treatment is required, but gentle surface sowing (since chamomile seeds need light to germinate) will give the best start.
Investing a little attention at this stage ensures a thriving, fragrant patch of chamomile you can enjoy all season long.
Preparing for Sowing
Getting ready to sow seeds starts with gathering a few essential supplies: seed trays (or small pots), a quality seed-starting mix, a spray bottle for gentle watering, and clear plastic lids or domes to help hold in humidity. The seed-starting mix is especially important—it should be light, well-draining, and sterile to prevent fungal issues and give seeds the best start.
You can buy commercial seed mixes that meet these criteria or make your own by blending materials like fine peat moss or coco coir, perlite, and sometimes a little vermiculite. Avoid using regular garden soil, which can be too heavy and may contain pathogens.
To set up, fill your trays or pots loosely with the mix—don’t pack it down, as seeds need oxygen and soft surroundings to sprout. Before sowing, gently moisten the seed-starting mix using a spray bottle or by setting the trays in a shallow pan of water until the top is evenly damp. This helps seeds stick in place and ensures even moisture throughout.
Place seeds according to the packet directions, lightly press them into the surface, and cover only as recommended—some seeds need light to germinate. Finally, cover the trays with a clear lid or dome to keep humidity high until you see the first sprouts. This simple setup makes a big difference, helping seeds germinate uniformly and protecting delicate seedlings as they start to grow.
Sowing Chamomile Seeds Indoors
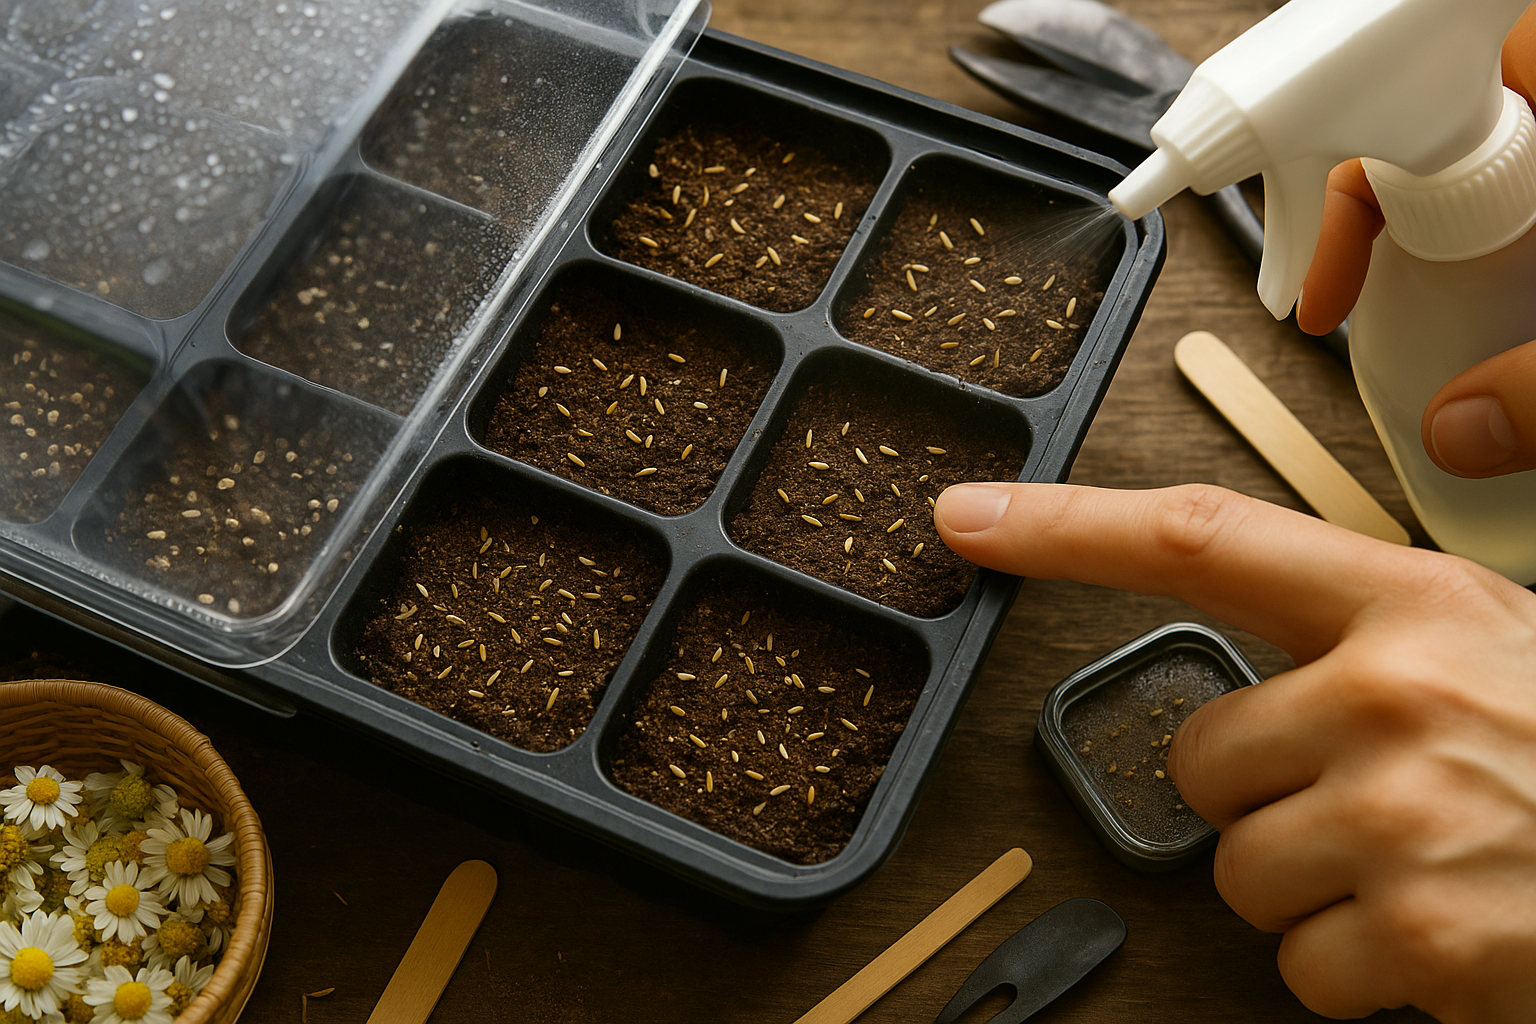
Starting chamomile from seed indoors is a rewarding way to give your garden a strong, early start. Begin sowing chamomile seeds about 6 to 8 weeks before your region’s expected last frost date. Chamomile seeds need light to germinate, so use a quality seed-starting mix and gently sprinkle the seeds on the moist surface, spacing them about an inch apart to allow airflow and reduce the risk of disease.
Instead of burying the seeds, lightly press them into the surface with a fingertip or a piece of cardboard, just enough to ensure good contact. Mist the soil gently with a spray bottle, avoiding overwatering, and cover your seed tray with a clear plastic humidity dome or plastic wrap to help retain moisture.
Keep the trays in a warm spot with ideal temperatures between 65-70°F (18-21°C) for germination. Good lighting is essential—if you don’t have a sunny, south-facing windowsill, place the tray under fluorescent grow lights set a few inches above the seeds. The seeds should not dry out; mist daily if needed, but also make sure the setup doesn’t get soggy or moldy.
Chamomile typically sprouts within 7 to 14 days, and you’ll notice tiny, delicate seedlings emerging. Once they appear, remove the cover to prevent damping-off disease and provide plenty of light to avoid legginess. Keep the room ventilated but free from drafts.
As the seedlings develop their first set of true leaves, thin them so there is one plant every two inches, allowing ample space for growth. With this careful indoor start, your chamomile plants will be sturdy and ready to transplant into the garden once the danger of frost has passed and they have at least two sets of true leaves.
Caring for Seedlings
Proper care during the seedling stage sets the foundation for healthy, vigorous plants, so paying attention to watering, light, and transplant timing is essential.
Water seedlings gently from the base or use a spray bottle to avoid disturbing delicate stems and roots. Seed trays should be moist but never soggy, as excess water can encourage fungal diseases like damping-off. Use a humidity dome or plastic cover to keep moisture consistent in the early days, but be sure to remove or vent the cover daily once seeds sprout to improve airflow and prevent fungal buildup.
Circulating air from a small fan on a low setting can further reduce disease risk by keeping leaves dry. Adequate light is just as critical; without it, seedlings will stretch and grow spindly (“leggy”), leaving them weak and vulnerable outdoors. Use bright grow lights placed 2–4 inches above the seedlings, adjusting the distance as they grow, and rotate trays every few days so plants grow evenly and don’t lean toward the light source.
Seedlings are ready to transplant when they have at least two sets of “true leaves” on sturdy stems, and you can see white, healthy roots poking out if you gently lift them from their cells. Before moving them outside or into bigger containers, “harden off” your plants by gradually exposing them to outdoor conditions:
- Start with a couple of hours of shade or indirect light on mild days.
- Increase sun exposure and wind each day over a week.
When transplanting, dig a hole deep enough for the roots, water thoroughly, and avoid planting during the heat of midday. Handling these early steps with care ensures your seedlings have the best possible start, leading to stronger, more productive plants in the garden.
Troubleshooting Common Seed-Starting Problems
Starting seeds indoors can be rewarding, but it often comes with challenges like poor germination, damping off, mold growth, and leggy seedlings.
If your seeds are struggling to sprout, check their age—older seeds have lower viability—and make sure you’re planting at the right depth; most seeds need just a light covering of soil.
Damping off, a common fungal issue causing seedlings to collapse, is best prevented by using sterile containers and fresh potting mix. Avoid overwatering, as soggy soil creates ideal conditions for both mold and fungus. Instead, keep the soil just moist and provide good airflow around your trays by using a small fan.
If you spot fuzzy mold on the surface, remove it with a spoon and let the soil dry out slightly before watering again.
Leggy seedlings, which grow tall and spindly, signal the need for more light. Try placing your trays under grow lights about two inches above the plants or move them to the brightest window available.
With a bit of attention to water, light, and cleanliness, most seed-starting woes can be avoided, setting your garden up for strong, healthy transplants in the spring.
Harvesting and Using Homegrown Chamomile
Harvesting chamomile is simple and rewarding, but timing is key—you’ll want to pick the flower heads when the petals are freshly open and the centers are a vibrant yellow, usually during mid to late morning on a dry day. Snip just the flower heads, as these hold the most flavor and beneficial oils for tea or remedies.
After harvesting, lay the blossoms in a single layer on a clean screen or paper towel in a cool, airy place out of direct sunlight; flip occasionally for even drying. The chamomile heads are ready for storage when they feel crisp to the touch and crumble easily. Store them in a glass jar or airtight container away from moisture and light to keep their aroma and potency for up to a year.
For use, simply steep a teaspoon of dried chamomile in hot water for a calming cup of tea, or blend it into homemade sleep sachets, infused oils, or gentle skin soaks. You can even add the flowers to bath bombs or create a soothing facial steam—chamomile’s gentle, relaxing properties work wonders beyond the teacup, bringing a touch of natural calm to your daily routine.