Introduction to Growing Sage in Raised Beds
Growing sage in raised beds is a smart way to enjoy this versatile herb, known for its savory flavor in dishes and its long history of medicinal use. Whether you love adding fresh sage leaves to roasted meats or benefit from its calming herbal teas, growing your own sage puts flavor and wellness within easy reach.
Raised beds make cultivating sage even easier by offering better drainage to prevent root rot, increased soil warmth that speeds up plant growth, and effortless maintenance—say goodbye to backaches and hard-to-reach weeds.
In this guide, you’ll discover how to choose the best raised bed location, what soil mix will help sage thrive, and simple watering and care routines. We’ll also share tips to prevent common problems, teach you how to propagate new plants, and guide you through harvesting sage leaves for the kitchen or your home remedy stash.
If you’ve struggled with herbs before or just want a tidy, manageable, and highly productive garden, this article will walk you through every step of growing sage in raised beds, ensuring you enjoy a healthy, fragrant harvest all season long.
Choosing the Right Sage Variety & Bed Location
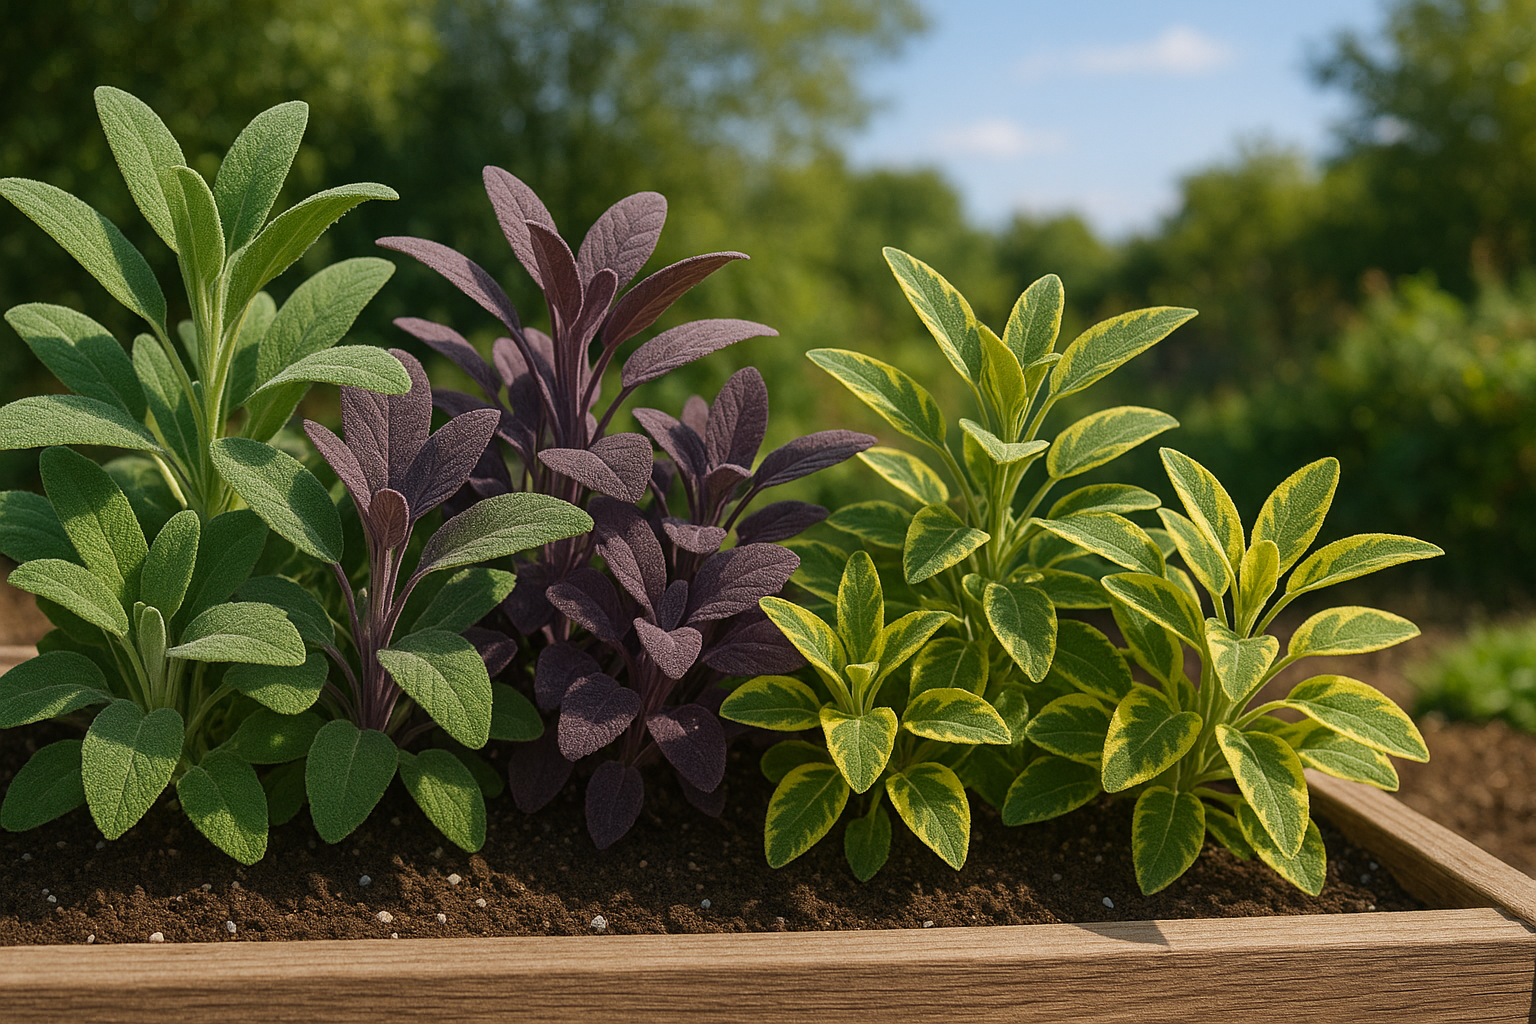
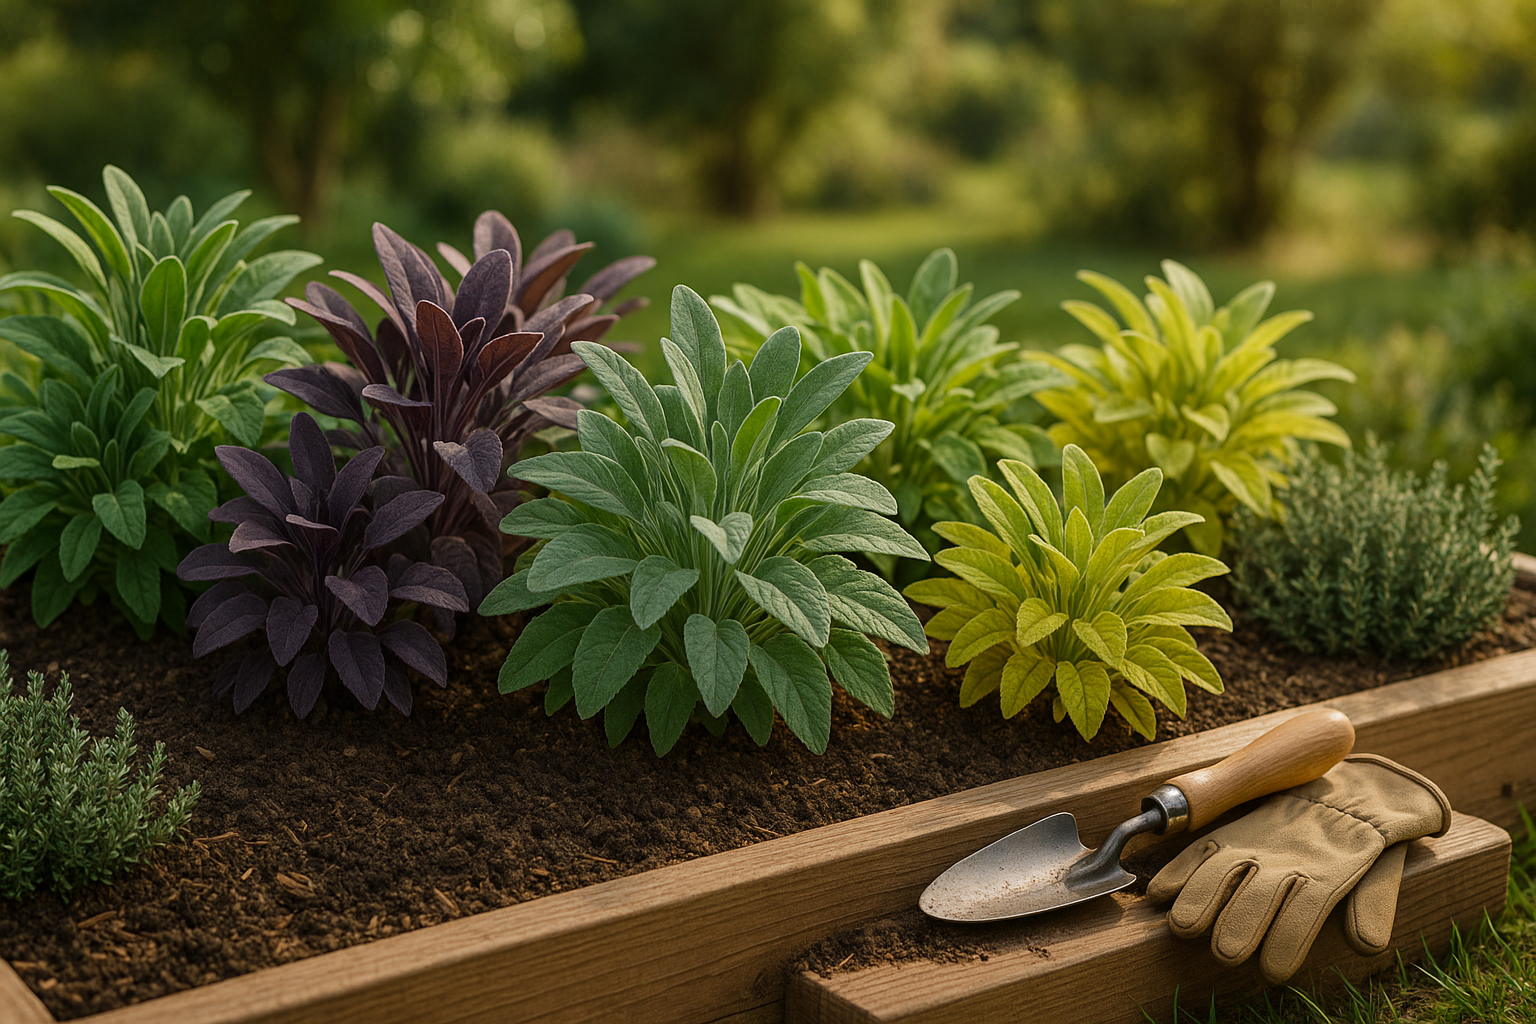
When planning your raised bed sage garden, start by choosing the right varieties. Garden sage (Salvia officinalis) is a popular, hardy classic with velvety green-gray leaves that’s perfect for cooking. For a splash of color, try purple sage, which adds visual interest while offering the same savory flavor. Golden sage features variegated leaves for decorative appeal and works just as well in recipes and teas. Pineapple sage, though less cold-hardy, has sweet, fruity notes and attracts pollinators—a fun touch for family gardens.
No matter which type you choose, sage needs a minimum of six hours of direct sunlight daily; a south- or west-facing location is ideal. Sunlight helps produce dense, flavorful leaves, so skip shady or tree-lined spots.
When it comes to the raised bed itself, aim for a depth of 8–12 inches to give sage’s roots space to thrive and ensure good drainage. Mix high-quality garden soil with compost to create a loose, well-aerated blend—sage hates soggy conditions. Some growers add a little perlite or coarse sand for even better drainage, especially if your climate gets lots of rain.
Organize sage at the edge of the bed so it doesn’t get overshadowed by taller companions and allows for easy harvesting. With the right variety, plenty of sun, and well-prepped soil, your sage will produce lush, aromatic growth all season long.
Preparing the Raised Bed & Sowing Sage

Prepping your raised bed well is key for thriving sage. Start by clearing out any weeds or old plant debris, then loosen the soil to a depth of about 12 inches. Sage loves good drainage, so mix in plenty of compost or well-rotted manure to boost fertility and moisture retention without making the soil soggy. If your soil is heavy clay, consider adding a bit of sand or perlite to lighten it up.
Sage prefers a slightly alkaline to neutral pH, ideally between 6.5 and 7.0. A cheap soil test kit can help you adjust if needed, and a sprinkling of garden lime will nudge the pH upward if your soil’s too acidic.
Starting Sage
When it comes to starting sage, you have a few options:
- Direct sowing: Sow seeds about 1/4 inch deep and space them 18–24 inches apart. Thin seedlings later so each plant has plenty of airflow.
- Indoor seed starting: Start seeds indoors 6–8 weeks before your last frost, then transplant hardened-off seedlings outside once the weather warms. Space transplants 18–24 inches apart, just like with seeds.
- Cuttings: Sage also grows beautifully from cuttings. Snip a 4–6 inch stem from a healthy plant, remove the lower leaves, dip it in rooting hormone, and poke it into moist potting mix until roots form. Once established, plant these young sages in the bed at the same spacing as above.
Regardless of the method, sage doesn’t need to be deeply buried. Seeds and transplants should be set so the top of the root ball is level with the surrounding soil.
With a bit of initial care, sage is a low-maintenance, aromatic addition to any raised bed—great for cooks and pollinators alike.
Companion Planting with Sage
Companion planting is the practice of growing different plant species close together to boost growth, deter pests, and even enhance flavors. Sage is a powerful companion—its strong aroma repels harmful insects like cabbage moths and carrot flies, naturally protecting nearby crops without the use of chemicals.
Some of the best companions for sage include:
- Rosemary, which thrives in similar dry, sunny conditions
- Carrots, which benefit from sage’s pest-deterring properties
- Strawberries, as sage can improve their flavor while keeping pests at bay
However, not every plant pairs well with sage. Avoid planting sage near cucumbers and onions, since these can compete for nutrients or disrupt each other’s growth.
When planting sage in a raised bed, place it towards the center or edge with enough space for airflow, ensuring it doesn’t overshadow low-growing companions like strawberries or carrots. Group compatible herbs like rosemary and thyme nearby for low-maintenance care, while keeping incompatible crops—such as cucumbers—separated by several feet or a physical barrier.
Rotating your plants each season or adding compost between plantings can also help maintain a balanced and healthy growing environment. By mindfully arranging your raised beds, you’ll maximize the natural benefits of companion planting and create a more resilient, productive garden.
Caring for Sage Throughout the Season
Caring for sage in your raised bed is all about consistency and paying attention to its needs throughout the season. Start with watering: sage thrives with moderate moisture, so give it a deep soak when the top inch of soil feels dry—generally about once a week. Avoid wetting the leaves to discourage mildew. Raised beds tend to dry out faster, so check the soil more often during heat waves.
Mulching is your secret weapon—apply a 1–2 inch layer of straw, shredded bark, or leaf mulch around your sage after the soil warms up in spring. This helps keep roots cool, conserves moisture, and suppresses weeds.
Sage isn’t a heavy feeder; a light dressing of compost or an organic slow-release fertilizer in early spring is enough. Too much fertilizer will reduce the potency of its flavorful oils.
Pruning is key to a bushier, healthier plant. In late spring, snip back the top third of the plant to promote branching, and regularly remove spent flower stalks.
For harvesting, simply pinch or cut sprigs as needed, always leaving at least two-thirds of the plant intact to keep it vigorous.
Common issues like powdery mildew are more prevalent in the confined, humid conditions of raised beds, so space plants for good airflow and avoid overcrowding. Watch for signs of root rot in poorly drained soil, and ensure your bed has excellent drainage before planting.
By keeping an eye out for these issues and practicing regular, gentle maintenance, your sage will reward you with lush, aromatic growth all season long.
Harvesting and Using Sage
The best time to harvest sage is in the morning, once the dew has dried but before the sun gets too hot. This is when the leaves contain the most essential oils and flavor. Wait until your plant is well-established—usually in its second year—before doing any major harvesting, but feel free to snip a few leaves as needed earlier.
Use sharp scissors or pruning shears to cut stems just above a pair of leaves, which encourages bushier regrowth. Avoid cutting more than one-third of the plant at a time to keep it healthy.
Fresh sage adds earthy depth to roasted meats, vegetables, and classic dishes like stuffing. Simply chop a few leaves to:
- Sprinkle over buttered potatoes
- Stir into soups
- Mix into breads and butters
If you have an abundance, dry the sage by tying small bunches together and hanging them upside down in a dark, airy space, or use a dehydrator for convenience. Once the leaves are crisp, store them whole in airtight containers away from light—crush only when ready to use for maximum flavor.
Dried sage is potent in rubs, marinades, and sauces. A pinch can instantly boost homemade broths or tea. By harvesting thoughtfully and preserving your sage well, you’ll have a delicious homegrown herb to brighten up meals year-round.
Troubleshooting Raised Bed Sage Issues
Growing sage in raised beds is usually straightforward, but a few common issues can throw your plants off track. Overwatering is a top culprit—sage prefers soil that dries out slightly between waterings. If your sage leaves look yellow, limp, or mushy, check the moisture level with your finger before watering again.
Poor drainage is another common problem. Raised beds should use well-draining soil—if water pools after rain, try mixing in sand or pea gravel, elevating the bed, or drilling extra drainage holes if you’re using containers.
Sage also loves sunlight—at least 6 hours a day—so leggy stems or pale leaves signal your plants might need more sun. Move pots to a sunnier spot or trim back overhanging plants that create too much shade.
For struggling sage, trim away any dead or diseased leaves, and consider giving the soil a nutrient boost with compost or an organic fertilizer. If a plant is mostly brown, floppy, or brittle, don’t be afraid to pull it out; healthy neighboring plants will have space to thrive, and you can replant with a fresh, healthy start.
Remember, even experienced growers face hiccups. Early detection and quick action make a big difference. Monitor your raised bed’s moisture and sun exposure, and don’t hesitate to experiment—gardening is all about learning as you grow, and your sage will be happier for it.