Introduction
Marjoram is prized by home cooks and herbalists alike, thriving as a flavorful addition to countless dishes and valued for its traditional medicinal uses. Whether you’re a seasoned gardener or just starting to fill your windowsill with greenery, it’s no surprise that marjoram has earned a spot among the most popular herbs to grow in backyard beds and kitchen pots.
However, marjoram growing mistakes can catch even the most enthusiastic plant lovers off guard—leading to disappointing results like sparse harvests or unhealthy plants. Recognizing and avoiding these common pitfalls is essential if you want this fragrant herb to flourish indoors or outdoors.
Maybe you’re tempted to water your marjoram every day, or perhaps you’ve chosen rich garden soil without knowing the plant’s true needs. By understanding typical errors—from overwatering and poor drainage to insufficient sunlight or overcrowding—you’ll set yourself up for success.
In this post, we’ll share practical tips with real examples to help you troubleshoot and prevent common marjoram growing mistakes, so you can enjoy a thriving, aromatic crop all season long.
Choosing the Wrong Location
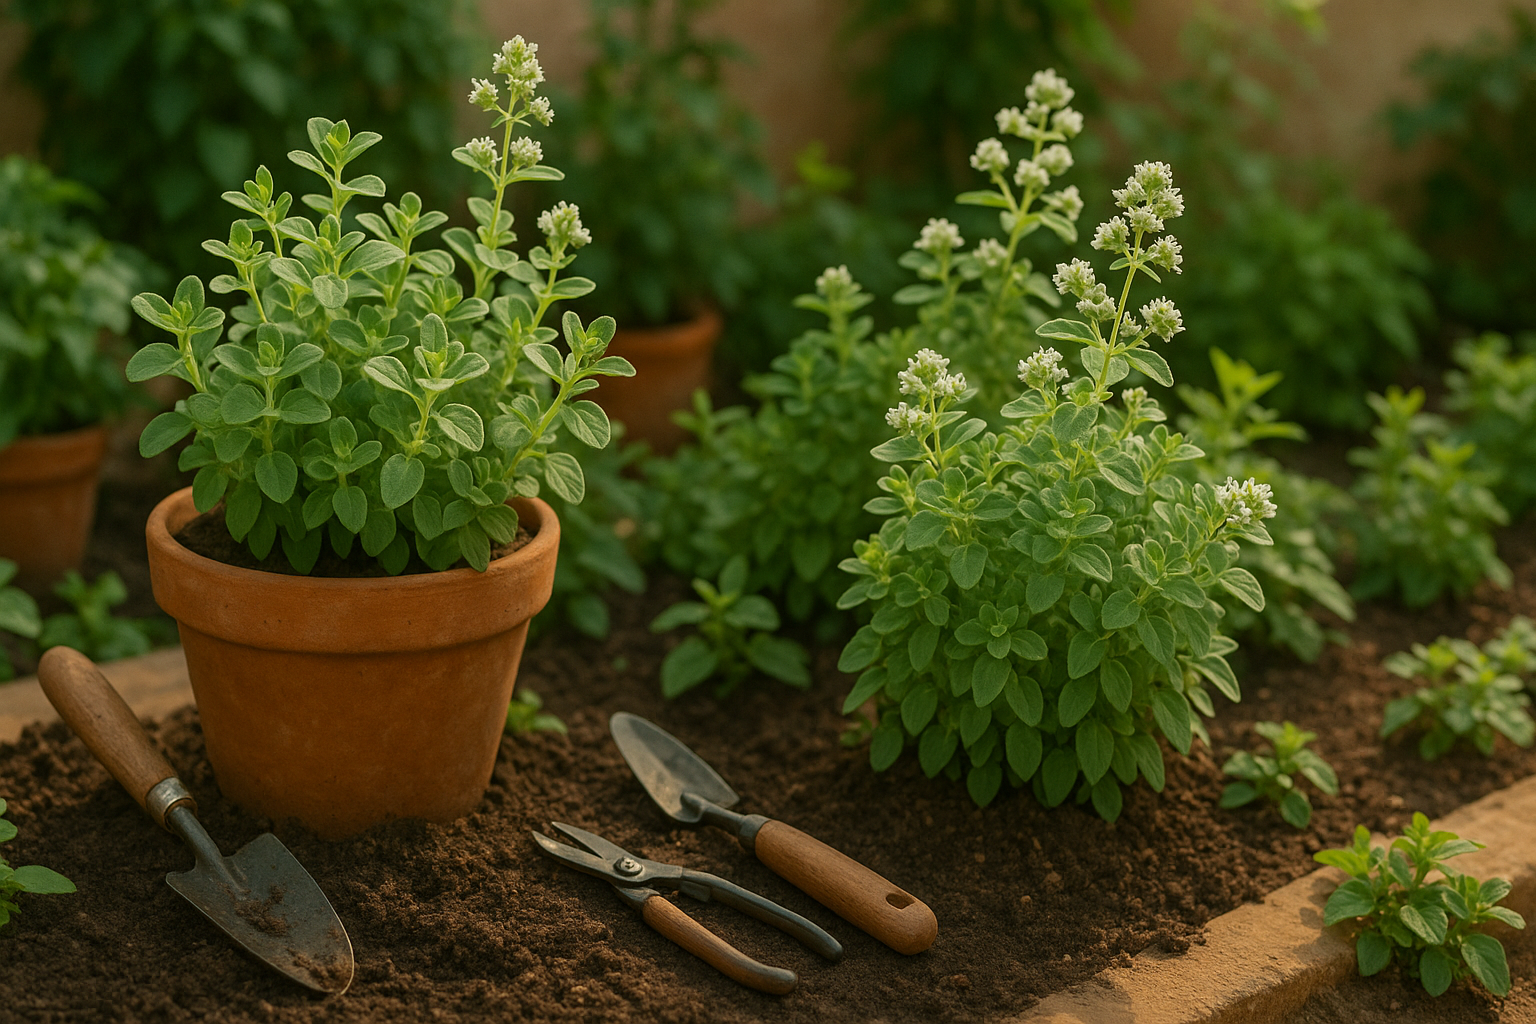
One of the most common marjoram growing mistakes is selecting the wrong location for your plants. Marjoram is a sun-loving herb that thrives with at least six hours of direct sunlight daily and prefers warm, sheltered spots. Planting marjoram in too much shade can result in leggy growth, fewer leaves, and a weaker flavor. Similarly, placing marjoram in an area exposed to harsh, drying winds can cause the plants to dry out quickly and struggle to thrive, as they prefer some protection and steady warmth.
Avoid planting marjoram in low-lying areas where cold air and frost can settle, especially early or late in the growing season. For the best chance of success, choose a south-facing garden bed or a spot on your balcony or patio that receives plenty of sunlight and some shelter from strong winds.
If ideal garden space is limited, growing marjoram in containers is a smart solution. This lets you move the plant throughout the day or season to catch the best sun and protect it from harsh weather. Even indoors, a bright, sunny windowsill can provide enough light if you don’t have outdoor space. By paying close attention to marjoram’s light and temperature needs—and avoiding the common error of a poorly chosen spot—you give your plant the best foundation for healthy, flavorful growth.
Overwatering and Poor Drainage
Marjoram thrives in well-drained, slightly dry soil and struggles when its roots sit in moisture for too long—a common mistake gardeners make, thinking more water means healthier herbs. Overwatering is a top cause of marjoram problems since its Mediterranean origins mean it’s adapted to drier conditions. If you notice yellowing leaves, wilting, or a persistent musty smell, your marjoram may be suffering from root rot, a frequent result of waterlogged soil.
When this happens, roots become mushy and the plant struggles to absorb nutrients, leading to rapid decline. To avoid these marjoram growing mistakes, always use a well-draining soil mix. A blend of standard potting soil with added sand or perlite works well, mimicking the dry, rocky environments marjoram prefers in the wild.
If you’re growing marjoram in containers, make sure pots have several drainage holes at the bottom. After watering, excess moisture should drain quickly; if water lingers in the tray, empty it promptly. Consider lifting the pot after watering—if it feels unusually heavy or takes a long time to dry out, it’s a sign you may be overwatering.
For in-ground plantings, improve drainage by amending heavy clay soils with compost and grit. Always let the soil surface dry out between waterings, and in rainy climates, shelter your plants or use raised beds to help prevent rot. These simple tweaks can make all the difference in avoiding water-related marjoram growing mistakes and keeping your herb healthy and productive.
Neglecting Soil Quality
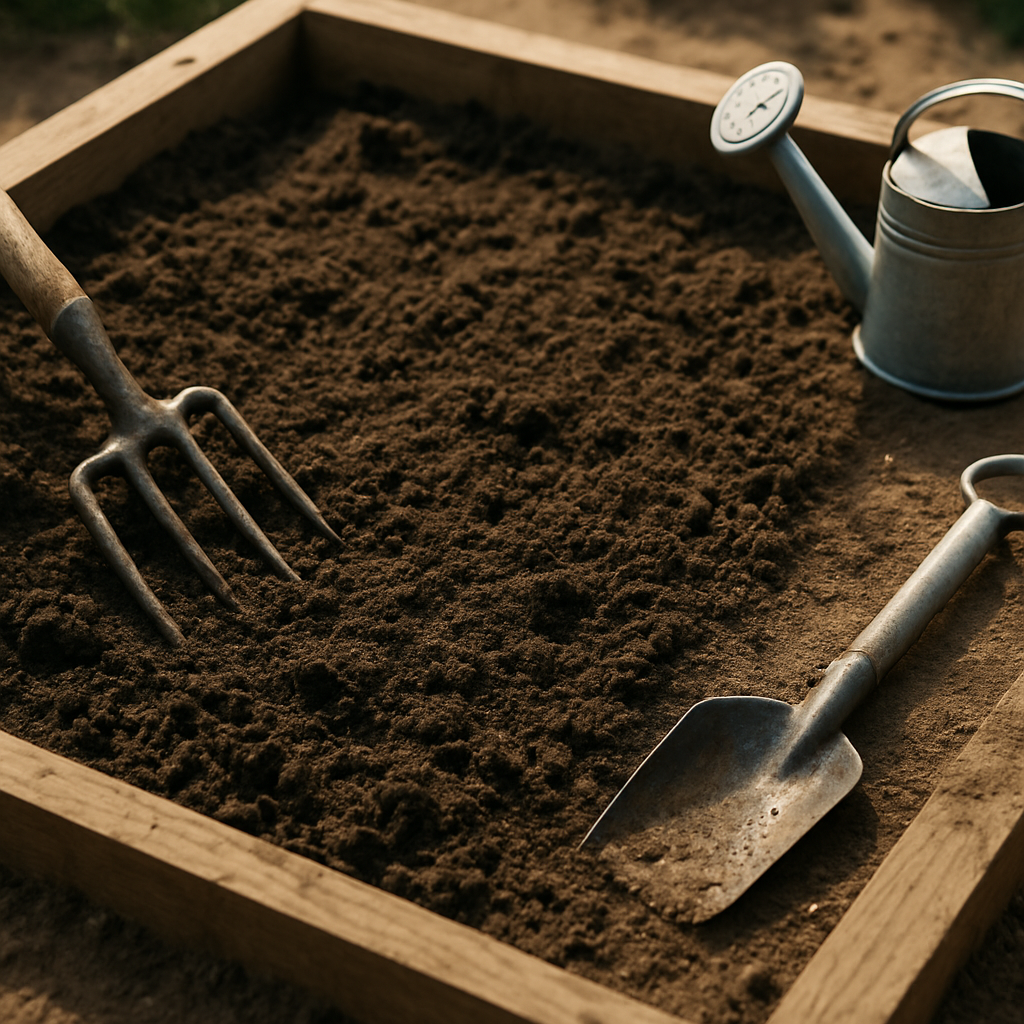
One of the most common marjoram growing mistakes is overlooking the importance of well-draining soil. Many gardeners, especially beginners, plant marjoram in heavy, nutrient-rich garden soils or clay-based beds, assuming that more nutrients will promote better growth. However, marjoram is a Mediterranean herb that thrives in quite the opposite conditions: poor, light, and well-aerated soils.
Planting marjoram in dense or moisture-retentive soil often results in root rot, stunted growth, and bland flavor. Instead, aim for soil that mimics marjoram’s native environment—something loose, sandy, or even a bit rocky. If your soil is clay-heavy or overly rich, amend it with plenty of coarse sand, pea gravel, or grit to enhance drainage and lighten the texture.
Adding a small amount of compost is fine for a nutrient boost, but use it sparingly; too much organic matter can produce lush but weak plants with reduced essential oil content. For container growers, choose potting mixes labeled “cactus” or “succulent,” or create your own blend by mixing regular potting soil with equal parts sand or perlite. Raised beds are also excellent for marjoram, as they allow better control over soil composition.
Before planting, break up any large soil clumps and remove debris or stones that might hinder root growth. Taking the time to prepare the perfect soil will result in healthier, more aromatic marjoram throughout the growing season.
Improper Pruning and Harvesting:
One of the most common marjoram growing mistakes is thinking the plant thrives best when left alone without much pruning or harvesting. In reality, marjoram isn’t a “set-and-forget” herb. Letting it grow unchecked can cause the stems to become woody, and the leaves to lose their signature aroma and robust flavor. Overgrown marjoram gets leggy, less bushy, and more vulnerable to pests and disease—ultimately reducing both its lifespan and productivity.
Regular pruning encourages the herb to produce new, tender shoots and lush leaves full of essential oils, which means more flavor in your kitchen and a healthier plant overall.
For best results, start pinching back the growing tips when your young marjoram plant reaches about four inches tall. This early and consistent light pruning helps it branch out and form a compact, bushy shape. As the plant grows, harvest the fresh tips regularly by snipping stems back to a set of healthy lower leaves.
Avoid cutting more than a third of the plant at once, as this can stress it and stunt future growth. If you notice flower buds forming, snip them off quickly—once marjoram flowers, leaf production slows, and the leaves develop a bitter taste. Instead of waiting for a large harvest, aim to snip little and often. This keeps your plant vigorous and flavorful throughout the growing season.
By avoiding the mistake of letting marjoram run wild, you’ll enjoy a thriving, tasty herb patch all season long.
Forgetting to Fertilize… or Overdoing It
Fertilizing marjoram can be tricky, and a common marjoram growing mistake is either neglecting it completely or overfeeding the plant. Marjoram thrives in moderately fertile soil, so skipping fertilizer can lead to slow growth, yellowing leaves, and an overall lackluster appearance. Conversely, overfeeding—especially with high-nitrogen fertilizers—may result in lush but leggy growth, sacrificing the herb’s aromatic oils and leading to bland flavor and a less compact plant.
If your marjoram looks stunted with pale green or yellow leaves, it likely needs a nutrient boost. But if it grows tall and floppy or loses its signature aroma, you could be overdoing it. For the best results, incorporate a small amount of compost or a balanced, organic fertilizer (such as a 5-5-5 blend) into the soil at planting. During the growing season, top-dress with compost or apply a diluted liquid organic feed every four to six weeks. This balanced approach supports steady, healthy growth without compromising flavor—proving that moderation is key to avoiding classic marjoram growing mistakes.
Ignoring Pest and Disease Issues
One of the most common marjoram growing mistakes is neglecting pest and disease management, which can quickly damage even the healthiest plants. Pests like aphids and spider mites are frequent intruders, sucking sap from leaves and stunting growth. Aphids often cluster on new shoots, causing leaves to curl, while spider mites leave behind fine webbing and tiny yellow spots. Diseases such as powdery mildew also pose a threat, showing up as a white, powdery coating on foliage and thriving in areas with poor air circulation.
Skipping regular plant inspections or overcrowding your marjoram are key mistakes that make these problems worse. To prevent infestations and disease, check your marjoram at least once a week—especially the undersides of the leaves—for signs of pests or mold. Make sure plants have enough space to breathe by thinning them out if needed, and avoid watering the leaves directly.
Simple organic methods can help keep your plants healthy: wash off aphids and spider mites with a strong spray of water, and if necessary, use insecticidal soap or neem oil. For powdery mildew, remove affected leaves promptly and try a homemade spray made with diluted baking soda as a gentle treatment. Taking these steps will help keep your marjoram healthy and productive throughout the season.
Conclusion & Quick Troubleshooting Guide
Growing marjoram can feel tricky at first, but don’t let a few marjoram growing mistakes discourage you—every gardener learns by doing! Remember, the basics like avoiding overwatering, providing enough sunlight, and trimming regularly are key to a healthy marjoram plant. Here’s a quick troubleshooting guide to help you recover from common issues:
- Overwatering? Let the soil dry out between waterings and make sure your pot has good drainage.
- Lack of sun? Move your marjoram to a spot with at least 6 hours of direct sunlight.
- Leggy growth? Prune regularly to encourage bushier plants.
- Poor soil? Use a well-draining, light potting mix for best results.
- Pests or mildew? Remove affected leaves and avoid overcrowding to improve air circulation.
If you’ve encountered challenges not listed here or have your own tips, please share your questions or experiences in the comments below—let’s grow better marjoram together!