Can You Grow Bay Leaf Hydroponically?
Hydroponics—a method of growing plants without soil—has become increasingly popular among home gardeners and chefs eager for fresh herbs and spices. While classic choices like basil and mint thrive in these systems, the good news is that bay leaf (Laurus nobilis) can also be grown hydroponically with some special considerations.
Unlike fast-growing, herbaceous plants, bay leaf is a woody shrub and grows more slowly, so patience is key. It benefits greatly from hydroponics because you can control nutrients, eliminate soil-borne pests, and maximize space, making it easier to cultivate bay leaf indoors on shelves or under grow lights.
This approach is perfect for those with limited garden space or urban dwellers who crave fresh, aromatic leaves for cooking year-round. To get the best results, choose a deep water culture or ebb-and-flow system and be careful with humidity, as bay leaf prefers moderate moisture levels.
With the right setup and some attention to pruning, you’ll be able to enjoy a steady supply of fragrant bay leaves whenever your recipes call for them.
Getting Started—What You Need for Hydroponic Bay Laurel
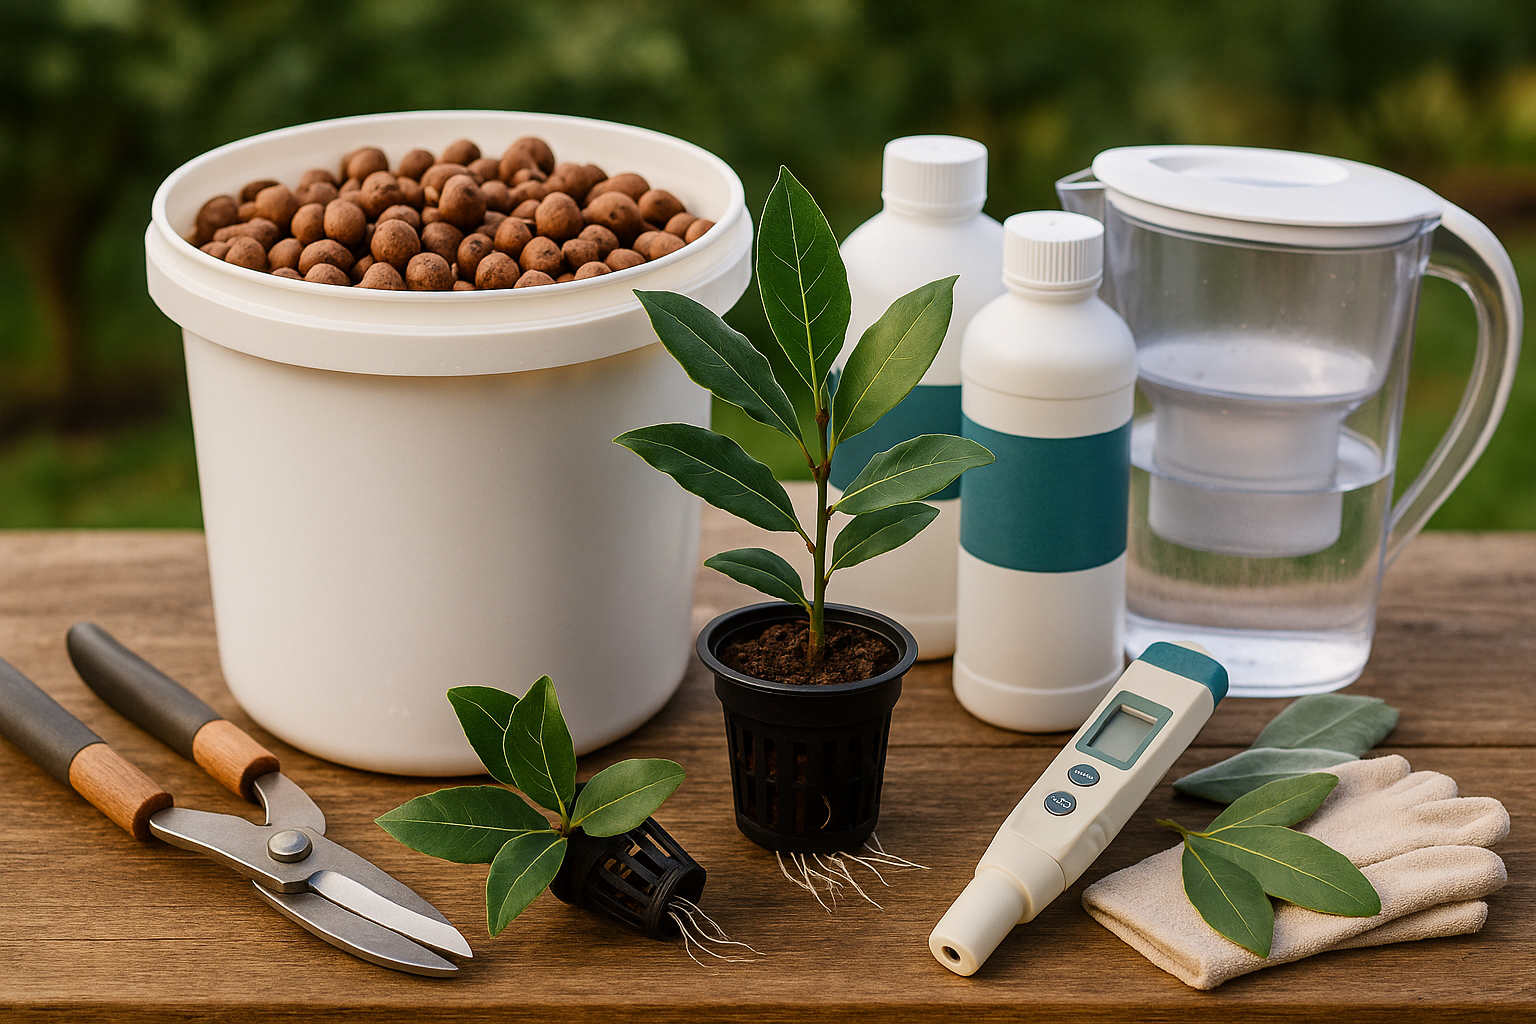
To successfully grow bay laurel (bay leaf) hydroponically, you’ll need a few key pieces of equipment to create a thriving setup. Start by choosing a suitable hydroponic system—simple methods like the Kratky system or deep water culture (DWC) both work well for herbs like bay laurel, offering easy setup and consistent moisture.
For containers, select opaque, food-grade buckets or tubs large enough to accommodate the slow but steady growth of bay laurel roots; a 2-5 gallon container is usually ideal. Since bay laurel prefers stable support, use growing mediums like clay pebbles or coco coir, which provide both aeration and anchoring for young plants.
Clean, chlorine-free water is essential—consider filtering tap water or using distilled water for best results. You’ll also need a hydroponic nutrient solution formulated for leafy herbs, ensuring it contains the necessary macro and micronutrients.
As for sourcing bay laurel, it’s usually best to start with healthy cuttings rather than seeds, since seeds can be slow to germinate and inconsistent in quality. Reputable nurseries or gardening stores can provide disease-free stems that root reliably in water or growing medium.
For optimal bay laurel growth, maintain the environment at 65-75°F (18-24°C), with relative humidity between 40-60%. Keep your system’s pH between 6.0 and 7.0 for efficient nutrient uptake. Adequate bright, indirect light—ideally 12-16 hours per day via LED grow lights—will help ensure compact, flavorful leaves.
With these basics in place, you can enjoy fresh, aromatic bay leaves from your hydroponic garden year-round.
Step-by-Step Setup for Hydroponic Bay Leaf Success

Starting your hydroponic bay leaf adventure is easier than you might think, even if you’re working with limited indoor space. Begin by choosing a compact, food-safe container—anything from 2 to 5 gallons works well for a single bay laurel seedling. Clean the container thoroughly and set up a simple hydroponic system, such as deep water culture (DWC) or the Kratky method, both of which require minimal maintenance and equipment.
Use net pots and fill them halfway with an inert growing medium like expanded clay pellets; these keep the young bay laurel’s roots aerated and supported. When transplanting, be gentle with the roots—bay laurel seedlings don’t like disturbance. Hold each seedling by its leaves (not the delicate stem), and ensure its roots dangle freely through the net pot so they can easily access the nutrient solution below.
In the first few weeks, bay laurel prefers moderate moisture and stable support. Position support stakes or ties if your seedlings seem wobbly. For lighting, bay laurel loves bright, indirect light. Place your system near a south-facing window or, if that’s not possible, hang a full-spectrum LED grow light about 12–18 inches above the plants for 12–14 hours daily.
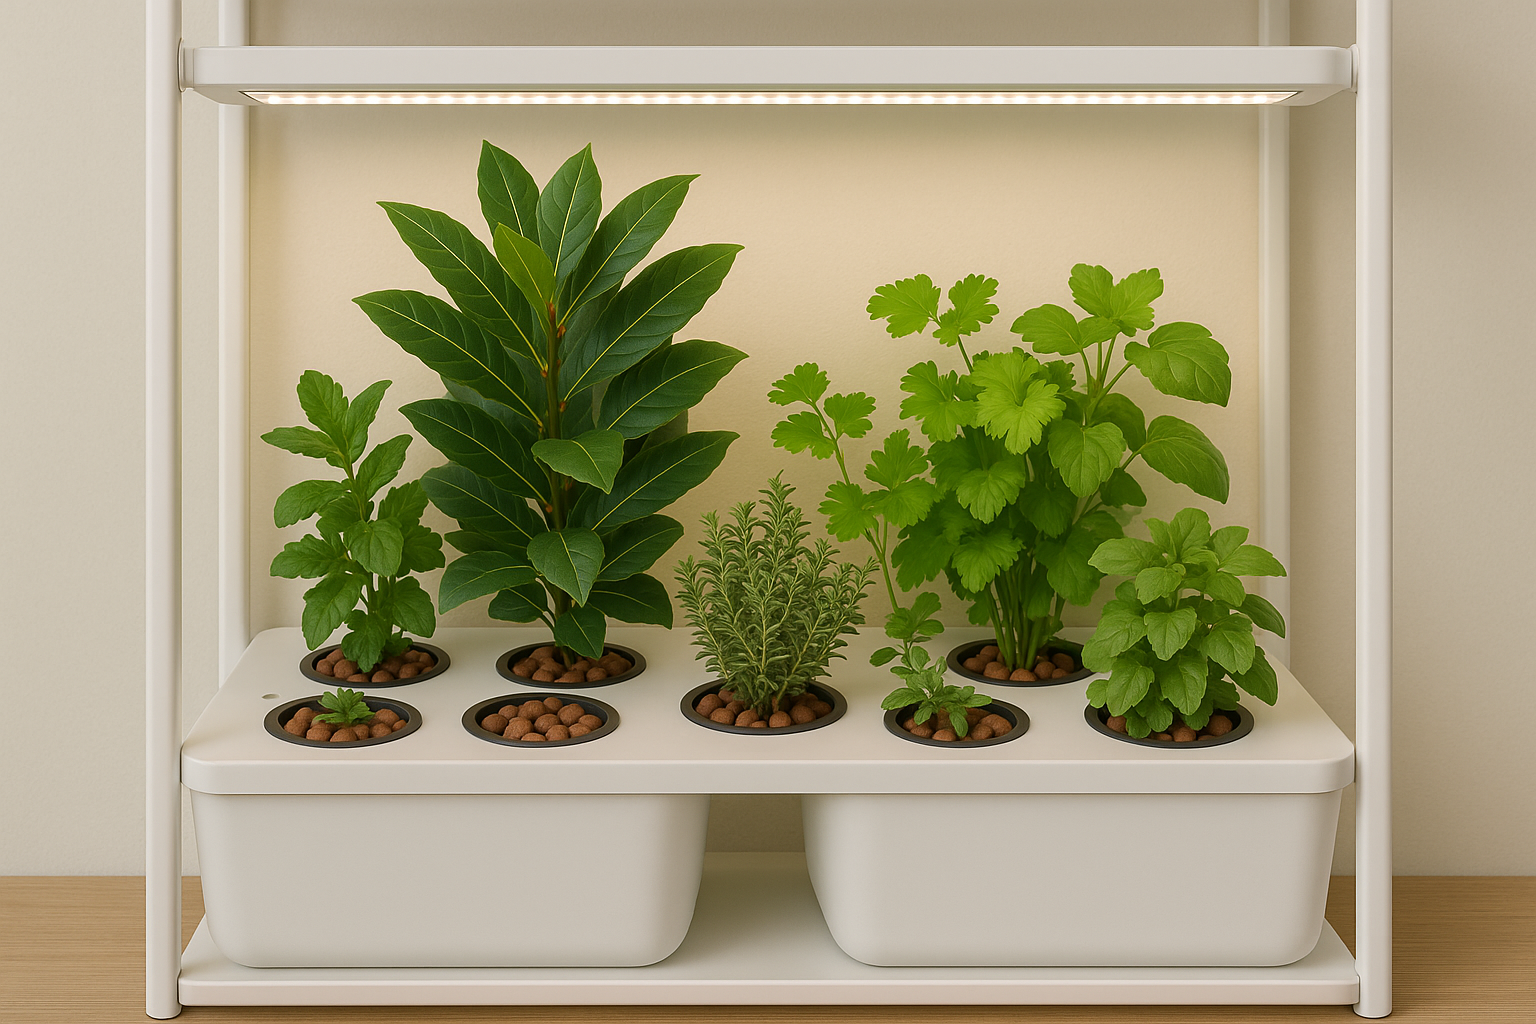
Keep the environment steady—bay laurel thrives between 65°F and 75°F and appreciates gentle airflow from a small fan if grown indoors. To save space, choose a vertical or stacking hydroponic setup; modular shelving with integrated grow lights can turn a corner or countertop into a fresh bay leaf station.
With attention to these setup details and early care tips, even beginner gardeners can grow healthy bay laurel in tiny apartments or kitchen nooks, ready to harvest aromatic leaves year-round.
Lighting and Watering Needs for Healthy Growth
Bay laurel thrives indoors with plenty of bright, indirect light—aim for at least six hours per day if possible. Place your plant near an east- or west-facing window, where it can soak up morning or late afternoon sun without harsh midday rays. If natural sunlight is limited, especially in winter, supplement with a full-spectrum LED grow light set 12–18 inches above the canopy. Target 12–14 hours of artificial light daily for the most robust growth.
When growing bay laurel hydroponically, keep the roots moist but not waterlogged; refill reservoirs only as needed, and watch for cloudy or odorous water signaling a need for a full change and cleaning. Use filtered or distilled water to avoid chlorine or minerals that can damage sensitive roots, and feed with a balanced hydroponic nutrient solution designed for herbs—look for an N-P-K ratio around 2-1-2.
Symptoms of overwatering include yellowing, droopy leaves, and root rot, while underwatering results in crispy leaf edges and leaf drop. Poor lighting leads to leggy stems, sparse foliage, pale leaves, or slowed growth. If you spot these issues, adjust watering regimes—double-check water levels and drainage—or move your plant closer to a light source or increase grow light intensity and duration.
Regularly wipe leaves with a damp cloth to keep them photosynthesizing efficiently, and always monitor plant health so small problems don’t become unmanageable. With attentive care, your bay laurel will reward you with fresh, fragrant leaves year-round.
Ongoing Care—Nutrients, Pruning, and Pests
Maintaining healthy hydroponic bay leaf plants starts with a balanced feeding routine. To keep your bay thriving, use a nutrient solution formulated for leafy herbs, focusing on nitrogen for lush growth, plus potassium and calcium to build strong stems and resist disease. Feed your plant every 1-2 weeks, ensuring the solution’s pH stays between 6.0 and 7.0 for optimal nutrient absorption.
Pruning is just as important—regularly pinch off new shoot tips with clean scissors or your fingers to encourage bushier growth and a continuous supply of fresh leaves. Remove any old, yellow, or overcrowded leaves as well; this not only shapes the plant but also promotes airflow, reducing the risk of disease.
Bay plants can attract pests like spider mites and scale, so check the undersides of leaves weekly. If you spot any, try wiping them away with a soft cloth dipped in diluted soapy water, followed by a clear rinse. Aphids may appear too, but releasing beneficial insects like ladybugs in your indoor garden is a safe, organic way to control them.
Diseases rarely trouble hydroponic bay plants, but watch for root rot—keep water oxygenated and avoid overwatering. By sticking to a consistent feeding schedule, pruning often, and staying ahead of pests, you’ll enjoy vigorous, aromatic bay leaf plants year-round, perfect for home cooks and herbal enthusiasts alike.
Harvesting Hydroponic Bay Leaves
Harvesting hydroponic bay leaves is all about timing and technique. Start picking leaves once your bay laurel plant has at least 6–8 healthy, mature leaves—usually after a few months of active growth. Use clean, sharp scissors or pruning shears to snip individual leaves, always choosing the oldest, fully developed leaves from the outer edges. This encourages new growth from the center and keeps your plant robust.
For continuous harvests, avoid cutting more than a third of the foliage at once; regular but light pruning stimulates the plant to produce even more flavorful leaves.
Preserving Your Harvest
To preserve your leaves, rinse them and pat dry, then spread them in a single layer on a paper towel or mesh tray in a warm, dry, well-ventilated spot—but out of direct sunlight. In a week or two, the leaves should feel crisp and can be stored in an airtight jar for months.
If you’d prefer fresh bay leaves, keep them in a plastic bag in the refrigerator, where they’ll stay fragrant for several weeks.
Tips for Best Flavor
- Harvest in the morning when the volatile oils are most potent.
- Only take as many leaves as you need for each use to keep your plant thriving and your cooking aromatic.
Hydroponic Bay Leaf—Pros, Cons & Next Steps
Growing bay leaf hydroponically offers the advantage of having fresh leaves year-round right at your fingertips, perfect for anyone who loves cooking with aromatic herbs. Since plants are grown indoors, you’ll encounter far fewer pest or disease issues compared to traditional soil gardens—no need to worry about aphids or fungal spots ruining your harvest. Hydroponics also lets you control nutrients and water more precisely, supporting healthy, lush growth with less guesswork.
However, there are some challenges to consider: bay leaf tends to grow more slowly in hydroponic systems than quicker herbs like basil or mint, so patience is key. The initial investment in lights, pumps, and nutrients can add up, especially if you’re new to hydroponics. Despite these hurdles, many home growers find the experience rewarding.
If you’re just getting started, try experimenting with a small setup using other herbs—basil, cilantro, mint, or oregano typically thrive in hydroponic systems and can provide faster results. This hands-on approach not only offers fresh flavors but also builds your confidence as you learn the quirks of indoor gardening. With a bit of patience and testing, you’ll discover which herbs work best for your setup—and maybe even develop a green thumb along the way.