Introduction
Knowing how to harvest dill can make all the difference in your kitchen and garden. Dill is a fragrant, feathery herb loved for flavoring everything from pickles to fresh salads, and it’s also a pollinator favorite in vegetable patches. Harvesting dill properly ensures you get the best flavor from both its delicate leaves and flavorful seeds, while also supporting your plant’s health and continued growth.
Many home gardeners don’t realize that timing and technique impact not only taste but also the plant’s ability to keep producing throughout the season. Whether you’re snipping leaves for tonight’s dinner or collecting seeds to save for next year’s planting—or to spice up your recipes—knowing when and how to harvest is key.
In this post, we’ll explore tips for harvesting dill leaves versus seeds, what tools to use, the right times to pick, and best practices for ongoing healthy harvests.
When and How to Harvest Dill Leaves
Harvesting dill leaves at the right time ensures you get the freshest flavor and helps your plant keep producing. The best time to pick dill leaves is when the plant is about 6 to 8 inches tall and before it starts flowering. Once dill blooms, it puts its energy into making seeds, which slows leaf production and can make the leaves less tender and flavorful.
To capture the best flavor, harvest in the early morning after the dew has dried but before the midday sun gets too hot. This timing helps preserve the essential oils, making your dill more aromatic and vibrant.
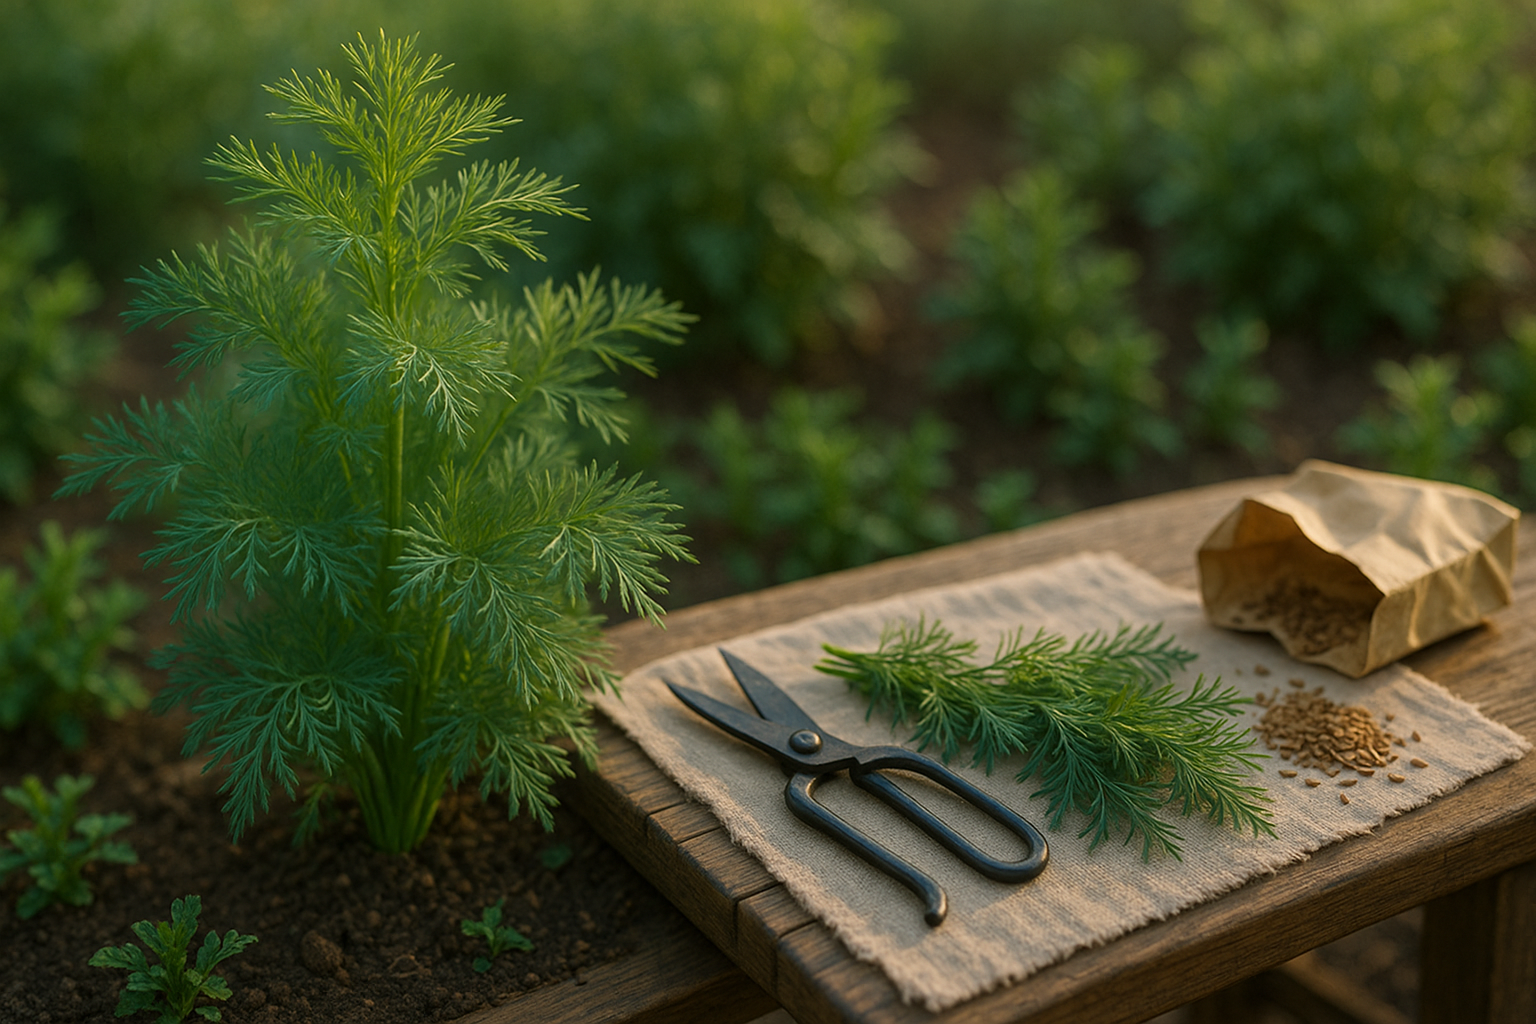
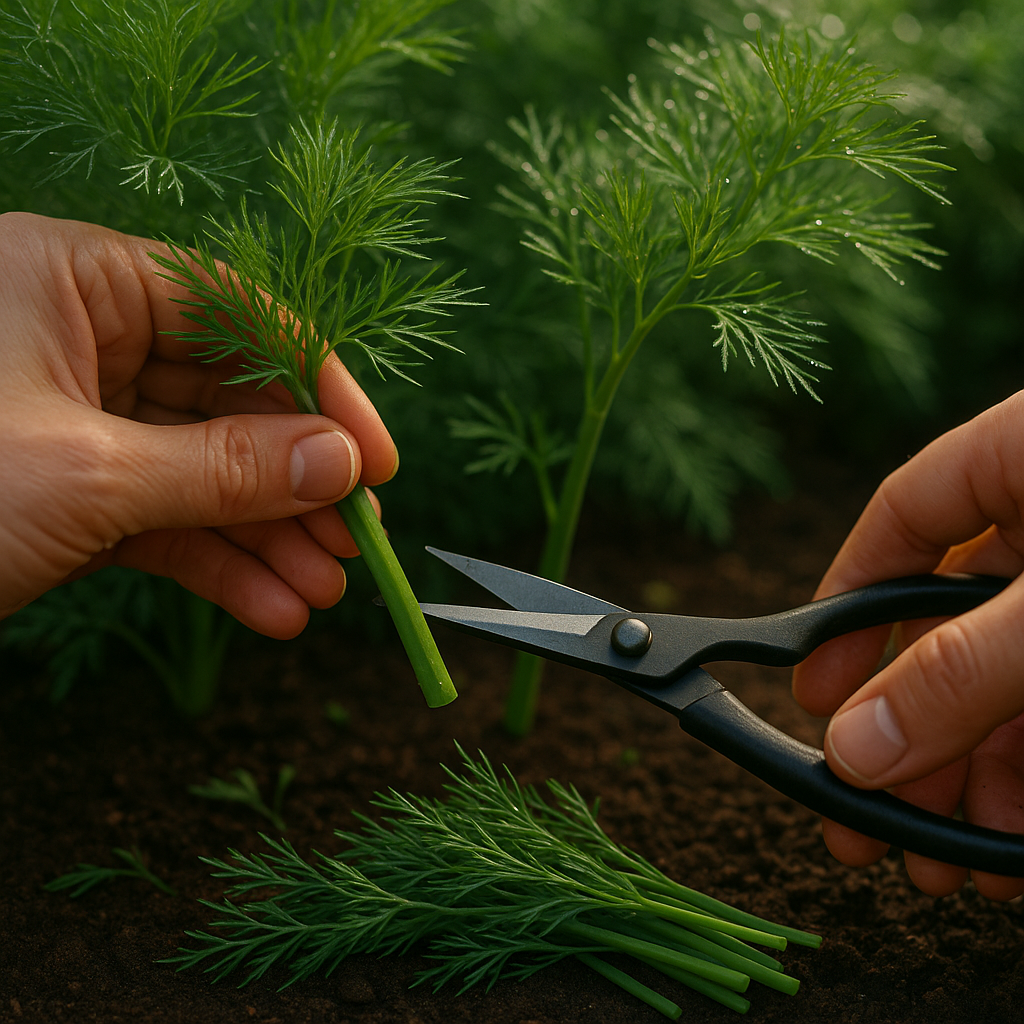
When you’re ready to trim, use clean, sharp scissors or garden shears to snip off the outer leaves or sprigs about two inches from the plant’s base. Avoid cutting more than one-third of the plant at a time so the dill can recover and keep growing. Focus on removing mature leaves first, leaving the central stems and youngest growth untouched. This encourages new, bushier growth rather than stunting the plant.
If you notice any yellowing or damaged leaves, remove them as well. This helps the plant concentrate its energy on producing healthy, flavorful greens. With gentle, regular harvesting, your dill plant can provide a steady supply of fresh leaves throughout the growing season.
How to Harvest Dill Flowers and Seeds
Harvesting dill flowers and seeds is simple, but timing is key for the best results. Start by watching your dill plants closely—once the airy yellow flower heads (called umbels) appear, keep an eye on them as they transform.
After a few weeks, the yellow petals will drop and green seeds will start to form, gradually turning brown or tan as they mature. You’ll know it’s the right time to harvest when most of the seeds on each head look dry, papery, and brownish instead of green.
Early in the morning, when dew still clings to the plants, use clean kitchen scissors or garden shears to snip off the seed heads. Hold a paper bag or bowl underneath to catch any seeds that might fall. Don’t wait too long—if the wind picks up or you let them dry too much on the plant, seeds can scatter on their own!
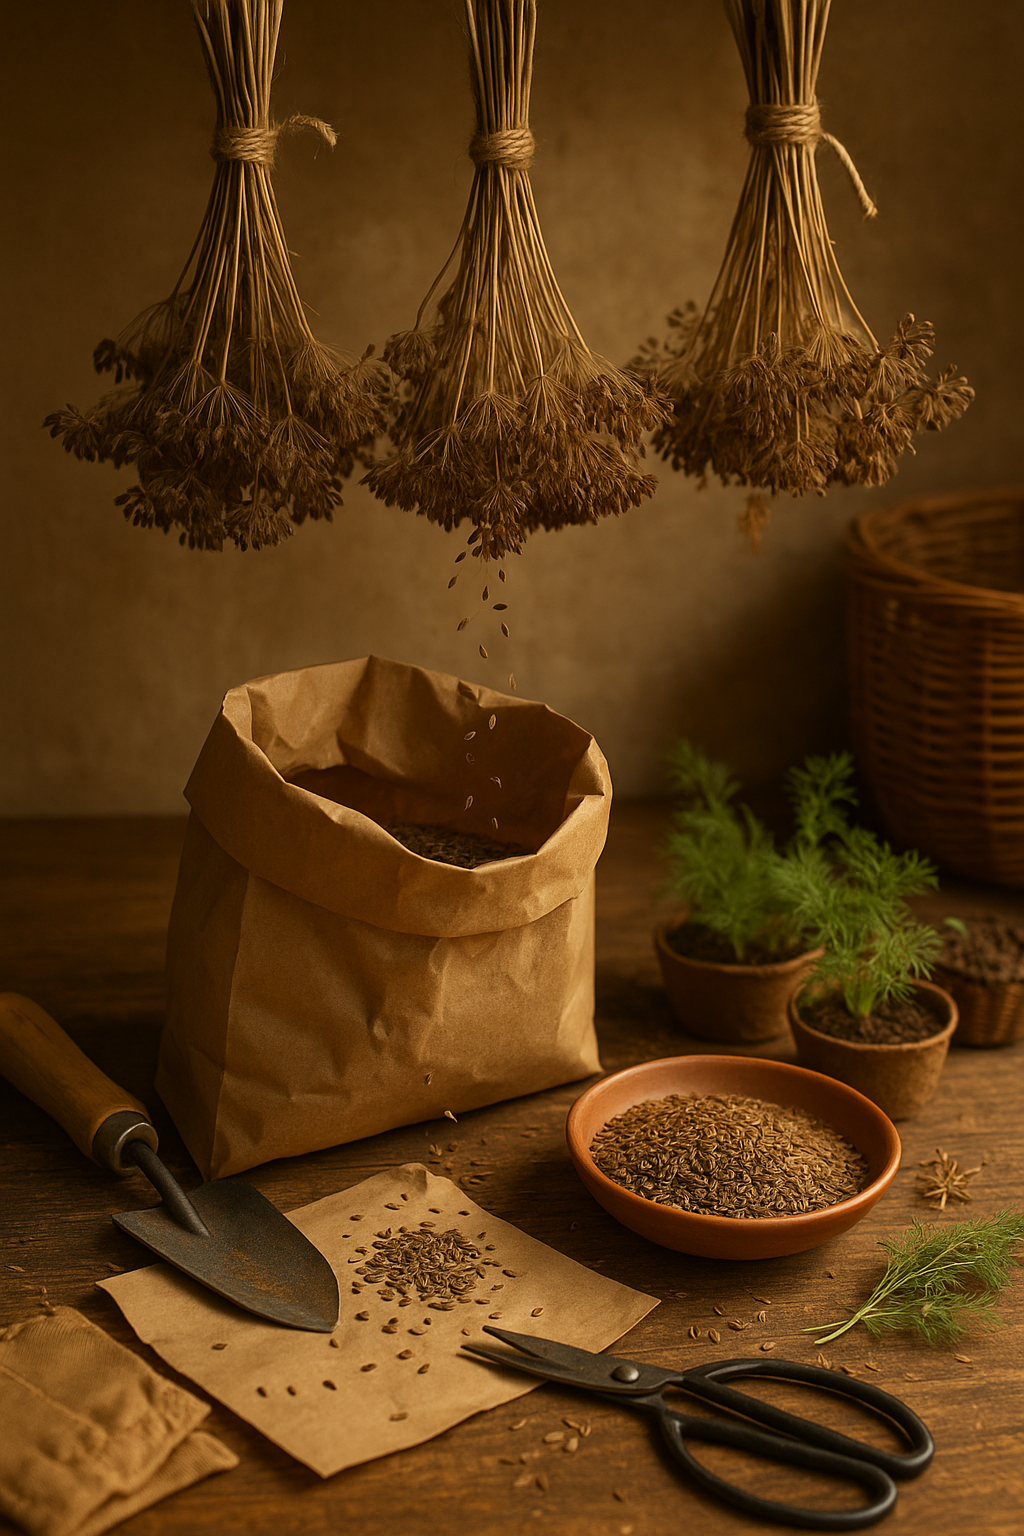
Once you’ve gathered the heads, place them upside down in a paper bag or hang them in bundles in a warm, well-ventilated area out of direct sunlight. This lets them finish drying, and seeds often drop into the bag as they cure.
After about one to two weeks, shake or gently rub the flower heads between your hands to release any stubborn seeds. Sift out chaff or plant matter and store the seeds in a clean, airtight jar or envelope, labeling with the date.
Store them in a cool, dark spot—your seeds will be ready for cooking or planting next season!
Best Practices for a Bountiful Dill Harvest
To enjoy a steady supply of fresh dill leaves all season, focus on regular, gentle harvesting and attentive plant care. Begin picking dill once the plant reaches about 8 inches tall, snipping only a few sprigs from each plant at a time while always leaving at least two-thirds of the foliage intact. This encourages the plant to branch out and produce new shoots.
Harvesting every week or two helps keep the plant in a vegetative state, delaying flowering and extending its productive lifespan. Avoid the common mistake of harvesting more than a third of the plant at once, as this can stress the dill and stunt future growth. Also, don’t cut stems too close to the base; leave at least a couple of inches above the soil to promote regrowth.
Be cautious not to allow all your dill plants to bolt, or go to flower, at the same time—stagger your harvests and consider pinching off buds to keep some plants leafy for longer. By following these practices, you can enjoy bountiful dill harvests for months, infusing your salads, sauces, and pickles with garden-fresh flavor.
Storing and Using Fresh Dill Leaves
Keeping fresh dill leaves vibrant and flavorful after harvesting is simple with a few smart storage methods. For short-term use, rinse the dill gently, pat it dry, and wrap the sprigs loosely in a damp paper towel before placing them inside a resealable plastic bag in the refrigerator’s crisper drawer—this preserves their freshness for up to a week.
If you want to save dill for months, try freezing. Chop the leaves, portion them into ice cube trays, cover with water or olive oil, and freeze; toss these cubes directly into soups or sauces for a burst of flavor.
Alternatively, dry the dill by tying bunches upside down in a well-ventilated spot out of direct sunlight or use a low oven or dehydrator, then crumble and store the dried leaves in an airtight container away from light.
Using Fresh Dill in the Kitchen
Fresh dill’s bright, grassy taste perks up salads, potato dishes, and grilled fish, pairs perfectly with yogurt-based dressings, or makes a quick garnish for eggs and sandwiches.
When substituting dried dill for fresh, remember the flavor is more concentrated—use about one-third the amount.
With these tricks, you can enjoy dill’s fresh, herby punch all year round.
Saving and Storing Dill Seeds
After harvesting your dill seeds, start by gently shaking or rubbing the mature seed heads over a clean sheet or bowl to collect the seeds. Remove any plant debris or chaff by blowing lightly or using a fine sieve.
Next, spread the seeds in a single layer on a paper towel or baking sheet, placing them in a well-ventilated, shaded area for about one to two weeks. Stir occasionally to promote even drying and prevent mold.
Once completely dry, transfer the seeds into an airtight container such as a glass jar or sealed envelope. Store your dill seeds in a cool, dark place—like a pantry, cabinet, or even the refrigerator—to maintain their viability and flavor. Always label your container with the seed type and harvest date so you can track freshness.
Properly stored, dill seeds can remain viable for planting for up to three to five years and retain their culinary potency for about two years. Avoid exposure to direct sunlight, humidity, or fluctuating temperatures to maximize shelf life.
Following these tips ensures you’ll have a fresh, fragrant supply of dill seeds ready for your next gardening or cooking project.
Frequently Asked Questions
Many people wonder if dill will grow back after being cut. The good news is yes—if you trim dill leaves carefully, leaving at least a third of the plant intact, it will usually continue producing new growth throughout its growing season.
Another common question is whether dill flowers are edible. Absolutely! Dill flowers have a milder flavor than the leaves and are often used to infuse vinegars, garnish salads, or add flair to pickles.
Lastly, harvested dill has a fairly short shelf life when fresh; it typically lasts up to a week in the refrigerator, especially if you store the stems in a glass of water covered loosely with a plastic bag. For longer storage, try freezing or drying the leaves—this way, your dill can last for several months while still adding fresh herbal notes to your dishes.