How to Harvest Bay Leaves for Cooking or Drying
Choosing the Right Time to Harvest Bay Leaves
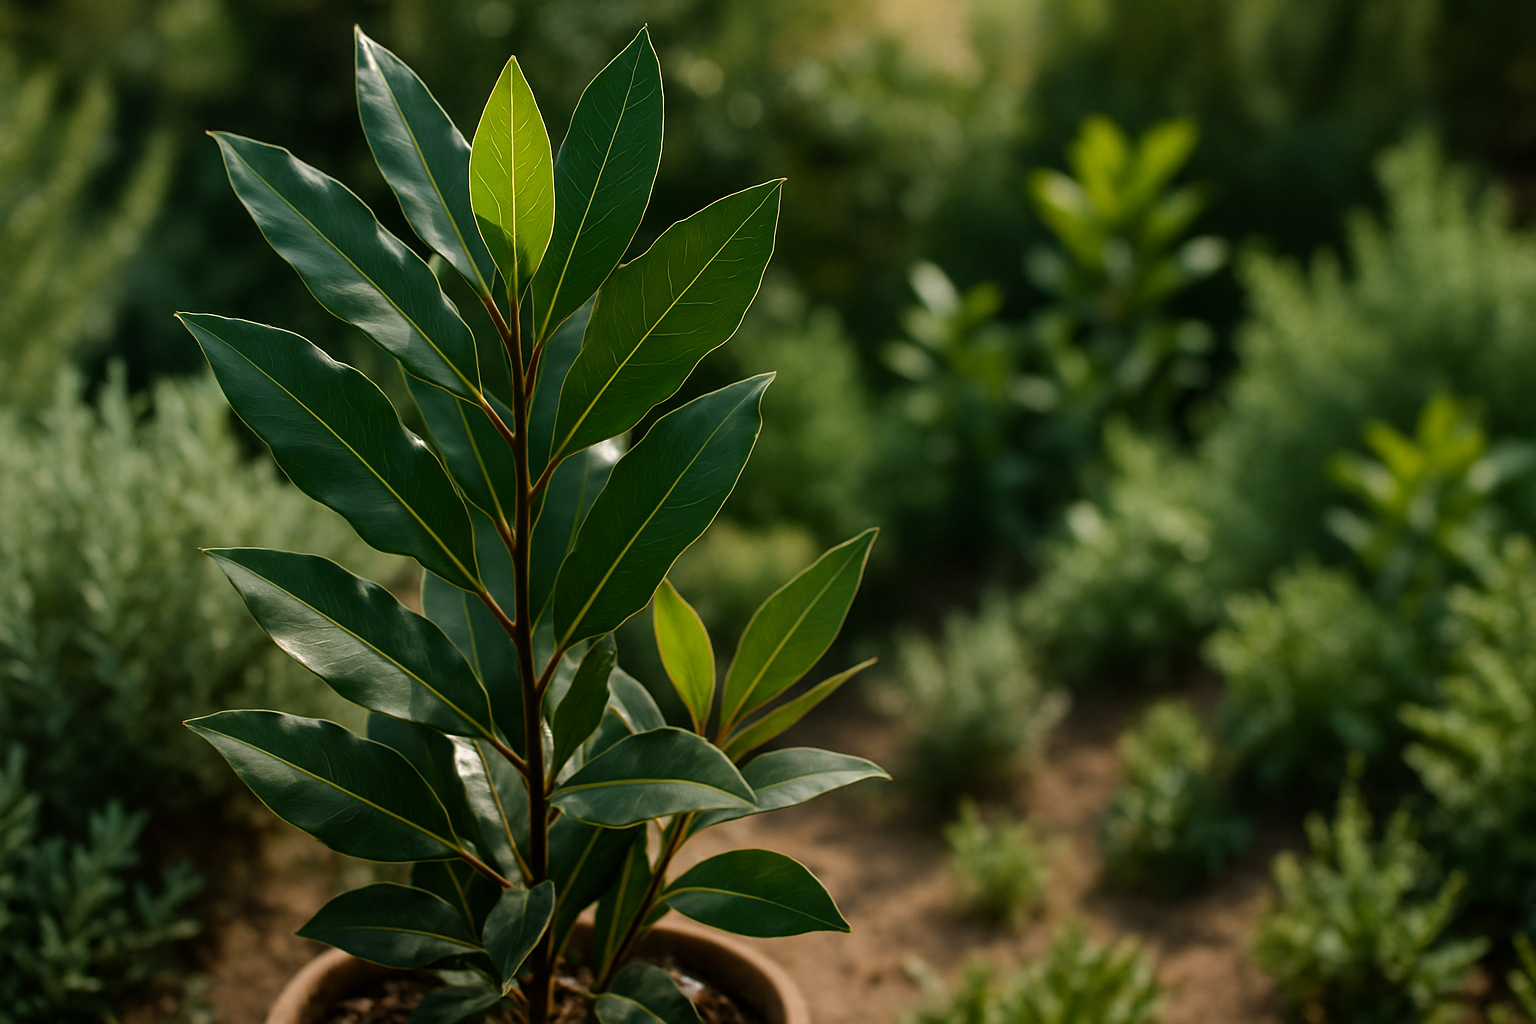
Knowing the best time to harvest bay leaves is essential for maximizing their flavor and fragrance in your kitchen. Aim to pick leaves from a healthy, established bay laurel plant—typically at least two years old—so the foliage is lush and robust.
The ideal harvesting window is during the late morning on a dry, sunny day, once any dew has evaporated but before the harsh midday heat can leech essential oils from the leaves. Focus on mature, deep-green leaves, as younger, lighter ones haven’t fully developed their full range of aromatic compounds. These glossy, firm leaves offer the richest flavor for cooking and drying.
If you’re growing bay indoors or in pots, check the soil’s moisture first; avoid harvesting after heavy watering, since slightly drier conditions can intensify the bay leaf’s essential oils. For ongoing use, snip only what you need—the plant tolerates light, regular harvests well and will continue to produce new growth throughout the season.
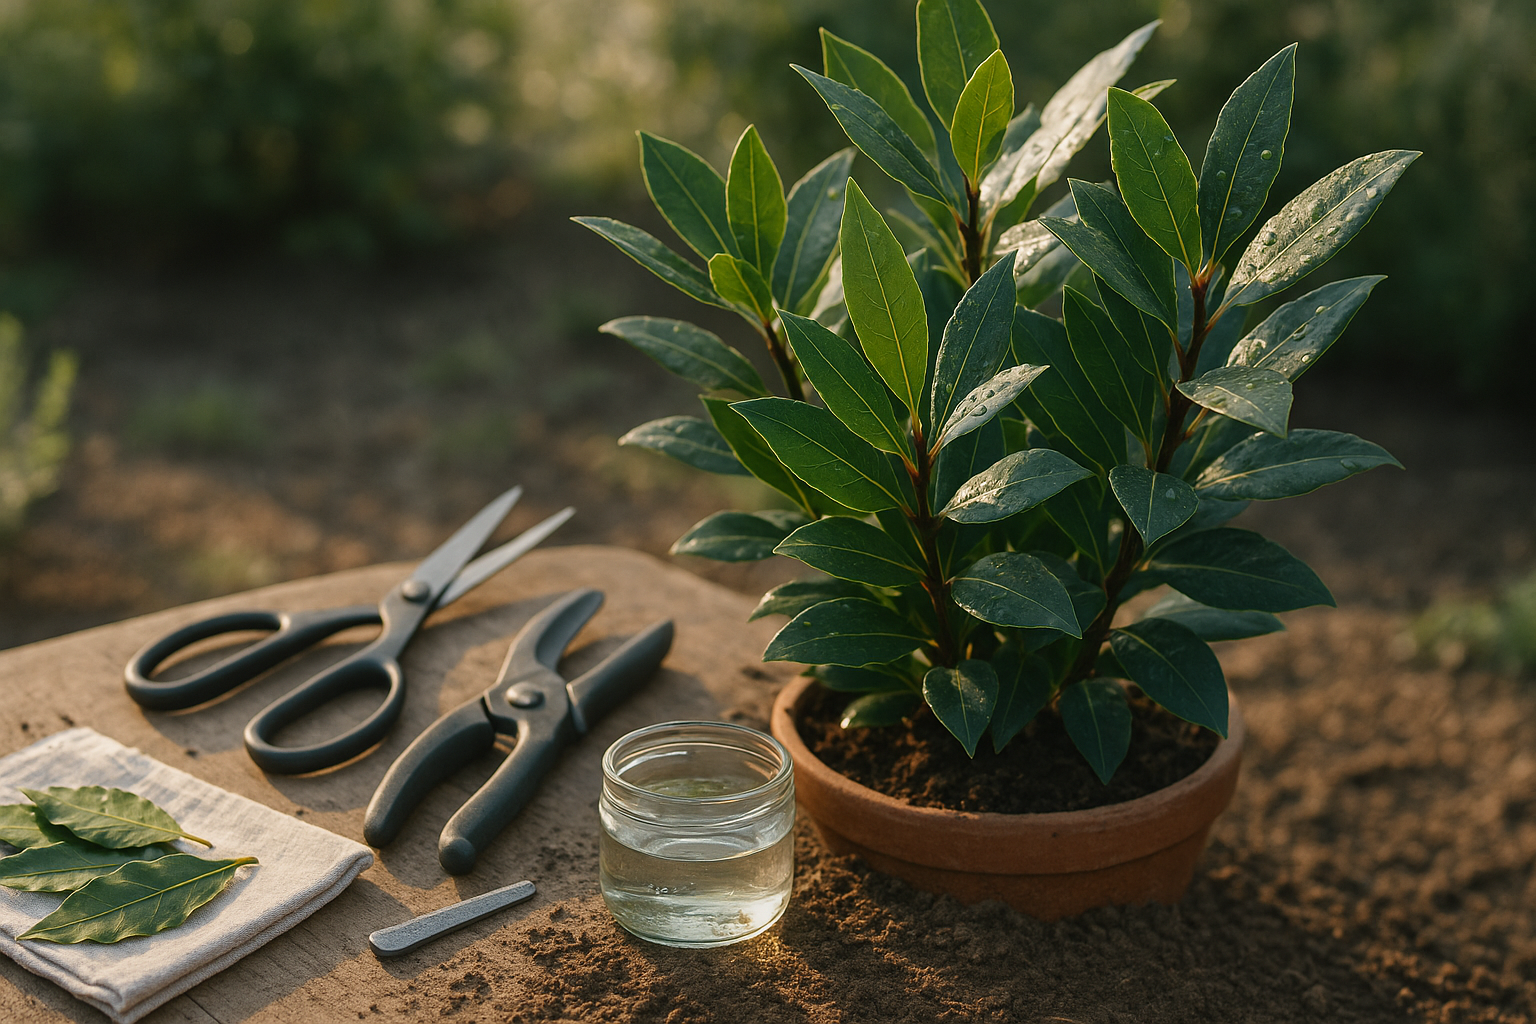
Use clean, sharp scissors or pruning shears to cut leaves individually or trim a small stem if you need more than a handful. Always leave several healthy leaves on each branch to maintain the plant’s vigor. This gentle, targeted harvesting approach balances your cooking needs with your bay laurel’s long-term health, ensuring a steady supply for years to come.
Understanding Bay Laurel and Its Uses
The bay laurel tree (Laurus nobilis) is an evergreen shrub native to the Mediterranean, best known for its aromatic leaves—bay leaves—that have been a kitchen staple worldwide for centuries. When recipes call for “bay leaves,” they refer to the dried or fresh leaves of this tree, prized for their complex fragrance and subtle, slightly floral flavor.
Both fresh and dried bay leaves add depth to soups, stews, sauces, and braises, but there are some key differences:
- Fresh bay leaves are more potent with a mild eucalyptus note.
- Dried leaves have a more concentrated, earthy taste.
For most slow-cooked recipes, dried bay leaves are preferred because their flavor develops over time, while fresh ones can be torn and added to quick sauces for an herbal punch.
Growing your own bay laurel is a rewarding option—it’s surprisingly easy in pots or gardens in warmer climates and provides a year-round supply of leaves free from processing or preservatives. Plus, you can harvest fresh leaves as needed, ensuring optimal flavor and aroma while knowing exactly where they come from.
Commercially bought bay leaves are convenient and budget-friendly but may lose some potency by the time they reach your kitchen. For anyone who loves cooking with layers of flavor, nurturing a bay laurel plant at home offers both culinary satisfaction and a touch of Mediterranean greenery to your space.
When and How to Select the Best Bay Leaves for Harvesting
For the most fragrant and flavorful bay leaves, harvest during late summer or early fall, when the plant’s essential oils are at their peak. Choose mature, dark green leaves that feel leathery and tough—these are loaded with aromatic oils and stand up well to drying and cooking.
Avoid young, pale, or tender leaves as they haven’t developed full flavor, and steer clear of any showing yellowing, brown spots, curling edges, or holes, which can signal disease or pest damage.
To encourage healthy, bushy growth, regularly prune a few leaves from several different branches rather than stripping one area bare; this not only keeps your bay plant shapely but also reduces stress. Use sharp scissors or pruners to snip leaves individually, making clean cuts just above a leaf node to promote new shoots.
After harvesting, rinse the leaves, gently pat them dry, and let them air-dry in a single layer out of direct sunlight for a few weeks before storing. Following these tips ensures a steady supply of premium bay leaves while keeping your plant thriving, ready to scent your cooking for seasons to come.
Step-by-Step Guide
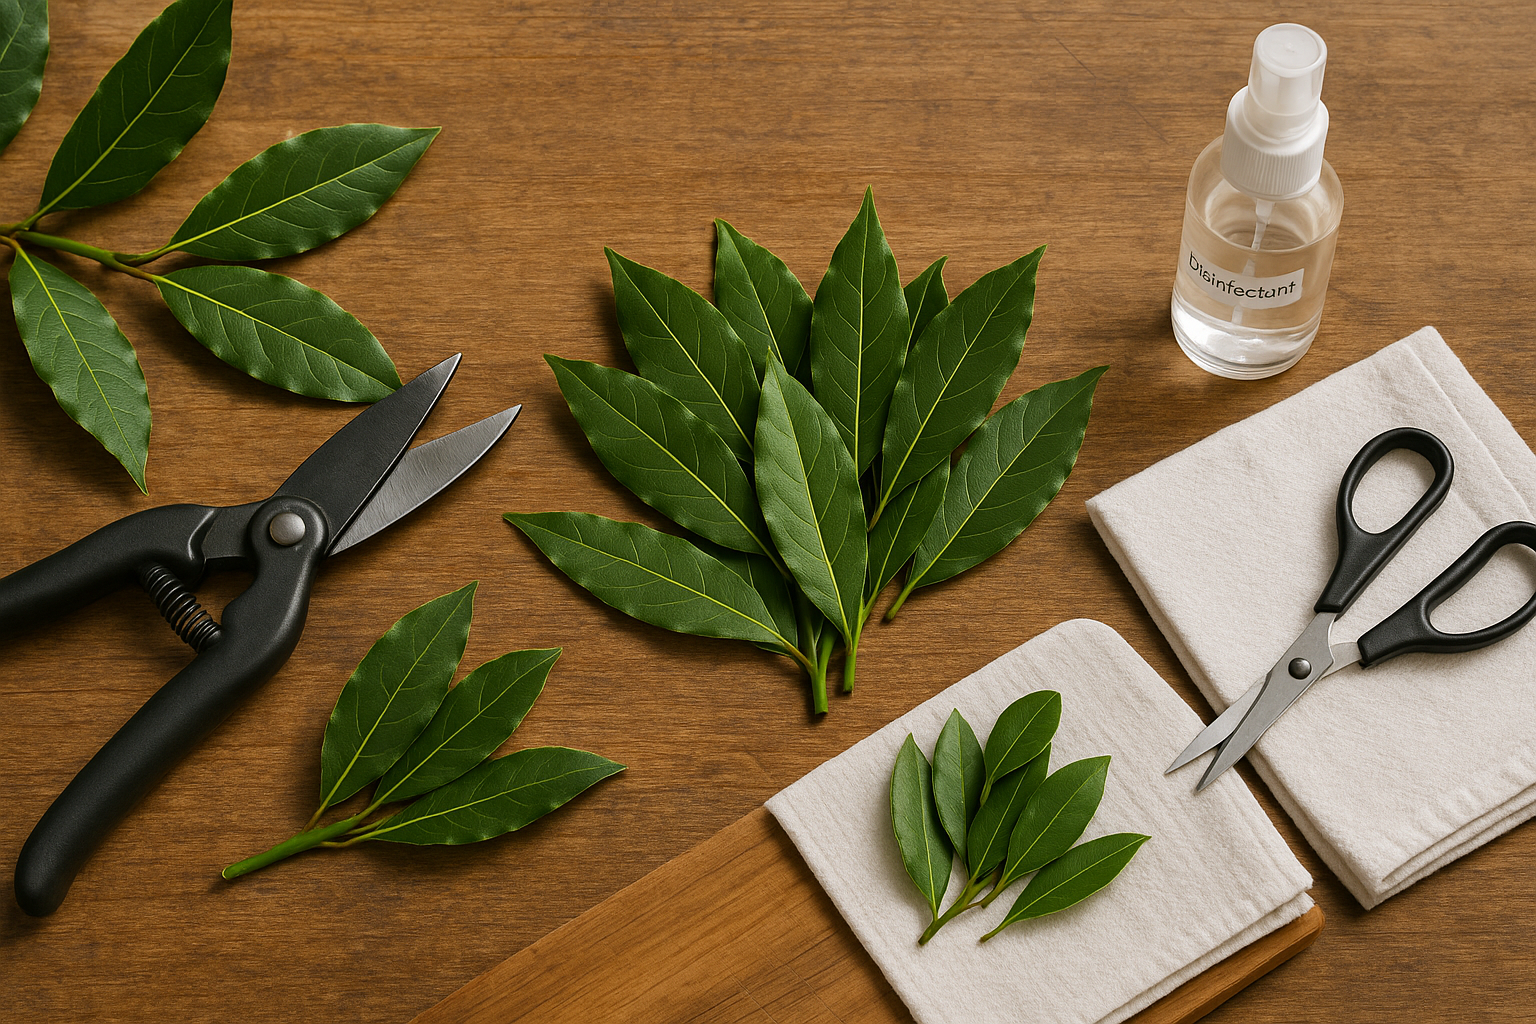
When it’s time to harvest bay leaves, a little preparation ensures your plant stays healthy and your leaves remain fresh and flavorful. Start by gathering your tools: sharp scissors or pruning shears are ideal for clean cuts. It’s also crucial to wash your hands and sterilize your tools with rubbing alcohol before you begin to prevent transferring bacteria or pests to your bay tree.
To harvest, look for mature, deep-green leaves—these contain the most essential oils and flavor. Snip individual leaves close to the stem, or if you need more, trim a small stem section with just a few leaves. Avoid large cuts that could stress the plant. Always cut just above a leaf node to encourage bushier growth, and never remove more than a third of the plant at once.
The key is to avoid tearing or ripping the leaves, as that can cause unnecessary damage and make your bay tree vulnerable to disease. Once you’ve harvested, handle the leaves gently; avoid crushing or bruising them, as this can cause the essential oils—responsible for the aromatic, savory flavor—to degrade.
For maximum freshness, spread harvested leaves on a clean towel in a single layer, out of direct sunlight to air-dry, or use them fresh for cooking. Store dried leaves in an airtight container away from heat and light to preserve their potency for months. With these simple steps, you’ll get the most flavor from each leaf while keeping your bay tree happy and productive season after season.
Choosing Between Fresh and Dried Bay Leaves in Cooking
When it comes to flavor, fresh and dried bay leaves offer different experiences in the kitchen. Fresh bay leaves have a vibrant, herbal aroma with subtle eucalyptus notes, making them perfect for quick-cooking dishes or when you want a more pronounced, green flavor. In contrast, dried bay leaves develop deeper, more complex flavors as their oils concentrate during the drying process, blending seamlessly into slow-cooked recipes like stews, soups, and braises.
Because of their stronger profile, you’ll typically need fewer dried leaves than fresh—substitute one dried leaf for two fresh leaves to avoid overpowering your dish. If a recipe calls for a fresh bay leaf and you only have dried, reduce the amount and add it early in cooking so it has time to infuse its flavor.
Storing your bay leaves properly makes a big difference:
- Keep fresh leaves in an airtight container or zip-top bag in the fridge, where they’ll last about one to two weeks, or freeze them for longer use.
- Dried bay leaves fare best in a cool, dark cupboard, sealed tightly to preserve their essence—aim to use them within a year for vibrant flavor.
For both varieties, avoid crushing the leaves before cooking, as whole leaves are easier to remove before serving. By understanding the unique qualities and proper handling of fresh and dried bay leaves, you’ll unlock richer, more nuanced notes in your favorite recipes.
How to Dry and Store Bay Leaves for Peak Flavor
Drying bay leaves at home is simple and preserves their rich aroma for months. For air drying, gently rinse the leaves to remove debris and pat them dry. Gather a small bundle of stems and tie them together with kitchen twine, then hang them upside down in a warm, dry, well-ventilated spot out of direct sunlight—like on a pantry hook or a rod in the kitchen. This process usually takes one to two weeks, depending on humidity.
To use your oven, lay rinsed and dried leaves in a single layer on a baking sheet lined with parchment paper. Set your oven to its lowest temperature (ideally 170°F/75°C or lower), prop the oven door open slightly to allow moisture to escape, and let the leaves dry for 1 to 2 hours, checking and flipping them halfway through.
If you have a food dehydrator, spread out the clean leaves in a single layer on the trays, set the temperature to around 95°F–115°F (35°C–46°C), and let them dry for 1 to 4 hours until crisp.
No matter the method, the leaves are ready when they feel brittle and snap cleanly instead of bending.
For storing, transfer the dried bay leaves immediately to an airtight container—glass jars with tight lids work best. Store your container in a cool, dark cupboard away from moisture and direct sunlight. Label it with the drying date, as flavor is best within a year. For an extra boost in freshness, add a small food-safe silica packet to reduce any remaining moisture.
With these steps, you can keep your bay leaves’ vibrant flavor ready for soups, stews, and sauces year-round.
Tips for Getting the Most From Your Harvest
Bay leaves can do much more than just add flavor to soups and stews—get creative with your harvest! Try infusing fresh or dried bay leaves in oils or vinegars to create aromatic bases for dressings or marinades. You can also tuck a bay leaf into a jar of rice, flour, or grains to subtly scent them and help keep pests at bay.
For a unique twist, add a leaf to custards, infused syrups, or even simple syrups for cocktails; the gentle herbal note pairs surprisingly well with desserts and drinks. If you find yourself with more leaves than you can use, don’t let them go to waste—dried bay leaves make thoughtful gifts bundled with ribbon or tucked into small jars, perfect for food-loving friends or family.
Beyond the kitchen, bay leaves work wonders in homemade sachets or potpourri to freshen up closets, drawers, or linen cabinets with a clean, herbal scent. Some people even tuck a leaf into their wallets for luck or under their pillow for a restful night’s sleep.
Don’t be afraid to experiment with the flavor by trying bay leaves in new dishes or sharing recipes and suggestions with others—it’s a great way to bring friends together and discover unexpected pairings.
To keep your bay leaf plant healthy and productive, remember to prune regularly for bushier growth and avoid harvesting more than one-third of the plant at a time. A little care ensures you’ll keep reaping flavorful leaves for years to come.