Introduction to Growing Thyme at Home
Learning how to grow thyme at home is a rewarding project for any beginner looking to dip their toes into home gardening. Thyme is more than just a flavorful addition to your kitchen—it’s an aromatic, hardy herb that thrives with relatively little fuss. Whether you’re spicing up roasted vegetables or adding a fresh note to soups and stews, having your own supply of thyme on hand is both convenient and satisfying. Plus, the scent of thyme leaves can instantly brighten up your windowsill or garden, creating a Mediterranean feel right in your own space.
The real beauty of thyme lies in its simplicity. This herb flourishes with minimal water, doesn’t require fancy soil, and manages well even if you forget about it for a few days. For beginners, that means less pressure and more opportunities to experiment. There are several varieties to choose from, such as English thyme (the classic culinary choice), lemon thyme (with a citrus twist), and creeping thyme (great as a fragrant ground cover). Each type brings its own hint of flavor and growth habit, but all are practical for first-time growers. In this guide, you’ll find easy-to-follow steps to get your thyme thriving, no matter how much—or how little—gardening experience you have.
Choosing the Right Thyme and Growing Spot
When it comes to choosing the right thyme, home gardeners have several excellent options. English thyme is the classic favorite, offering that familiar herbal fragrance perfect for cooking. Lemon thyme adds a citrusy twist to dishes, while creeping thyme is a pretty ground cover that works well between stepping stones or as low borders.
Beginners will find it easiest to start with nursery plants or cuttings, which establish faster and are less fussy than seeds. If you decide to grow thyme from seed, look for fresh, high-quality seeds from reputable suppliers; germination can be slow and uneven, so patience is key.
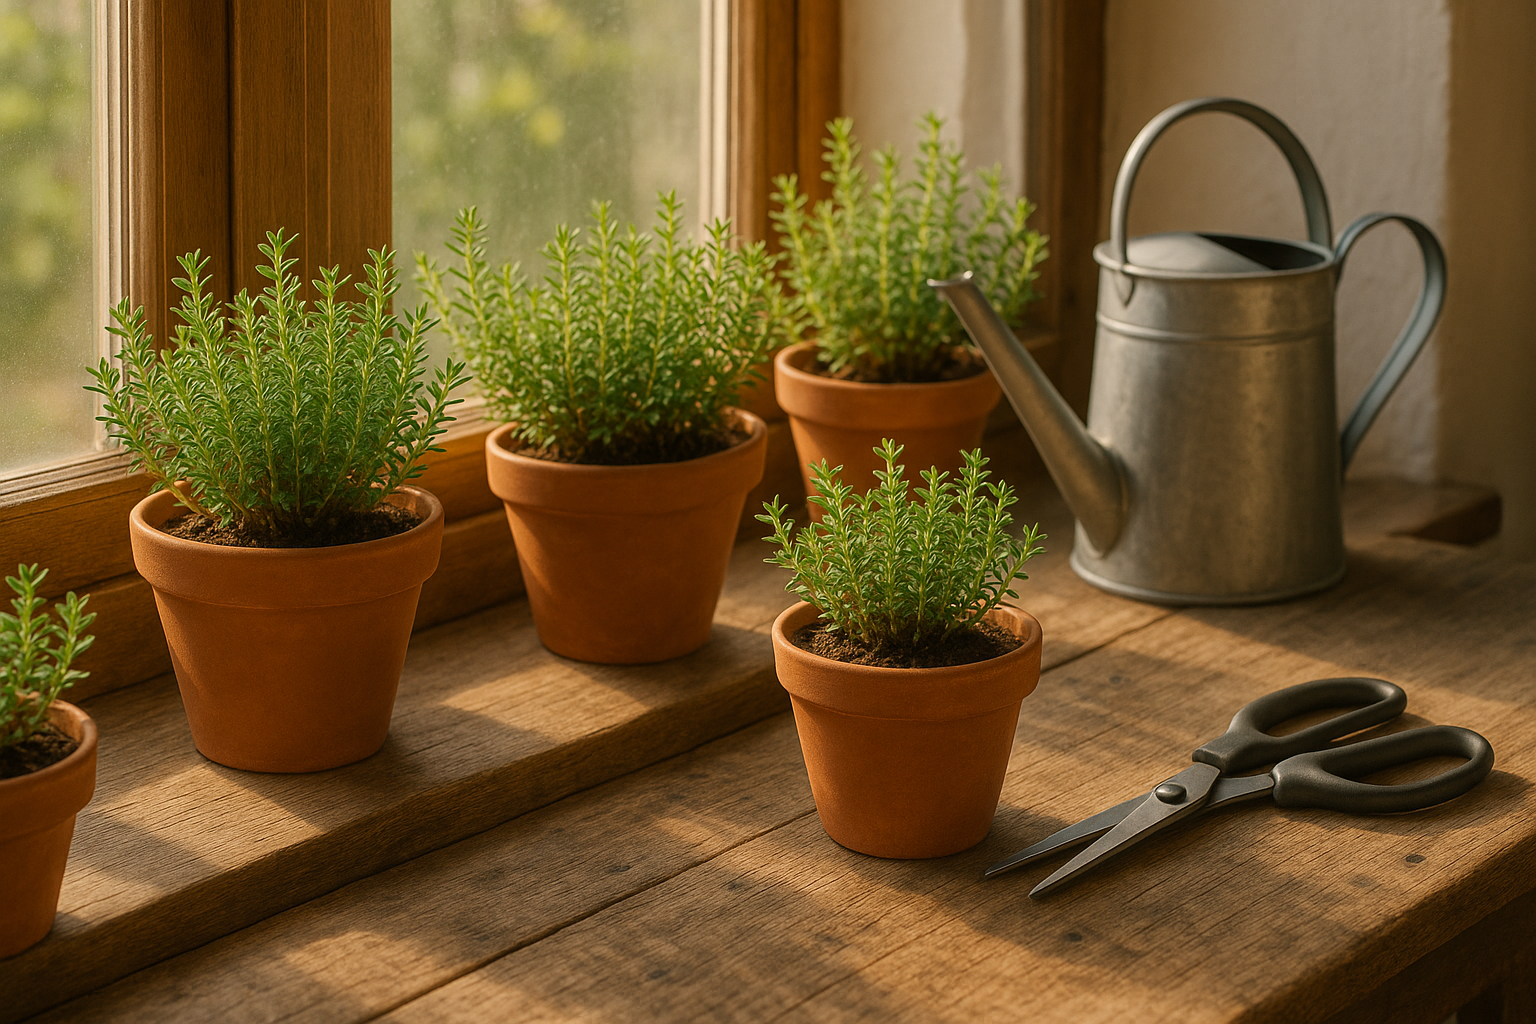
Thyme is wonderfully versatile about where it grows—consider windowsills that get 6 or more hours of sun, outdoor beds that won’t be overrun by other plants, or even small containers on patios. No matter where you plant, prioritize full sun and well-drained soil; thyme hates wet feet and will struggle in shade or soggy conditions.
When buying plants, select ones with compact growth, vibrant leaves, and no yellowing or visible pests. For seeds, check the packing date to ensure freshness. Choosing the right variety and starting method sets you up for a flourishing crop of fragrant thyme, ready to add flavor and beauty to your home and garden.
Planting Thyme—Seeds, Cuttings, or Transplants
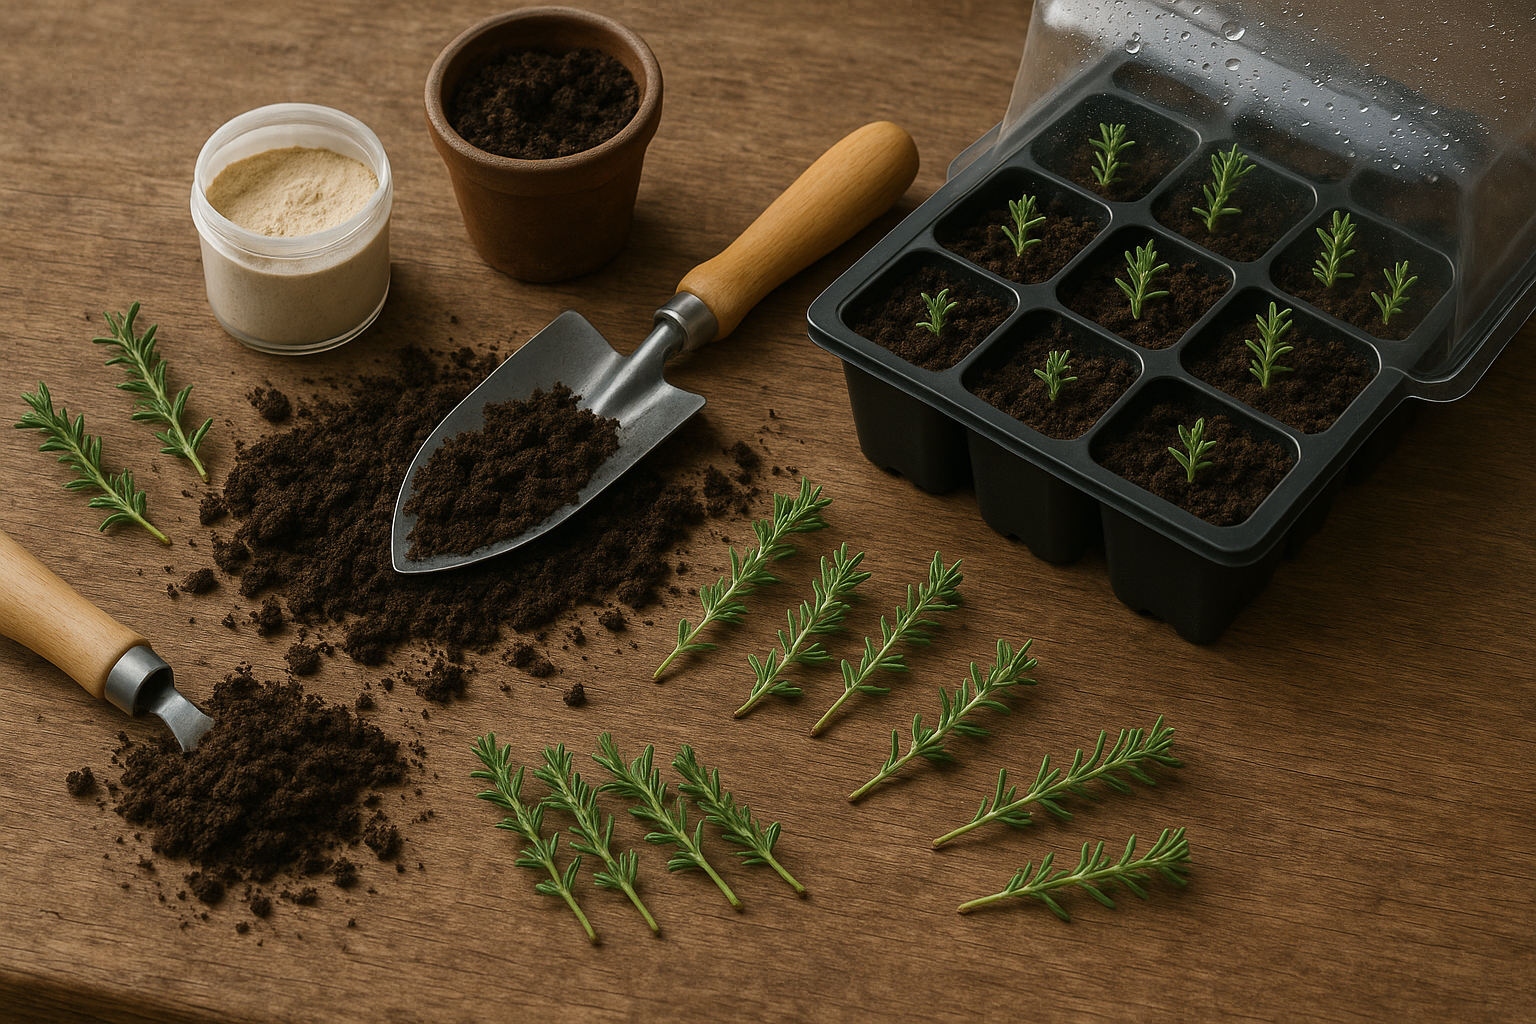
Planting thyme is simple, whether you start from seeds, cuttings, or nursery transplants. For seeds, begin indoors about 8–10 weeks before your last frost date. Scatter them on moist seed-starting mix but don’t cover them, as thyme seeds need light to germinate. Mist lightly and keep the soil warm and bright; seedlings usually sprout in 2–3 weeks. Thin them once they’re big enough to handle.
If using cuttings, snip 3–4 inch stems from a healthy plant. Remove leaves from the bottom half, dip in rooting hormone if you have it, and stick them into damp potting mix. Cover with a plastic dome or bag to retain humidity until roots develop after a couple of weeks.
For transplants or rooted cuttings, wait until outdoor temperatures stay above 60°F consistently, or grow them indoors year-round in sunny windows.
Soil and Planting Conditions
Thyme thrives in well-drained, sandy or loamy soil with a neutral to slightly alkaline pH (6.5–7.5). Mix in a little compost before planting, and make sure your planting spot—garden or container—never stays soggy, since thyme hates wet feet.
If growing in pots, choose containers at least 6–8 inches in diameter with drainage holes, and use cactus or herb potting mix for extra drainage. Let the soil dry out somewhat between waterings and avoid overfertilizing, as this promotes lush leaves but weakens flavor.
Planting Tips and Location
- Outdoors, plant thyme once the danger of frost has passed.
- Indoors, start seeds anytime for a year-round supply.
- Fill small containers with grit at the bottom for extra drainage.
- Consider placing pots near your kitchen door for easy picking.
- Outdoor thyme grows best in full sun, so pick your sunniest spot.
- Indoors, aim for at least 6 hours of light daily, using a grow light if needed.
Caring for Thyme—Water, Light, and Pruning
Thyme is a sun-loving herb that thrives best with at least six hours of bright, direct sunlight each day. Place your outdoor thyme in the sunniest spot available. If you’re growing thyme indoors, choose a south-facing window or supplement with a grow light to mimic outdoor conditions. Without enough light, thyme can become leggy and weak.
When it comes to watering, thyme prefers slightly dry conditions rather than soggy soil. Water deeply when the top inch of soil feels dry, but make sure the pot or garden bed drains well. Overwatering is the quickest way to harm thyme, so let the soil dry out a bit between waterings.
Pruning is key for healthy, bushy growth. Regularly pinch off the top few inches of stems, especially before the plant flowers, to encourage it to branch out rather than become tall and woody. Don’t hesitate to snip what you need for cooking either, as frequent harvesting naturally keeps thyme tidy and full.
Fertilizer isn’t usually necessary if thyme is grown in rich, well-amended soil. However, if the plant seems pale or sluggish, a light dose of balanced fertilizer in early spring can give it a boost. Just don’t overdo it, since thyme grown in lean soil often develops better flavor.
Ongoing care is simple:
- Diligently remove dead stems or faded flowers.
- Keep weeds at bay.
- Occasionally refresh mulch or compost around outdoor thyme to retain moisture and suppress weeds.
With just a few minutes of attention each week, your thyme will remain lush, aromatic, and ready to elevate your home-cooked dishes all season long.
Harvesting and Using Homegrown Thyme
Harvesting thyme at the right time preserves both its rich flavor and the health of your plant. The best moment to cut thyme is just before it blooms—when you notice buds starting to form but before the flowers open. This is when the essential oils, which give thyme its signature aroma and taste, are at their peak.
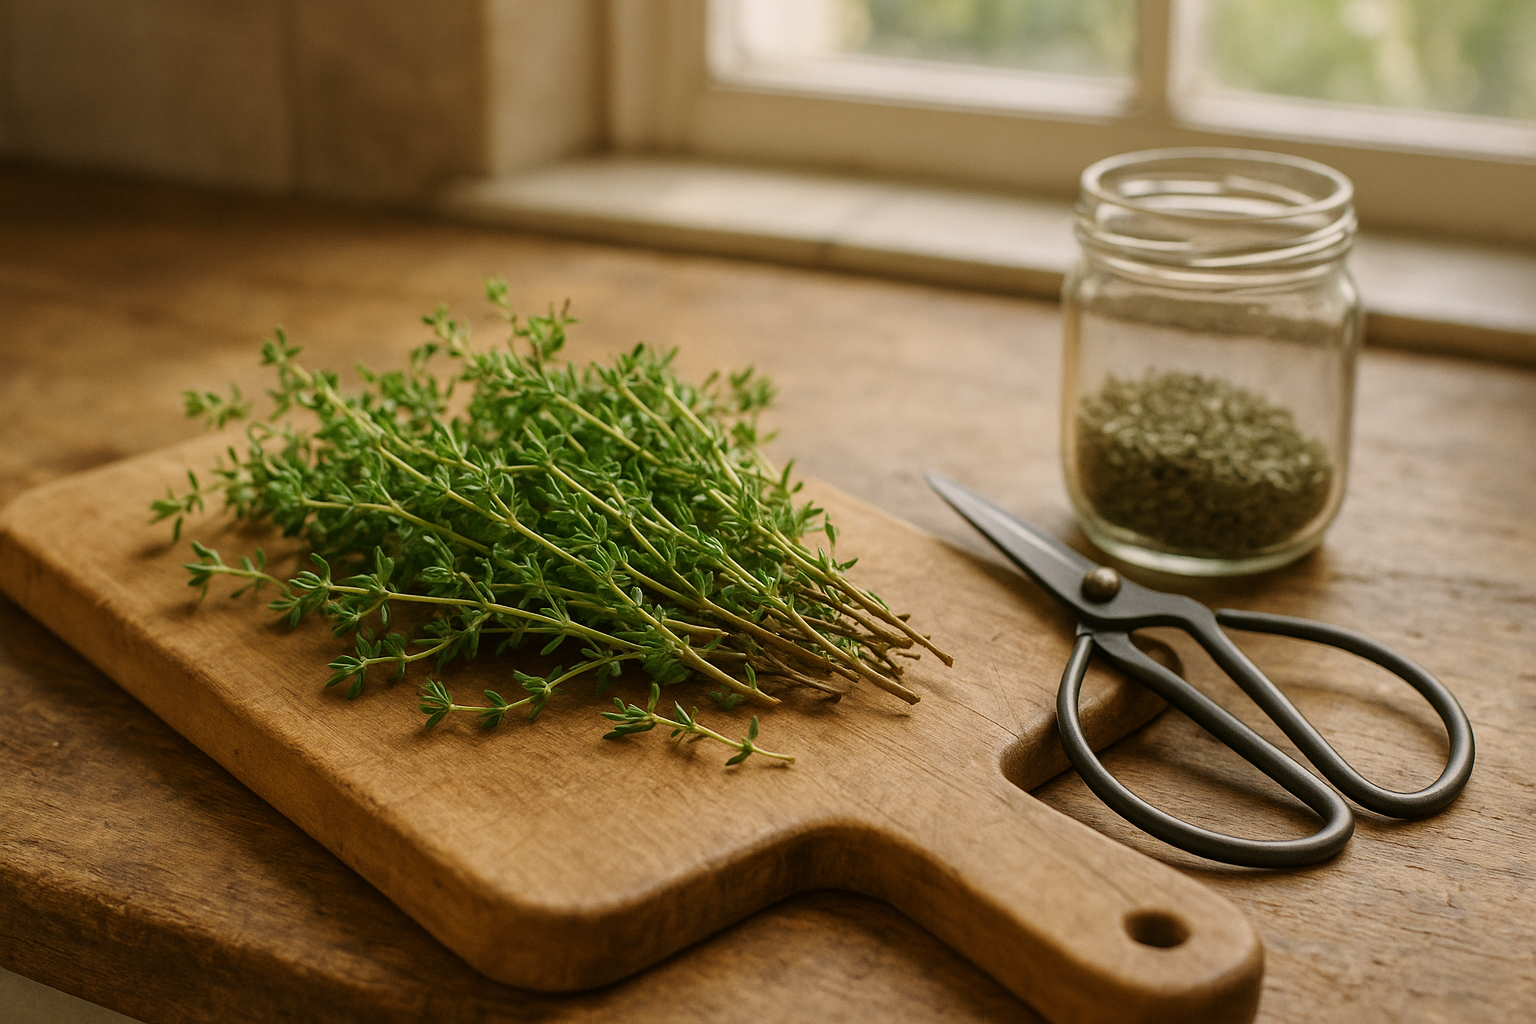
To harvest, use sharp scissors or garden shears to snip off 4-6 inch sprigs, leaving at least five inches of growth behind so the plant can continue thriving. Avoid cutting more than a third of the plant at once. Harvesting regularly, every few weeks during the growing season, not only gives you plenty of fresh herbs but also stimulates your thyme to send out new, bushier growth.
In the kitchen, fresh thyme is incredibly versatile—strip the leaves from the stems by running your fingers down each sprig and add them to soups, roasted vegetables, marinades, or grilled meats for a burst of earthy flavor.
To store thyme for later, dry the sprigs by tying them into small bundles and hanging them upside down in a cool, dark, well-ventilated space for about a week. Once dry, crumble the leaves into an airtight container and keep them in a pantry drawer away from sunlight. Dried thyme can last up to a year and packs a concentrated flavor, so use about half as much as you would fresh.
Whether fresh or dried, having homegrown thyme on hand is a simple way to boost your meals and your gardening success.
Common Problems and Simple Solutions
Thyme is a hardy herb, but like any plant, it can face a few common issues. Pests such as aphids and spider mites may cluster on tender shoots, causing leaves to curl or become sticky. Simply rinse them off with a strong spray of water or use insecticidal soap.
Fungal diseases like powdery mildew appear as white, dusty patches on leaves and usually develop when the plant is kept too wet or crowded. To prevent this, plant thyme in well-drained soil and ensure plenty of airflow by spacing plants apart.
Root rot is another problem that causes leaves to wilt and turn yellow despite regular watering. The culprit is often waterlogged soil. Make sure your thyme pot or bed drains well and avoid overwatering.
Regularly check the undersides of leaves and the soil surface so you can catch problems early. Removing affected leaves or adjusting your watering routine usually resolves the issue.
The good news is thyme is famously resilient, bouncing back quickly from minor setbacks, making it an ideal herb for beginner gardeners. With just a little attention, thyme rewards you with vigorous, problem-free growth and plenty of savory leaves for your kitchen.
Quick FAQs and Extra Tips for Success
Absolutely, thyme is one of the most beginner-friendly herbs you can grow, and yes—it thrives both indoors and outdoors! Indoors, place your thyme near a south-facing window for the best sunlight, or supplement with a grow light. Outdoors, well-drained soil and full sun are key.
Expect your thyme plant to flourish for up to 5–6 years with proper care, although woody stems and sparse leaves in later years mean it’s time to refresh your plant or propagate new cuttings. Yellowing leaves or limp stems often indicate overwatering, so let the soil dry between waterings.
For even healthier thyme, try companion planting with tomatoes or cabbage, as thyme can help deter pests. Mulching lightly with gravel around the base boosts drainage and curbs weeds. Remember to trim regularly and don’t be afraid to harvest—you’ll encourage bushier, more robust growth.
In cooler climates, bring pots indoors before the first frost or mulch well to insulate roots. Above all, experiment and have fun: every gardener discovers their own tips and tricks along the way.
Summing up, thyme is tough, forgiving, and packed with flavor, making it the perfect herb for beginners and seasoned gardeners alike. Give it a try—fresh-picked thyme straight from your windowsill is unbeatable!