Introduction to Chamomile and Its Benefits
If you’ve ever wondered how to grow chamomile, you’re not alone—this delicate, daisy-like herb has charmed home gardeners for centuries. Best known as the soothing star of calming teas and gentle skincare remedies, chamomile brings both beauty and utility to your home garden. Whether fresh or dried, its fragrant blossoms can infuse your tea with a honeyed scent or fill a sachet to help you unwind after a long day. The good news? Chamomile is remarkably easy to grow, making it perfect for beginners looking to start their gardening journey with rewarding results.
There are two main types you’ll encounter: German chamomile (Matricaria chamomilla) and Roman chamomile (Chamaemelum nobile). German chamomile is the more common choice for home gardens, valued for its taller stems and impressive yield of blooms—ideal if you’re dreaming of plentiful homemade tea. Roman chamomile, on the other hand, serves beautifully as a fragrant, low-growing groundcover but produces fewer flowers.
In this article, you’ll discover how to plant chamomile from seed or seedlings, care for your plants until harvest, and tips for maximizing those delicate blooms. Whether your goal is a flourishing windowsill or a backyard patch, growing chamomile at home starts here.
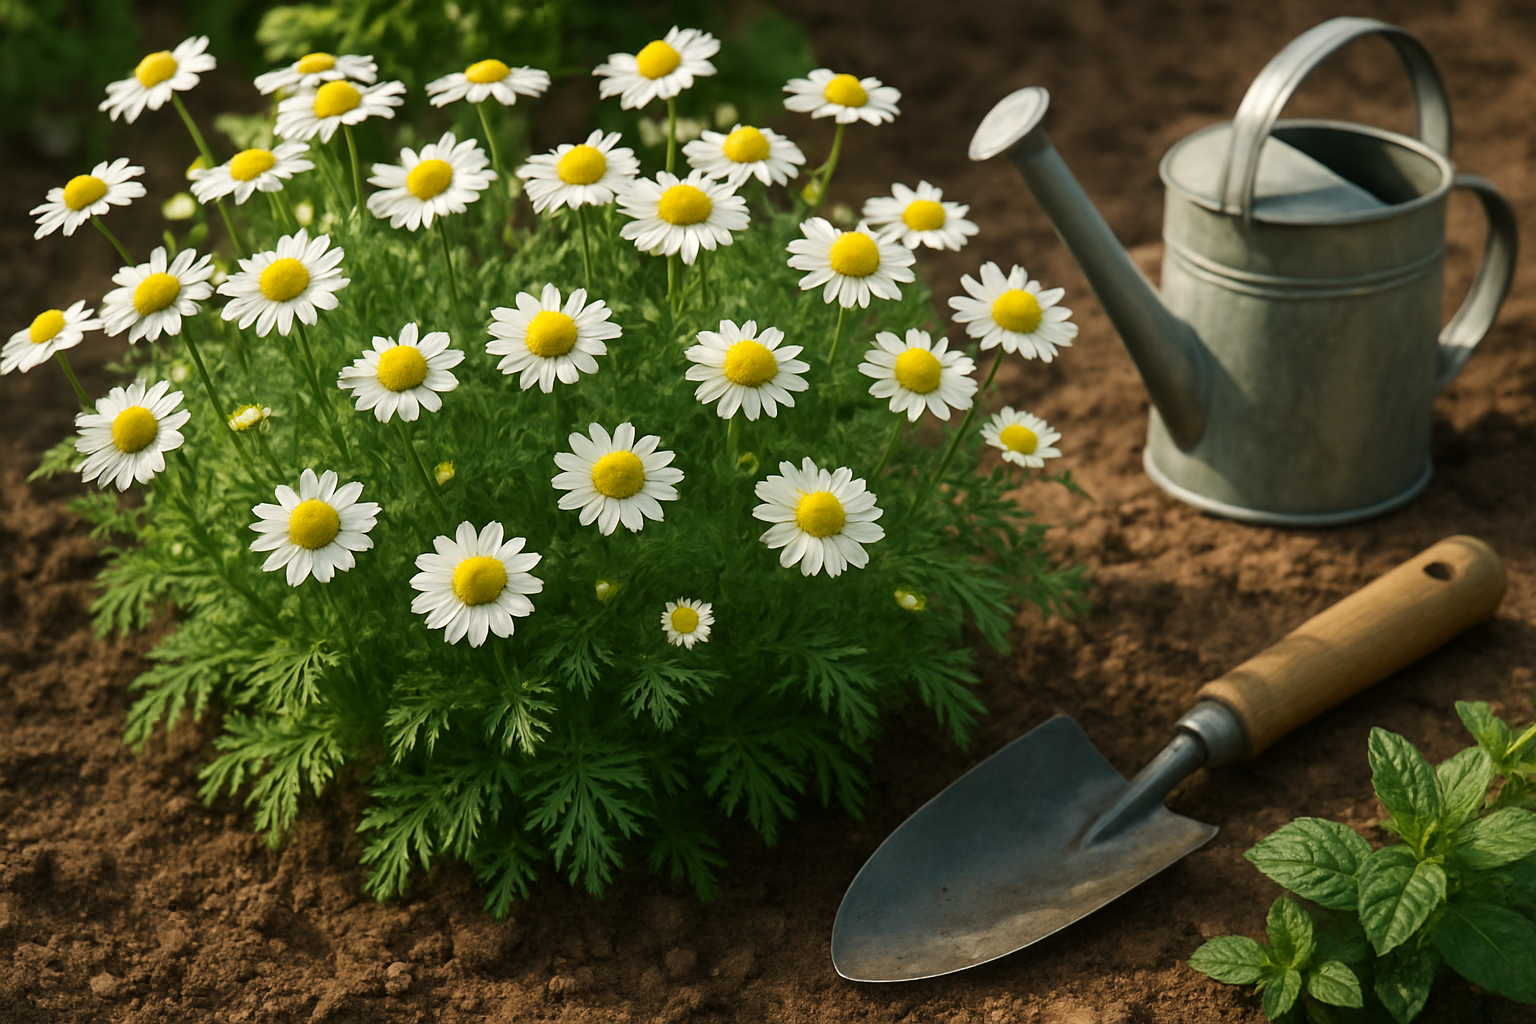
Choosing the Right Chamomile Variety and Location
When growing chamomile, picking the right variety and location makes all the difference. There are two main types: German chamomile (Matricaria chamomilla) and Roman chamomile (Chamaemelum nobile).
For delicious herbal tea, German chamomile is your best bet. Its tall, delicate stems and plentiful daisy-like flowers produce a sweet, apple-scented flavor. Roman chamomile, on the other hand, forms a low, creeping mat perfect for a fragrant groundcover or between stepping stones—though it’s also edible, its flowers make a milder, slightly bitter brew.
Start by considering your climate and space:
- German chamomile is an annual that flourishes from direct seeding in garden beds.
- Roman chamomile is a perennial, great for beds and containers.
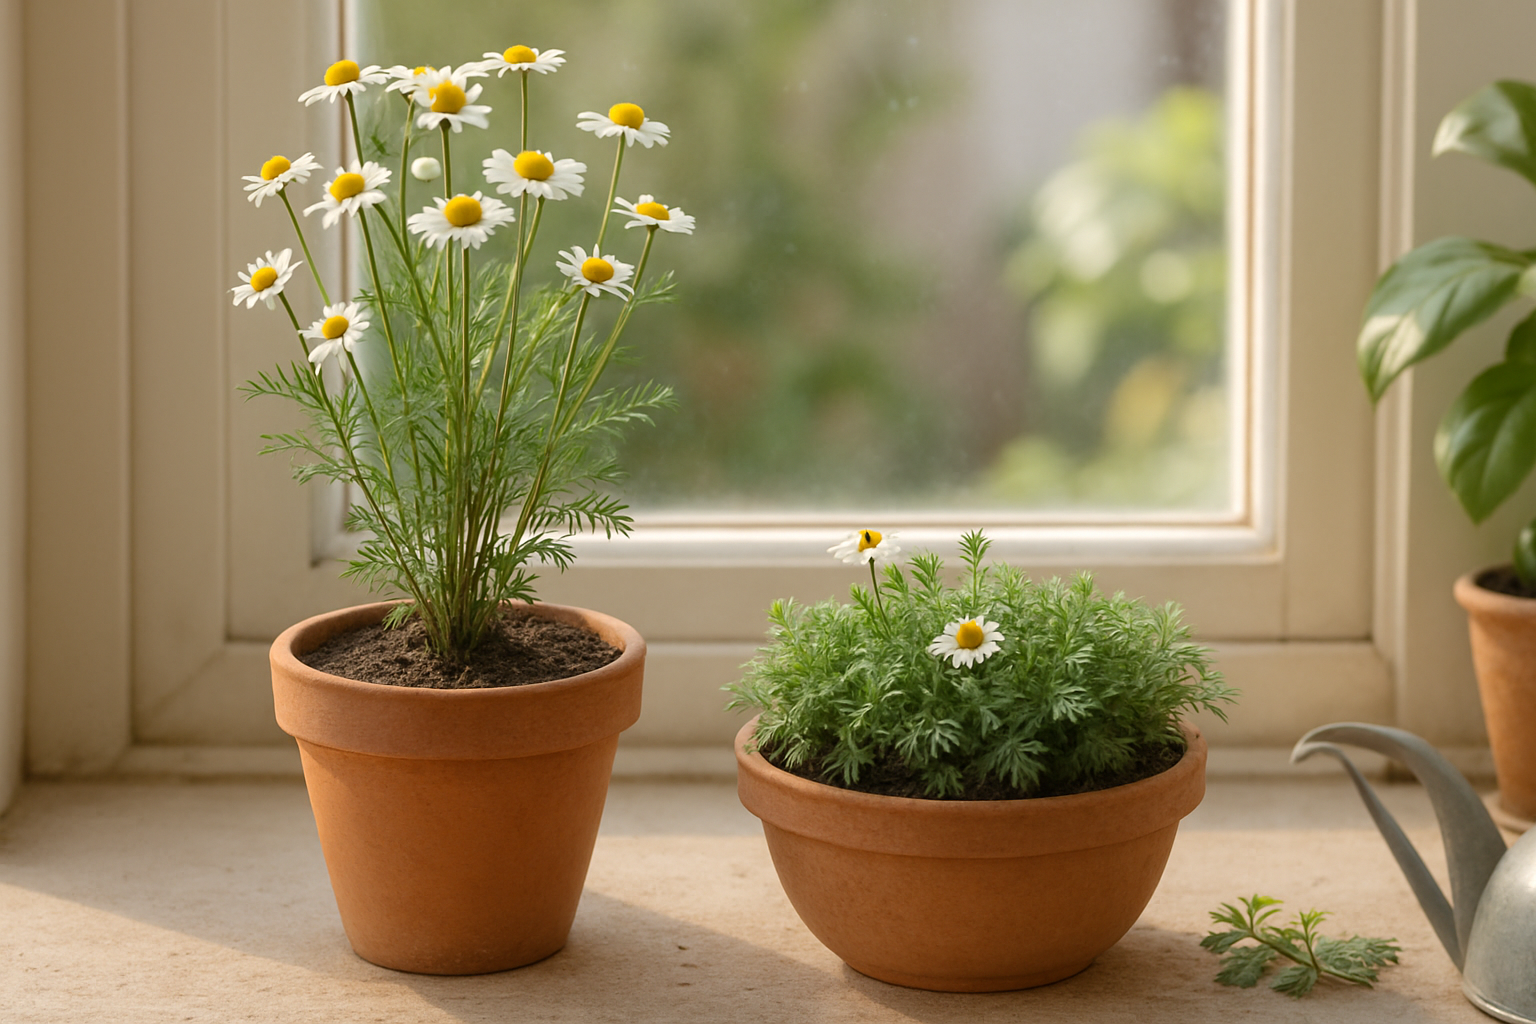
If you have limited space or want to grow indoors, use pots at least 6 inches deep and wide, ensuring good drainage. Choose seedlings or seeds from a reputable nursery. Roman chamomile tolerates cooler summers, while German chamomile thrives in warmer, sunnier spots.
Both varieties love full sun but can handle partial shade. Pick a location that gets at least 6 hours of sunlight daily, and ensure the soil is loose, sandy, and drains well—waterlogged roots are chamomile’s enemy.
To grow indoors, place pots near a south-facing window or use grow lights to simulate sunlight. Outdoors, raised beds or the front of garden borders work well, and containers can brighten patios or balconies—just avoid overly humid or shaded areas.
For best results, keep the soil evenly moist but never soggy, and provide some shelter from harsh winds. By matching the variety to your climate and choosing a sunny, well-drained spot, you’ll enjoy a lush chamomile harvest, perfect for soothing tea or charming garden groundcover.
Planting Chamomile
Starting chamomile from seed is simple with the right timing and care. Begin by deciding whether to sow indoors or directly outside. If you live in a cooler climate or want earlier blooms, start seeds indoors 6-8 weeks before your last frost date.
Sprinkle the tiny seeds on top of moist seed-starting mix, pressing them gently—don’t cover, as they need light to germinate. Keep the soil damp but not soggy and set the trays by a bright window or under grow lights. Chamomile seeds typically sprout in 7-14 days.
If sowing outdoors, wait until after the last frost, then scatter seeds onto worked soil, again pressing down lightly without burying. Space your seeds or seedlings about 6-8 inches apart to give each plant breathing room, and sow at a depth no deeper than 1/8 inch to ensure good germination. Water with a fine mist to avoid washing seeds away.
For seedlings, harden them off first—set trays outside in shade for a few hours each day, gradually increasing sunlight and outdoor exposure over a week. Transplant into the garden after all frost threats pass, planting at the same level they grew in their pots.
Avoid common mistakes like overwatering, which can rot seeds, or crowding—both stifle young plants. Skipping hardening off often leads to transplant shock, so take that extra step for sturdy growth. With careful attention early on, your chamomile will thrive and reward you with a fragrant, cheerful patch.
Caring for Your Chamomile Plants
Keeping your chamomile plants healthy is simple but requires some attention to environmental details. Water your chamomile once or twice a week, just enough to keep the soil lightly moist—let the top inch of soil dry out before rewatering to avoid root rot, a common issue with overwatering.
In most garden beds, chamomile doesn’t need heavy feeding, but if your soil is poor, you can use a dilute, all-purpose organic fertilizer once a month during the growing season. Mulching with straw, compost, or shredded leaves helps your plants retain moisture and keeps weeds under control, reducing the chance for diseases to take hold.
Be sure to weed regularly by hand or with gentle hoeing, as chamomile seedlings can be delicate and easily crowded out. Watch for pests like aphids, thrips, or spider mites—a quick blast of water or an application of insecticidal soap helps manage outbreaks organically.
Powdery mildew and damping-off are the most common diseases; prevent them by spacing plants for good air circulation and watering at the base to keep leaves dry.
Mixing chamomile with companion plants such as basil, mint, or brassicas (like broccoli) can enhance its growth and may even deter pests, thanks to chamomile’s natural pest-repelling qualities. Avoid planting it with mint if you’re worried about space—mint can take over a bed quickly.
By sticking to these simple care routines and keeping an eye out for pests and diseases, you’ll ensure your chamomile thrives, providing you with plenty of aromatic blooms for teas or homemade remedies all season long.
Harvesting and Drying Chamomile Flowers
You’ll know chamomile flowers are ready to harvest when their daisy-like blooms are fully open and the white petals begin to droop backward from the firm, yellow center. Harvest in the morning after the dew has dried but before the midday sun, as this is when chamomile’s essential oils are at their peak for the best flavor and potency.
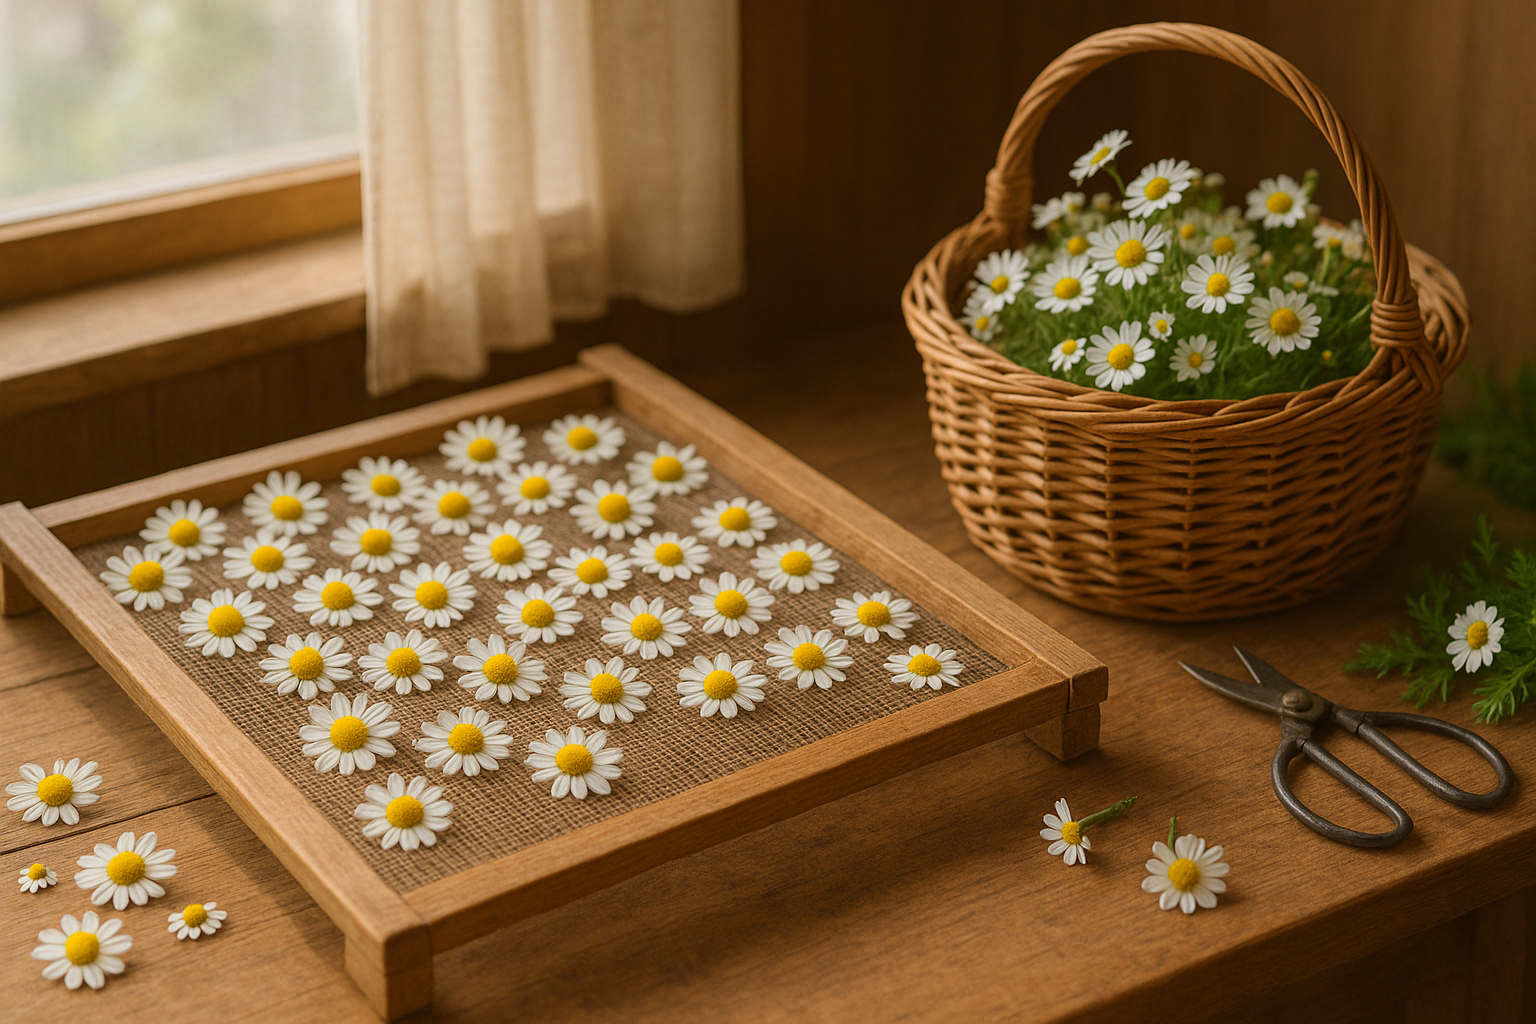
To harvest, gently pinch or use garden scissors to snip just below the flower head, taking care not to pull up the whole plant. Drop the flowers into a basket or breathable container to prevent bruising.
For drying, spread the flowers in a single layer on a clean, dry mesh screen or a baking sheet lined with paper towels. Place them in a warm, shady spot with good air circulation, like on top of a shelf or in a ventilated area of your kitchen. Check daily and gently move the flowers around for even drying.
The flowers are ready when they feel crispy, and the centers crumble easily—usually within one to two weeks. To store, transfer the thoroughly dried chamomile heads to an airtight glass jar kept in a cool, dark cupboard. Label the jar with the harvest date and avoid opening it frequently to prevent moisture from getting in.
Properly dried and stored chamomile can retain its lovely aroma and calming properties for up to a year, making it perfect for teas or homemade remedies.
How to Use Your Homegrown Chamomile
Homegrown chamomile is a wonderful addition to your natural wellness routine, and it’s remarkably easy to use. For a soothing cup of chamomile tea, simply steep 1-2 teaspoons of dried blossoms in hot water for 5-10 minutes; add honey or a splash of lemon for extra flavor.
Beyond tea, chamomile’s benefits extend to calming the mind, encouraging restful sleep, and soothing skin irritations thanks to its natural anti-inflammatory compounds. You can harness these qualities by making simple DIY projects at home:
- Infuse dried chamomile into coconut oil to create a gentle homemade salve for minor cuts or dry skin.
- Add a handful of dried flowers to a muslin bag and toss it into your bath for a relaxing soak. Chamomile’s sweet, apple-like scent transforms bath time into a calming ritual.
- Sew dried chamomile into small fabric bags to create easy sleep sachets to tuck into your pillowcase—the gentle aroma may help ease you into a peaceful slumber.
Whether sipping tea, caring for your skin, or winding down at night, your homegrown chamomile can bring a little more calm to your daily life.
Troubleshooting Common Chamomile Growing Problems
Growing chamomile can be rewarding, but like any garden favorite, it sometimes faces setbacks. Wilting is a common issue, often caused by either overwatering or underwatering—check the soil with your finger; if it’s soggy or bone dry, adjust your watering routine.
Yellow leaves might point to poor drainage or root rot, so make sure your plant’s container or garden bed allows water to flow freely, and trim back any mushy, brown roots.
Stunted growth can happen if chamomile doesn’t get enough sunlight or nutrients; aim for a sunny spot and give it a little boost with a diluted, balanced fertilizer every few weeks.
Pests like aphids or spider mites can also stress your plants; spraying with a gentle soap-and-water mix or encouraging helpful insects like ladybugs can keep them under control.
Remember, nearly every gardener faces occasional setbacks—don’t let a few droopy stems discourage you. There are plenty of community forums and extension services online where you can get personalized advice and connect with others troubleshooting the same issues. Keep learning and enjoying the process as your chamomile patch perks up!