Introduction
Growing sage indoors is an easy way to keep this versatile herb within arm’s reach, making it simple to add deep, earthy flavor to your meals or use in traditional remedies. When you start growing sage indoors, you gain more than just fresh herbs—you also benefit from sage’s air-purifying qualities, which add a subtle herbal aroma and support a healthier home environment.
The convenience of indoor growing means you won’t have to run to the store for a handful of fresh leaves—just snip what you need. Plus, indoor cultivation protects your sage from pests and harsh weather, allowing you to enjoy it year-round. In this post, you’ll find practical steps and easy tips for growing healthy sage indoors using only natural light, ensuring success even if you have limited gardening experience. Get ready to enjoy fresher meals, a greener home, and the satisfaction of homegrown herbs, all from your sunlit windowsill.
Choosing the Right Sage Variety for Indoors
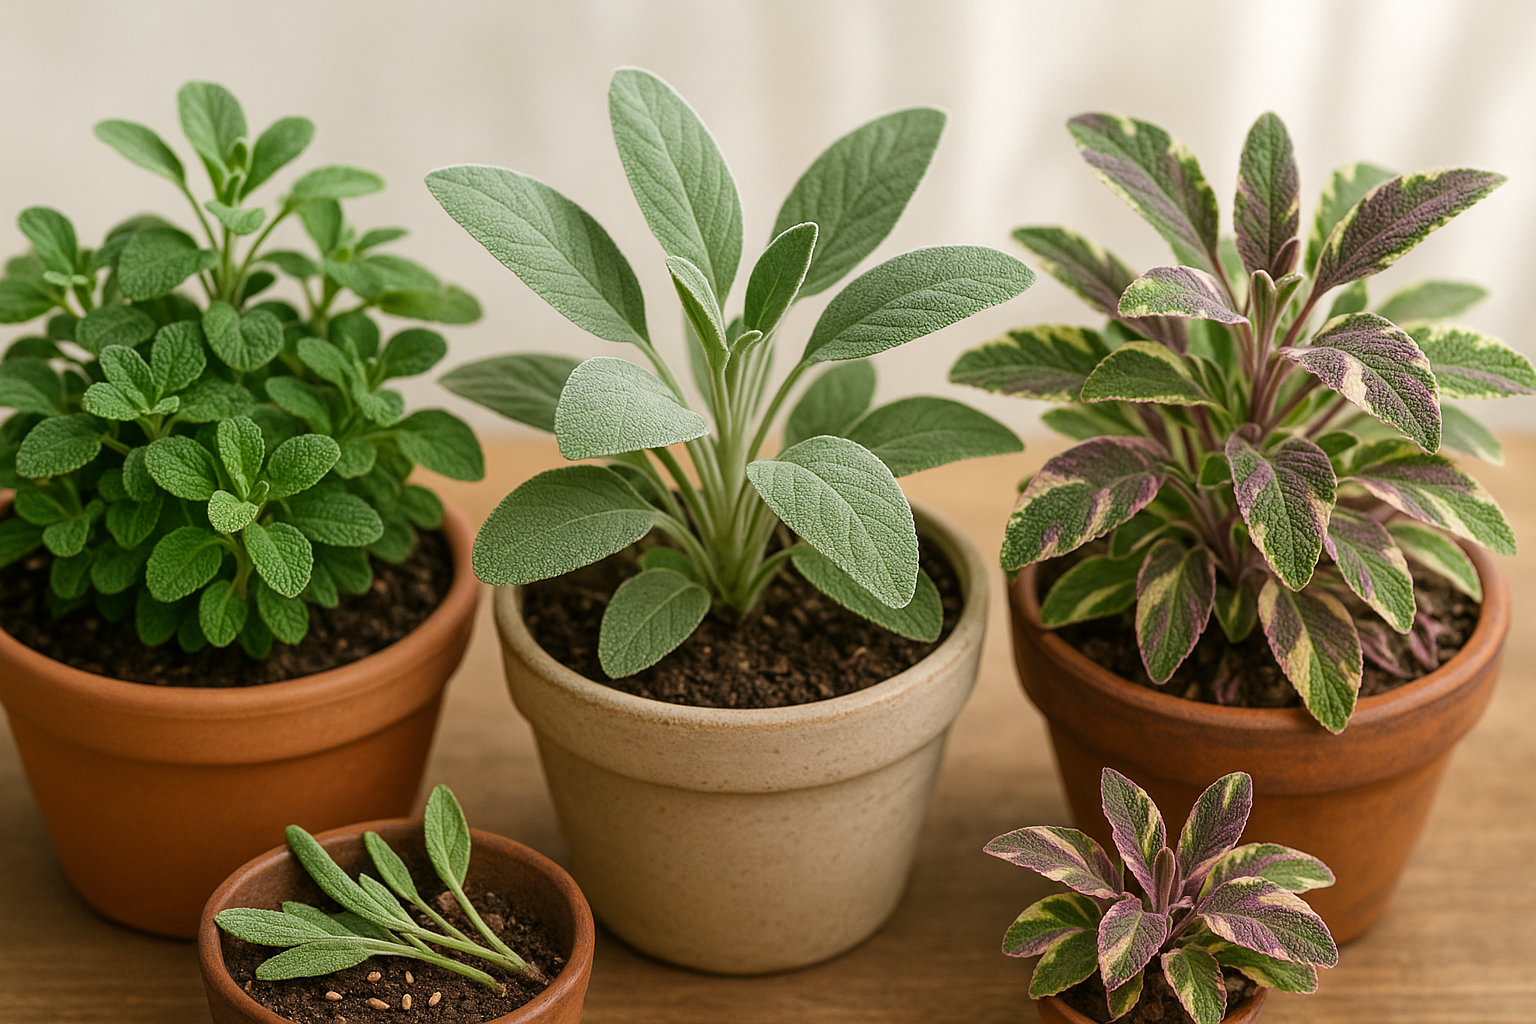
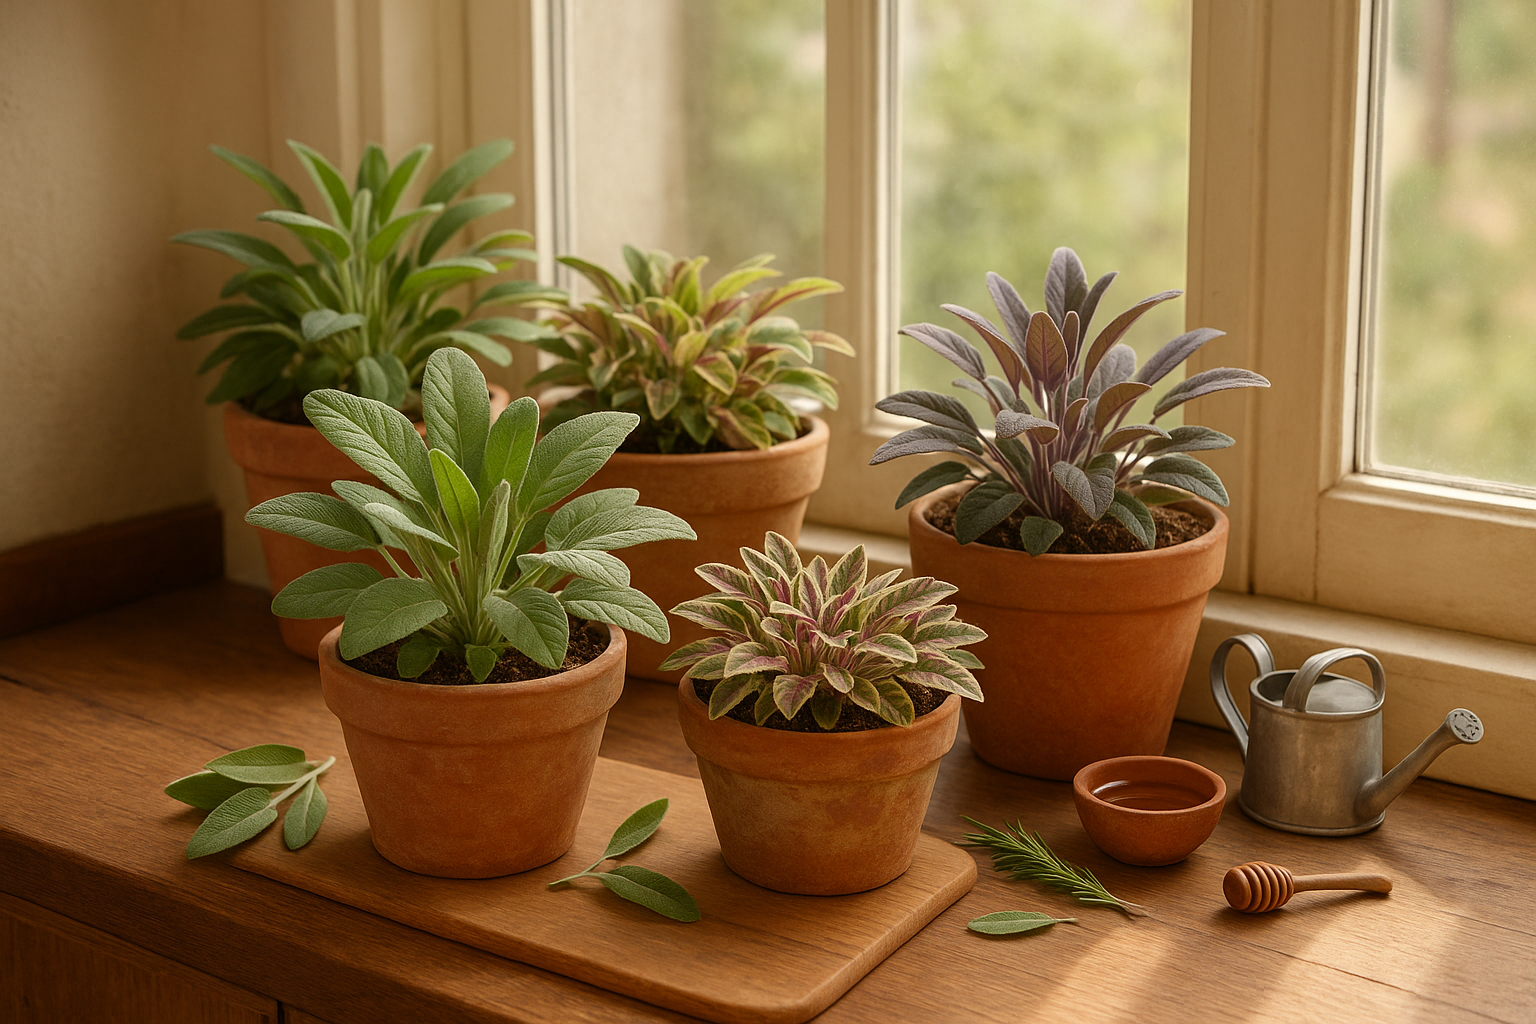
When picking a sage variety for your indoor garden, it’s important to consider both practicality and aesthetics. Common sage (Salvia officinalis) is a classic choice, offering a robust, earthy flavor perfect for cooking. Its silvery-green leaves also add subtle beauty to your windowsill.
If space is limited, look for dwarf sage varieties like ‘Compacta’ or ‘Minimus.’ These cultivars stay small and bushy, making them ideal for pots and tighter corners. For a decorative twist, consider tricolor sage, which features striking green, creamy white, and purple-tinged leaves. While it’s just as edible, its flavor is slightly milder than standard sage, making it great for lighter dishes or as an ornamental accent.
When shopping for indoor sage, prioritize disease-resistant varieties, as they are less likely to suffer from common indoor problems like powdery mildew. Look for compact growth habits on plant tags or descriptions—these varieties tend to adapt better to the space and light conditions found indoors. Finally, pay attention to leaf shape; narrow-leaved types often fit better in kitchen planters and blend nicely with other herbs.
Trying a few varieties can help you find the perfect balance of looks and flavor for your unique indoor space.
Setting Up Your Indoor Sage Garden
Sage thrives indoors when it gets plenty of bright, direct light for at least six to eight hours a day. The best spot is a south-facing windowsill, which usually receives the strongest sunlight throughout the day. If you only have east- or west-facing windows, that’s still workable—just keep an eye on the total number of sunny hours your sage gets.
To maximize the available light, clear away any nearby objects or curtains that block sunlight. Remember to rotate your sage pot weekly so all sides get equal sun exposure. If your sage starts looking leggy, pale, or slow to grow, it’s probably asking for more light—you might consider adding a simple LED grow light to help.
On the flip side, scorched leaf edges or overly wilted plants can mean too much sun or heat. If that happens, try moving the pot a few feet back from the window or add a sheer curtain to soften the harsh rays. By paying attention to these signs and adjusting your setup accordingly, your indoor sage garden will stay healthy and lush all year round.
Soil, Pots, and Planting Techniques
For healthy indoor sage, choose soil that’s light, well-draining, and slightly alkaline—think a quality cactus or herb potting mix with some perlite or coarse sand added to prevent soggy roots. Aim for a pH around 6.5–7.0.
When it comes to containers, clay pots are best because they’re porous, allowing excess moisture to escape and roots to breathe. Plastic pots, on the other hand, retain more water, which can increase the risk of root rot.
Pick a pot that’s at least 6–8 inches wide with drainage holes; this gives young plants enough space to spread out and ensures water doesn’t pool.
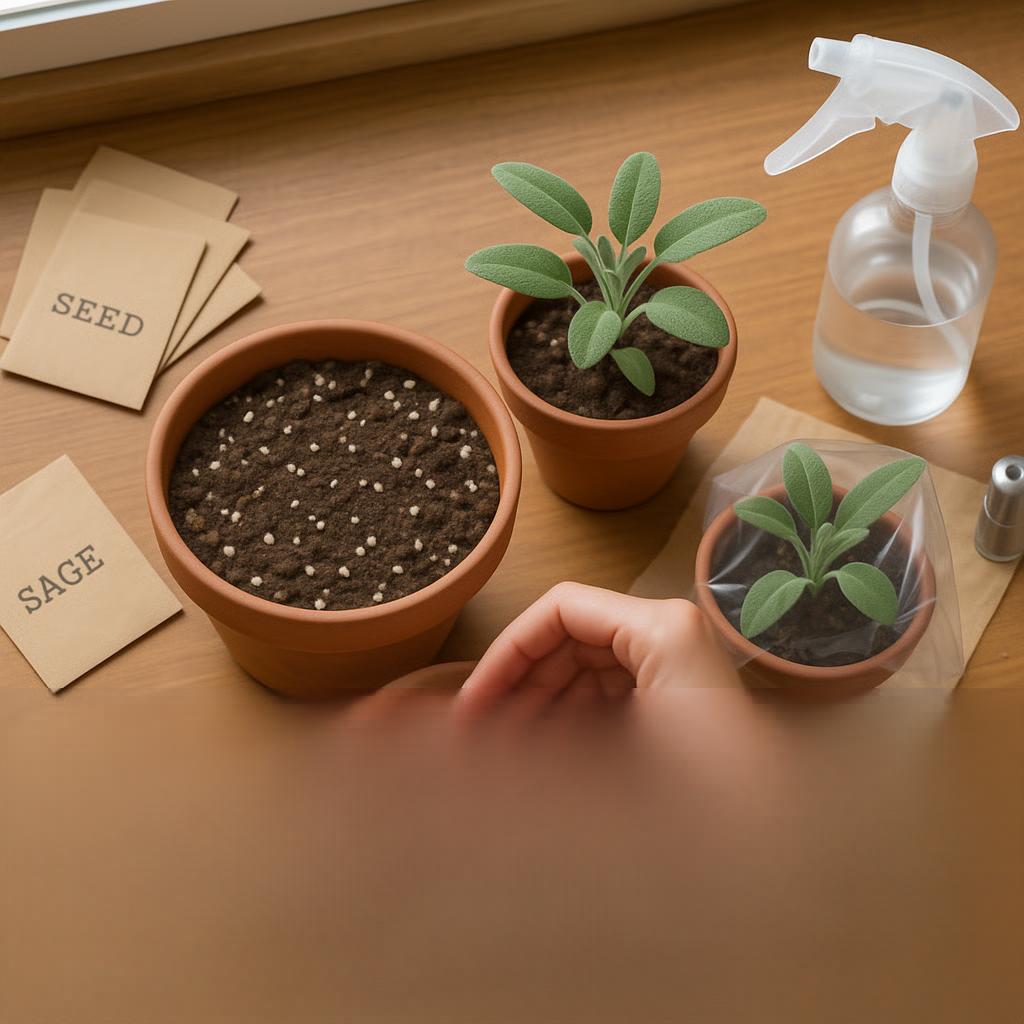
To plant from seeds:
- Sprinkle seeds thinly over moistened soil.
- Cover them with a very light layer of soil.
- Keep the pot in a warm, sunny spot.
- Germination usually takes 2–3 weeks.
For cuttings:
- Snip a 4-inch stem from healthy sage.
- Strip the lower leaves.
- Insert the cutting into moist soil.
- Cover the pot loosely with a plastic bag for a few days to trap humidity and help the cutting root faster.
Whichever method you choose, water lightly, let the soil dry out a bit between waterings, and place your sage in a bright, south-facing window for vibrant, kitchen-ready growth.
Watering, Feeding, and General Care
Proper watering is essential for healthy indoor herbs—aim to water when the top inch of soil feels dry. This often means once or twice a week, but always adjust based on your plant’s needs and the season. Overwatering is a common mistake; ensure pots have drainage holes and never let plants sit in standing water, as soggy soil can cause root rot.
For feeding, use natural or organic options like worm castings, fish emulsion, or compost tea once a month during growth periods. These gentle fertilizers provide nutrients without harming beneficial soil microbes.
Indoor air can get dry, especially in winter, so try grouping herbs together or using a pebble tray with water to boost humidity around your plants. Also, open a window occasionally or use a fan on a low setting for good airflow—this helps prevent fungal diseases.
Watch for common indoor pests like spider mites or aphids; a simple weekly inspection lets you catch issues early. If you see pests, wiping leaves with a mild soap-and-water solution or spritzing with neem oil can help control outbreaks without harsh chemicals. Always remove dead leaves and space plants apart to minimize disease risk.
By following these easy steps, your herbs will stay lush, healthy, and productive for months to come.
Pruning, Harvesting, and Propagating Sage Indoors
Pruning sage indoors is the key to a healthier, fuller plant. Start pruning once your sage has at least six inches of growth. Use clean scissors to snip off the top inch or two of young stems, just above a leaf pair. This encourages the plant to branch out, creating a bushier look and reducing legginess.
Prune regularly—every few weeks is ideal—and avoid removing more than a third of the plant at once. When it’s time to harvest sage leaves, pick the young, tender leaves in the morning when their oils are at their peak flavor. Always snip individual leaves or whole stems but leave at least half the plant intact so it can recover and continue growing strong.
To keep your indoor herb collection growing, try propagating sage by taking three- to four-inch stem cuttings from healthy plants. Strip off the lower leaves and place the cut end in water or moist potting mix. In a few weeks, roots will develop and you’ll have a new sage plant ready for transplanting.
With a little care, pruning, harvesting, and propagating can keep your indoor sage vibrant and productive year-round.
Common Problems and Troubleshooting Tips
Even the most attentive gardeners face issues like leggy growth, leaf discoloration, or powdery mildew when caring for plants. Leggy growth, where plants stretch and become spindly, often happens due to insufficient light—try moving your plant to a sunnier spot or supplementing with grow lights.
Leaf discoloration can indicate several problems:
- Yellowing: Usually caused by overwatering or poor drainage. Check if the roots are sitting in water and adjust your watering routine accordingly.
- Brown leaf tips: Often a sign of low humidity or excess fertilizer. Misting the leaves or flushing the soil with water can help.
Powdery mildew, a white fuzzy coating on leaves, thrives in damp, stagnant air. Improve airflow, avoid wetting the leaves, and treat with a homemade spray of water and baking soda.
Remember, most plant problems are reversible with a few targeted changes. Don’t get discouraged if things aren’t perfect—plants are resilient, and simple adjustments can quickly improve their health. Keep observing and experimenting until you find what works best for your space and plant variety.