Introduction to Growing Marjoram
If you’ve ever wondered about growing marjoram year-round, you’re not alone—this fragrant herb is a favorite among home gardeners and foodies alike. Marjoram (Origanum majorana) is a tender perennial herb known for its sweet, slightly citrusy flavor, making it a staple in Mediterranean cuisine and a versatile addition to soups, roasts, sauces, and salads.
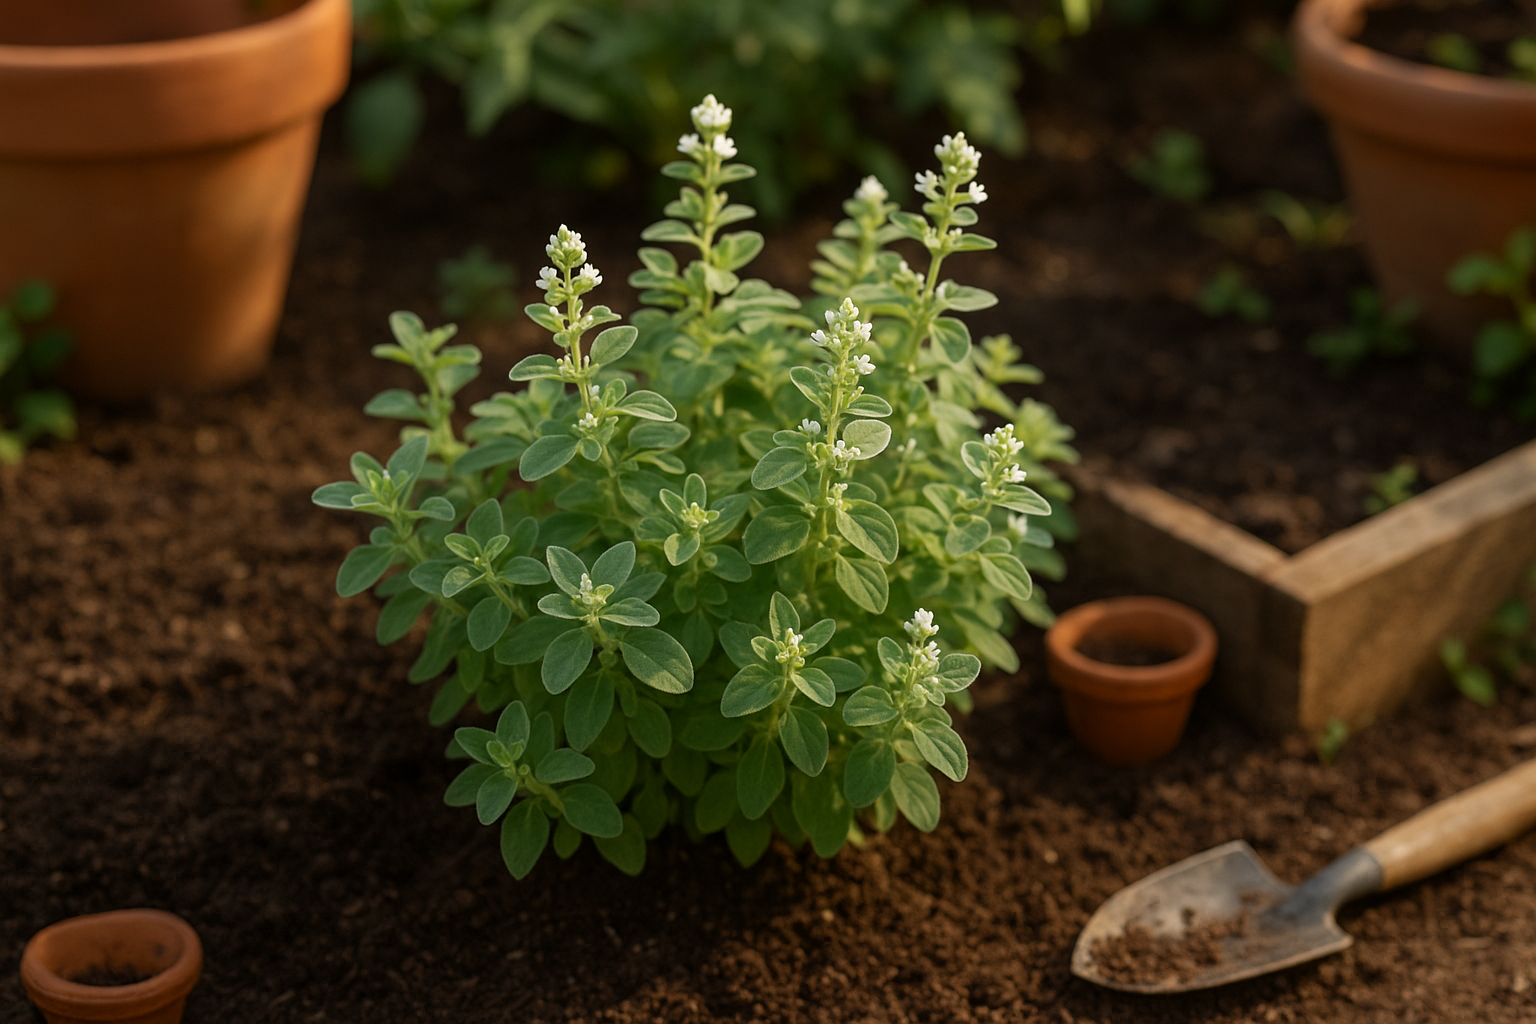
Whether in the garden or on a kitchen windowsill, marjoram’s soft green leaves are not just a treat for your dishes; the plant is also valued for being low-maintenance and drought-tolerant, making it perfect for both beginners and seasoned gardeners. Plus, its delicate white flowers attract bees and other pollinators, helping to create a healthy ecosystem in your outdoor space.
Growing marjoram at home means you’ll always have fresh, flavorful leaves on hand to boost your favorite recipes. In this guide, you’ll discover simple steps for cultivating marjoram in any season—indoors or outdoors. We’ll cover potting, optimal lighting, pruning for bushier growth, and tips to keep your plant thriving no matter the weather.
By the end, you’ll know how to grow thriving marjoram year-round and enjoy a steady supply of this delicious, beneficial herb.
Choosing the Right Marjoram and Preparing Your Garden
When starting your marjoram garden, choosing the right variety is key. Sweet marjoram (Origanum majorana) is the most popular, prized for its delicate, slightly sweet flavor that enhances soups, sauces, and meats. Wild marjoram, often marketed as oregano (Origanum vulgare), has a stronger, more robust taste and is great for Mediterranean dishes. Pot marjoram (Origanum onites) falls in between, with a peppery note and grows well in containers.
Visit your local nursery or browse reputable online catalogs to select healthy marjoram seeds or young plants—look for lush green leaves and avoid any yellowing or wilting, which could signal disease.
For the best results, marjoram loves a sunny spot, needing at least six hours of direct light each day. The soil should be light, well-drained, and slightly alkaline; sandy or loamy mixes work well. You can boost drainage by adding a bit of sand or organic compost if your soil is heavy. Raised beds and pots are excellent choices, especially if your garden area tends to hold moisture.
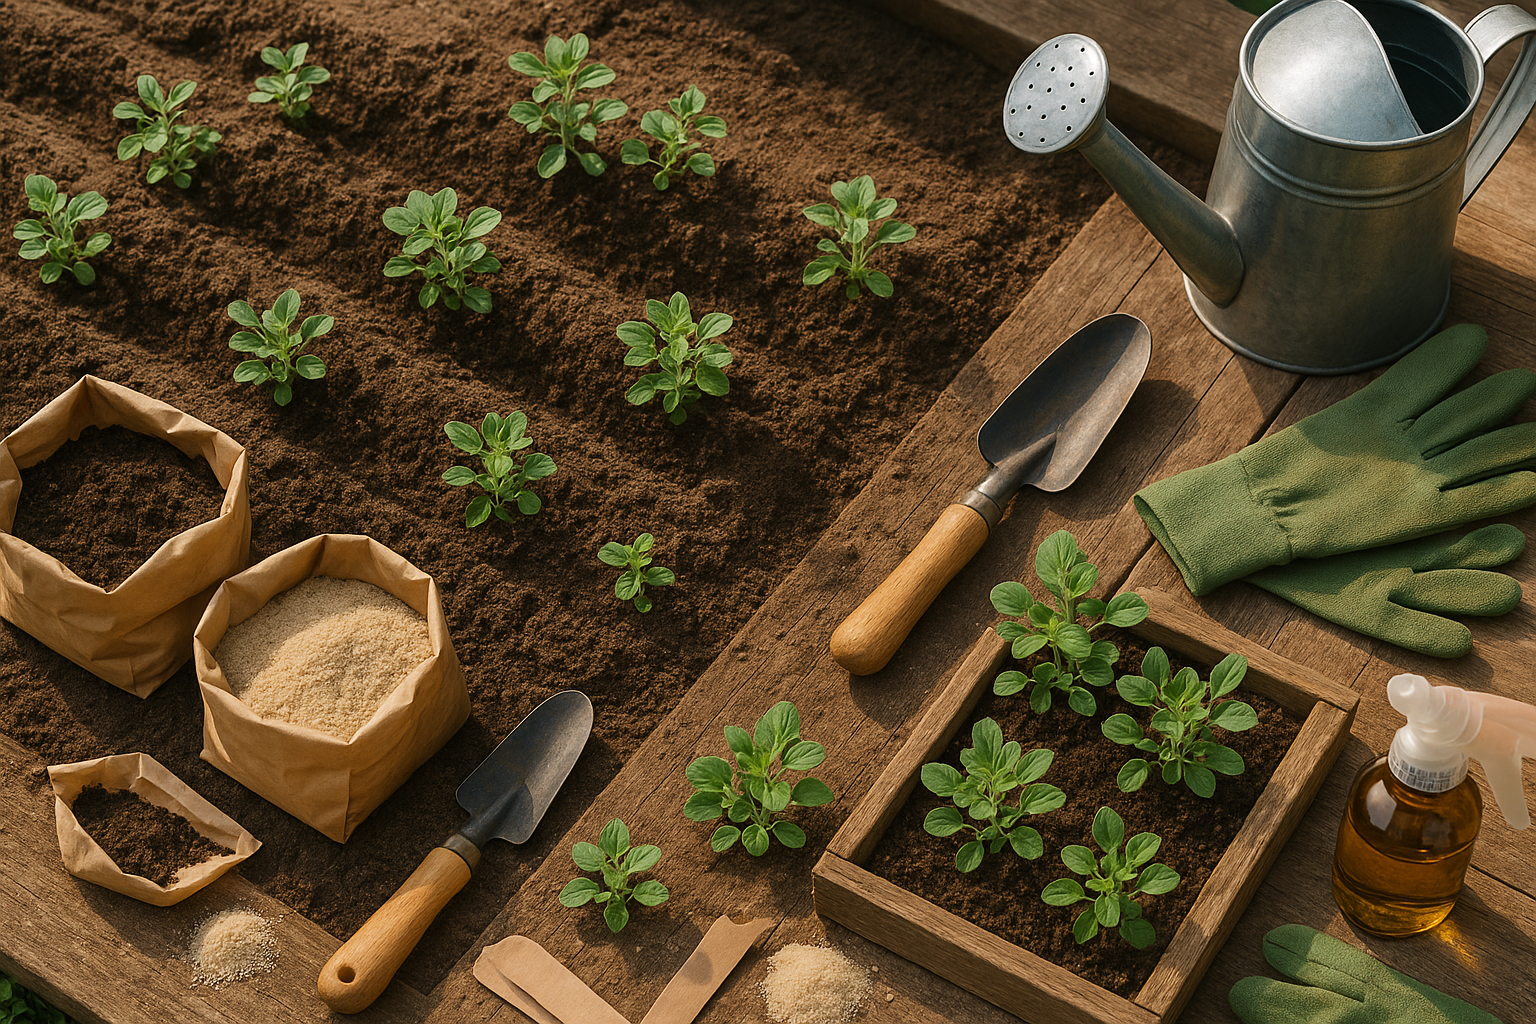
Before planting, loosen the soil and mix in compost to give your marjoram a strong start. A little planning upfront ensures your marjoram will thrive, whether tucked into a full garden bed or brightening your patio in a decorative pot.
Sowing and Planting Marjoram
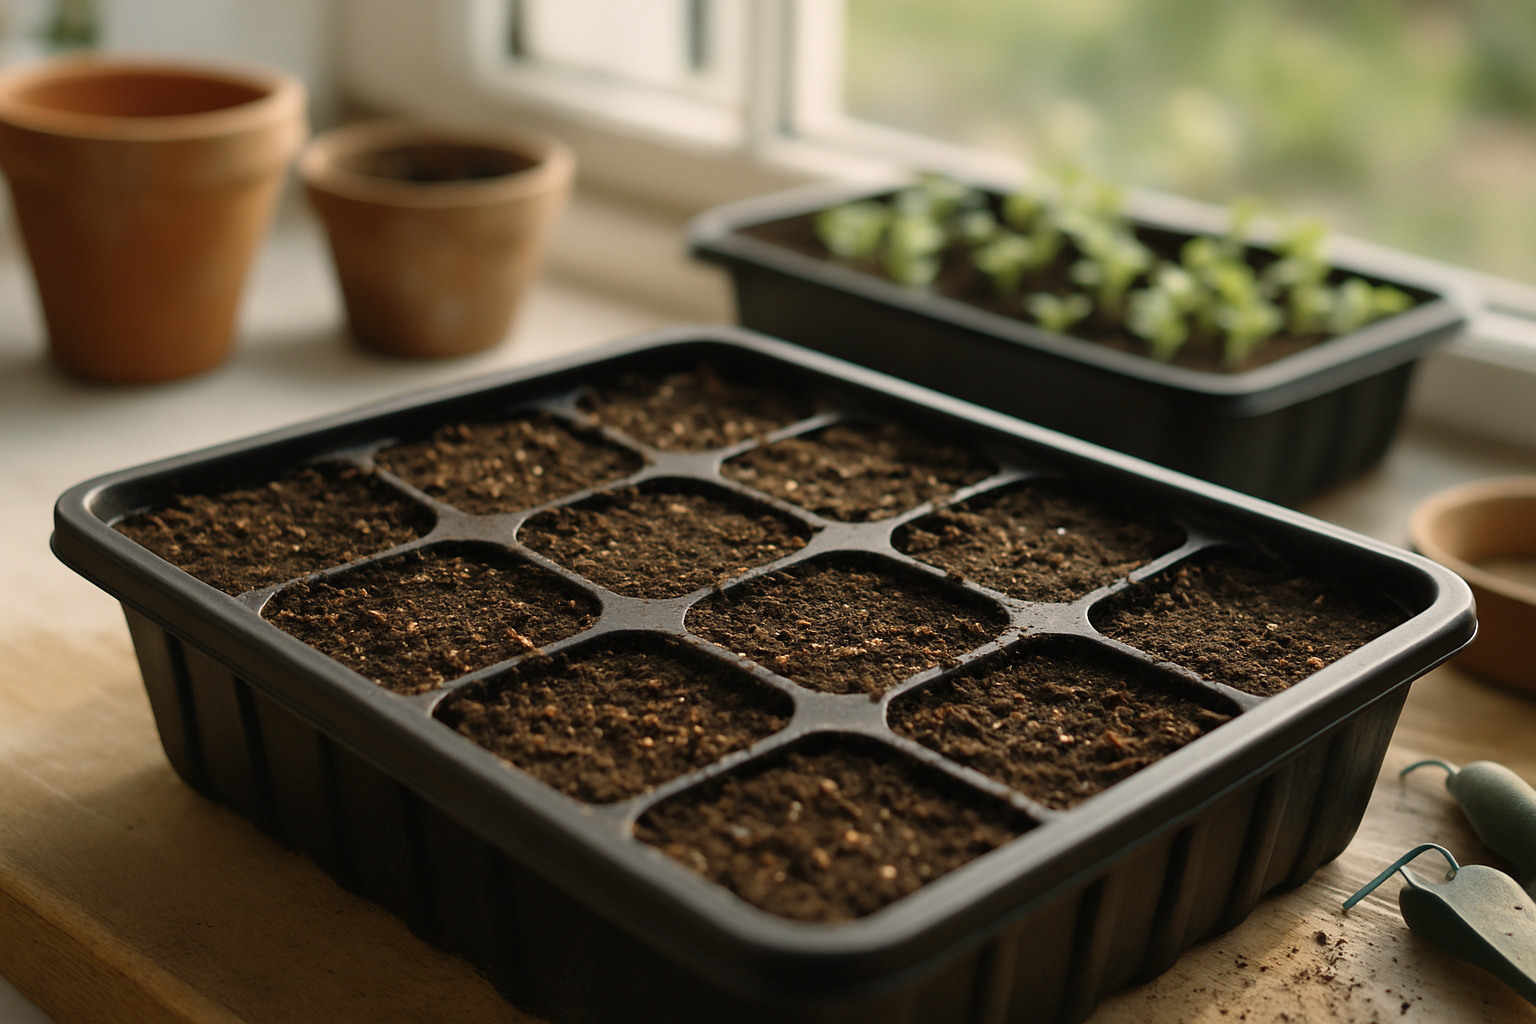
To grow marjoram successfully, start seeds indoors about 6 to 8 weeks before your area’s last expected frost date. Simply scatter seeds onto moist seed-starting mix, press them in gently, and place the trays in a warm spot with bright light. Keep the mix slightly moist, and after seedlings develop two or more sets of true leaves, they’re ready to move outside.
For direct sowing outdoors, wait until the soil has thoroughly warmed in late spring. Lightly press seeds on the surface since marjoram seeds need light to germinate, then water gently.
Transplant indoor seedlings or nursery-bought young plants when nighttime temperatures consistently stay above 50°F. Dig holes just slightly larger than each root ball, spacing plants about 8 to 12 inches apart to give them good air circulation and room to grow. Set plants at the same depth they grew in their starter pots, gently firm the soil, and water thoroughly right after planting to help roots settle.
The first week is crucial—keep the soil lightly moist but not soggy, and shield new transplants from harsh midday sun if possible. Mulch lightly to retain moisture and limit weeds.
Marjoram thrives with companions like oregano, basil, sage, and tomatoes, which share similar needs and can help deter pests. Avoid planting marjoram near aggressive herbs like mint, which may compete for resources.
With a little attention at the start, marjoram can become an easy-care, aromatic addition to your herb garden or containers.
Caring for Marjoram Plants
Caring for marjoram plants is simple once you establish a routine. Marjoram prefers well-drained soil and does best with moderate, consistent watering—allow the top inch of soil to dry out before watering again to avoid root rot from soggy conditions.
Using mulch, such as straw or bark chips, helps retain moisture and keeps pesky weeds at bay, but make sure not to mound it against the stems to prevent rot. Fertilize lightly, about once a month during the growing season, with a balanced, diluted liquid fertilizer; too much fertilizer can make the plant leggy and dilute its flavor.
To protect marjoram from extreme heat or cold, consider growing it in pots that can be moved, or provide shade cloth during hot afternoons and a frost cloth if a cold snap is expected.
Regular pruning is key—once the plant reaches about six inches tall, pinch or trim back the growing tips to encourage bushier, healthier growth. Continue this as needed, especially after harvesting, to prevent the plant from getting woody or sparse.
Watch for common issues like aphids and spider mites, which can usually be rinsed off with a strong spray of water or treated with insecticidal soap. Marjoram is also susceptible to fungal diseases in overly wet conditions, so ensure good airflow and avoid watering late in the day. If you notice yellowing leaves or spots, prune away affected stems and improve air circulation.
With these habits, your marjoram will stay healthy, robust, and ready to flavor your favorite dishes all season long.
Harvesting, Storing, and Using Marjoram
To get the best flavor from your marjoram, harvest the leaves just before the plant flowers, as this is when the essential oils are at their peak. Use sharp scissors or pruning shears to snip stems in the morning after any dew has dried but before the sun gets too hot—this helps preserve their delicate aroma. Cut above leaf nodes to encourage bushier growth, and avoid taking more than one-third of the plant at a time so it can keep thriving.
Once harvested, fresh marjoram leaves can be stored in the refrigerator by wrapping them in a damp paper towel and placing them inside a plastic bag; they’ll keep for up to a week. For long-term use, drying is best: bundle small bunches of stems together and hang them upside down in a cool, dry, and well-ventilated space out of direct sunlight. Once the leaves are crisp, strip them from the stems and store in an airtight container away from heat or light—dried marjoram retains its flavor for up to six months.
In the kitchen, marjoram adds a mild, sweet, and slightly citrusy note to soups, stews, stuffings, roasted vegetables, salad dressings, or even homemade bread. It pairs especially well with meats like chicken, pork, or lamb.
Beyond cooking, marjoram can also be used around the house:
- Steep dried leaves in hot water for a soothing herbal tea.
- Tuck them into sachets to freshen drawers and linen cupboards.
- Sprinkle a few sprigs into your bath to help relax sore muscles and relieve stress.
With its versatile uses, marjoram quickly proves itself as a must-have herb in both the kitchen and home.
Troubleshooting and Frequently Asked Questions
Beginners often face a few hiccups when growing marjoram, but most problems are easy to fix with a little attention. If your marjoram isn’t growing well, check its sunlight; it needs at least 6 hours of direct sun, so move indoor pots to a bright windowsill or place them outside.
Yellow leaves often mean you’re overwatering—let the top of the soil dry before watering again, and always use pots with drainage holes. If seeds are slow to sprout, patience is key; marjoram can take up to three weeks to germinate. Speed things up by warming the soil a bit with a seedling heat mat or simply keeping the container in a warm spot.
A common question is when to harvest: once the plant is about 6 inches tall and just before it blooms, use sharp scissors to snip sprigs in the morning when the essential oils are strongest. Cutting regularly encourages bushier growth, but never remove more than a third of the plant at a time.
Finally, if you notice marjoram looking leggy or pale, it might need more light or a light feeding with an all-purpose liquid fertilizer—just don’t overdo it, as marjoram thrives with minimal fuss. With these simple troubleshooting steps, even beginners can enjoy a healthy, flavorful marjoram harvest.