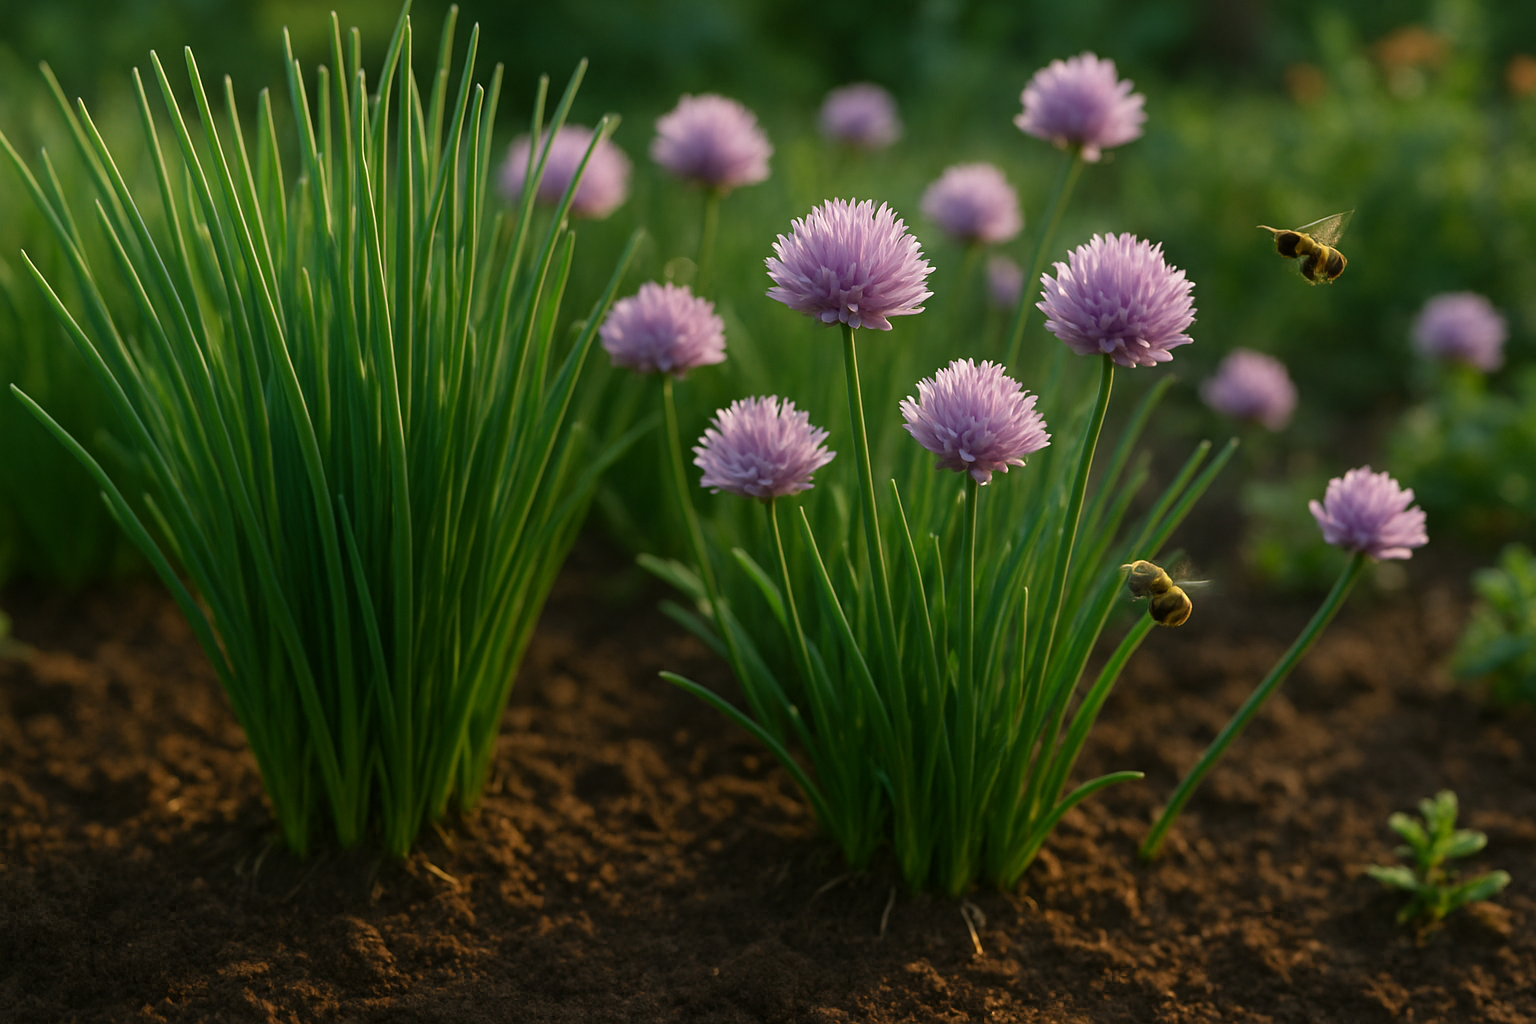
Introduction to Chives and Why Grow from Bulbs
If you’ve ever wanted to add a burst of fresh, oniony flavor to your home-cooked meals, learning how to grow chives from bulbs is an excellent way to start. Chives (Allium schoenoprasum) are hardy, perennial herbs in the onion family, known for their slender green leaves and attractive purple blooms. Their mild taste complements everything from salads and eggs to soups and baked potatoes, making them a staple in kitchens around the world. Beyond their culinary appeal, chives are prized for their ornamental value in the garden and their ability to attract pollinators.
Choosing to grow chives from bulbs, rather than from seed, offers distinct advantages for home gardeners. Bulbs provide a head start, allowing you to harvest fragrant, edible greens much faster than you would with seeds—which often take weeks just to germinate. Once planted, bulb-grown chives establish vigorously and return year after year, requiring little maintenance. This means you can enjoy a steady supply of fresh herbs with minimal effort, even if you’re short on time or new to gardening.
Home gardeners also appreciate the simplicity and reliability of growing chives from bulbs. They’re less prone to disease in the early stages and tend to develop thicker, healthier clumps, ensuring you’ll have plenty to snip for your recipes. Whether you’re aiming for a resilient herb patch or simply want quick results, starting with bulbs makes it easier to keep your kitchen stocked and your garden thriving.
Selecting and Preparing Chive Bulbs
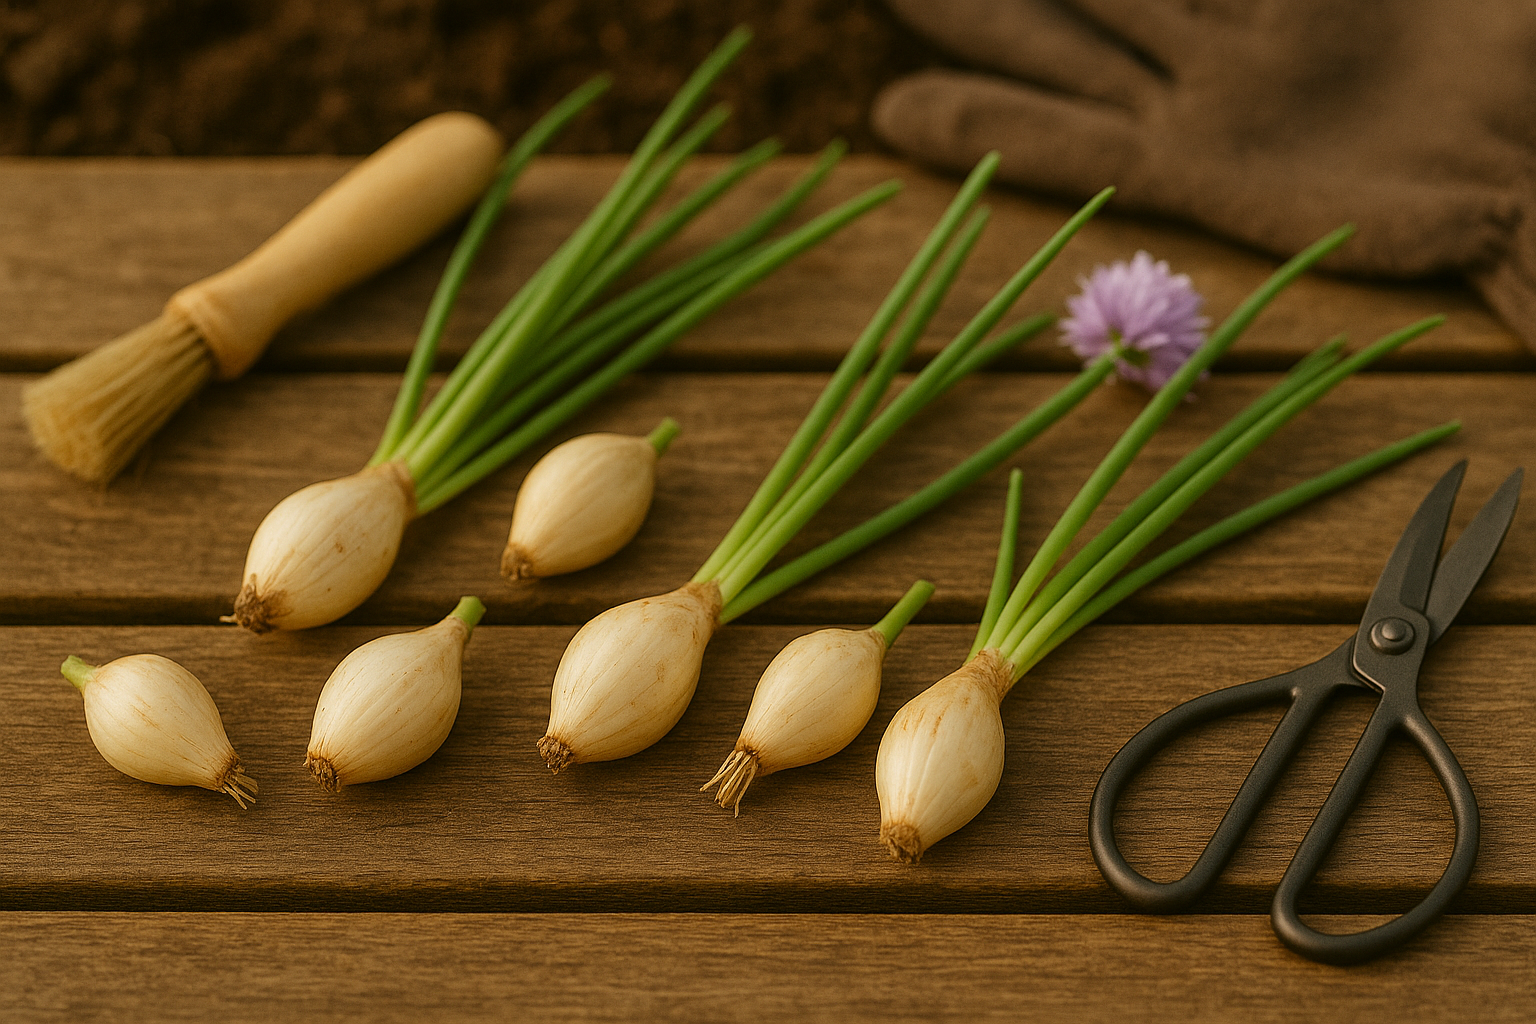
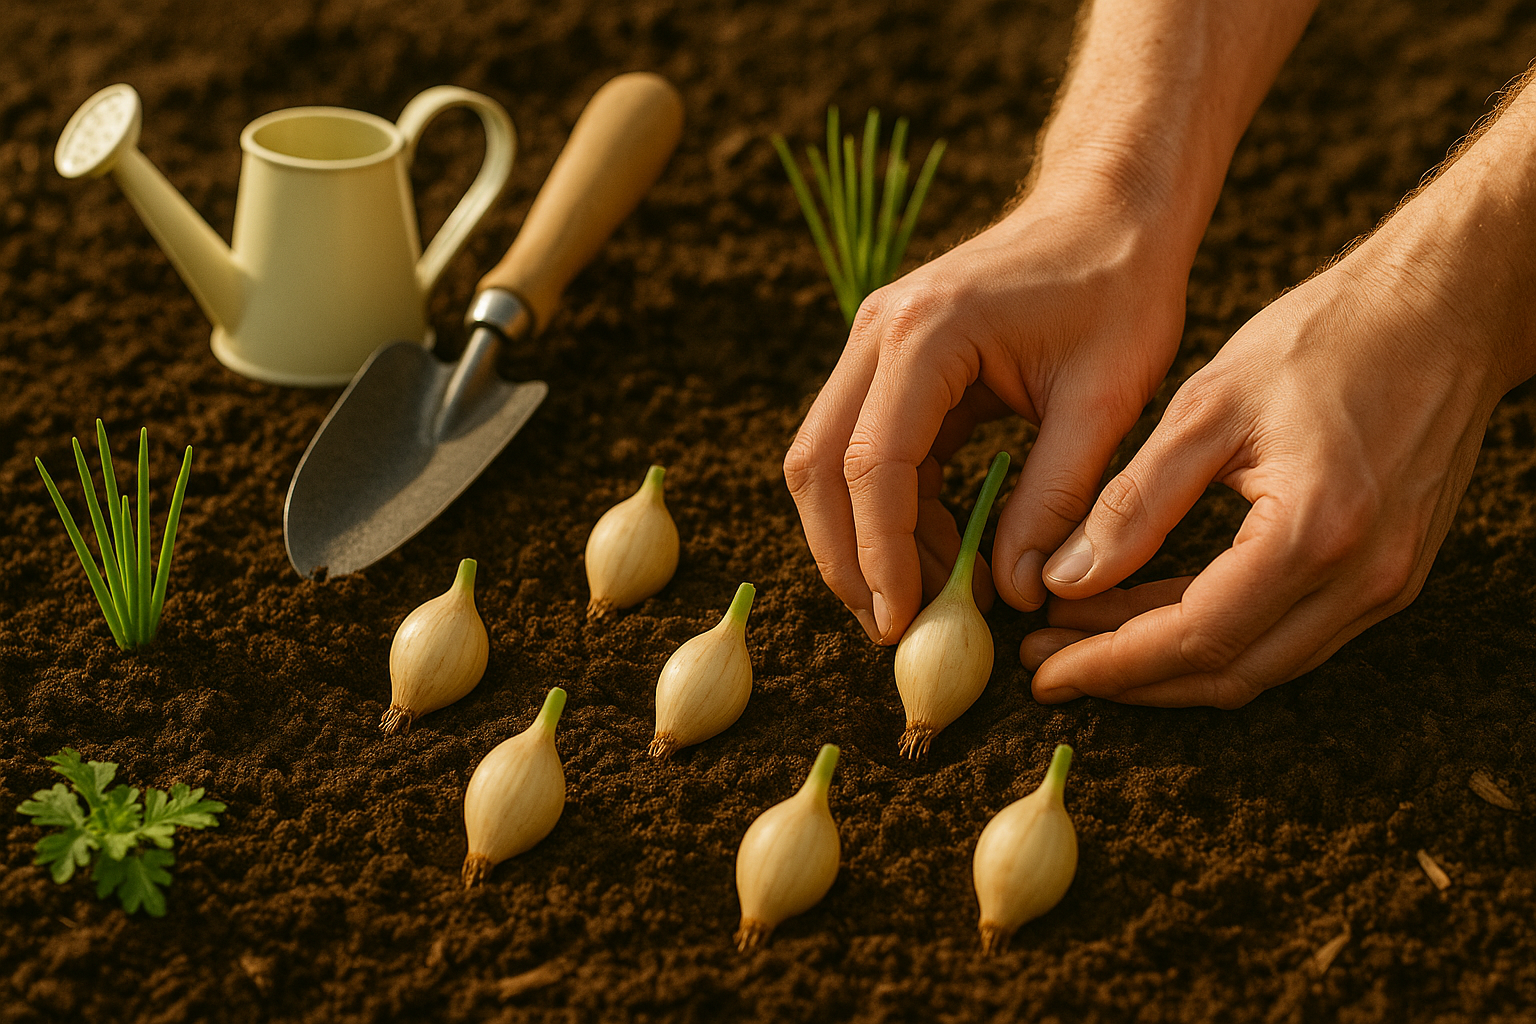
When it comes to starting your own patch of chives, choosing the right bulbs—or starter clumps—is key to a thriving herb garden. Look for chive bulbs that are plump, firm, and free from moldy spots or shriveled ends. Healthy bulbs should have green shoots or signs of new growth, signaling vitality.
If you’re buying from a garden center or nursery, opt for reputable sources known for disease-free stock. You can also divide chive clumps from a friend’s established garden, which is both budget-friendly and a great way to ensure local adaptation.
Before planting, gently remove any loose soil and inspect each bulb for soft spots, discoloration, or an unpleasant odor—these may be symptoms of rot or pest damage. Use a soft brush or your hands to clean off stubborn dirt, and trim away any decayed roots or leaves with sterilized scissors to prevent spreading issues in your garden bed.
The best time to plant chive bulbs is in early spring or fall, when cooler temperatures help minimize transplant shock and encourage root development. Aim for a planting day when the soil is moist but not waterlogged, as soggy conditions can promote bulb rot.
Chives are hardy and can thrive in most climates, but they prefer well-drained soil and a sunny location—though partial shade is manageable in hotter regions. If you live in an area with harsh winters, consider adding a layer of mulch after planting to protect bulbs from freeze-thaw cycles.
By starting with healthy chive bulbs and giving them a bit of care before planting, you set the foundation for a lush, flavorful harvest that returns year after year.
Ideal Planting Conditions (Soil, Light, and Location)
Chives grow best in rich, well-draining soil with a slightly acidic to neutral pH, ideally between 6.0 and 7.0. Before planting, mix plenty of compost or aged manure into the soil to boost fertility—chives love nutrient-rich conditions but will also tolerate average garden soil if that’s what you have. For the healthiest plants, aim for soil that retains moisture without becoming soggy, as excess water can lead to root rot.
Chives thrive in full sun, needing at least 6 hours of direct sunlight daily to develop robust flavor and lush, upright growth. While they can tolerate partial shade—especially in hotter climates—shade tends to make leaves thinner and less flavorful. When choosing a location, look for spots that receive morning to early afternoon sun, such as a south-facing garden bed or a bright windowsill if you’re growing them indoors.
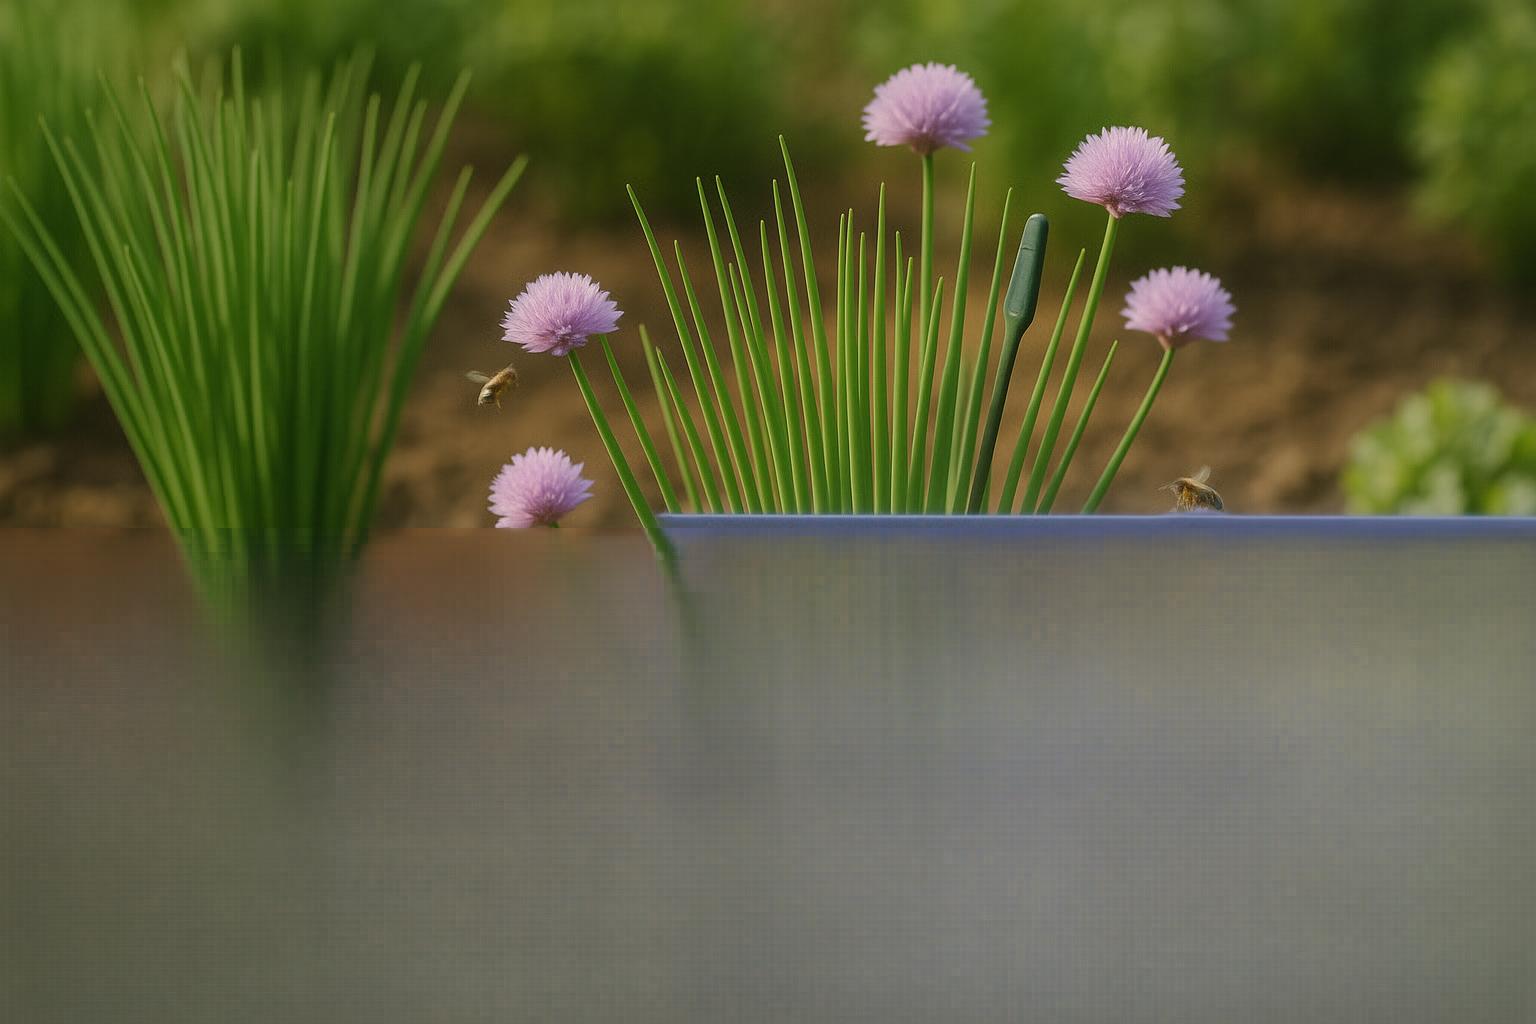
If space is limited, chives do exceptionally well in containers placed on sunny patios, balconies, or window boxes. Just make sure containers have drainage holes to prevent waterlogged roots. For best results, plant chive bulbs or divisions 8–12 inches apart, allowing their slender leaves to fan out and ensuring good air circulation, which helps keep diseases at bay.
Realistically, you can tuck chives alongside herbs, vegetables, or even flowers—pollinators love their blossoms, and they make excellent kitchen garden companions. Whether in a dedicated herb plot, raised bed, or small pot, providing chives with the right soil, light, and location leads to vigorous growth and plenty of fresh garnish for your table.
How to Plant Chive Bulbs for Best Growth
Planting chive bulbs is a simple process, but following a few key steps will help your plants thrive. Start by choosing a sunny spot—they need at least six hours of sunlight daily.
If you’re planting in the ground, loosen the soil to a depth of about 6-8 inches and mix in compost for extra nutrients. Plant each bulb about ½ to 1 inch deep with the pointed end facing up, spacing them 4 to 6 inches apart to ensure good airflow and room to grow.
If using a pot, select one that’s at least 6 inches deep and wide enough to give the roots plenty of space. Use well-draining potting soil and follow the same planting depth and spacing guidelines.
After covering the bulbs, water thoroughly to moisten the soil without soaking it—soggy conditions can cause rot. Keep the soil consistently moist but not waterlogged during the first few weeks of growth.
Avoid common mistakes such as planting bulbs too deep, overcrowding them, or using heavy soil that retains too much moisture.
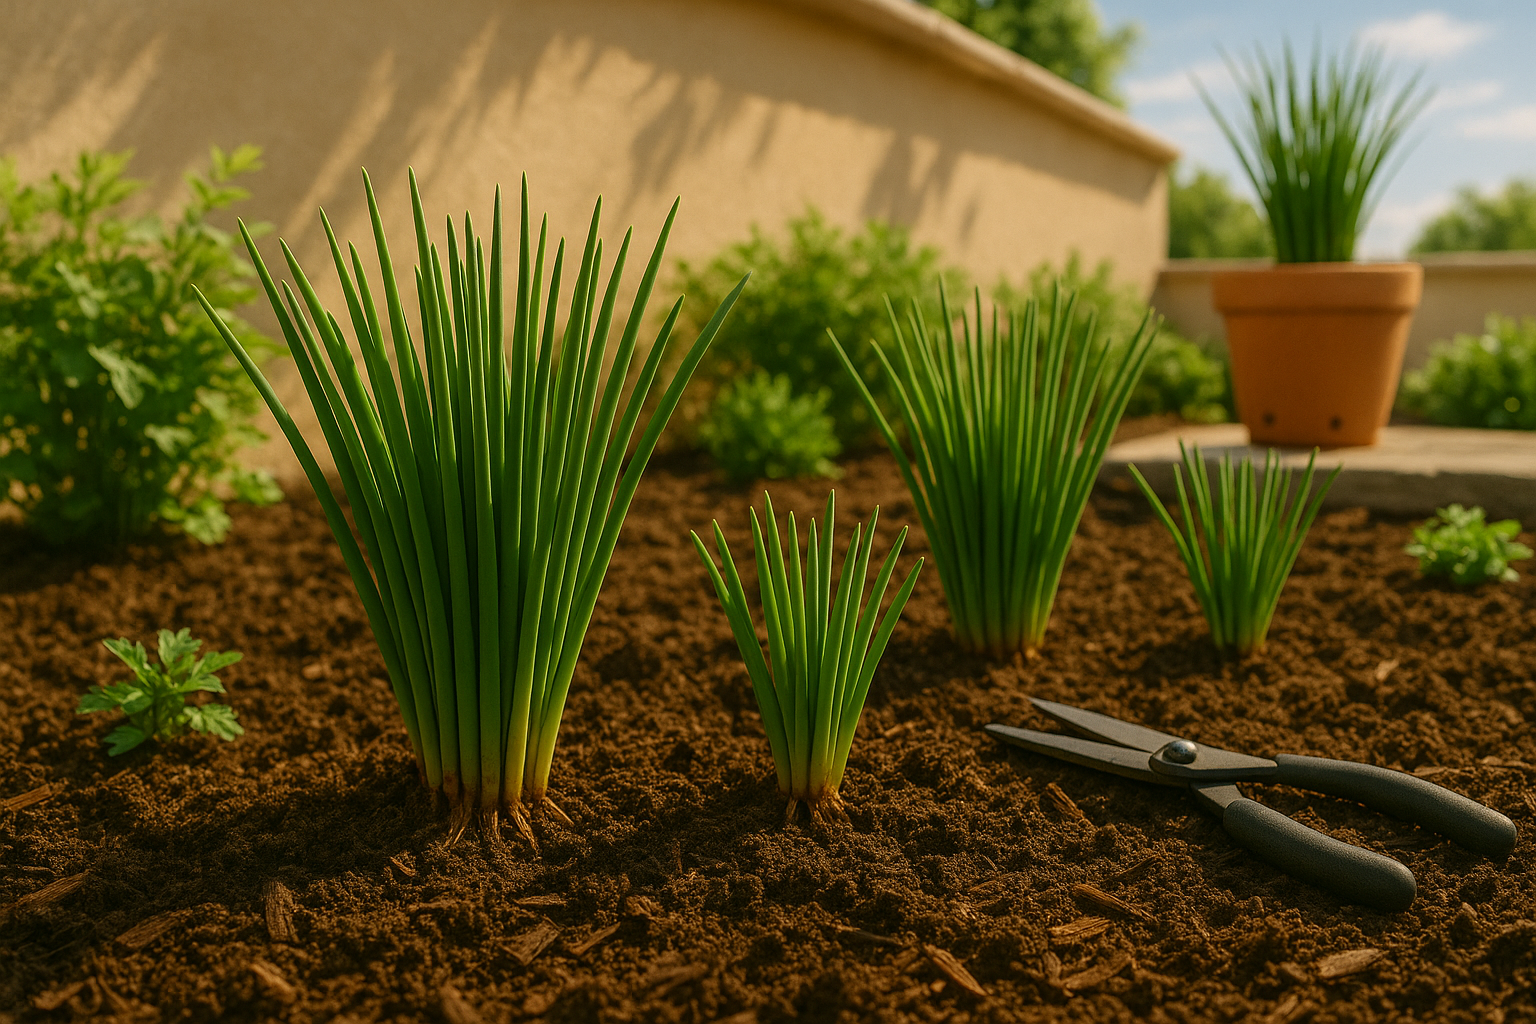
For both in-ground and potted chives, resist harvesting leaves until the plants are well established, usually when they reach about 6 inches tall.
Here’s an extra tip: if you’re growing chives in pots, place them near a sunny window or on a patio where they’ll get plenty of light. You can also move them indoors before frost to enjoy fresh chives year-round.
With these simple steps and a little care, you’ll be enjoying fresh, flavorful chives in no time.
Easy Care and Maintenance
Caring for chives is refreshingly simple, making them perfect for both beginner and seasoned gardeners. To keep your chives thriving, water them deeply but infrequently—about once a week is usually enough, unless the soil dries out faster in hot weather. A good rule of thumb is to water when the top inch of soil feels dry; avoid overwatering, as chives don’t like sitting in soggy soil. Too much water can lead to root rot, while too little causes the leaves to wilt and lose flavor.
For healthy, robust growth, feed your chives with a balanced, all-purpose liquid fertilizer once every four to six weeks during the growing season. But stick to light feeding—too much fertilizer encourages excessive leafy growth at the expense of flavor. Regular upkeep is also crucial: snip off any dead or yellowing leaves with clean scissors to keep the plant looking neat and prevent disease. Harvesting chives regularly encourages new shoots—try cutting the leaves down to two inches above the soil and watch them bounce back quickly.
Chives are generally hardy, but they can occasionally fall victim to pests and diseases. The most common culprits are aphids, thrips, and onion flies. If you spot tiny bugs or sticky residue on the leaves, spray them with a gentle soap-and-water solution or introduce natural predators like ladybugs.
Fungal diseases, such as powdery mildew or leaf spot, show up as white patches or dark spots on foliage. The best defense is good air circulation—avoid watering from above since wet leaves welcome fungus. If mildew or spots persist, trim affected leaves and consider a homemade remedy of diluted baking soda spray. Also, don’t let debris build up around the base of your plant, as this can shelter pests and diseases.
By following these easy care routines, your chives should stay resilient, flavorful, and ready to add zing to your kitchen dishes all season long.
Harvesting Chives and Encouraging Regrowth
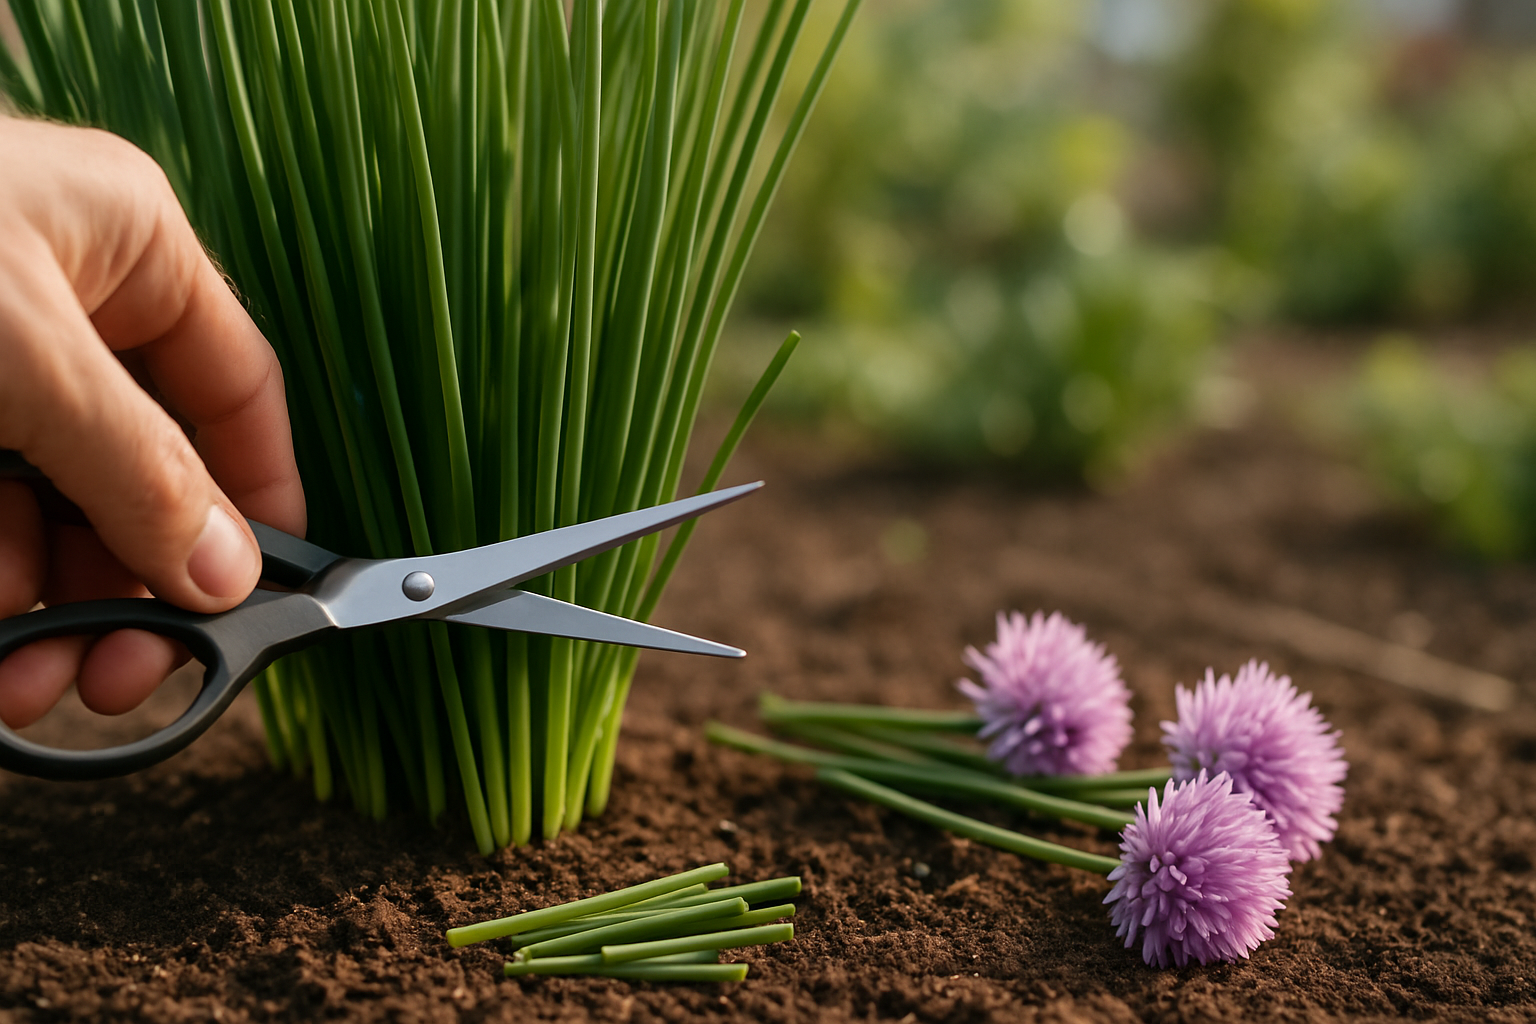
The best time to harvest chive leaves is in the morning, once the dew has dried but before the midday heat, as this is when their flavor and oils are most concentrated. Use clean, sharp scissors to snip the leaves about 1-2 inches above the soil, always leaving a few inches of growth to encourage the plant to bounce back quickly. Never cut all the leaves at ground level, as this can stress the plant and hinder future growth.
For a steady supply, harvest no more than one-third of the plant at a time and allow a couple of weeks between major cuttings. To promote healthy regrowth, regularly trim back flowering stalks before they set seed, since producing seeds can redirect the plant’s energy away from leaf production.
If your chives begin to flower, you can snip off the purple blossoms—which are edible and add a mild onion flavor to salads and butters—while still leaving ample foliage to nourish the plant. After harvesting the blossoms, gently fertilize with a balanced, all-purpose fertilizer and water well.
Maintaining this rhythm of moderate harvesting, regular deadheading, and occasional feeding will help your chives produce lush, flavorful leaves season after season. Remember, a little attention goes a long way—chives are forgiving, and with consistent, mindful care, you’ll be rewarded with continuous harvests throughout the growing months.
Culinary Uses and Simple Ways to Store Chives
Chives are a versatile herb that adds a mild onion flavor to countless dishes and can quickly elevate everyday meals. Their green stalks are perfect for snipping over scrambled eggs, baked potatoes, creamy soups, or salads, instantly brightening flavors and adding a fresh pop of color.
Chive blossoms—the pretty purple flowers—are edible too and make beautiful, subtly oniony garnishes for salads, open-faced sandwiches, and compound butters.
When storing fresh chives, treat them like cut flowers: stand the stems in a glass of water, cover loosely with a plastic bag, and refrigerate for up to a week, or wrap them in a damp paper towel placed inside a zip-top bag.
For long-term storage, you can:
- Chop and freeze chives in ice cube trays with a bit of water or oil
- Dry them by hanging bunches upside down in a dark, well-ventilated space before crumbling and storing in airtight containers
Homegrown chives are especially rewarding—they’re easy to cultivate in a small pot or garden bed, ensuring you have a steady supply for year-round cooking, minimal trips to the store, and far superior flavor and freshness compared to store-bought options.