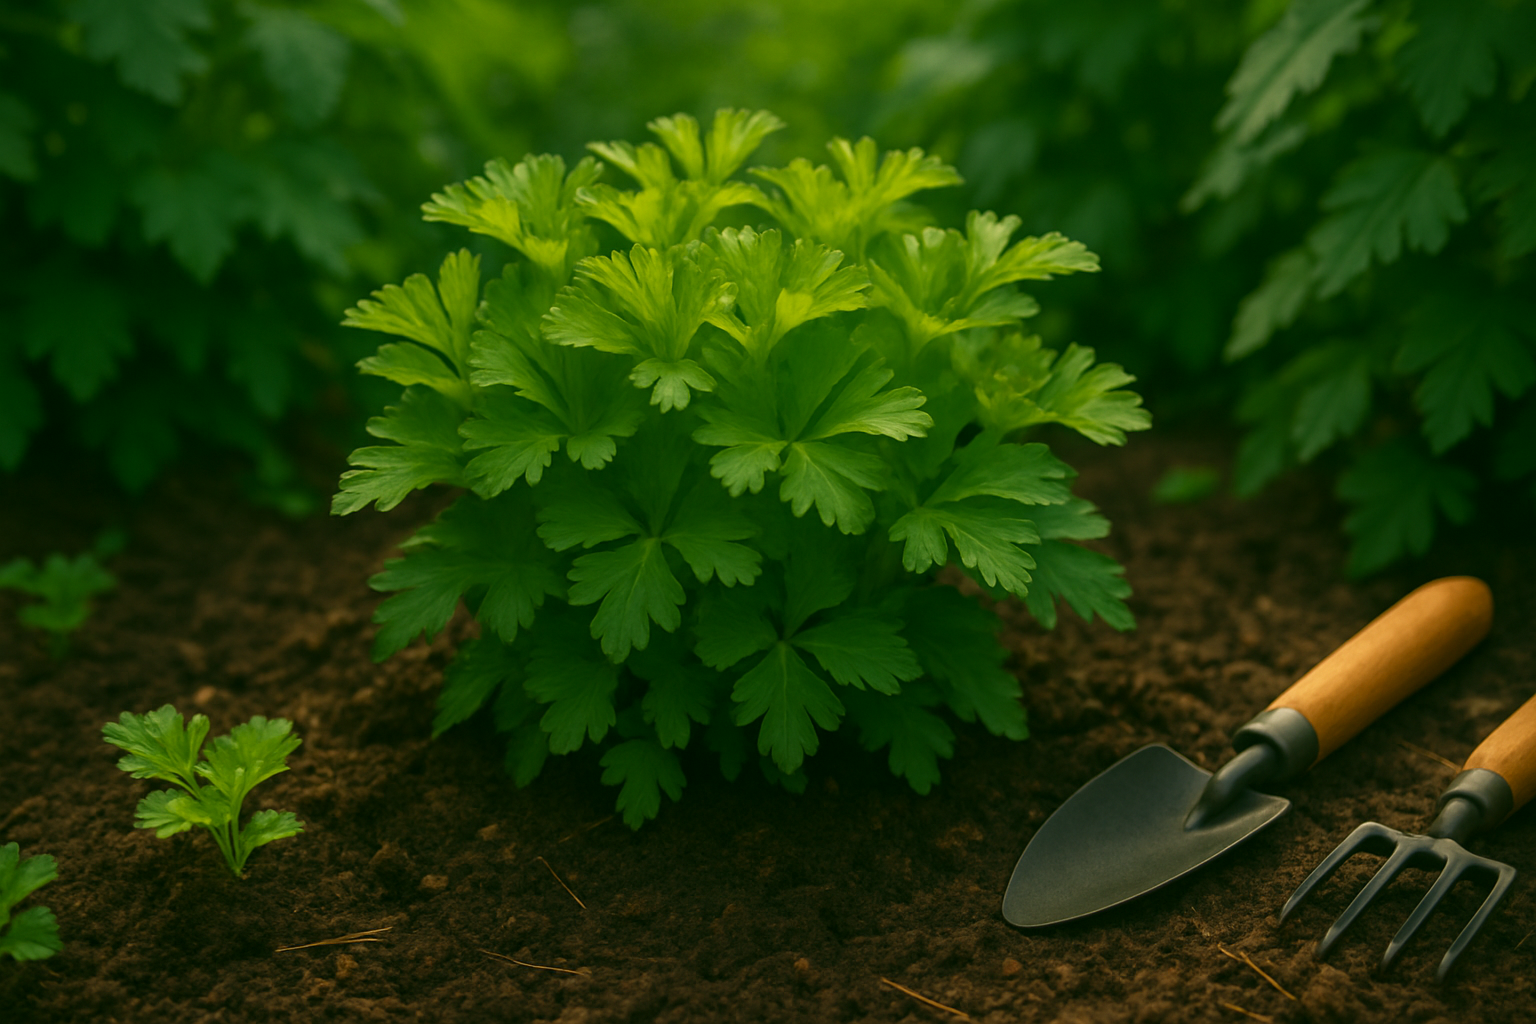
Understanding Parsley’s Nutrient Needs
Parsley is a vibrant culinary herb loved for its fresh taste and bright green leaves, but to thrive, it needs the right balance of nutrients. The three primary nutrients essential for parsley are nitrogen, phosphorus, and potassium.
Nitrogen encourages lush, leafy growth—which is especially important since parsley is prized for its leaves—while phosphorus supports robust root development and overall plant health. Potassium helps the plant withstand stress, resist diseases, and maintain strong stems.
When parsley gets the right amount of these nutrients, it looks rich green, with upright stems and abundant, full leaves. However, imbalances can quickly show:
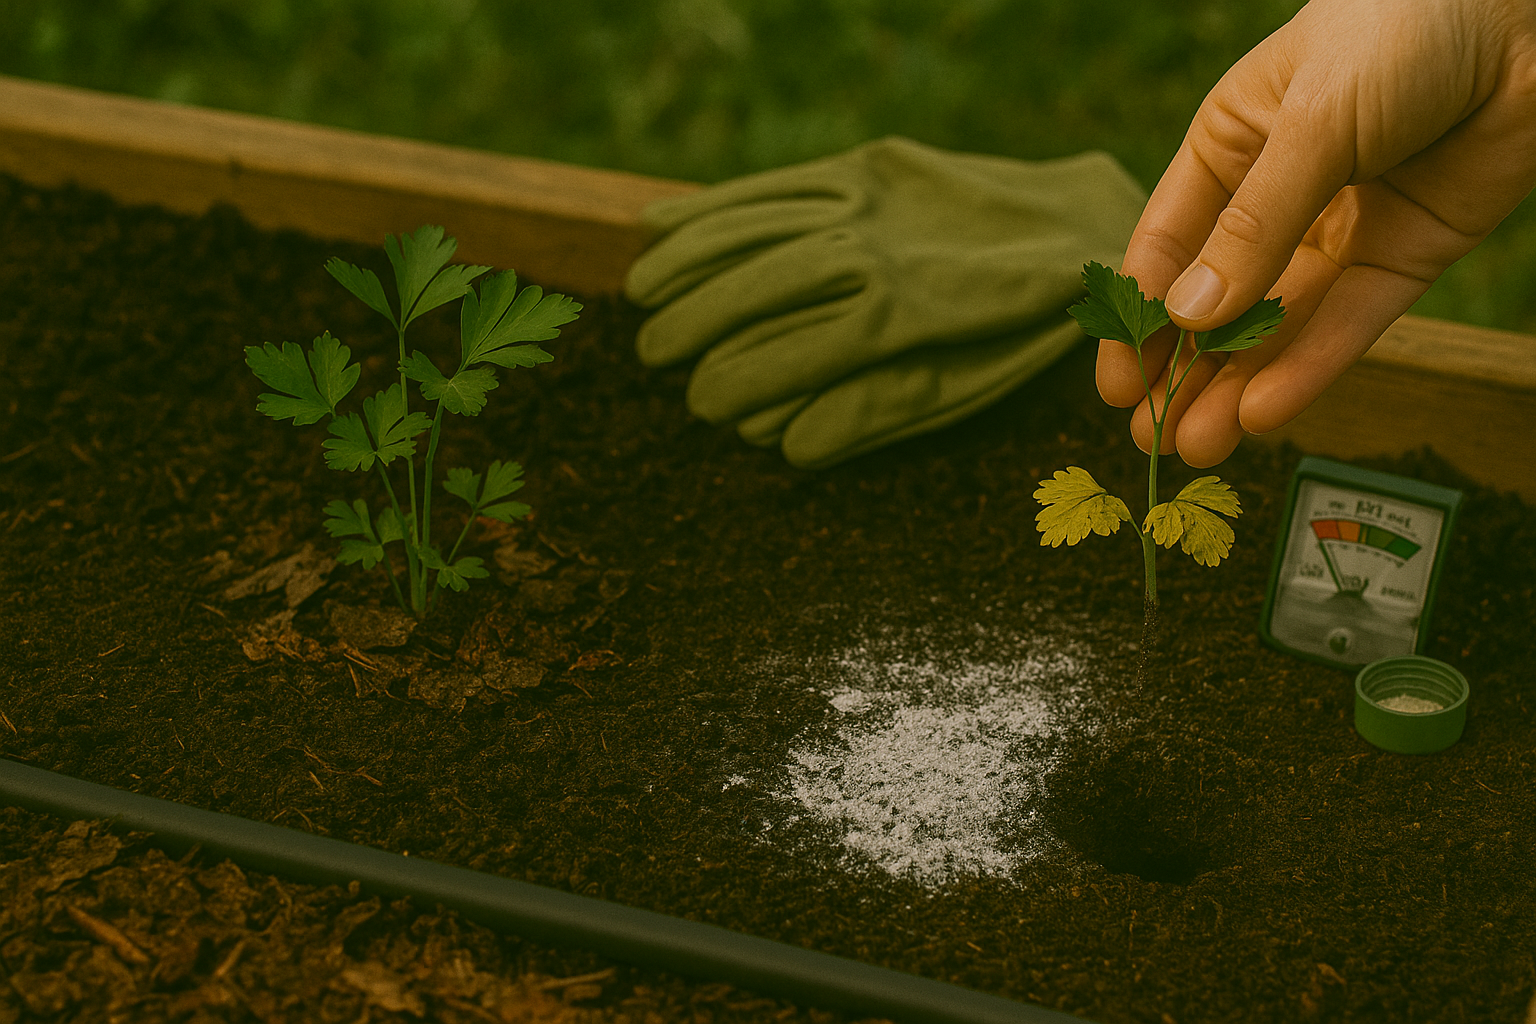
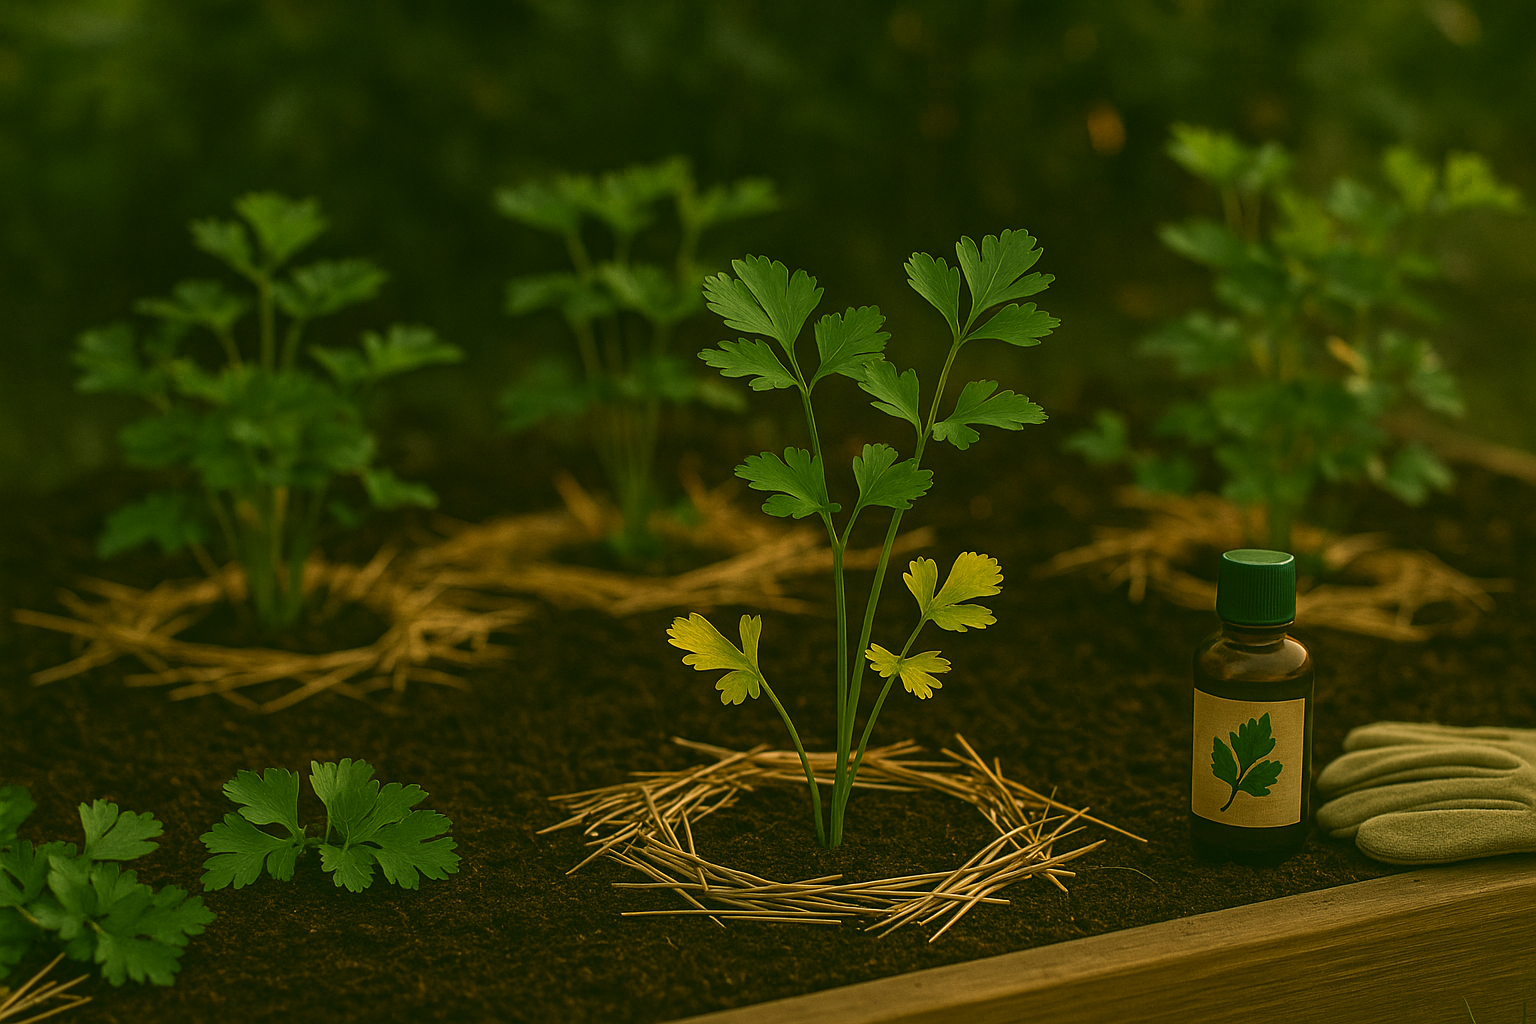
- If nitrogen is lacking, parsley’s leaves may look pale or yellowish, and growth will slow down.
- A phosphorus deficiency might result in weak roots and dull-colored, stunted plants.
- Low potassium can cause the edges of leaves to brown and curl.
On the other hand, too much fertilizer or the wrong mix can lead to soft, floppy growth or even leaf burn. The healthiest parsley plants stand tall with vibrant, deeply green foliage, whereas struggling parsley may have faded color, wilting leaves, or brown tips—a clear sign it needs a nutrient check.
Regular observation and balanced feeding keep this kitchen staple thriving in any home garden.
Preparing the Soil for Success
Growing healthy parsley starts with getting your soil just right, and that means paying close attention to pH and organic content. Parsley thrives in soil with a pH between 6.0 and 7.0—a slightly acidic to neutral range—which is crucial for allowing the plant to absorb nutrients efficiently.
If your soil is too acidic or alkaline, parsley may struggle with stunted growth or yellowing leaves because key minerals like nitrogen, phosphorus, and potassium become less available. Before planting, focus on creating a crumbly, well-draining soil that’s rich in life. Mix in plenty of organic matter like compost, aged manure, or slow-release organic fertilizers to boost fertility, retain moisture, and encourage helpful soil microbes.
To find your soil’s starting point, use a simple home test kit from a garden center or send a soil sample to your local extension service for detailed results. If the pH is too low, sprinkle in garden lime and work it into the top six inches of soil; if it’s too high, powdered sulfur or peat moss can help gradually lower it.
Testing and amending your soil in advance sets the stage for a thriving parsley crop, saving you headaches and ensuring strong, flavorful leaves all season long.
Choosing the Right Fertilizer
When selecting the right fertilizer for your garden, you’ll likely weigh the pros and cons of synthetic versus organic options—and it’s helpful to understand each type.
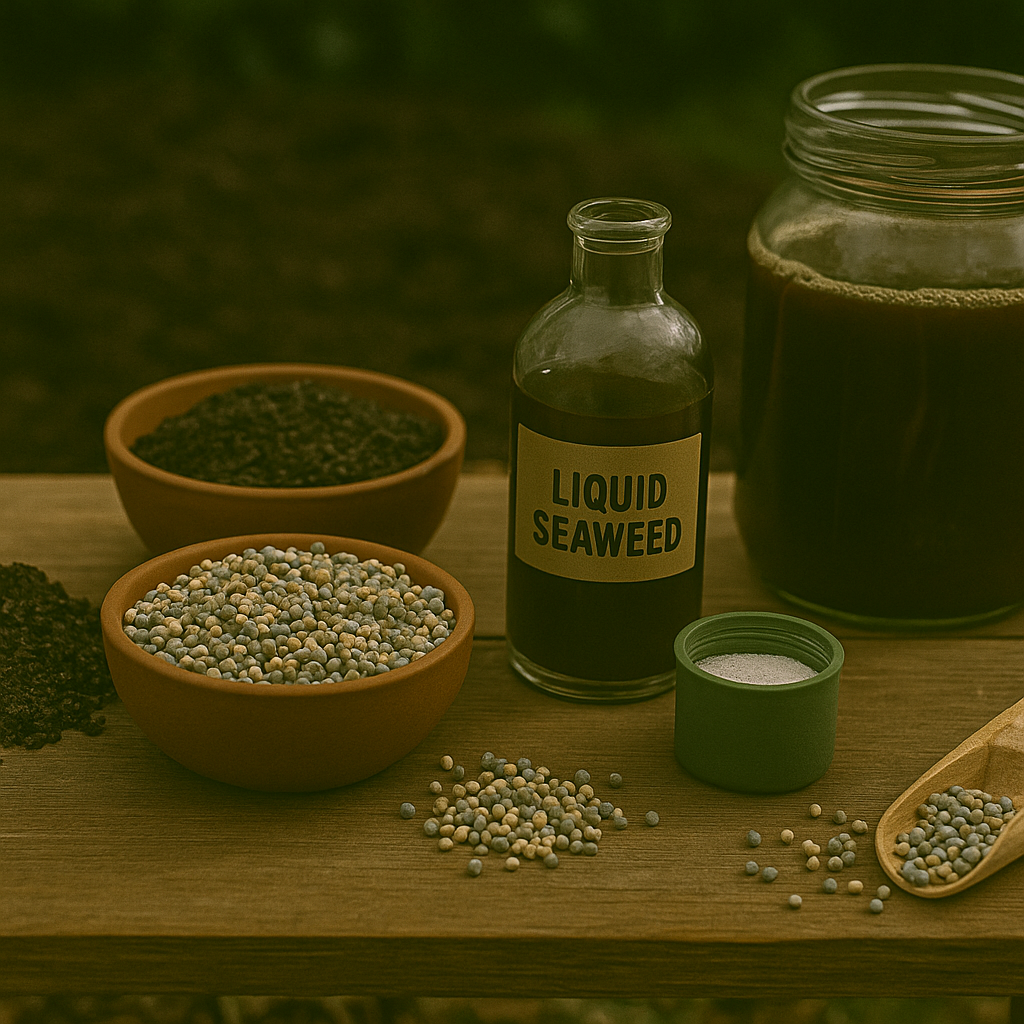
Synthetic fertilizers, available as granules, slow-release pellets, or liquid feeds, deliver nutrients quickly and reliably. Brands like Miracle-Gro Water Soluble All Purpose Plant Food (24-8-16) or Osmocote Smart-Release Plant Food (14-14-14) are beginner-friendly picks, especially for container gardens and fast-growing veggies. However, overuse can cause salt build-up in the soil and harm beneficial microbes.
Organic fertilizers, on the other hand, come from natural sources like compost, worm castings, and fish emulsion. These products—such as Espoma Plant-tone (5-3-3) or liquid seaweed—release nutrients more slowly, promoting long-term soil health but sometimes requiring more patience for visible results. Homemade compost tea or diluted coffee grounds can also give plants a gentle nutrient boost.
For garden newcomers, a balanced or slightly nitrogen-rich formula (look for NPK ratios such as 5-5-5 or 10-10-10) keeps fertilizer simple and effective, whether you’re growing tomatoes in the ground or lettuce on your patio.
Ultimately, the best choice depends on your gardening style: opt for organics if you prioritize soil health, or synthetics for quick results and convenience—just always follow label instructions for application rates.
When and How to Fertilize Parsley Safely
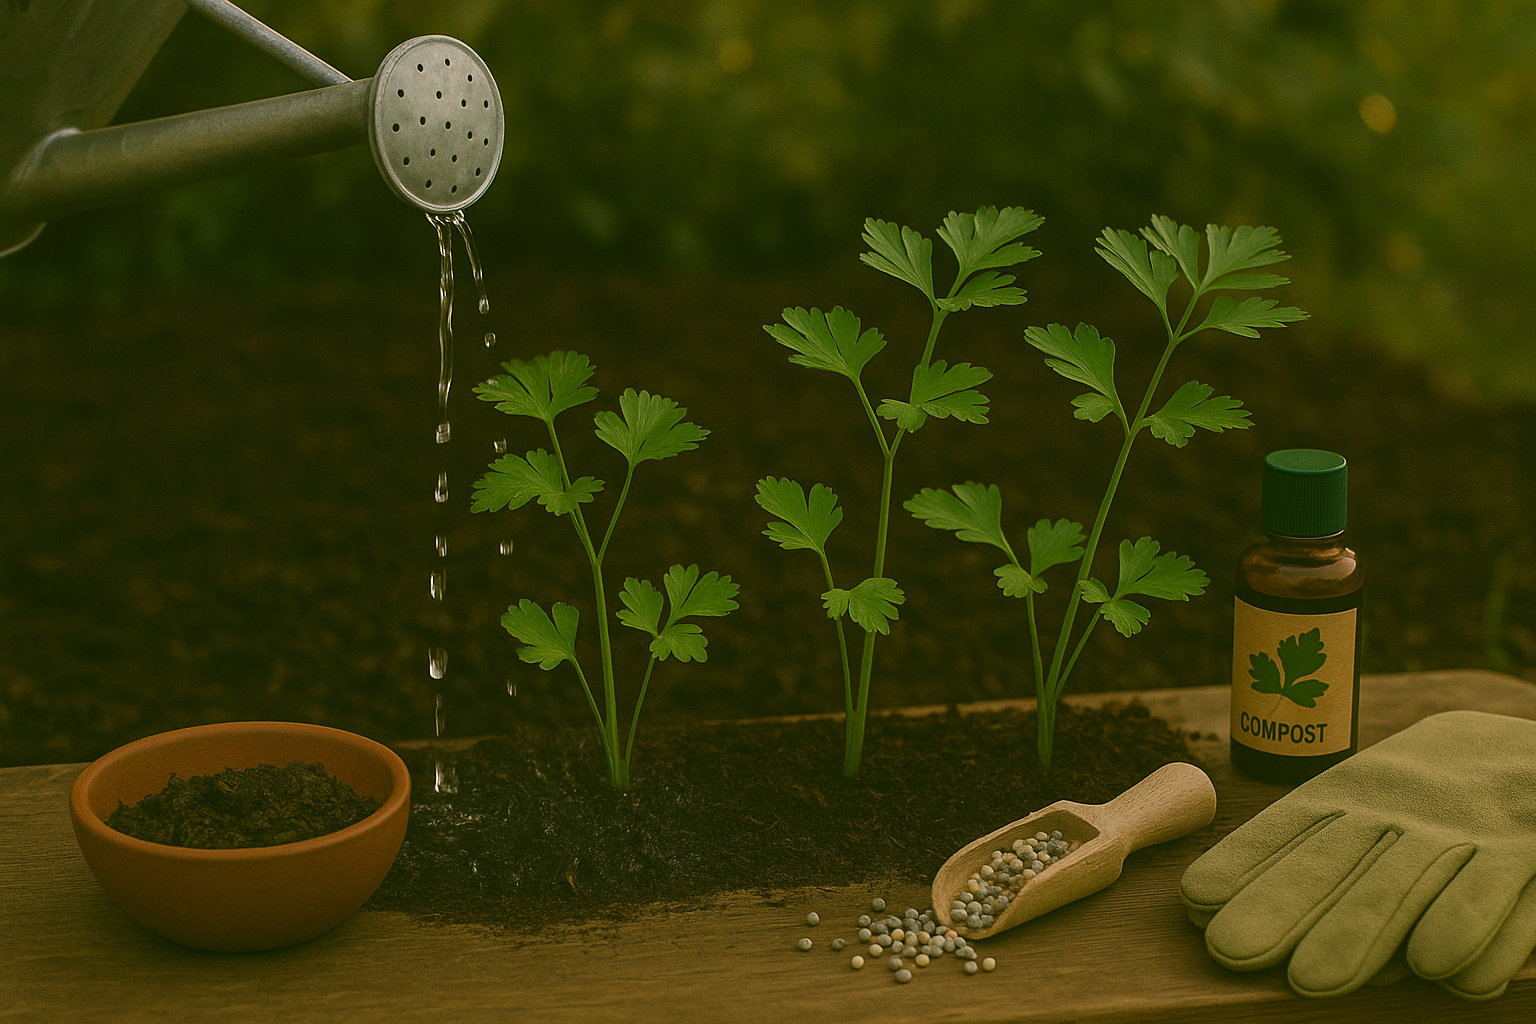
To keep your parsley thriving, timing is everything when it comes to fertilizing. Start by mixing a balanced, slow-release fertilizer into the soil before planting; this gives seeds or seedlings a gentle nutrient boost without overwhelming them.
Once your seedlings have two true leaves, feed them lightly with a half-strength, water-soluble fertilizer every 4-6 weeks during the growing season—parsley seldom needs more than this.
Always apply fertilizer to moist soil and water thoroughly afterward to help distribute nutrients and minimize root burn. Avoid getting any fertilizer on the leaves; use a watering can to direct the solution at the soil around the base of each plant. If any product splashes onto the foliage, rinse it off promptly with clean water.
Remember, less is more: parsley is sensitive to excess nutrients, which can lead to leaf tip burn or stunted growth. If you’re using compost or organic options, reduce frequency further, as these break down slowly.
Always wear gloves when handling fertilizers and store products safely away from pets and kids.
By sticking to light, regular feedings and gentle handling, your parsley will reward you with lush, flavorful leaves all season long.
Avoiding Common Fertilizer Mistakes
Over-fertilization is one of the most common pitfalls for gardeners, often showing up as leaf burn (crispy, brown edges), yellowing leaf tips, or plants that stop growing despite regular care. If you spot these signs, don’t panic—start by flushing your soil with plenty of water to wash away excess nutrients.
For container plants, run water through the pot until it drains freely from the bottom, repeating a couple of times if needed. Alongside fertilizer misuse, overwatering or poor drainage can cause roots to rot and minerals to accumulate, making things worse. Always double-check that your pots have drainage holes and use a well-draining soil mix.
Get in the habit of feeding your plants with a diluted fertilizer—think half, or even a quarter, of the label’s recommended dose—especially for houseplants or seedlings. Try sticking to a regular feeding schedule rather than guessing or piling on “just in case.”
Periodically skip a feed and use plain water to flush out any leftover salts that could build up in the soil. By staying tuned in to your plants’ health and keeping an eye out for early warning signs, you can give them just what they need without risking fertilizer overload.
Additional Tips for Lush, Healthy Parsley
To keep your parsley vibrant and flourishing, focus on more than just fertilizer. Water parsley consistently so the soil stays moist but not soggy—dryness can stress the plant, while too much water may cause root rot. Choose a sunny spot, as parsley thrives with at least 6 hours of sunlight daily; too little light makes stems leggy and leaves pale.
Give each plant enough space (about 6–8 inches apart) to encourage good airflow, which helps prevent diseases and overcrowding. Regularly snip outer stems for harvest; this not only provides fresh culinary leaves but also stimulates bushier, fuller growth over time.
Mulch around your parsley with straw, shredded leaves, or compost to lock in soil moisture, shield roots from temperature swings, and gradually add organic nutrients as it breaks down.
If you notice slow growth or yellowing leaves, first check for other issues like compacted soil, inconsistent watering, or inadequate light—these problems often cause stress even when fertilizing correctly. Inspect for pests like aphids or root-knot nematodes, and try rotating crops each year to reduce disease buildup.
Simple tweaks in care go a long way toward keeping your parsley healthy and lush all season long.