Introduction to Drying Oregano at Home
Drying oregano is an easy way to ensure this flavorful, versatile herb is always within reach—whether you’re making a classic Italian sauce or sprinkling it over roasted veggies. Oregano’s pungent, earthy taste has made it a kitchen staple worldwide. But if you’ve ever tried to keep it fresh, you know how quickly those fragrant leaves can wilt.
Drying oregano at home lets you preserve your garden’s bounty, intensify its flavor, and enjoy the convenience of having ready-made seasoning whenever you need it. The best part? You don’t need any fancy equipment.
There are three main ways to dry oregano:
- Air drying for a traditional, hands-off approach
- Oven drying for a faster turnaround
- Using a dehydrator for consistently perfect results
In this guide, you’ll find simple, step-by-step instructions for each method, making it easy to stock your pantry with your own dried oregano.
Harvesting and Preparing Oregano for Drying
The best time to harvest oregano for maximum flavor is just before the plant begins to flower, usually in late spring or early summer, when the essential oils are at their peak. To preserve the plant’s natural oils and ensure a strong, aromatic taste, harvest in the morning after the dew has evaporated but before the sun gets too hot.
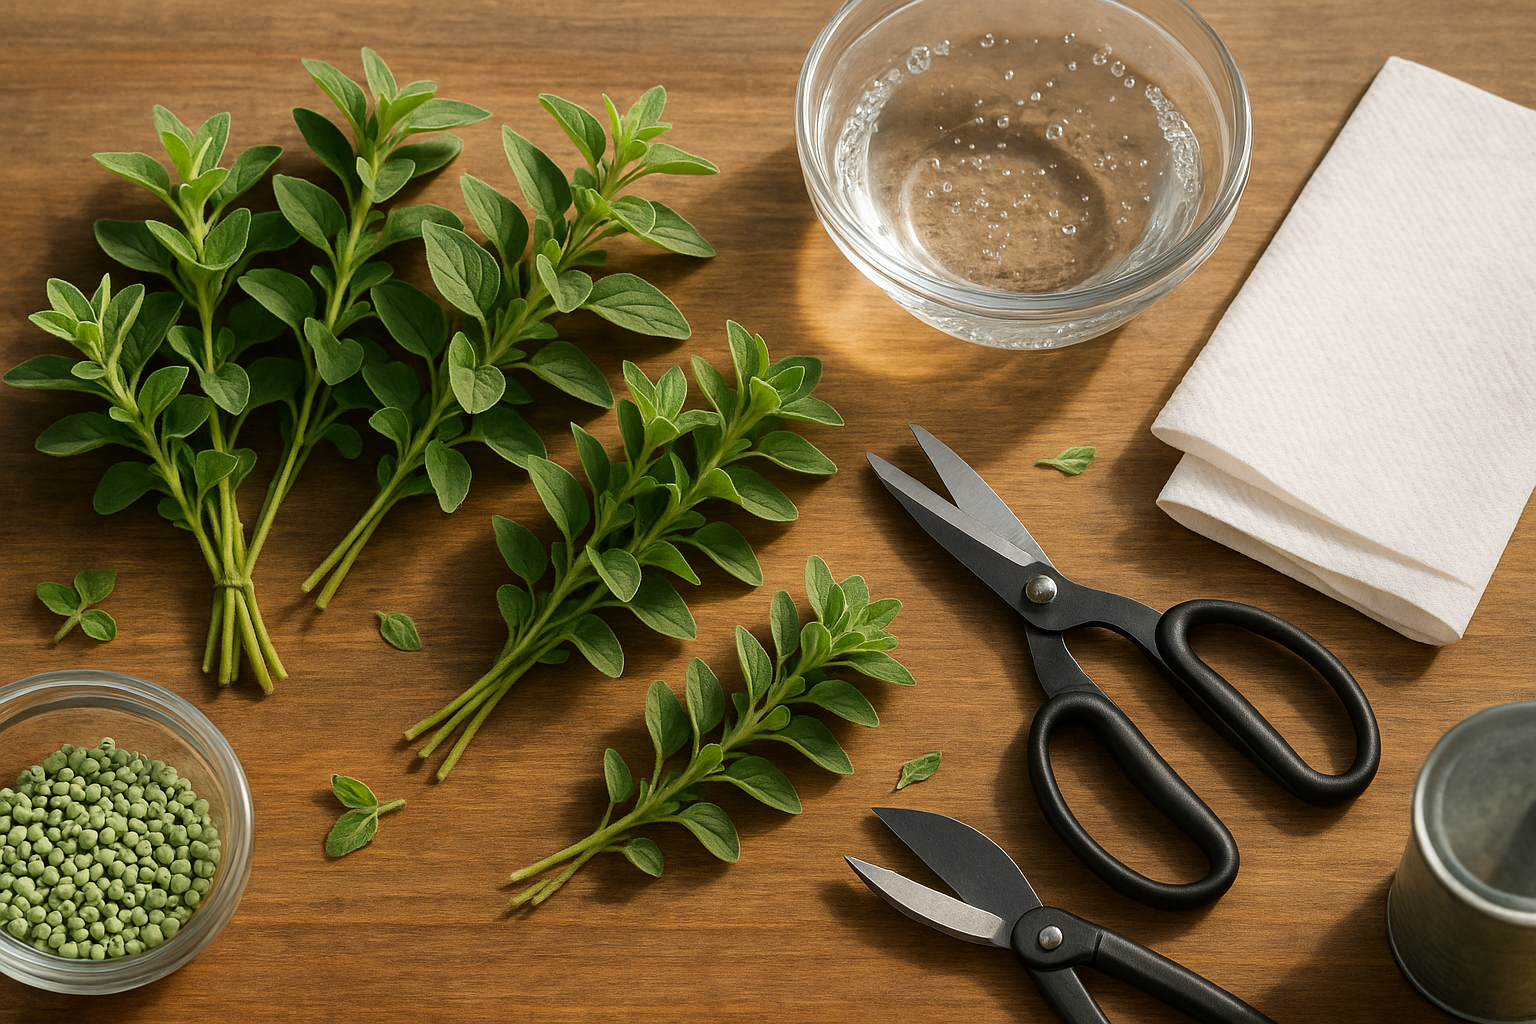
Choose oregano stems that are robust, avoiding any that are woody, yellowed, or show signs of disease. Use clean garden scissors or shears to cut the healthiest stems, focusing on those with vibrant green leaves and no spots.
After harvesting, gently shake each bunch to remove loose dirt or insects, then rinse the oregano under cool, running water. Carefully pat the stems and leaves dry with a clean paper towel—thorough drying is essential because moisture can lead to mold during the drying process.
Next, remove any damaged or discolored leaves and group the oregano into small bunches, tying the stems loosely together with kitchen twine. Starting with fresh, clean oregano is crucial for drying; the better the starting material, the more flavorful and long-lasting your dried oregano will be.
Air Drying Oregano
Air drying oregano is a simple, time-tested way to preserve its rich flavor, requiring just a bit of patience and a well-ventilated spot. Start by harvesting oregano sprigs in the morning after the dew has dried but before the midday heat hits—this is when the essential oils are at their peak.
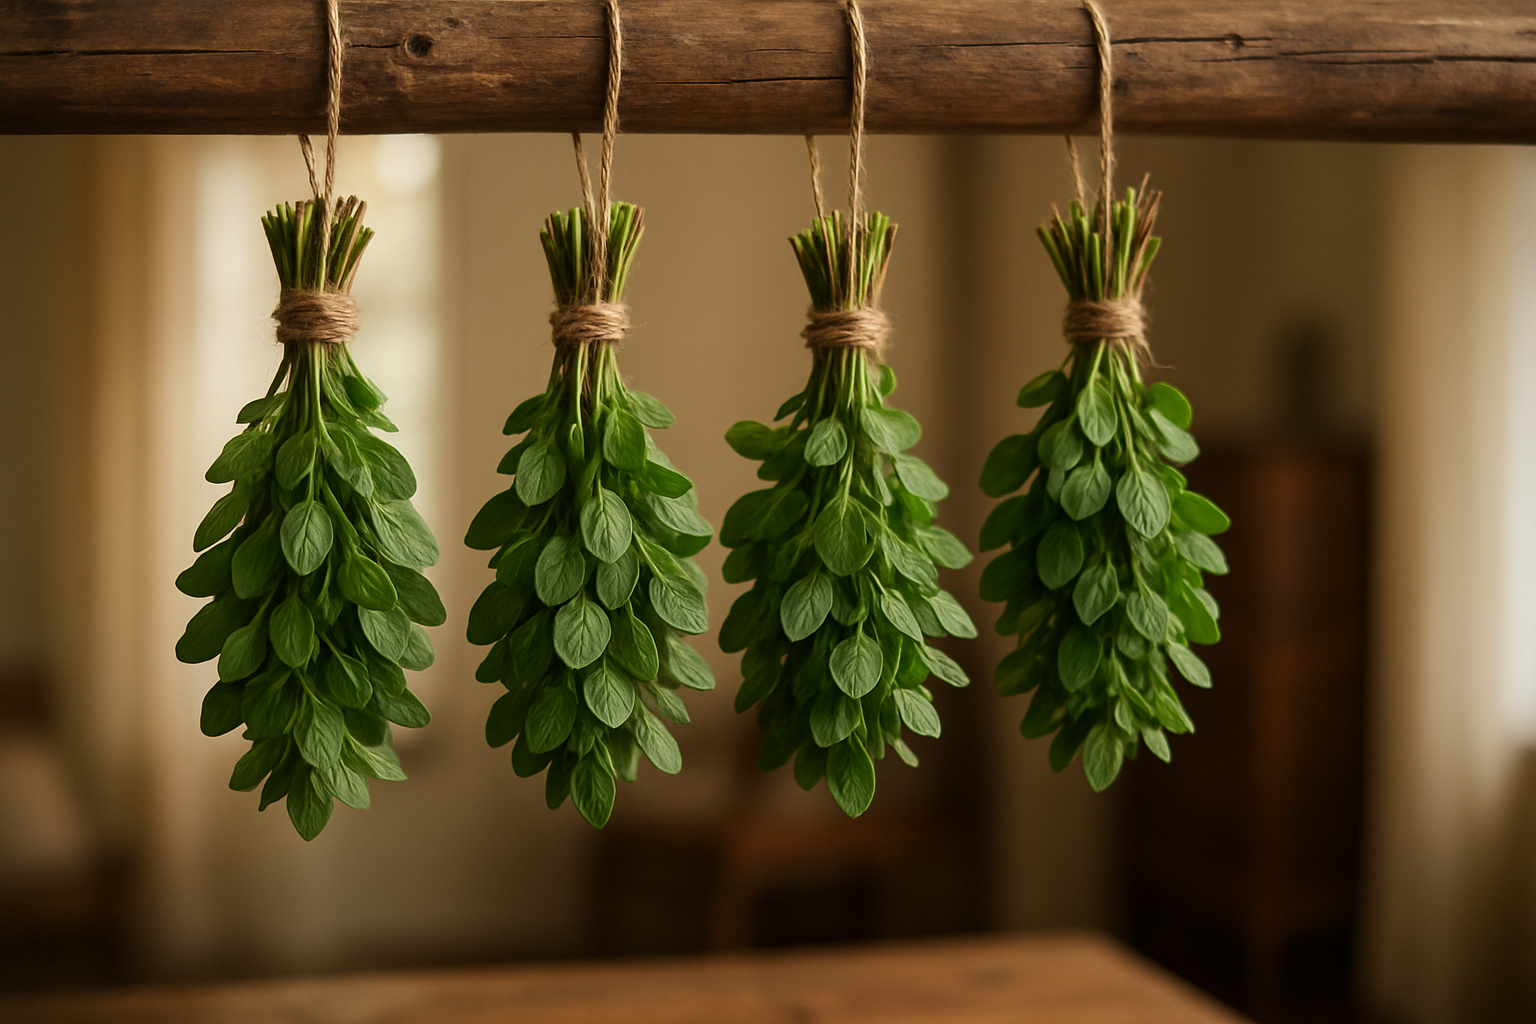
Remove any damaged leaves, shake the sprigs to dislodge dirt, and lightly rinse if needed (just ensure they fully dry before bundling). Gather 5–10 stems into a small bunch and tie them snugly with kitchen twine or a rubber band.
Hang each bundle upside down in a spot with good air circulation, such as a cool, dry room or a covered porch. Avoid direct sunlight—overexposure can bleach the leaves and diminish their flavor. Make sure the bundles aren’t too crowded, which can trap moisture and encourage mold.
Check daily for signs of mildew, and if leaves feel damp, separate the bunches further apart. Oregano typically takes 1–2 weeks to air dry, depending on humidity; it’s done when the leaves crumble easily between your fingers.
Store the dried leaves whole in an airtight container away from light and crush them when needed for cooking.
Air drying is energy-free and gentle on flavor, but it does take longer and can be tricky in humid climates. While quicker, oven and dehydrator methods risk overheating and loss of essential oils if not monitored closely.
If you’re after tradition and want to maximize aroma with minimal equipment, air drying is hard to beat—just keep airflow high, bundles small, and patience at the ready.
Oven Drying Oregano
Oven drying oregano is a quick and efficient way to preserve your fresh harvest, perfect for enjoying its vibrant flavor year-round. Set your oven to its lowest temperature setting, ideally around 170°F (75°C). Anything hotter risks burning the delicate leaves, which can make them taste bitter instead of aromatic.
Line a baking sheet with parchment paper and spread the oregano sprigs or leaves in a single, even layer, making sure they don’t overlap—crowding causes uneven drying. Place the tray on the center rack and prop the oven door open slightly with a heatproof utensil to let moisture escape.
Check the oregano every 15 minutes. It usually dries within 30 to 45 minutes but can dry faster depending on your oven. To avoid burning, never leave the herbs unattended, and rotate the tray halfway through for even drying.
The oregano is ready when the leaves crumble easily between your fingers. If they’re still flexible, give them a few more minutes but watch closely. Always allow the oregano to cool before storing it in airtight containers.
A common mistake is turning up the heat to speed things up—this almost always damages the essential oils and flavor, so patience is key. Don’t forget to use oven mitts and keep kids away from the open oven for safety.
Using a Dehydrator to Dry Oregano
Drying oregano with a home dehydrator is simple and helps preserve much of the herb’s vibrant flavor. Start by rinsing fresh oregano sprigs under cool water and patting them dry with a towel.
Next, either strip the leaves from the stems or arrange whole sprigs on dehydrator trays, making sure they aren’t overlapping to allow for even airflow. Set your dehydrator to 95°F to 115°F (35°C to 46°C); the lower temperature helps keep the oils and flavors intact, while the higher setting speeds things up if your kitchen is humid.
Drying usually takes 2 to 6 hours—check every hour after the two-hour mark. To see if your oregano is ready, pinch a leaf between your fingers: it should crumble easily and feel crisp, not bend or feel spongy.
Unlike air drying, dehydrators protect leaves from dust and reduce the risk of mold. And compared to oven drying, there’s less chance of overheating and flavor loss. Dehydrator drying is especially convenient if you want to batch-dry large amounts—your herbs retain their aroma and color beautifully.
Once fully dry, store your oregano in airtight containers away from light for maximum freshness.
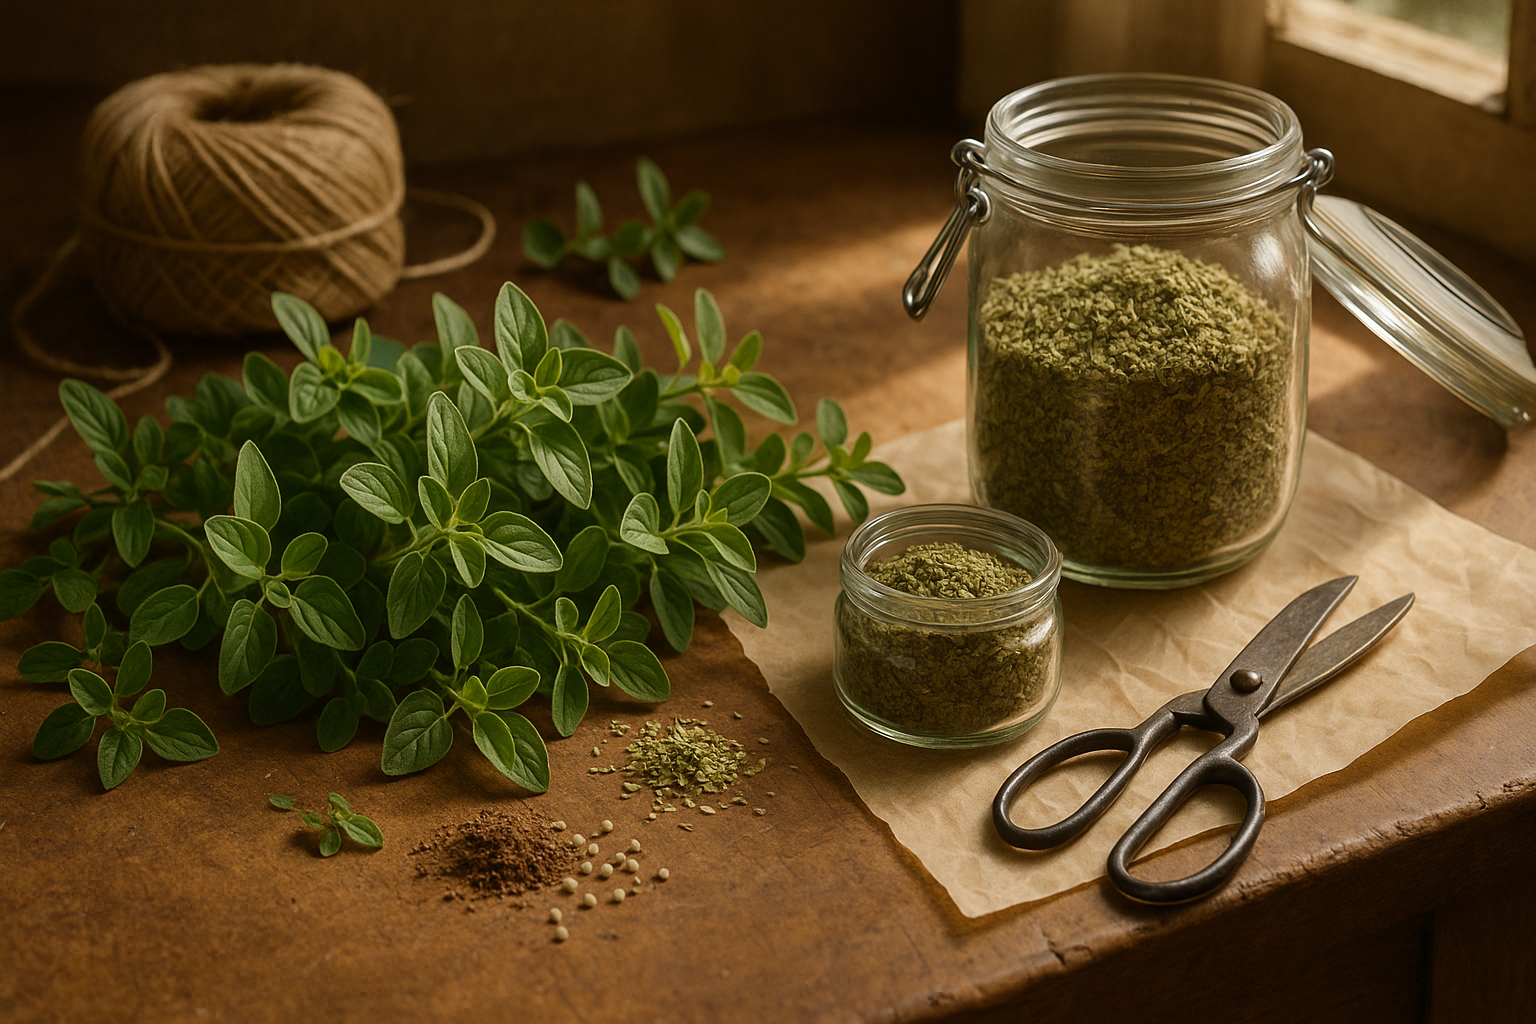
Storing and Using Dried Oregano
To keep your dried oregano flavorful, store it in an airtight container—such as a glass jar or tin—to protect it from moisture and air. Always label your container with the herb’s name and the date you stored it, so you can track its freshness.
Place your oregano in a cool, dark cupboard away from heat sources and direct sunlight, as light and heat speed up flavor loss. Avoid humidity-prone spots, like above the stove or near a dishwasher, since moisture can cause your oregano to clump or even grow mold.
When properly stored, dried oregano usually stays fresh and aromatic for up to one year, though it may last a bit longer if kept in ideal conditions.
When you’re ready to cook, remember that dried oregano has a more concentrated, robust flavor than fresh leaves. For recipes, use about one teaspoon of dried oregano in place of one tablespoon of fresh—so the basic rule is 1:3 dried-to-fresh.
Sprinkle dried oregano early in the cooking process to allow its flavors to meld into dishes like pasta sauces, roasted vegetables, soups, and marinades. Crushing the dried leaves between your fingers before adding them helps release their essential oils for an even bolder taste.
Troubleshooting & FAQs
If your dried oregano develops mold, it’s likely due to trapped moisture. Always ensure the oregano is fully dry before storing it, and use a well-ventilated space or a food dehydrator to prevent this.
For better flavor, try drying whole stems instead of just the leaves. This slows the drying process slightly and helps preserve more essential oils.
Are your leaves crumbling too much? Handle them gently and avoid overdrying, as brittle leaves tend to break easily.
Worried about dust? Rinse the oregano before drying, and be sure to store it in airtight containers once cooled.
If your results aren’t perfect, don’t stress—experiment with drying times, temperatures, and storage methods to find what works best for your kitchen.