Introduction
Drying fennel seeds is a simple yet essential step if you love using these aromatic seeds in your kitchen or for their soothing medicinal benefits. Fennel seeds, cherished worldwide for their sweet, licorice-like flavor, enhance everything from curries to digestive teas. But if you don’t dry them properly, they can quickly lose their vibrant taste and healthful properties. Storing damp or poorly dried seeds can also lead to mold, which ruins your harvest and all your hard work.
Whether you’ve grown your own fennel in the garden or picked some up at the farmers market, learning how to dry and store fennel seeds ensures you capture their peak flavor and keep them fresh for months to come. In this blog post, you’ll discover a foolproof, step-by-step guide to drying fennel seeds at home and simple storage tips that really work, so you can enjoy their aroma and benefits anytime.
When and How to Harvest Fennel Seeds
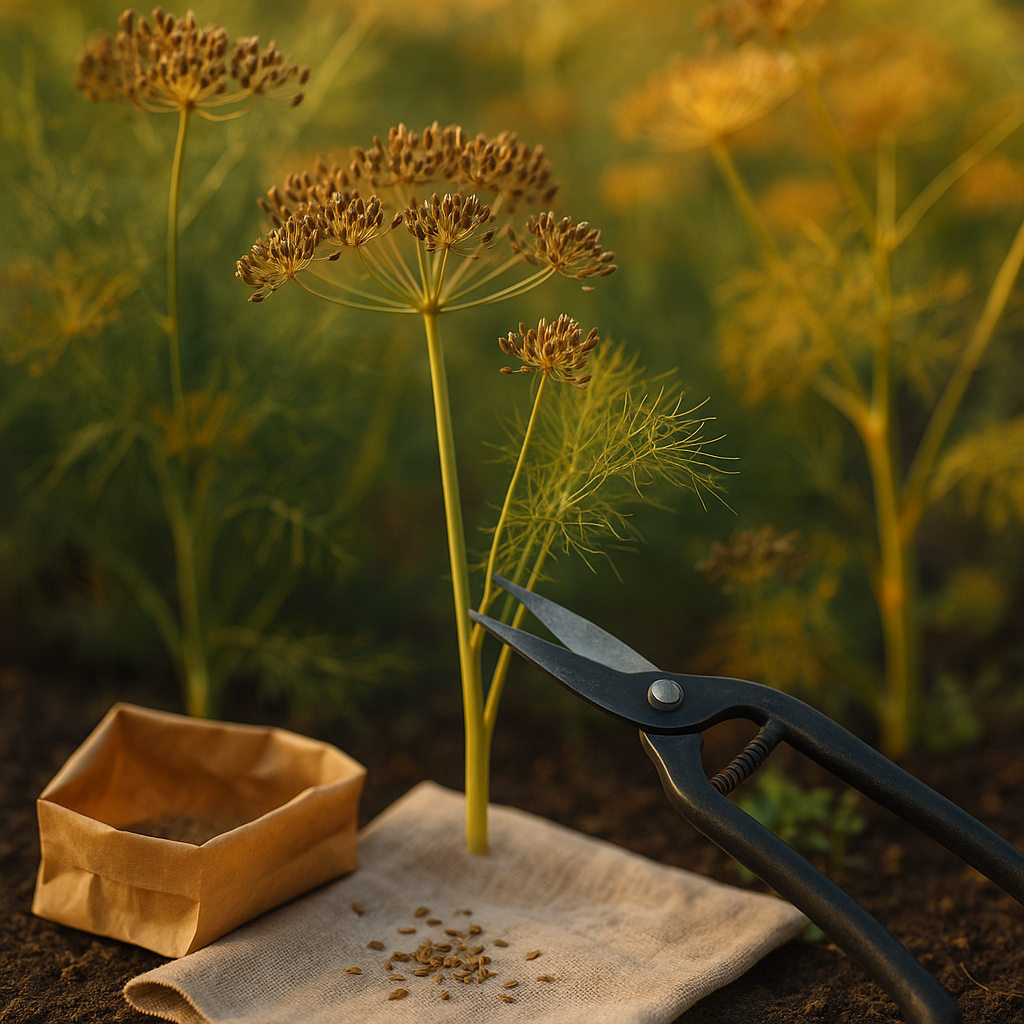
Harvesting fennel seeds at the right time ensures the best flavor and viability for cooking or planting. Watch for the umbels—or seed clusters—to turn from bright green to a light brown or tan, which is a key sign that the seeds are mature. This usually happens in late summer to early autumn, depending on your region’s climate.
Avoid harvesting too early, as immature seeds may lack flavor and won’t store well. The best time of day to cut fennel seed heads is in the morning after the dew has dried but before the midday heat, which can cause mature seeds to drop.
Using sharp garden scissors or pruners, snip the entire seed head a few inches below the cluster. To prevent losing seeds, immediately invert each cut umbel into a paper bag or bucket—this captures any seeds that might loosen during handling. Another helpful tip is to place a lightweight cloth or sheet under the plants before cutting to catch any seeds that fall.
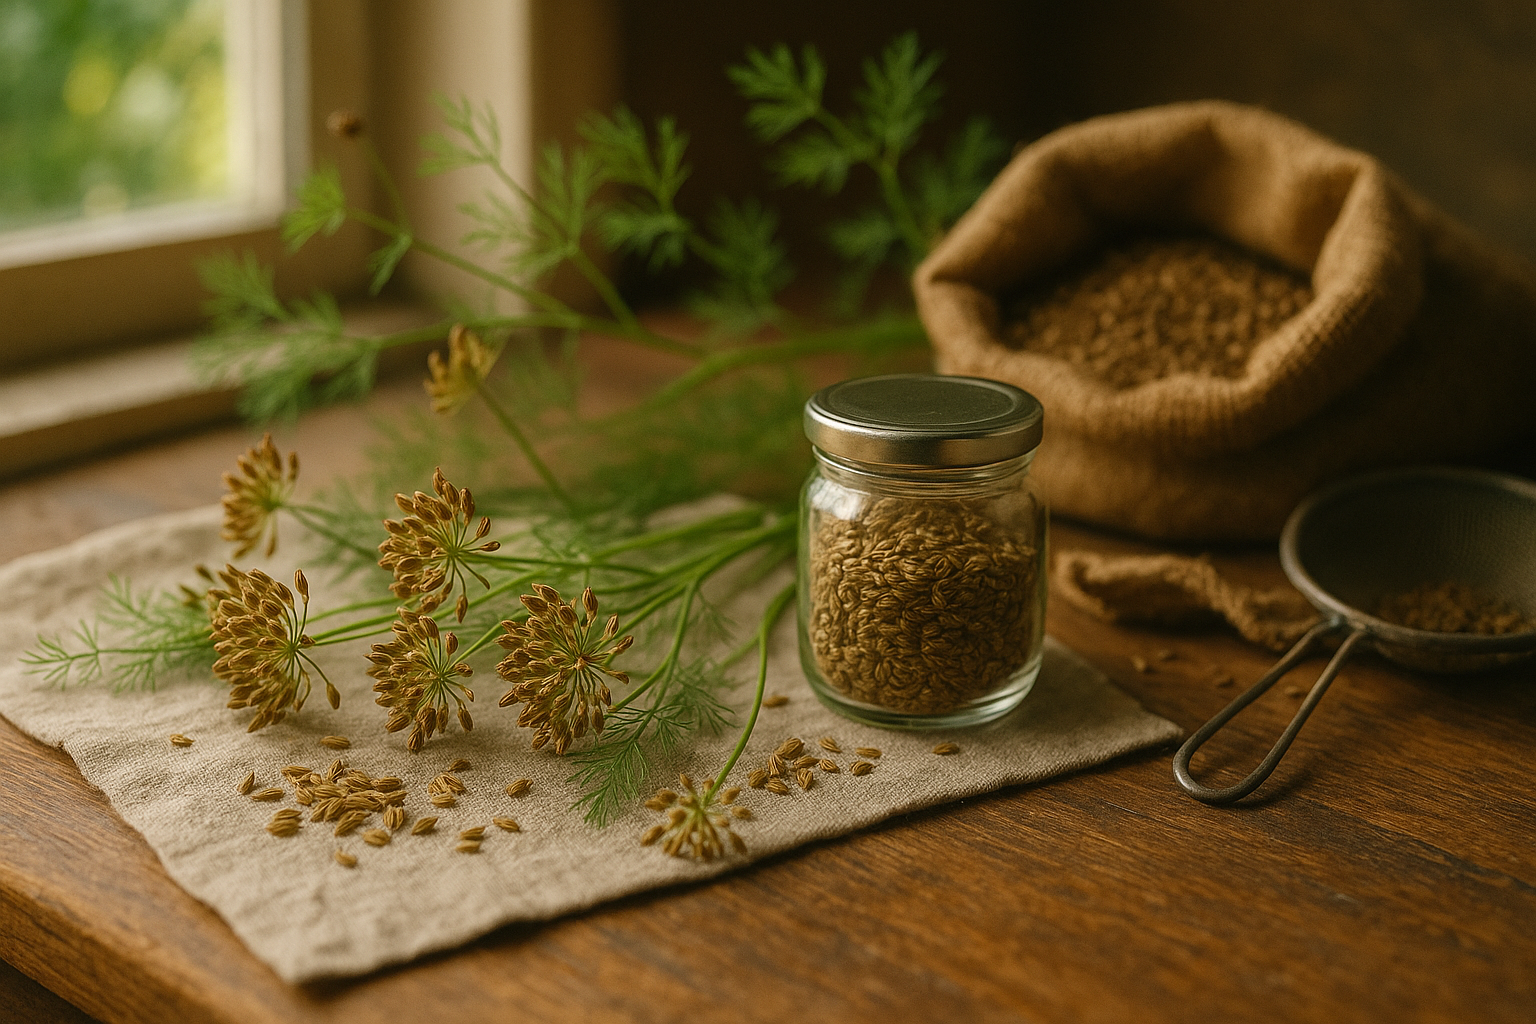
Once collected, lay the heads out in a dry, airy space to continue drying for about a week. Then, gently rub the seeds off over a container. Store the dried fennel seeds in an airtight jar, away from sunlight, to preserve their aromatic oils and flavor.
By harvesting carefully and at the right time, you’ll keep more of your hard-earned seeds and enjoy their fresh, anise-like taste throughout the year.
Preparing Seeds for Drying
Separating seeds from stalks and removing debris is an important first step when preparing seeds for drying. Start by gently rubbing the seed heads or pods between your hands over a large, clean tray or sheet of parchment paper. This helps loosen seeds without crushing them or breaking fragile hulls.
Use a light breeze—either from a fan on the lowest setting or by carefully blowing—to help winnow away chaff and non-seed materials, allowing heavier seeds to fall while lighter debris is carried off. For stubborn stalks or pods, manually pick them out, taking care to handle seeds as little as possible to preserve their natural oils.
If seeds are sticky or still have remnants of fruit attached, a quick rinse in cool water can help. Place seeds in a fine mesh strainer and rinse gently, swirling them with your fingers. Be sure not to soak seeds for long, as this can strip away flavors and essential oils.
After washing, spread seeds in a thin, even layer on a clean kitchen towel or unbleached paper towel to absorb excess water, then air-dry thoroughly. Handle seeds with care throughout—crushing or rough handling can damage delicate seed coats and reduce their flavor potential.
With these gentle, mindful steps, you’ll keep seeds fragrant and flavorful, ready for storage or planting.
Best Methods for Drying Fennel Seeds

When it comes to drying fennel seeds at home, several methods can help you achieve flavorful, long-lasting results—each with its own advantages.
Air drying is the most natural way. Simply spread freshly harvested fennel seed heads on a clean tray or mesh screen in a cool, well-ventilated area out of direct sunlight. Turn them daily for even drying. It takes about 7–14 days, and you’ll know they’re ready when the seeds are brittle and easily fall from the stems.
Sun drying speeds things up, usually taking 3–5 days. Lay the seed heads on a tray covered with a thin cloth or mesh to keep out pests and debris, and place them in a sunny, breezy spot. Be sure to bring them indoors at night to prevent dew from causing mold.
The quickest method is oven drying. Set your oven to its lowest setting (often around 150°F/65°C). Spread the seeds in a single layer on a baking sheet, prop the oven door open slightly for air circulation, and dry for 1–2 hours, stirring occasionally. Watch closely to avoid burning them.
No matter which method you choose, make sure the seeds are fully dry before storing. Test by biting into a seed—it should snap cleanly, not bend or taste chewy. To prevent mold, avoid drying seeds in thick layers or areas with poor airflow, and never dry seeds if they’re still leafy or damp.
Overdrying can cause seeds to lose their oils and aroma, so stick to the recommended times and check often. A common mistake is rushing by using high heat, which can scorch the seeds or dull their flavor; patience truly pays off.
Once dry, store the seeds in an airtight container away from heat and sunlight to maintain their freshness.
Proper Storage Techniques for Maximum Freshness
Storing seeds properly is crucial if you want to maintain their freshness and high germination rates for future planting. The best containers for seed storage are airtight glass jars, metal tins with tight lids, or high-quality plastic containers with rubber seals. You can even use resealable mylar bags for extra protection—just make sure whatever you choose is clean and completely dry, since moisture is a seed’s worst enemy.
Always keep seeds in a cool, dark, and dry environment—think of a basement, cellar, or a dedicated section of a refrigerator. Sunlight and fluctuating temperatures can rapidly decrease seed viability, so avoid windowsills and garages.
Before sealing away your seeds, label each packet or container with the plant type and the collection or expiration date. This makes it easy to track which seeds to use first, especially for varieties with shorter shelf lives. Including relevant notes like purchase source or special traits can be a real lifesaver during spring planting.
As months go by, periodically check seeds for signs of mold, off odors, or visible damage. To test if older seeds are still viable, try a quick germination test:
- Dampen a paper towel
- Place a few seeds inside
- Fold it and seal it in a plastic bag
- Keep it for several days
If most seeds sprout, your seeds are good to go!
Implementing these practices will go a long way toward preserving both the viability and vigor of your homegrown seed supply.
Ways to Use and Enjoy Your Dried Fennel Seeds
Dried fennel seeds are an incredibly versatile spice, adding a sweet, slightly licorice-like flavor to both savory and sweet dishes. In the kitchen, try incorporating fennel seeds into homemade spice blends like garam masala or Italian sausage seasoning for extra depth.
They’re perfect for seasoning roasted vegetables, sprinkling over naan before baking, or stirring into bread or biscotti dough for a fragrant twist. Brewing a simple fennel tea—just steep a teaspoon of seeds in hot water—can soothe digestion and is a traditional after-meal ritual in many cultures.
Fennel seeds also shine in pickling liquids, infusing vegetables with a distinctive aroma. Traditionally, they’re chewed after meals to freshen breath and aid digestion—a tip you can easily adopt.
For a quick and tasty recipe, toast a handful of fennel seeds in a dry skillet until aromatic, then mix them into yogurt with a pinch of salt for a refreshing dip. Or toss them with sugar to make a homemade snack reminiscent of the colorful “mukhwas” served in Indian restaurants.
Keeping a jar of dried fennel seeds handy opens up a world of culinary and wellness possibilities right in your own kitchen.
Final Tips & Troubleshooting Common Issues
As you start your sprouting journey, keep in mind some key do’s and don’ts to ensure success. Always use clean equipment, fresh seeds from a trusted source, and rinse your sprouts two to three times daily with cool, clean water.
Avoid letting seeds sit in standing water, which can cause mold or rot. If you notice a musty smell, fuzzy growth, or slimy seeds, these are often signs of mold or contamination. In that case, discard the batch, thoroughly scrub your sprouting jar or tray with hot, soapy water, and start again.
Stale or non-germinating seeds are also common issues. Make sure your seeds are within their freshness date and stored in a cool, dry place. If your sprouts seem slow, check the water temperature—lukewarm water works best—and ensure you’re not over- or under-watering.
Don’t be afraid to experiment! Each batch teaches you something new. Once you find your rhythm, try mixing seed varieties or adjusting sprouting times to explore different tastes and textures.
Share your results and troubleshoot in online communities—other sprout-lovers often have great tips or solutions if something goes wrong. With a little patience and attention, you’ll quickly overcome challenges and enjoy fresh, healthy sprouts.