Introduction
Dividing chives is a simple yet essential gardening trick that keeps your favorite herb healthy, productive, and ready for all your recipes. Chives are a popular perennial herb, loved for their delicate onion flavor and their ability to thrive in most gardens or even small pots on a sunny windowsill. Over time, chives can become crowded, leading to smaller, weaker clumps. Dividing and replanting them every few years helps refresh their growth, improves yields, and ensures plenty of fresh shoots for your kitchen.
If you want to keep your chive patch thriving, this step-by-step guide will walk you through exactly how to divide and replant chives, making the process quick and stress-free—even for beginner gardeners.
When and Why to Divide Chives
Knowing when to divide your chive plants can make a big difference in their health and productivity. Watch for signs like crowded, tangled clumps, slow or stunted growth, or leaves that seem tough or thin compared to usual—these indicate your chives need more space.
Over time, chives naturally grow in dense clusters that compete for nutrients and water. By dividing them, you not only give each plant room to flourish but also reduce the risk of diseases that thrive on overcrowded, damp roots. Dividing chives rejuvenates the bed, boosts yields, and encourages the production of fresh, tender leaves for your kitchen.
The best times to tackle this task are early spring or early fall, when the weather is cool and plants are either waking up from dormancy or winding down after their peak growing season. To divide, gently dig up the clump, tease the sections apart by hand, and replant with a bit of space between each new start.
With regular dividing every three to four years, you’ll keep your chive patch thriving and productive, while also having extra plants to share with friends or fill out your herb garden.
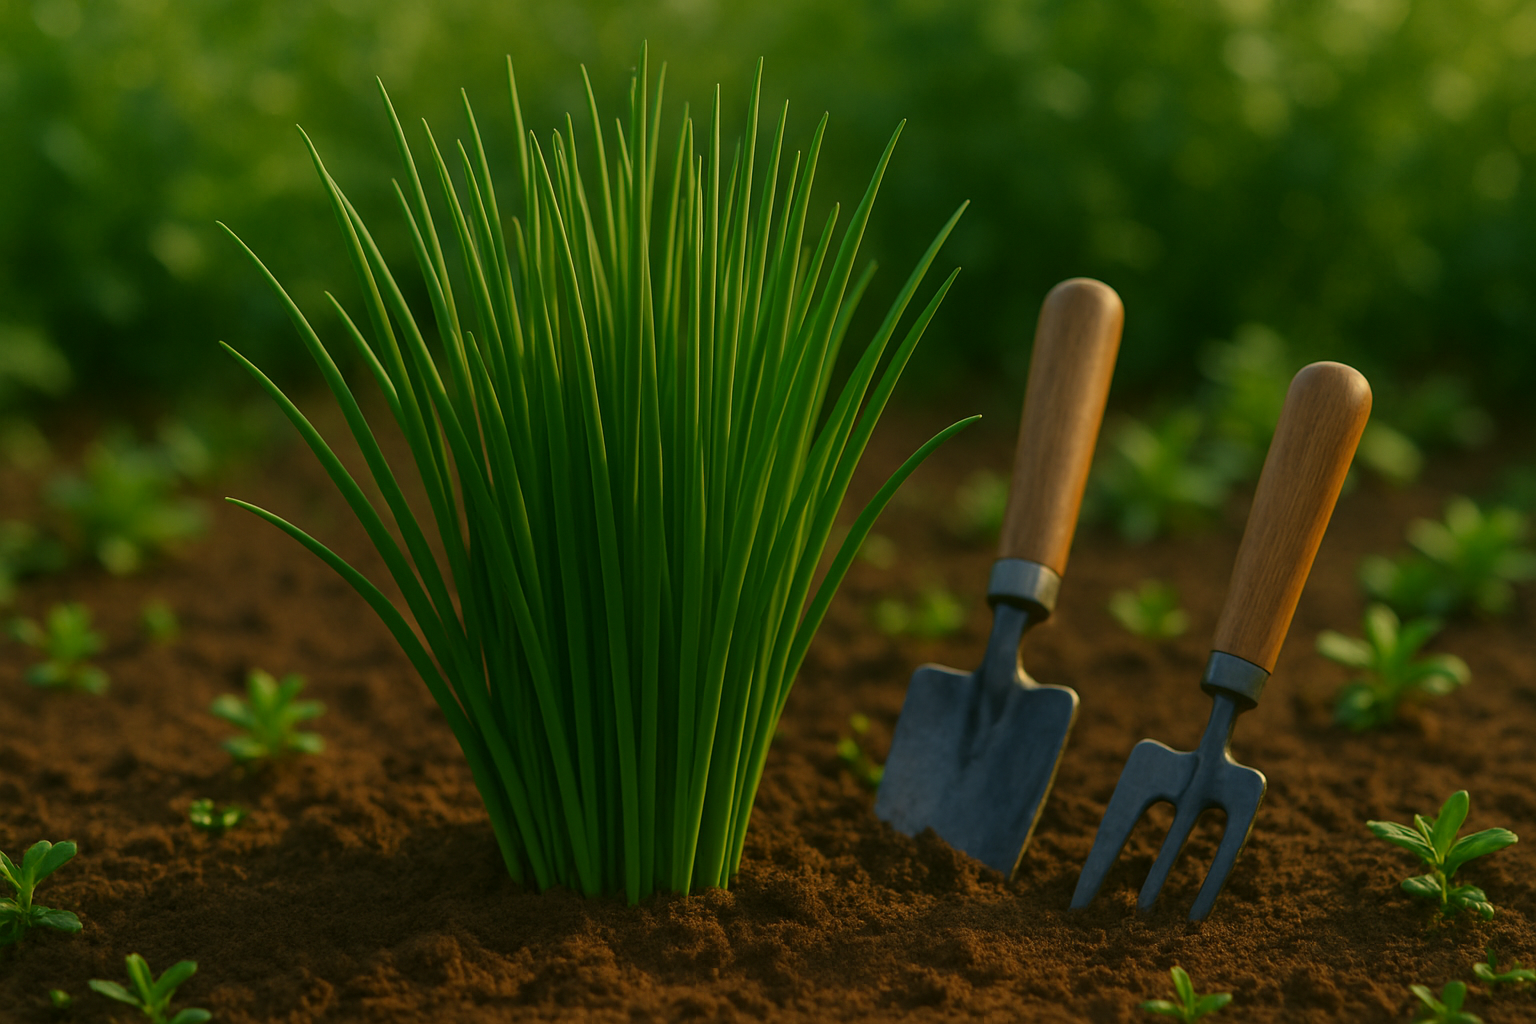
What You’ll Need
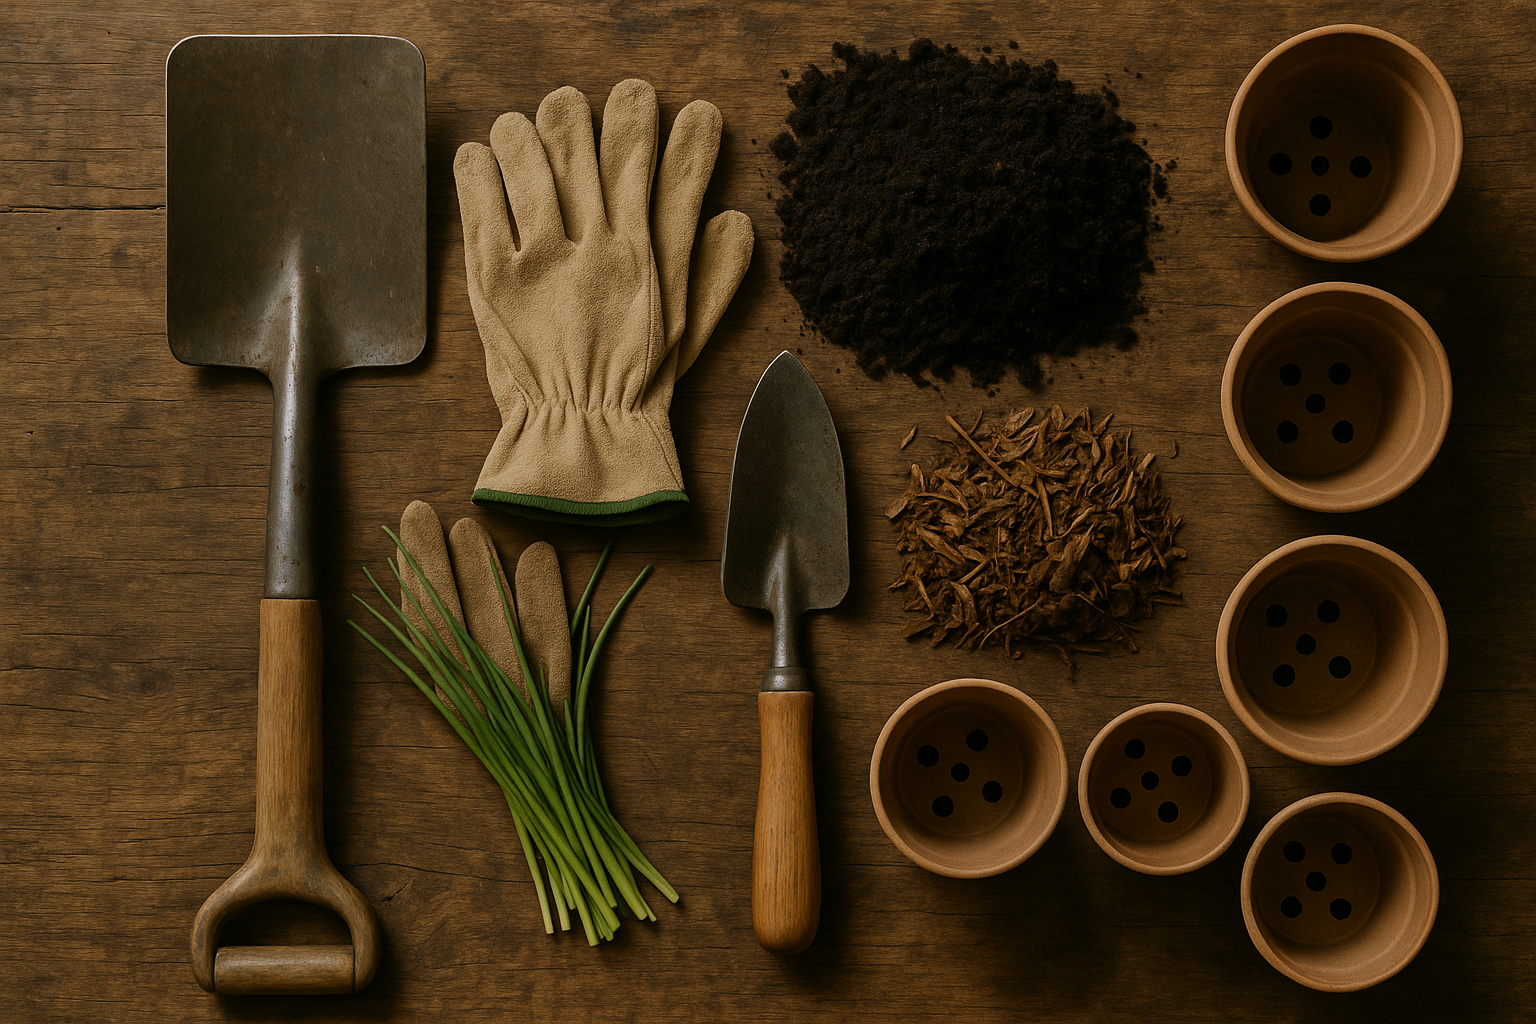
Before you start planting, gather some essential tools: a sturdy spade for digging, a hand trowel for precise planting, gloves to protect your hands, and, if you’re replanting indoors, clean pots with drainage holes.
For your planting site or containers, preparation is key.
If you’re working outdoors, choose a spot with the right amount of sun—most plants need at least six hours of daily sunlight. Loosen the soil with your spade, removing rocks or weeds, and mix in compost if the soil is dense or lacking nutrients.
For pots, select a quality potting mix that holds moisture but drains well; avoid using garden soil in containers as it compacts and hinders root growth.
Garden beds are great for larger spaces and allow plants to spread out, benefiting from the earth’s natural insulation and moisture. However, potting containers offer flexibility—you can move them to follow the sun, bring them indoors during bad weather, or arrange them to suit your space.
Deciding between a garden bed or containers depends on your available space, climate, and how much control you want over growing conditions. Pick the setup that fits your lifestyle and gardening goals best.
Step-by-Step Guide
- Begin by choosing a cool, cloudy day or working in the early morning or late afternoon to reduce stress on your chive plants.
- Water the chive clump thoroughly a few hours before dividing to soften the soil and reduce root damage.
- Using a garden fork or spade, carefully dig around the clump about 3-4 inches away from the base to avoid slicing into the roots.
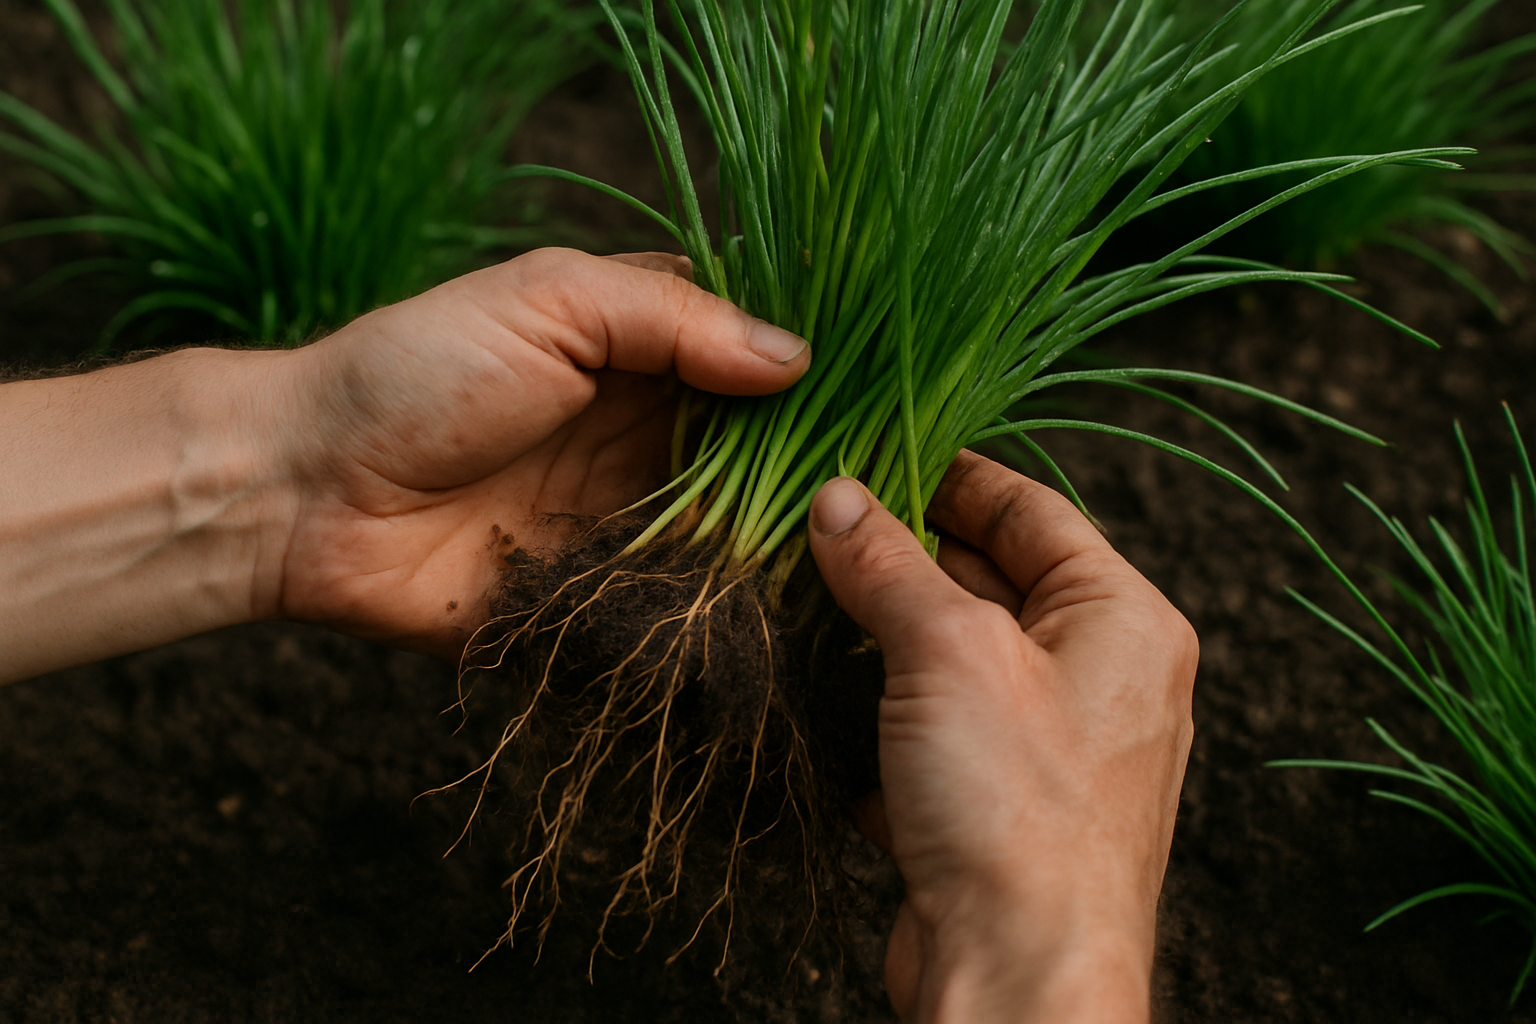
- Gently lift the entire clump out of the ground, keeping as much soil attached to the roots as possible.
- Shake off excess soil gently so you can see the roots, but don’t remove all the soil—leaving some helps maintain root moisture and health.
- Examine the clump for natural divisions; chives typically grow in tight groups that can be teased apart with your hands.
- Use your fingers to gently separate the roots, pulling apart small sections with several growing shoots and healthy roots attached; avoid using sharp tools if possible to minimize damage.
- If any roots are tangled, use your hands to untangle them carefully, and trim away any dead, mushy, or overly long roots with clean, sharp scissors.
- Immediately replant the divided sections in prepared soil or pots at the same depth they were growing previously.
- Space new clumps about 6-8 inches apart to allow room for growth, and water them in well to help settle the soil around the roots.
- Add a layer of mulch around the base of the new plantings to retain moisture and keep roots cool, but keep mulch from touching the stems to avoid rot.
- For best results, avoid fertilizing for the first few weeks to let the roots settle, and keep the new transplants consistently moist but not soggy as they reestablish.
How to Replant Chives for Best Results
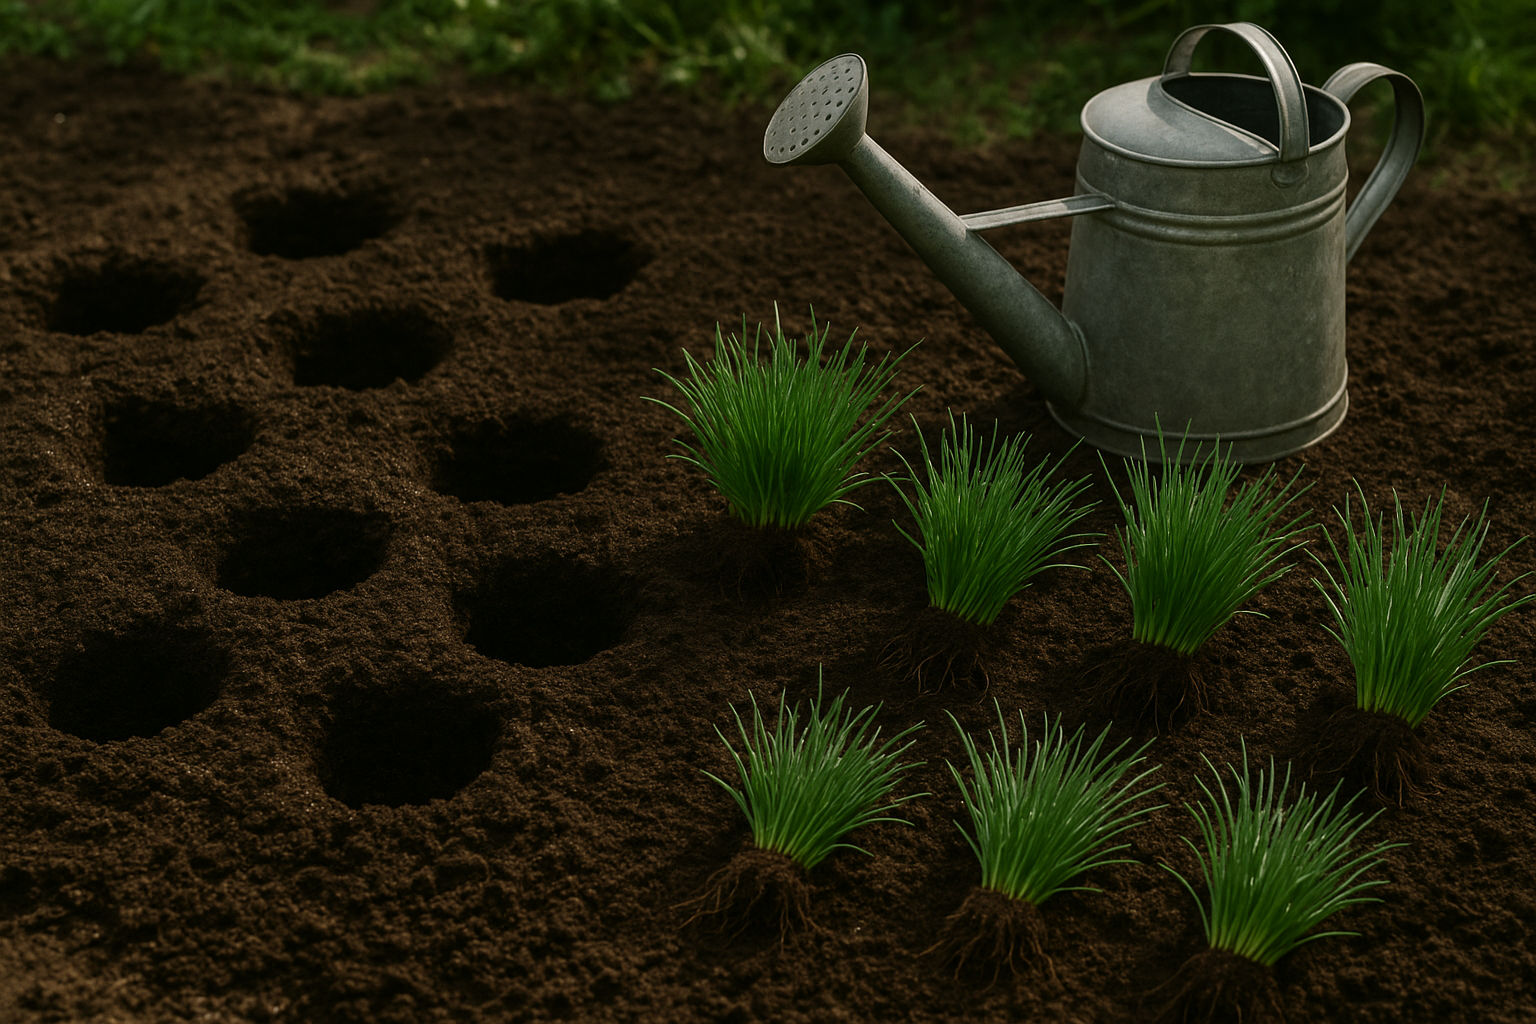
When replanting divided chive clumps, start by preparing well-draining soil and digging holes about 2 inches deep to accommodate the roots. Space each clump 6 to 8 inches apart—this gives the plants room to spread and ensures good airflow, which helps prevent disease.
After placing the chives in their new spots, gently firm the soil around the roots and water thoroughly until the soil is evenly moist but not soaked. For both indoor and outdoor settings, a gentle shower from a watering can works best; avoid harsh sprays that could dislodge the delicate roots.
Outdoor Care
Outdoor chives benefit from a thin layer of organic mulch—such as straw or shredded leaves—to help retain moisture, suppress weeds, and regulate soil temperature. If the sun is harsh, especially in summer, lightly shade newly replanted chives for a few days using garden cloth or a temporary cardboard shelter.
Indoor Care
Indoors, use a decorative layer of pebbles or a small amount of potting soil on top to retain moisture without encouraging fungus. Place pots in bright but indirect light until growth resumes.
Fertilizing and Watering
Chives generally don’t need heavy feeding right after replanting. A gentle dose of diluted liquid fertilizer a week or two later will encourage growth. Indoors, be careful not to overfertilize, as confined roots can quickly suffer from nutrient overload.
Indoor chives require more frequent but moderate watering since pots dry out faster, while outdoor chives depend on natural rainfall but need extra water during dry spells.
By following these tips, your chives will establish quickly and provide a steady harvest, whether they’re thriving in your garden or brightening up your kitchen windowsill.
Ongoing Care and Harvesting Tips
After replanting chives, ongoing care is simple but crucial for healthy, thriving plants. Water your newly transplanted chives regularly, keeping the soil consistently moist but never soggy. Using a watering can with a gentle rose helps minimize soil displacement.
Chives love sunlight, so aim for at least 6 hours of direct sun daily—if you’re growing them indoors, a sunny windowsill works well. Fertilize every four to six weeks with a mild, balanced fertilizer, but avoid over-fertilizing, as this can cause lush leaves with less flavor.
Watch for common issues:
- Yellow leaves: Often a sign of too much water or soggy soil. Check drainage and adjust watering accordingly.
- Wilting: Can signal underwatering or transplant shock. Shade the plants during hot afternoons until they’re established, then resume normal care.
- Pests: Aphids may appear; a gentle spray with soapy water usually keeps them at bay.
For harvesting, wait until your chives are at least six inches tall. Snip the leaves with scissors, cutting no more than one-third of the bunch at a time. Always cut from the outside in, which encourages new growth from the center.
With regular care and mindful harvesting, your chive patch will keep producing flavorful greens all season long.
Conclusion & Quick FAQs
Regularly dividing your chives every 2-3 years keeps them healthy, prevents overcrowding, and encourages fresh growth. Start by digging up the clump, gently pulling it apart, and replanting the sections. This simple process rejuvenates your patch and ensures a continuous supply of flavorful leaves.
FAQ
- How often should you divide chives? Aim for every 2-3 years.
- Can chives grow from seed? Yes—though division is quicker, you can also sow seeds indoors or directly in the garden.
Try these tips in your own herb garden to keep chives thriving season after season!