Introduction to Growing Chives in Containers
If you’re looking for an easy way to add fresh flavor to your kitchen, growing chives in containers might be the perfect place to start. Chives are a versatile, low-maintenance herb that thrive in pots, window boxes, and small planters, making them ideal for gardeners with limited space or even just a sunny windowsill.
Container gardening offers plenty of benefits—space-saving, better control over soil and watering, fewer pests, and the convenience of moving your plants to optimize sunlight or protect them from the weather. Plus, with the right container, you can grow chives indoors or outdoors, ensuring a year-round supply of fresh herbs.
Whether you’re new to gardening or already have a flourishing patio garden, this post will guide you through choosing the best containers for growing chives, provide tips on soil and drainage, and share real-world hacks for vibrant, productive plants. With the right approach, you’ll soon be snipping fresh chives for omelets and salads straight from your own homegrown mini herb patch.
Why Choose Containers for Growing Chives?
Choosing containers for growing chives offers a range of practical advantages, especially for gardeners seeking convenience and control. One major benefit is mobility: you can move pots to follow the sun, avoid harsh weather, or simply make room on your patio. This flexibility is especially useful in smaller urban spaces or apartments with limited outdoor areas.
Containers also give you the upper hand when it comes to pest and disease management. By using fresh, sterile soil and isolating your chives from garden beds, you significantly reduce soil-borne issues like fungal infections or root rot, as well as pests such as onion maggots. Plus, containers make it easier to spot and treat problems early, keeping your plants healthy with less effort.
The indoor/outdoor versatility of containers is another big advantage—move chives indoors to a sunny windowsill during colder months, and you can harvest fresh greens even when your garden is buried under snow. This means containers can greatly extend your growing season and supply, perfect for home cooks who use chives regularly.
Chives, in particular, are a great fit for container gardening because of their shallow, fibrous roots—they don’t need deep soil, so even a small pot will do. Their clumps are easy to divide, allowing you to multiply your chive supply or share extras with friends.
With a little attention, container-grown chives thrive, making them an ideal choice for both beginners and seasoned gardeners.
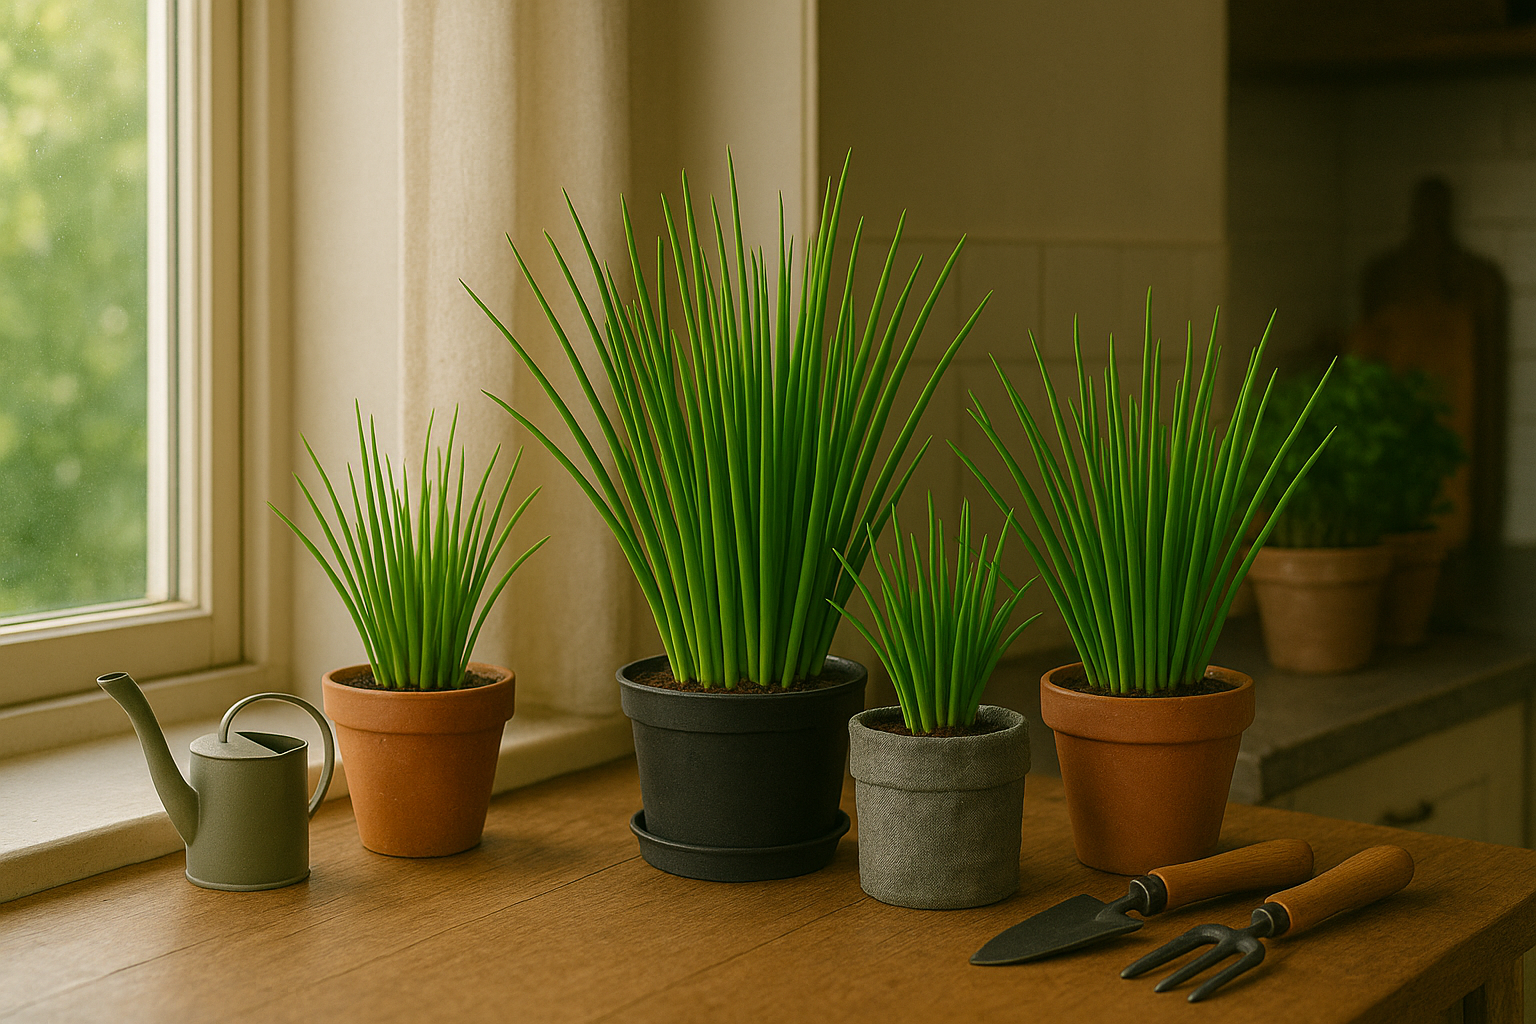
Selecting the Best Container for Chives
When growing chives, choosing the right container can make a big difference in plant health and harvest quality. Chives develop shallow roots, so a pot that’s about 6–8 inches deep and at least 6 inches wide is ideal—a window box or round planter both work well.
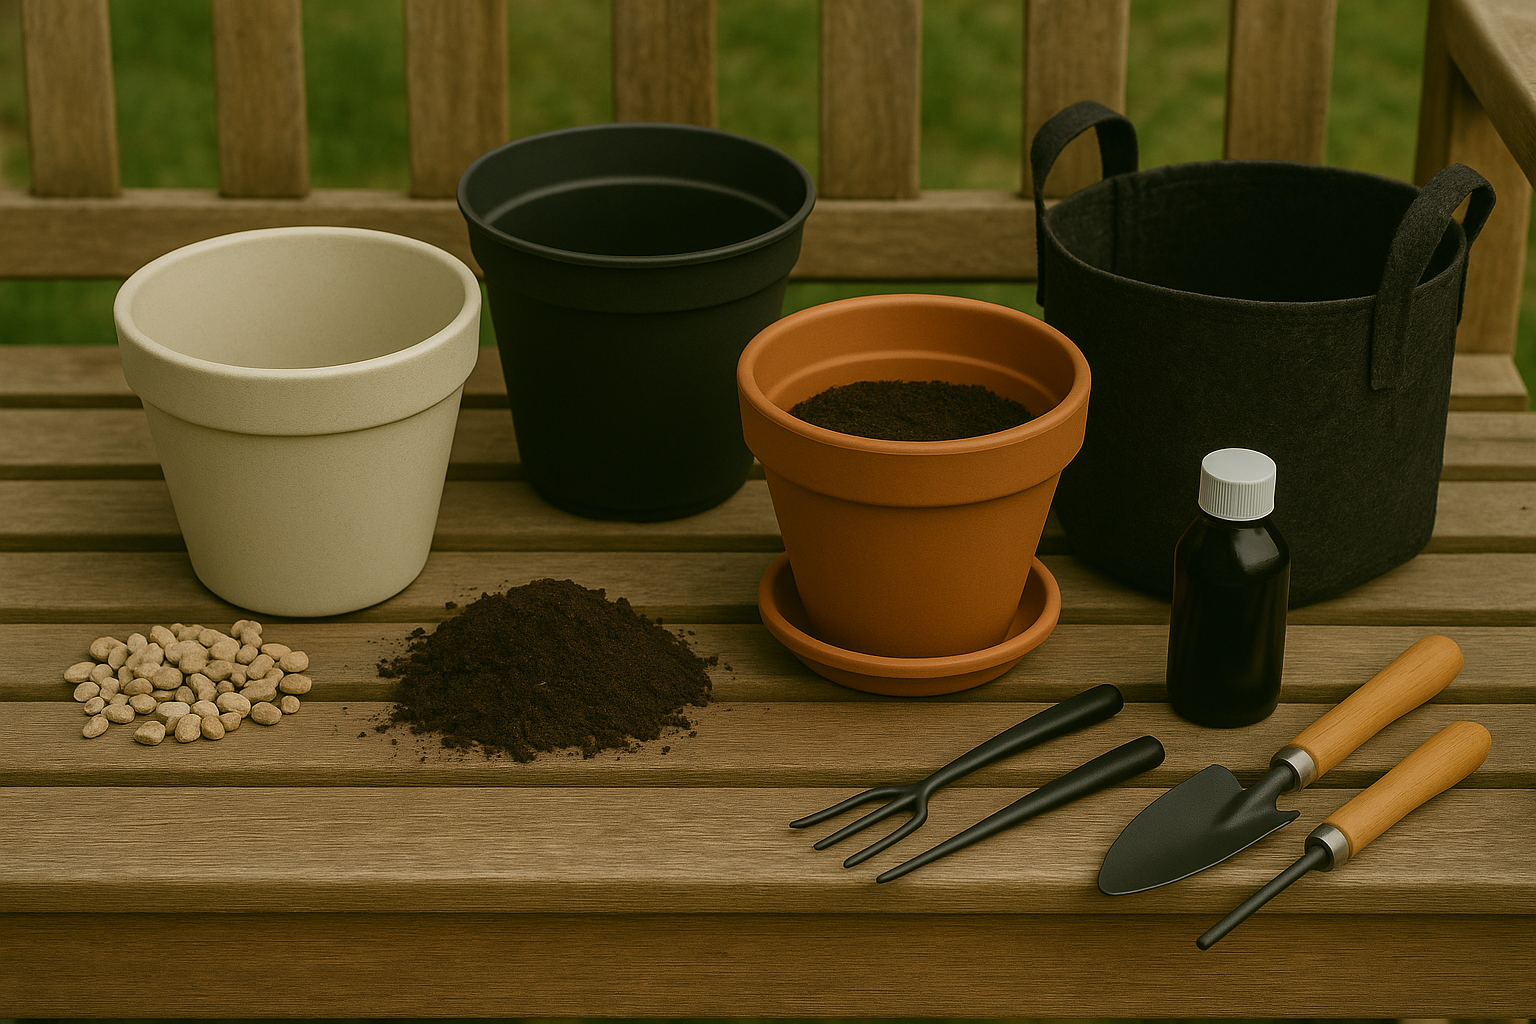
Container Material Pros and Cons
Popular container materials each have their advantages and disadvantages:
- Plastic pots: Lightweight, affordable, and retain moisture longer, making them great for busy gardeners. However, they may not insulate roots well during temperature swings.
- Clay pots: Offer a classic look and naturally wick away moisture, helping prevent overwatering. They dry out quickly and are fragile.
- Metal containers: Add a modern vibe but can overheat and stress chive roots in sunny spots.
- Fabric grow bags: Provide excellent drainage and root aeration but lose water fast and might not suit every décor style.
Drainage and Practical Tips
Whatever material you choose, drainage is crucial. Look for pots with several bottom holes, and consider layering pebbles or a thin mesh screen before adding soil to keep those holes from clogging.
Container Shapes and Placement
- Rectangular windowsill planters: Maximize space and fit perfectly on kitchen ledges for snipping fresh chives.
- Vertical wall planters: Ideal for small patios or balconies and add a green accent to blank walls.
Indoor vs. Outdoor Containers
If you’re growing indoors, lighter pots like plastic or fabric are easier to move and less likely to damage surfaces. For outdoor containers, choose something heavy enough to withstand wind and weather—glazed ceramic or weighted box planters work well if tipping is a concern.
Remember to match your pot style and color to your home or garden’s look. Make sure all containers get plenty of light and have trays or saucers if kept inside to catch excess water.
Soil and Compost
Growing thriving chives starts with giving them the right soil—think loose, well-drained, and packed with organic goodness. Chives dislike having their roots sitting in soggy soil, so look for a mix that feels light and fluffy, not dense or sticky. Aim for a soil pH between 6.0 and 7.0, which you can easily test with a basic kit from your garden center.
Many gardeners opt for store-bought potting mixes, which are convenient and usually drain well. However, you can also create a homemade blend by combining equal parts peat moss or coco coir, compost, and perlite or coarse sand. The key is plenty of organic matter—add generous amounts of finished compost to boost nutrients and help the soil retain just enough moisture without becoming soggy. Homemade compost also introduces beneficial bacteria and micronutrients that enhance chive health and flavor.
If you’re starting with average garden soil, mix in compost and a handful of perlite to improve both nutrition and aeration. To prevent the soil surface from drying out and to block weeds, top your container or garden bed with a thin layer of organic mulch like straw, shredded leaves, or bark—just keep it away from the plant’s base to avoid rot.
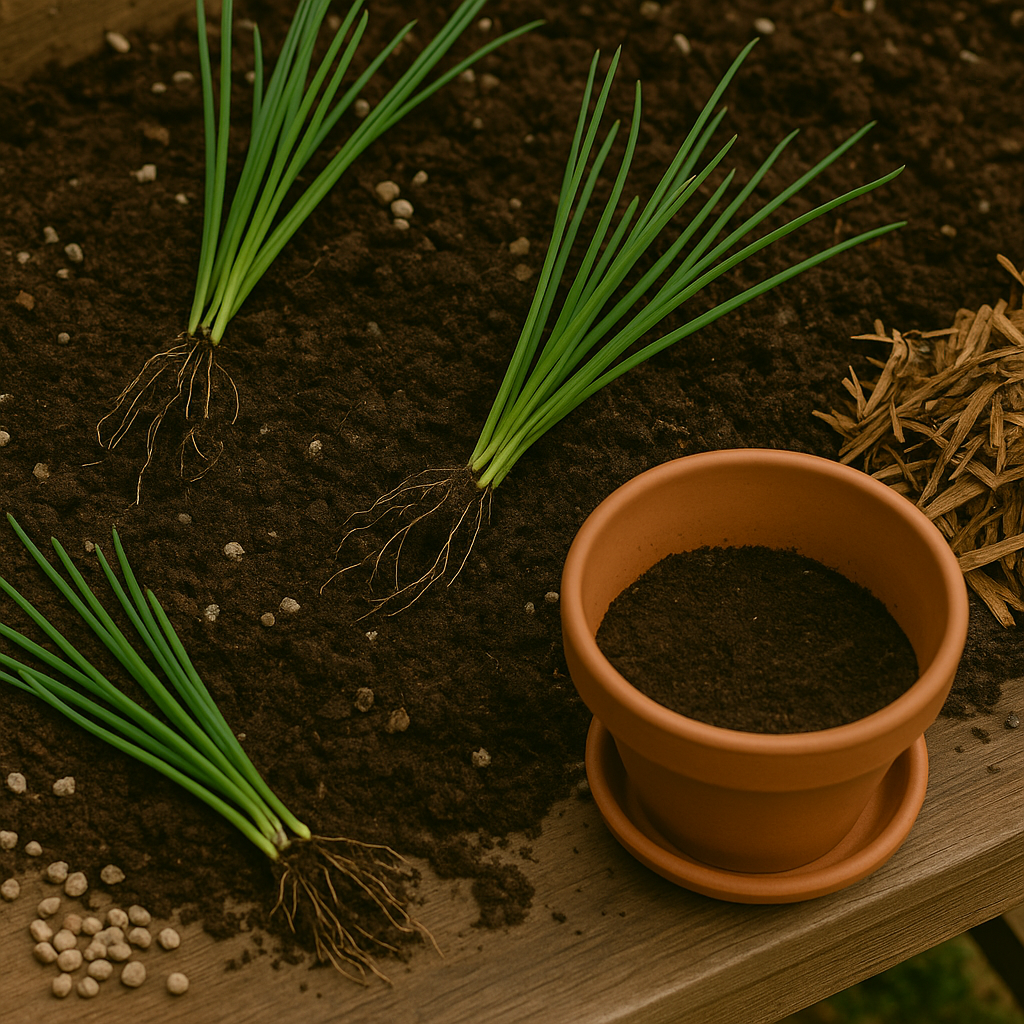
Chives are forgiving but should be repotted every one to two years or when they get crowded, usually in spring. This is also a great time to refresh their soil and divide overgrown clumps. When repotting, gently tease apart the roots and trim back any that seem mushy or dead.
Whether you’re container gardening or planting in beds, spending a little time perfecting your soil setup pays off with hardy, productive chive plants you’ll enjoy for seasons to come.
Planting and Caring for Your Chives in Pots
Growing chives in pots is rewarding and straightforward, whether you start from seeds or buy young seedlings. For seeds, fill a small container (at least 6 inches wide) with quality, well-draining potting mix. Scatter the seeds thinly across the surface and cover them lightly with about ¼ inch of soil.
If transplanting seedlings, space each one about two inches apart to prevent overcrowding and ensure good airflow as the plants mature. Place your pot in a sunny spot—chives love at least six hours of direct sunlight daily, such as a bright balcony or windowsill.
Keep the soil consistently moist but never soggy. Stick a finger into the soil—if the top inch feels dry, it’s time to water. Be sure to empty saucers so roots don’t sit in excess moisture.
Feed your chives every four to six weeks with a diluted, balanced liquid fertilizer to keep the foliage lush. Avoid overdoing it, as too much fertilizer can reduce the herb’s flavor.
Every couple of years, or if your clump gets crowded, gently dig up and divide the roots. This encourages new growth and gives you more plants to enjoy or share.
To keep your chives productive, harvest regularly by snipping leaves close to the base, but always leave at least an inch of growth so the plant can regenerate. Remove any spent flower heads promptly to prevent the plant’s energy from going into seed production.
By giving your chives just the right moisture, light, nutrients, and space, you’ll enjoy a steady supply of fresh, flavorful greens all season long—right from your patio or kitchen windowsill.
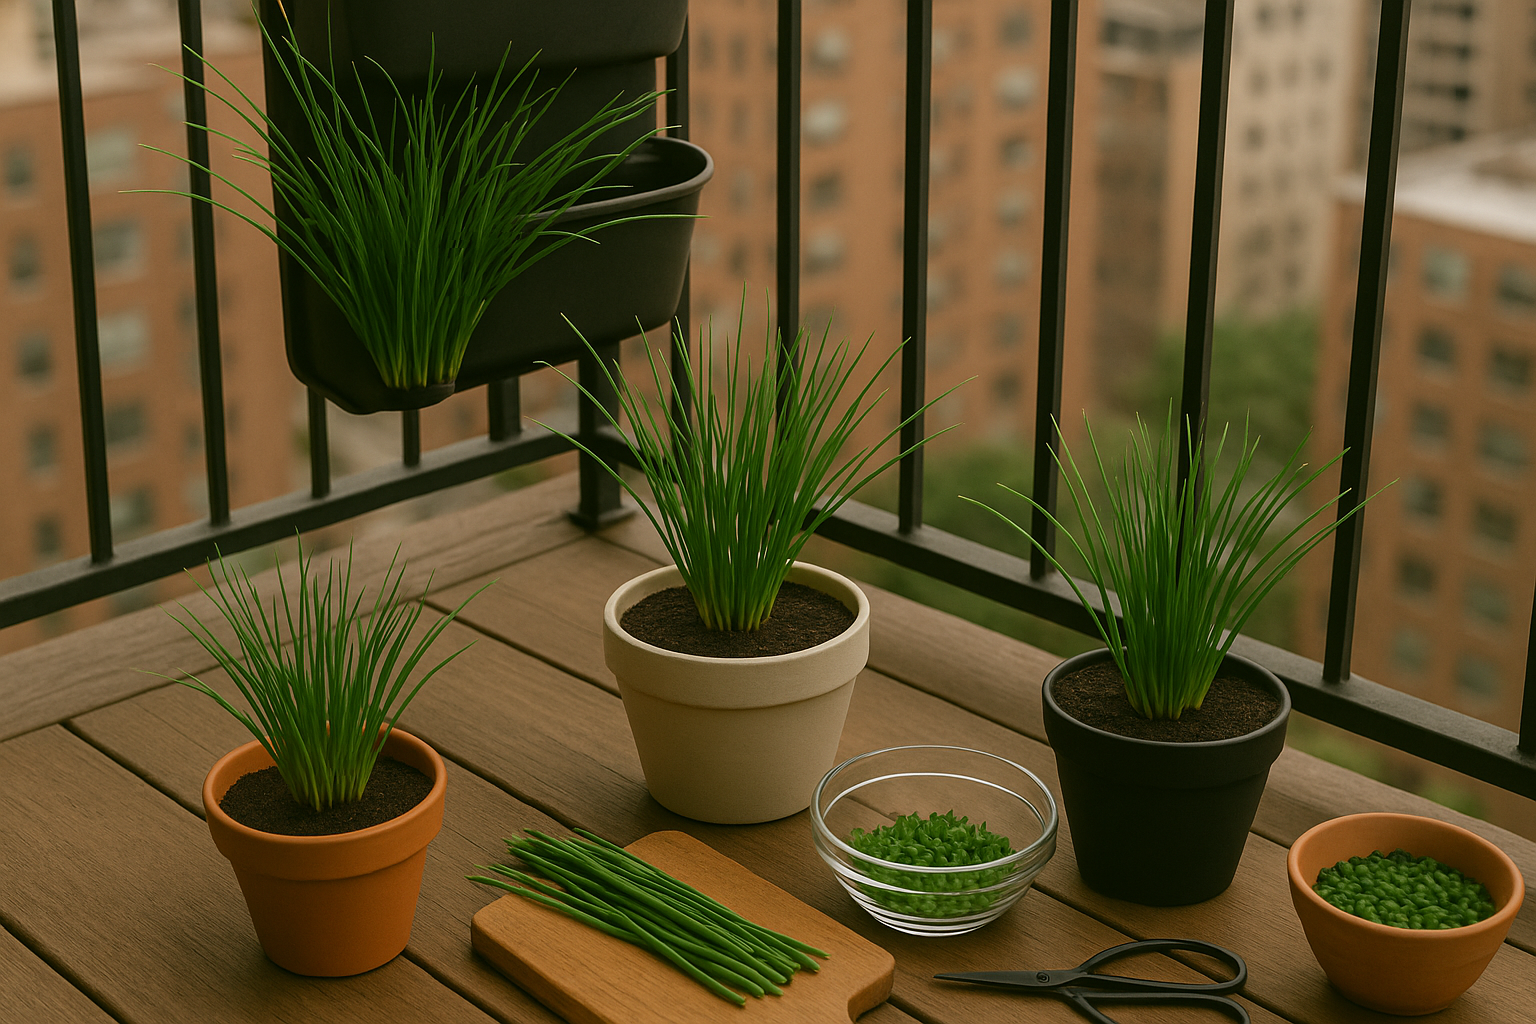
Harvesting and Using Container-Grown Chives
Harvesting container-grown chives is incredibly rewarding and can be done throughout the growing season, usually from early spring until frost. The best time to harvest is when the leaves are at least six inches tall and look fresh and green.
How to Harvest
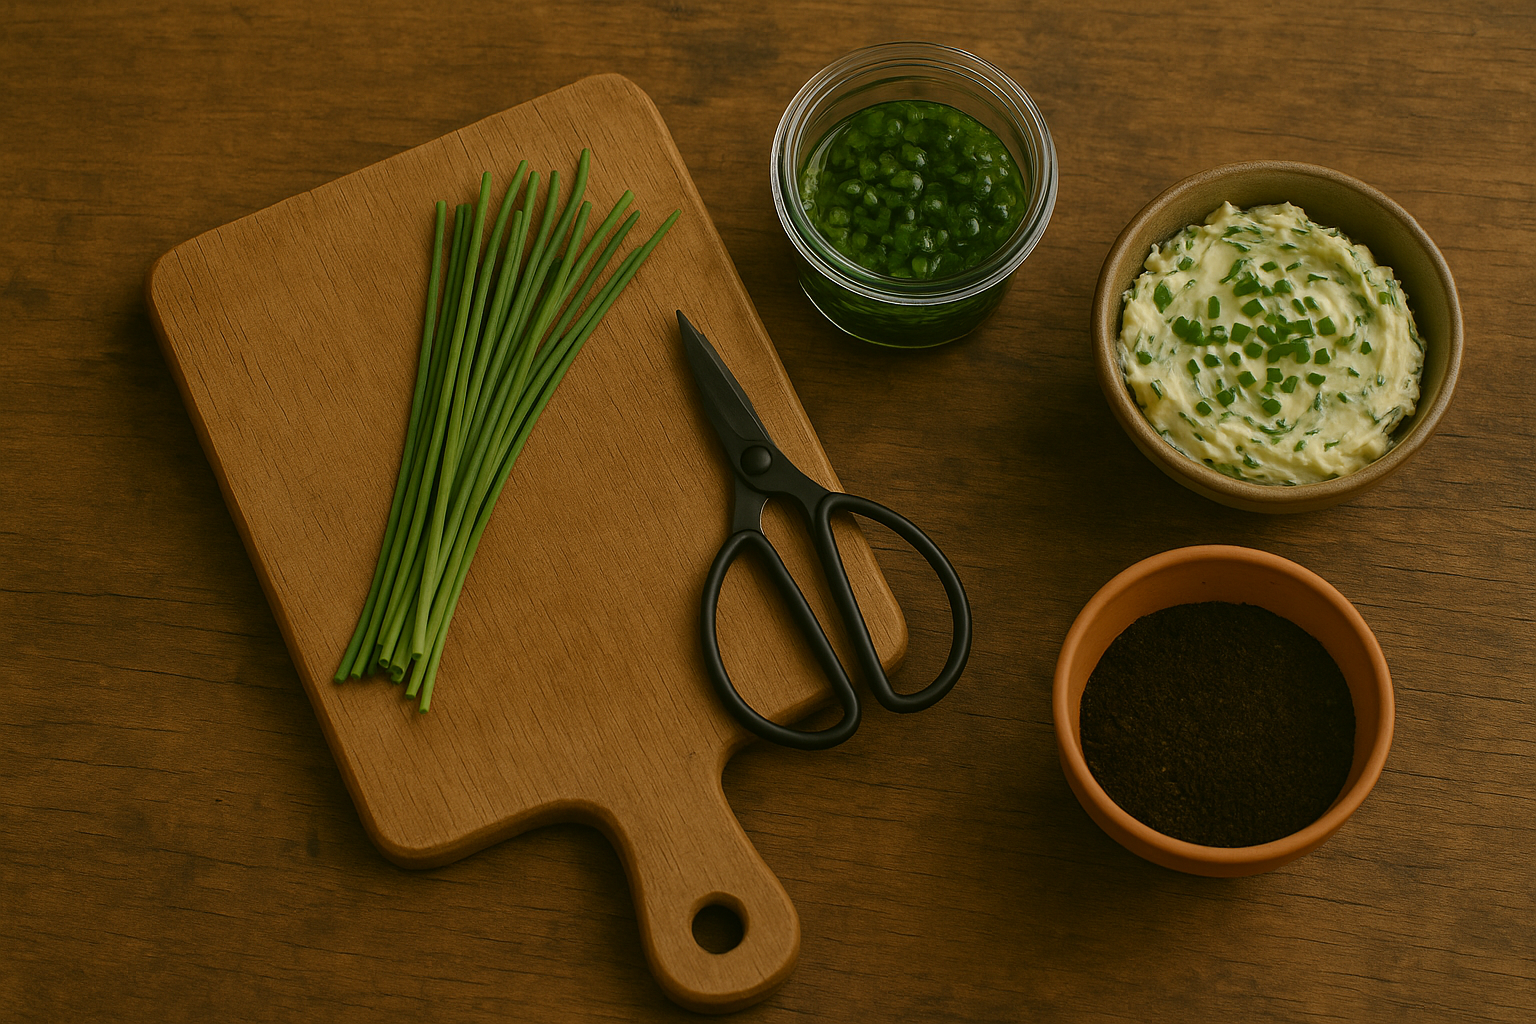
To encourage regrowth, use clean kitchen scissors or sharp shears to cut chive leaves about one to two inches above the soil. Always leave a few inches of the plant intact so the chives can quickly rebound and keep producing new shoots. For the most flavorful harvest, aim to snip chives early in the morning when their oils are most concentrated.
Storing Fresh Chives
Once picked, wrap fresh chives loosely in a damp paper towel and store them in an airtight container in the refrigerator for up to a week. For longer storage, you have a couple of options:
- Chop and freeze chives in ice cube trays with a bit of water or olive oil.
- Dry them by spreading the leaves in a single layer on a baking sheet, setting your oven to the lowest temperature with the door ajar. Once dried, crumble and store them in an airtight jar away from heat and light.
Using Homegrown Chives
Homegrown chives are perfect for brightening up baked potatoes, scrambled eggs, dips, and salads. But don’t stop there—try blending them into compound butters, folding them into soft cheeses, sprinkling atop homemade pizza, or using the edible flowers to garnish dishes for a gourmet touch. With a healthy container of chives, you’ll always have fresh flavor right at your fingertips.
Troubleshooting & Seasonal Tips for Success
Growing chives in containers is rewarding, but you might encounter a few common issues along the way. Pests like aphids or thrips can appear—if you spot tiny bugs or sticky residue, wipe the leaves with a damp cloth or spray them with a gentle neem oil solution.
Fungal diseases can crop up if the soil stays soggy; make sure your pots have good drainage and avoid overhead watering to keep foliage dry. If your chive leaves start drooping or turning yellow, check if the soil is too wet or too dry—chives prefer consistently moist, not waterlogged, conditions.
Overcrowding is another frequent problem; divide your clumps every year or so to give each plant room to thrive.
For winter, if your containers stay outdoors, insulate them by moving pots close to the house and mulching heavily to protect roots from freezing. Alternatively, bring chive pots indoors before the first hard frost—place them in a sunny window and water sparingly, allowing for slower winter growth.
With a little attention, you’ll enjoy healthy, flavorful chives year-round, whether your garden is outside on a patio or brightening up a kitchen counter.