Introduction
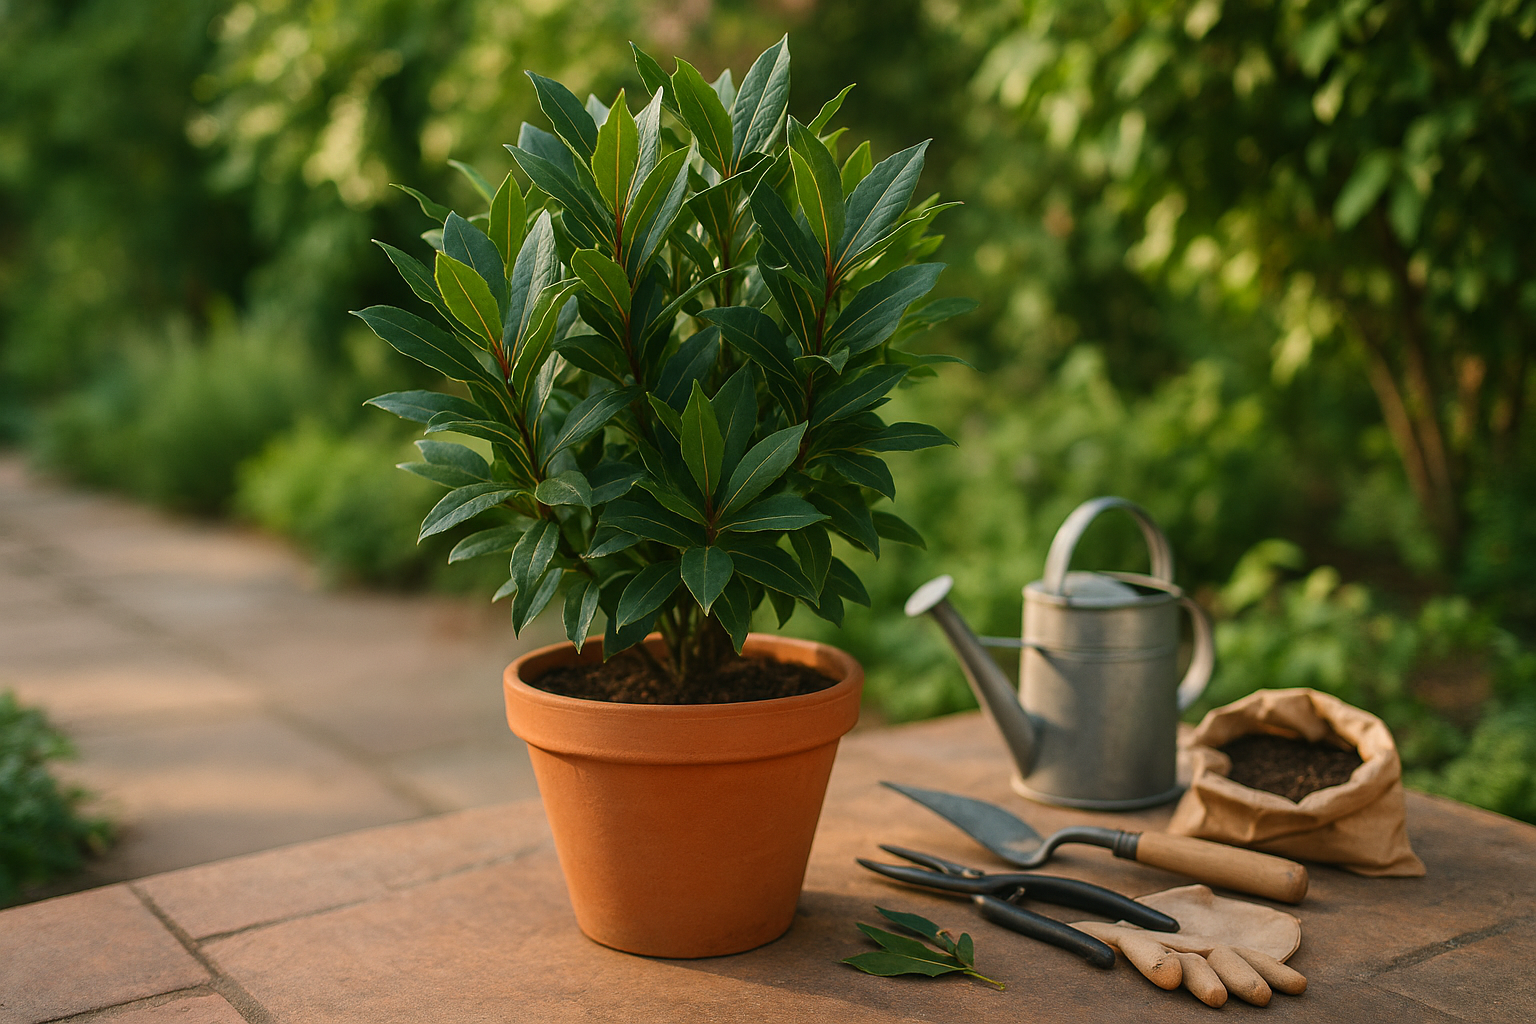
Growing bay leaf in pots is a rewarding way to enjoy fresh herbs right from your patio or balcony. Bay leaf (Laurus nobilis) is not only a flavorful addition to soups, stews, and sauces, but it also adds an elegant, evergreen touch to any space with its glossy leaves and neat growth habit. Even if you don’t have a big garden, bay leaf thrives beautifully in containers—making it perfect for urban dwellers or anyone with limited space.
In this article, you’ll discover why bay leaf is well-suited to pot cultivation, how to select the right container and soil, tips for watering and pruning, and essential advice for keeping your bay plant healthy year-round. We’ll also share creative ways to use your homegrown bay leaves in the kitchen and suggest styling ideas to make your potted bay a standout feature in your outdoor oasis.
Choosing the Right Bay Leaf Variety and Container
When it comes to growing bay leaves in containers, the classic choice is Laurus nobilis, often called sweet bay or Mediterranean bay. This variety stands out not just for its culinary uses but also for its adaptability to potted life.
If you’re browsing nurseries or online stores, look for compact or dwarf cultivars of Laurus nobilis, as these handle pruning well and fit nicely on patios or balconies. Whether you start with a young plant or a seedling, inspect the leaves for a vibrant green color and check the stems for firmness—a healthy bay should be free from yellowing, wilting, or any signs of pests.
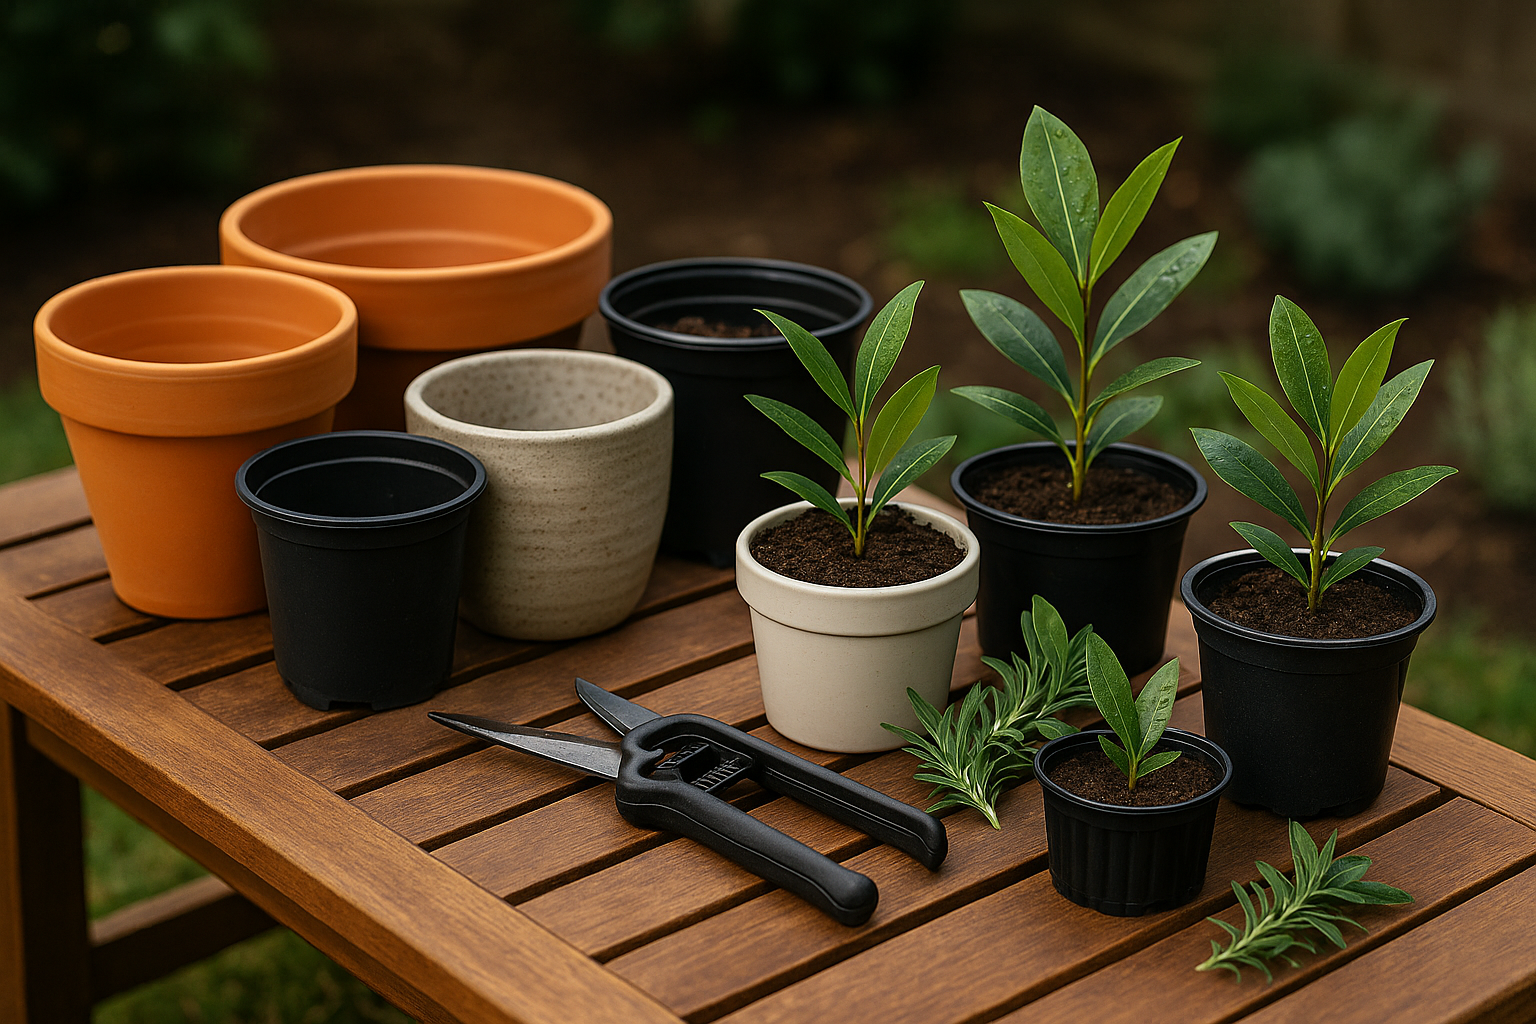
When picking a container, prioritize function over form: choose pots that are at least 12–16 inches wide and deep since bay trees develop deep roots. Terracotta or ceramic pots are durable and help wick away excess moisture, preventing root rot, while plastic containers are lightweight and easy to move. Always check for drainage holes at the bottom—bay roots can’t tolerate waterlogged conditions. If your chosen pot doesn’t have holes, it’s best to drill a few yourself.
Avoid containers that are too small, as cramped roots hinder growth and make the plant more susceptible to stress and disease. As your bay grows, plan to repot every couple of years into a slightly larger pot to accommodate its expanding root system.
With these considerations in mind, your potted bay leaf plant will thrive and provide aromatic leaves year-round.
Potting Mix and Planting Instructions
For healthy bay leaf plants, choosing the right potting mix is key—a blend that drains well while retaining some moisture is ideal. Start with high-quality potting soil and lighten it by mixing in coarse sand or perlite (about one part perlite to three parts soil) to improve drainage, which helps prevent root rot. Adding a small handful of organic compost or well-rotted manure provides extra nutrients that support steady, leafy growth.
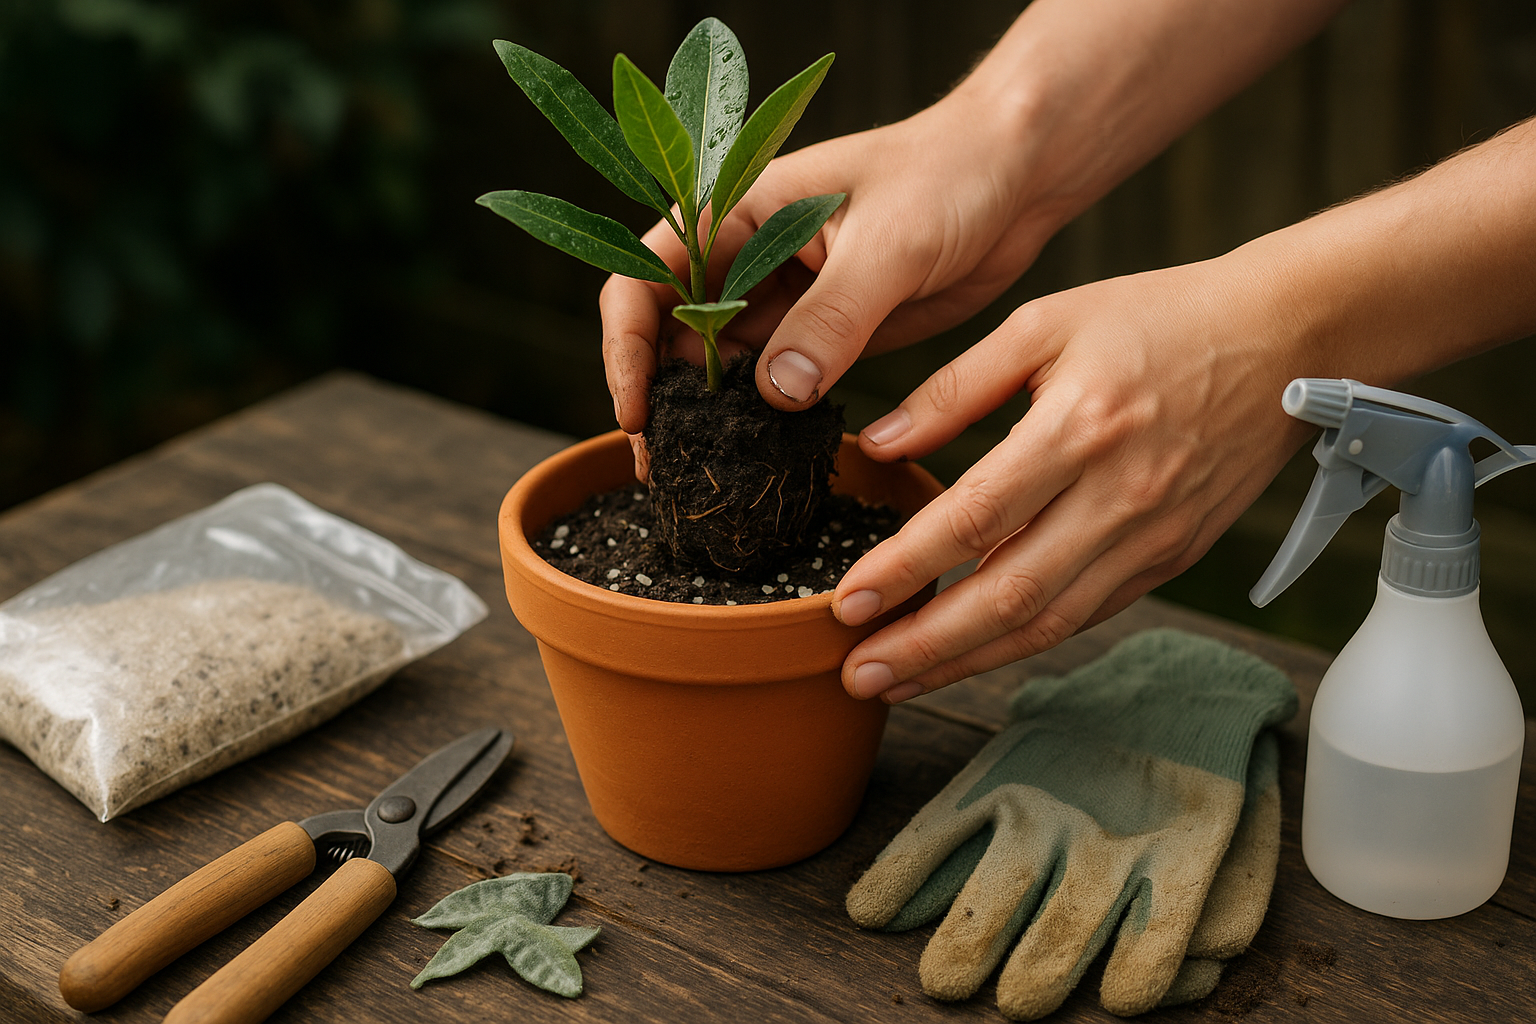
To plant, select a pot with drainage holes and fill it partway with your soil blend. Gently remove the bay leaf plant from its container, lightly teasing out tangled roots if necessary. Place it in the new pot so the top of the root ball sits just below the rim—planting too deep can cause stem issues. Fill around the roots with your potting mix and firm it gently; you want the plant secure but not packed too tight, as roots need to breathe.
Water thoroughly after planting to help settle the soil, allowing excess to drain out. For the first few weeks, keep the soil consistently moist but not soggy, as young bay leaf roots are sensitive to drying out. Avoid fertilizing until you see new growth, then switch to a diluted liquid fertilizer every six weeks during the growing season.
Place your pot somewhere bright but out of harsh midday sun to reduce transplant stress. With a little extra attention to watering and positioning in the early days, your bay leaf should establish quickly and reward you with healthy, aromatic leaves.
Ideal Location and Daily Care
Finding the ideal location for your plant is key to its long-term health, whether you’re growing indoors or outdoors. Most sun-loving plants thrive in bright, indirect sunlight, so place them near a south- or east-facing window if indoors, or in a spot outside that receives filtered morning sun and is shielded from intense afternoon rays.
Be mindful of drafty areas and protect your plant from strong winds, which can cause leaf damage or dry out the soil too quickly. Watering routines should be consistent but cautious—always let the top inch of soil dry out before watering again to prevent root rot, and opt for pots with drainage holes.
Overwatering is a common mistake; using a moisture meter or simply sticking your finger in the soil can help gauge when it’s truly time to water. Many houseplants appreciate higher humidity, especially in drier homes. Try misting the leaves with a spray bottle a few times a week, or place a shallow tray filled with pebbles and water under the pot to boost moisture.
In the cooler months, growth typically slows, so cut back on watering and avoid fertilizing until spring returns. If temperatures drop below your plant’s comfort zone—usually around 50°F (10°C) for most tropical varieties—move it indoors or to a sheltered spot.
Regularly wipe leaves to remove dust, which can block light absorption, and rotate pots every few weeks to ensure even growth. With a little attention to these details, you’ll give your plant exactly what it needs to flourish year-round.
“`html
Feeding and Long-Term Maintenance
Keeping your potted bay leaf plant thriving starts with proper feeding and attentive long-term care. Use a balanced, slow-release granular fertilizer—look for an N-P-K ratio of 10-10-10 or 14-14-14—and apply it every three months during the growing season (spring and summer). You can supplement with a diluted liquid fertilizer, such as fish emulsion or seaweed extract, every four to six weeks for an extra nutrient boost. Always water your bay plant thoroughly after fertilizing to prevent root burn.
Once cooler weather arrives, reduce feeding to once every six to eight weeks, as bay slows its growth. Watch for signs of nutrient deficiencies, such as yellowing leaves (possible nitrogen shortage), purple or reddish leaf edges (phosphorus), or pale, limp new growth (potassium or magnesium).
If your plant looks lackluster even after regular feeding, stale or compacted soil may be to blame. Refresh the top two inches of soil each spring by gently replacing it with fresh potting mix—a simple form of top-dressing that restores nutrients and improves drainage.
Every two to three years, check if roots are circling inside the pot or pushing through drainage holes; these are signs your bay needs repotting into a slightly larger container with new, well-draining soil. Always choose a pot with drainage holes to avoid root rot.
With this cycle of fertilizing, observing your plant, top-dressing, and timely repotting, your bay leaf tree can stay healthy and aromatic for years on your windowsill or patio.
“`
Pruning, Shaping, and Propagation
Pruning is essential for keeping your bay laurel manageable and attractive, especially if you’re growing it in a pot or a small garden. Start by removing any dead, damaged, or crossing branches to encourage healthy growth and maintain airflow.
For shaping, use sharp pruning shears to trim back new growth in spring and early summer. This helps control the plant’s size and allows you to create a tidy, bushy form or even shape it into a topiary if you want a decorative touch.
When harvesting bay leaves for cooking, pick mature, dark green leaves; these have the best flavor. Clip leaves with clean scissors and allow them to dry naturally before storing them in airtight jars for year-round use.
For propagation, bay laurel can be grown from either seeds or cuttings, though cuttings are usually easier and faster. Take 4-6 inch semi-hardwood cuttings in late summer, dip the base in rooting hormone, and plant them in moist, well-draining soil. Keep the cuttings in a warm, bright place out of direct sun until roots develop.
If you prefer to start from seed, soak the seeds for 24 hours, plant them shallowly, and be patient—germination is slow and may take several months.
Common Problems and Solutions
Growing bay leaf in containers can invite a few pesky problems, but with some attention, you can keep your plant healthy. Common pests like scale insects and spider mites may appear, often seen as tiny bumps or webbing on leaves. Wiping leaves with a damp cloth or spraying with a gentle solution of water and a drop of neem oil can help control these pests.
Fungal diseases, like powdery mildew, are also a risk if your bay plant is crammed in or leaves stay damp too long. To prevent this, make sure your container has good drainage and avoid wetting the leaves when watering.
Overwatering is a frequent mistake and can quickly lead to root rot, so check if the top inch of soil is dry before watering again.
Poor airflow is another concern; bay trees need space around them, so don’t set them too close to walls or other plants. Regularly turning your container and trimming crowded branches can also improve air circulation and reduce disease risk.
Always choose natural, safe treatments and monitor your bay plant weekly for any sign of trouble—early action makes a big difference in keeping your bay leaf thriving.
Conclusion
Growing bay leaf in pots is a surprisingly simple and rewarding way to add fresh, aromatic flavor to your cooking. With just a sunny spot, well-draining soil, and regular watering, these hardy plants can thrive right on your patio or windowsill.
Remember to prune regularly to shape the plant, protect it from frost in winter, and feed it occasionally for lush growth. Whether you’re limited on space or just want herbs close at hand, container bay leaf gardening makes it easy.
Give it a try—you’ll love having this fragrant, culinary staple just steps from your kitchen.