Choosing the Wrong Location for Your Bay Tree
Choosing the right spot for your bay tree is crucial for its health and growth. Bay trees thrive in locations that receive plenty of bright, indirect sunlight—ideally around six hours a day—while being protected from harsh midday rays that can scorch their leaves.
Avoid placing your bay tree in areas that are constantly windy, as strong gusts can dry out or damage sensitive foliage. Instead, look for a corner that’s sheltered yet still airy.
Indoors, position your bay tree near a sunny window, but be sure it’s not right next to heaters, air-conditioning vents, or drafty entryways. Outdoors, choose a spot with well-draining soil; bay trees dislike soggy conditions, which can quickly lead to root rot.
If your soil is heavy clay, amend it with compost or sand to improve drainage. Alternatively, consider raising the bed or planting the bay tree in a large pot with drainage holes.
A common mistake is planting bay trees in shaded, windy, or low-lying sections of the yard where water pools after rain. Another error is placing them too close to walls or fences that block air circulation.
Take time to observe the potential spot throughout the day: Does it get steady morning sun with some afternoon protection? Are there signs that water pools after heavy rain? Good planning at the start will save many headaches later, giving you a thriving bay tree with glossy, aromatic leaves to enjoy for years to come.
Overwatering or Underwatering
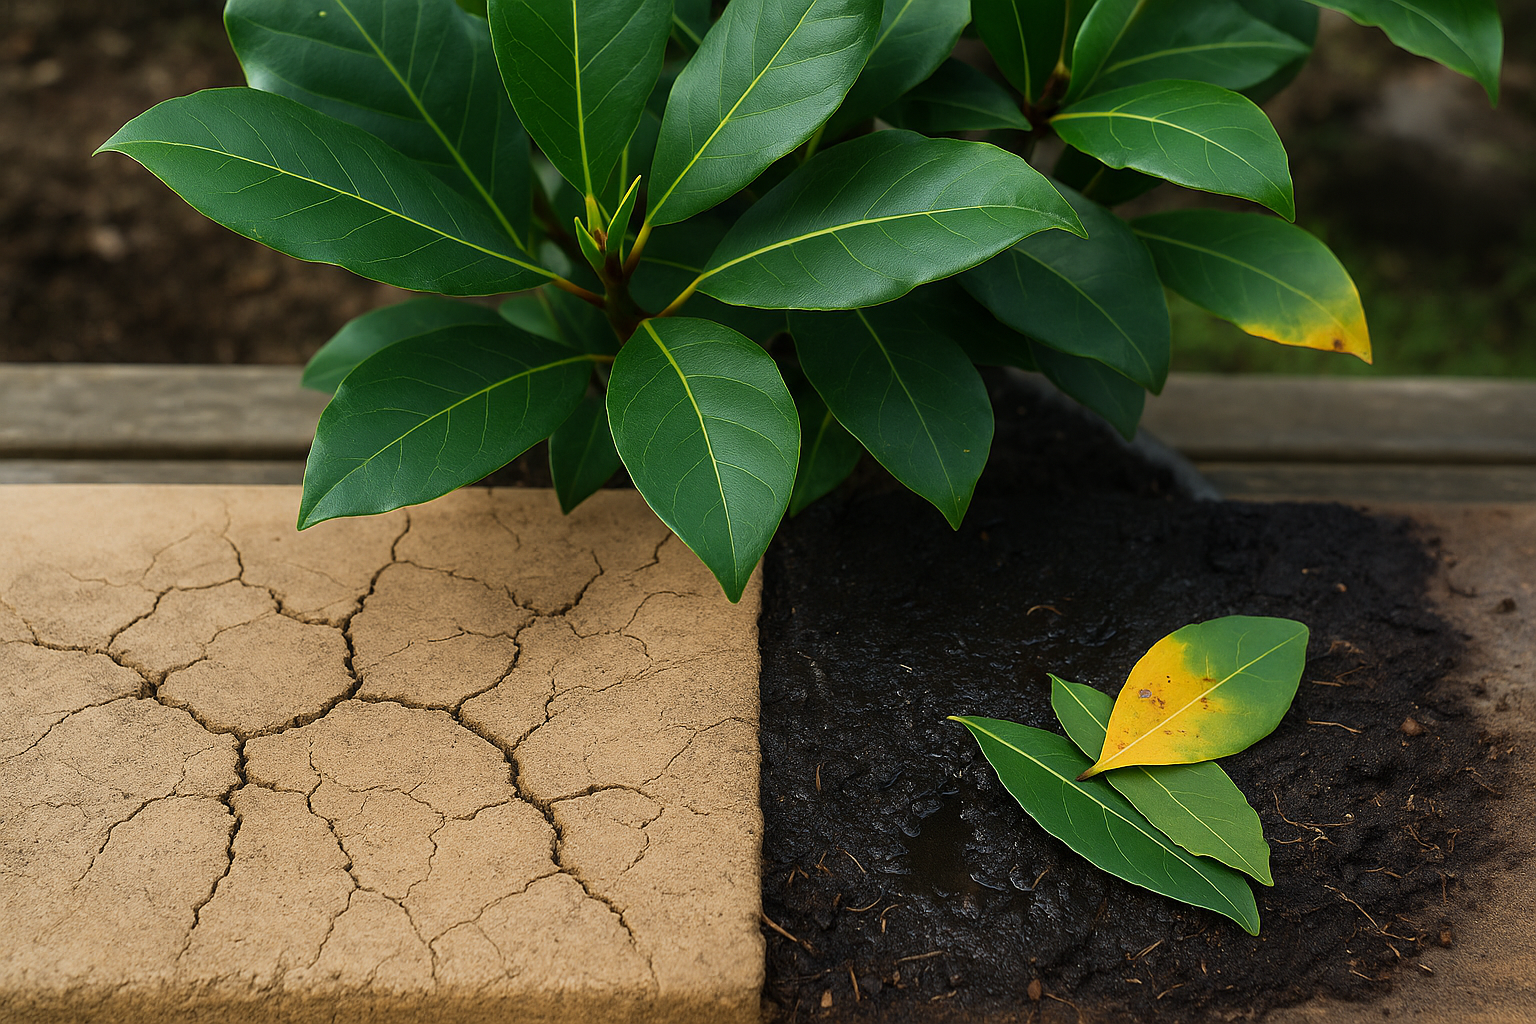
Knowing whether your bay tree is getting too much or too little water can make all the difference between a thriving plant and one that struggles. Signs of overwatering include yellowing leaves, soggy soil, and leaf drop, as the roots can’t access enough oxygen and may begin to rot—check by feeling the soil a few inches deep.
Underwatering, on the other hand, shows up as dry, crispy, brown-edged leaves and overall wilting. Both issues can be easily avoided by using well-draining soil, which is vital for bay trees. If the soil holds onto water too long, swap it for a mix with added perlite or sand to let excess water escape.
Your watering routine should shift with the seasons:
- In cooler months, water less frequently since growth slows and evaporation drops—always test soil moisture first.
- In warm months, you may need to water more often, but only when the top two inches of soil feel dry.
Container-grown bay trees usually need more attention—pots dry out faster than garden beds, especially in hot weather or windy spots. Make sure pots have drainage holes, and always empty any saucers beneath after watering to avoid soggy roots.
For in-ground bay trees, mulch can help retain moisture while protecting roots from temperature shifts, but don’t pile it up against the trunk. By observing your bay tree closely and adjusting your watering based on its setting and the season, you’ll help it flourish without falling into the traps of over- or underwatering.
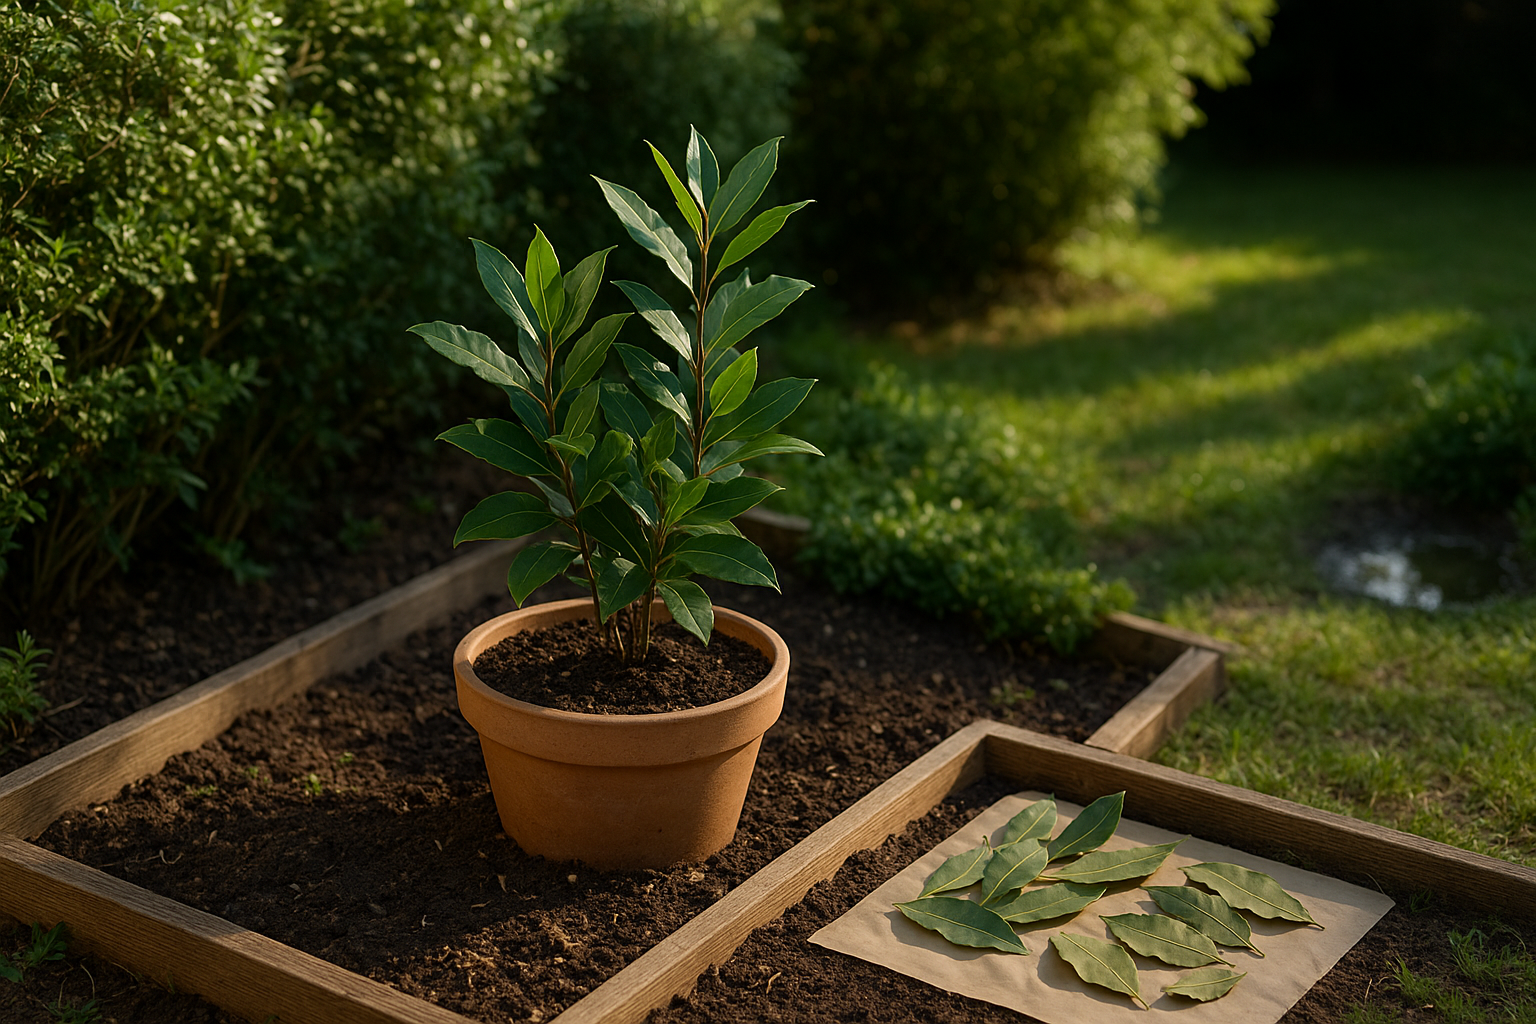
Neglecting Seasonal Care
Neglecting seasonal care can seriously affect the health and growth of your bay tree, especially regarding frost protection, feeding, and pruning.
Young bay trees are particularly vulnerable to frost damage in winter, as their tender leaves and stems can blacken or die back when exposed to freezing temperatures. To protect them, wrap the base with horticultural fleece or move potted bays to a sheltered spot, such as a greenhouse or an unheated room, before the first frost hits.
When it comes to feeding, many gardeners make the mistake of over-fertilizing or using the wrong type of fertilizer at the wrong time. For bay trees, a balanced, slow-release fertilizer applied in spring—just as new growth appears—is ideal. Feeding late in summer or autumn encourages soft growth that’s easily damaged by winter cold.
Pruning requires a careful approach as well: pruning too hard or too early in the season can leave your bay vulnerable. Aim to snip lightly in late spring or early summer to maintain shape, remove dead wood, and encourage bushy growth. Never prune in late autumn, as this exposes fresh cuts to winter stress.
Finally, adapt your care routine to the seasons:
- In winter, limit watering and protect from frost.
- In spring, resume regular watering and apply fertilizer.
- In summer, watch for dry spells and prune as necessary.
- In autumn, gradually reduce feeding and prepare your tree for colder weather.
By anticipating seasonal changes and adjusting your care accordingly, you’ll help your bay tree thrive year-round—lush, healthy, and ready to flavor your favorite dishes.
Ignoring Pests and Diseases
Bay trees are generally hardy, but ignoring pests and diseases can quickly turn a thriving plant into a struggling one. Common pests include scale insects—look for waxy bumps on stems and leaves—and aphids, which cluster on new growth and excrete sticky honeydew.
Bay sucker insects cause yellowing and curling of the leaves, while infected foliage may also develop a sooty black mold. Red spider mites are tiny pests that cause speckled yellow mottling on leaves, often visible as fine webs if you look closely.
In terms of diseases, root rot stands out; it’s often caused by overwatering and poor drainage, leading to wilting or yellowing leaves and mushy roots if you pull the plant up for inspection. Leaf spots, often fungal, appear as brown or black specks that eventually kill parts of the leaf.
To prevent these issues, ensure your bay tree has well-drained soil, don’t overwater, and regularly clear away fallen leaves. Inspecting your plant weekly helps catch infestations early, making treatments more effective.
For natural methods, try rinsing pests off with a strong spray of water, introducing beneficial insects like ladybugs, or using neem oil to deter invaders. Chemical pesticides or fungicides can give rapid results, but they may harm beneficial insects and should be considered a last resort.
Regular maintenance, close observation, and prompt action can keep your bay tree healthy, letting minor issues be solved before they become tough battles. Remember: early detection and management are much easier than treating a full-blown outbreak.
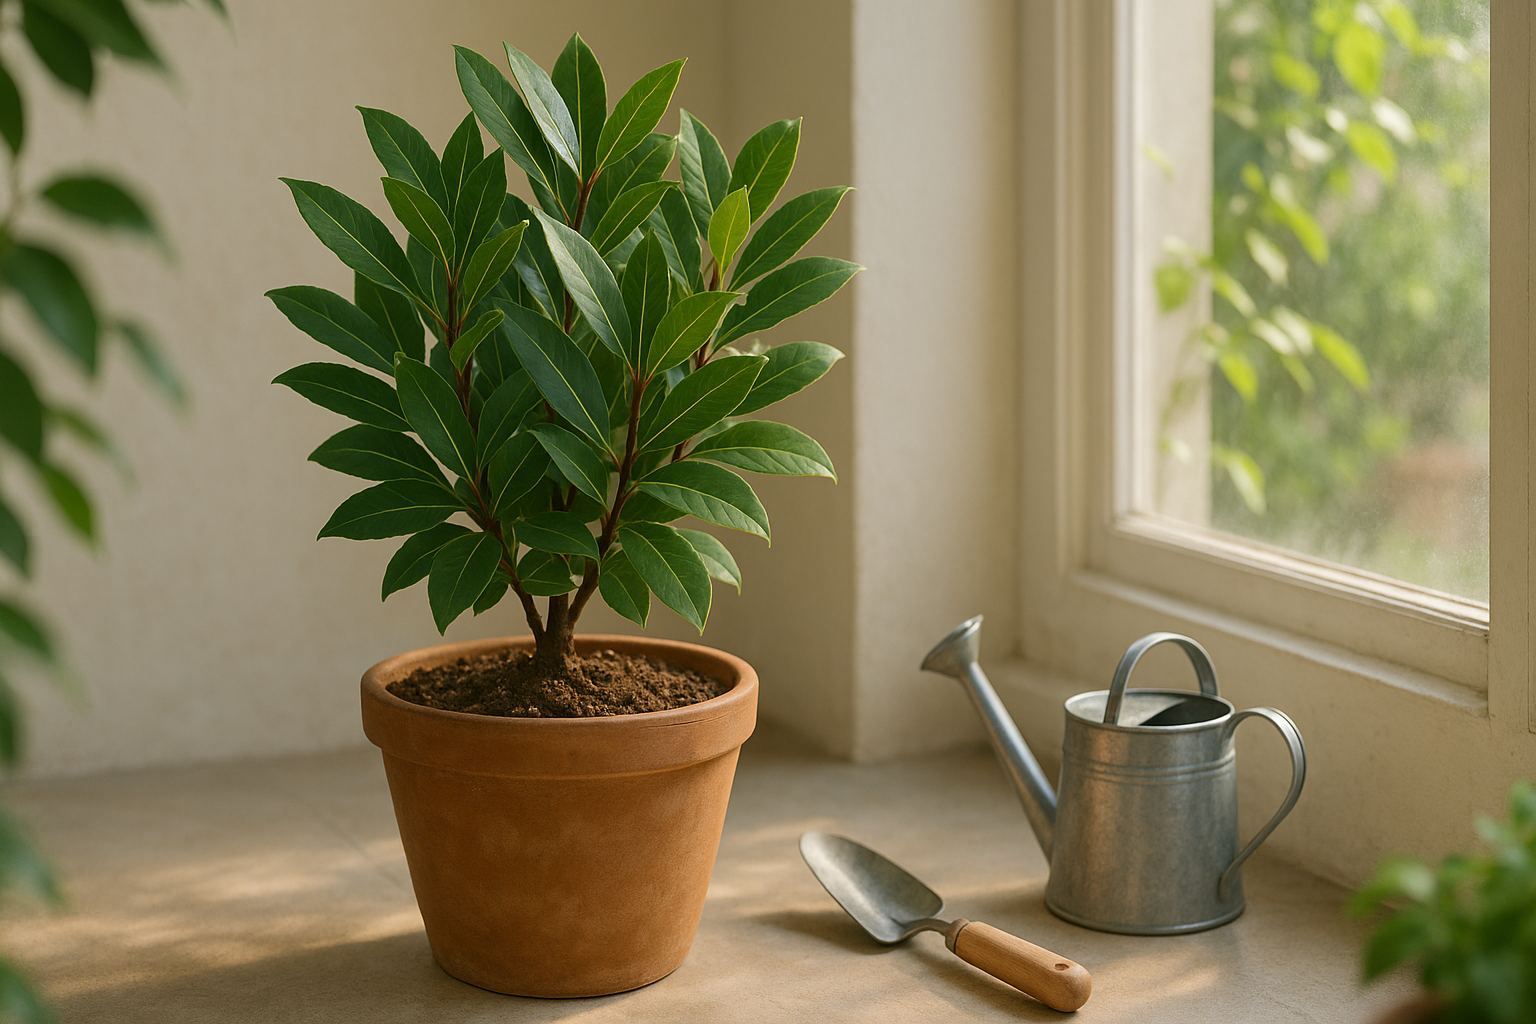
Problems with Container-Grown Bays
Many home gardeners run into trouble with container-grown bay trees, often because they choose the wrong pots or potting mixes. Using containers that are too small or lack drainage holes can quickly lead to soggy roots and fungal diseases.
Always select a pot just a couple of inches wider than the current root ball and make sure it has plenty of drainage—terracotta pots are a great choice as they also allow airflow. Commercial potting mixes that hold too much moisture or contain a lot of peat can spell disaster for bays, which prefer a light, well-draining mix. Amending soil with perlite or sand is a simple fix.
To prevent your bay from becoming rootbound (when roots circle and fill up all the pot space), check annually by gently sliding the plant out of its pot—if you see a dense mat of roots, it’s time to upgrade to a slightly larger container.
Placement is another challenge; indoors, bays need as much bright light and fresh air as possible. Outdoors, shelter them from harsh afternoon sun and strong winds. Remember to rotate pots you keep inside so all sides get even light. Good airflow around foliage, inside or out, helps stop pests like scale and mildew from gaining a foothold.
Careful attention to pot size, soil mix, regular repotting, and proper location can make all the difference in keeping container-grown bays healthy and thriving.