Introduction
Starting cauliflower seeds indoors is a smart way to grow one of the most versatile and rewarding vegetables in your home garden. Cauliflower’s mild flavor and impressive nutrient profile make it perfect for everything from cozy casseroles to crisp salads. By starting cauliflower seeds yourself, you’ll enjoy several advantages: it’s more budget-friendly than buying established plants, offers access to a wider range of exciting varieties, and lets you control every stage of your plants’ growth for healthier, more productive harvests.
If you’ve ever been frustrated by limited nursery selections or seedlings that don’t thrive, growing cauliflower from seed puts the power in your hands. Even if you’re new to seed starting, you’ll find the process approachable—and even a little fun—with just a few key tips and a bit of patience.
In this guide, you’ll get easy-to-follow steps to take you from sowing your first seeds indoors, nurturing young seedlings, and finally transplanting them outdoors. Whether you’re dreaming of perfect white heads or vibrant purple varieties, you’ll soon be harvesting beautiful, flavorful cauliflower right from your own garden beds.
Choosing the Right Time and Place to Plant
For successful cauliflower growth, getting the timing and location just right is key. Cauliflower thrives in cool, consistent temperatures—ideally between 60°F and 70°F (15°C to 21°C). Extremes at either end can cause the heads to grow poorly or “button” (produce tiny, unusable curds). This veggie does best in regions with mild springs and falls, where sudden hot spells or hard frosts are rare.
Your USDA hardiness zone will help determine the best planting window:
- Gardeners in zones 7 and cooler should start seeds indoors or plant early outdoors in spring.
- Those in warmer climates (zones 8 and above) may get better results with a fall crop, sowing seeds in midsummer and transplanting outdoors as temperatures begin to drop.
Cauliflower is a sun lover that needs at least six hours of direct sunlight each day. However, in hot regions, choosing a site with light afternoon shade can help protect the developing heads. Also, avoid areas prone to waterlogging—good drainage and fertile, well-worked soil are musts.
For example, if you’re gardening in the Pacific Northwest, a late-summer start will ensure heads mature in cool fall weather, while Southern gardeners might aim for midwinter harvesting. With a little planning and understanding of your local climate and sunlight patterns, you’ll give your cauliflower the best chance to produce big, beautiful heads.
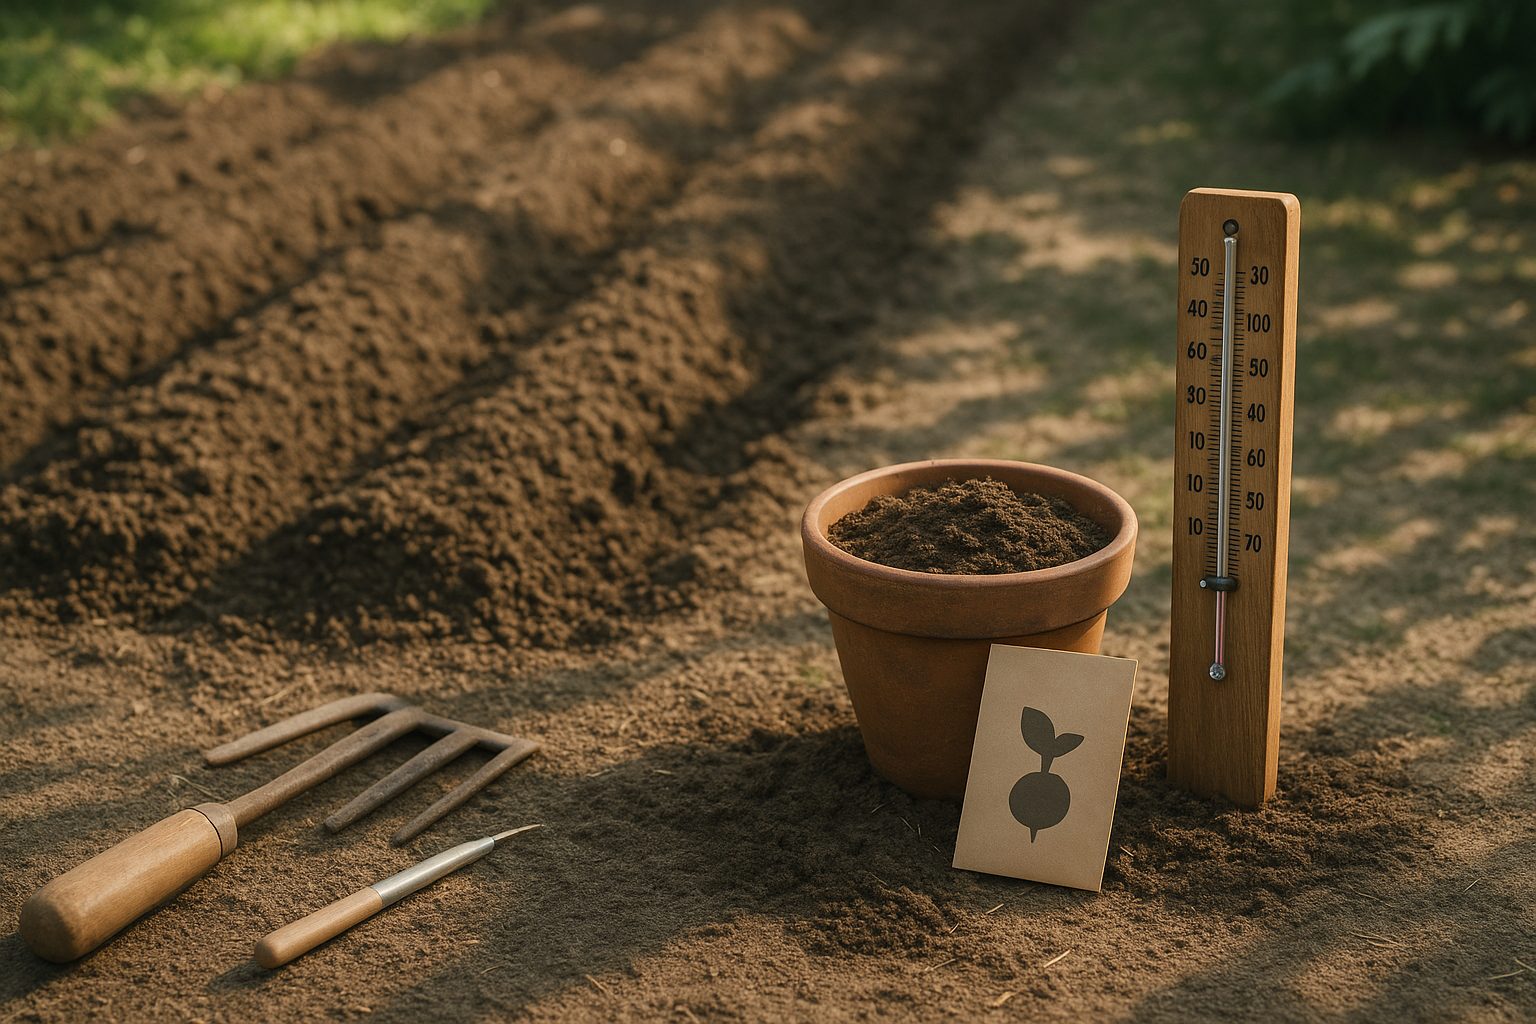
Preparing Your Soil for Success
Great soil is the foundation of every thriving garden, so it’s worth taking a closer look at what your plants really need. Ideal soil should be loose and crumbly, holding moisture easily without becoming soggy.
Check your soil’s drainage by digging a small hole, filling it with water, and timing how quickly it drains. If the water sits for more than a few hours, you may need to add sand or compost to improve flow.
Soil pH also matters: most vegetables and flowers thrive in soil with a pH between 6.0 and 7.0, which you can check with an inexpensive kit from the garden center. If your pH is out of range, lime can raise it, and sulfur can lower it.
Fertility is another key factor. Mixing in organic matter like compost, aged manure, or leaf mold not only feeds your plants but also boosts the population of helpful microbes.
For heavy clay or sandy soils, blending in organic amendments can gradually improve texture and nutrient levels. Just spread a two- to three-inch layer over your garden beds and work it in gently with a fork.
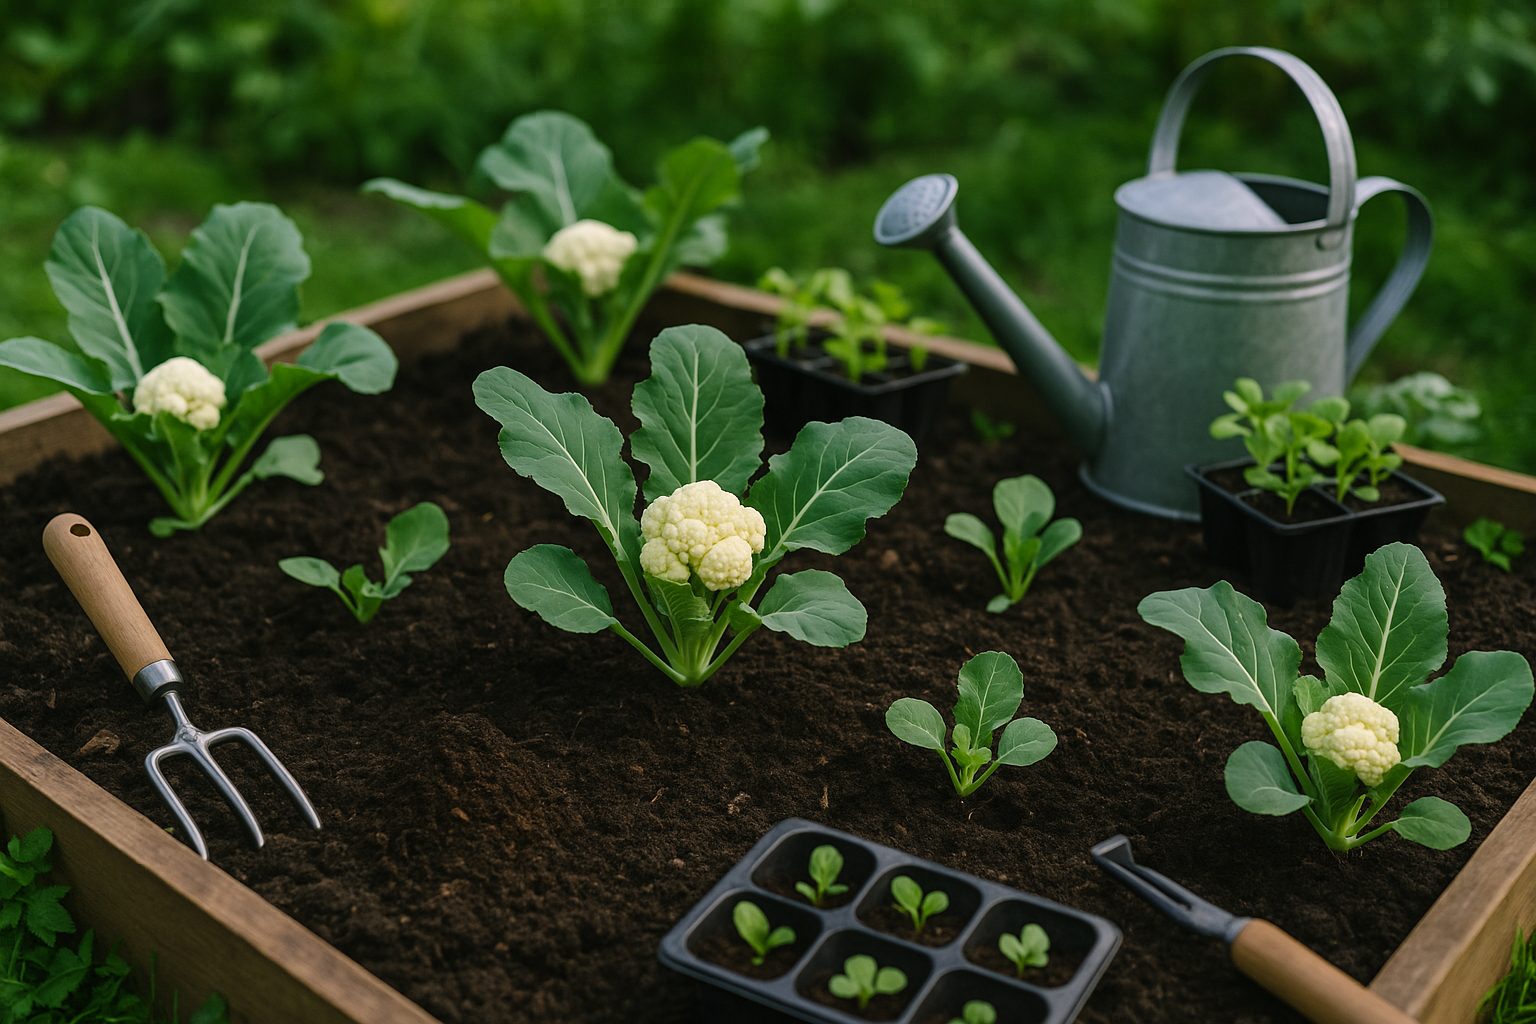
If you struggle with poor native soil or drainage issues, consider planting in raised beds or containers. These can be filled with high-quality soil blends, provide excellent drainage, and warm up faster in spring—helping you get a jump on the growing season.
With a little prep work, you’ll give your plants the best chance to grow strong and healthy all season long.
Starting Cauliflower Seeds
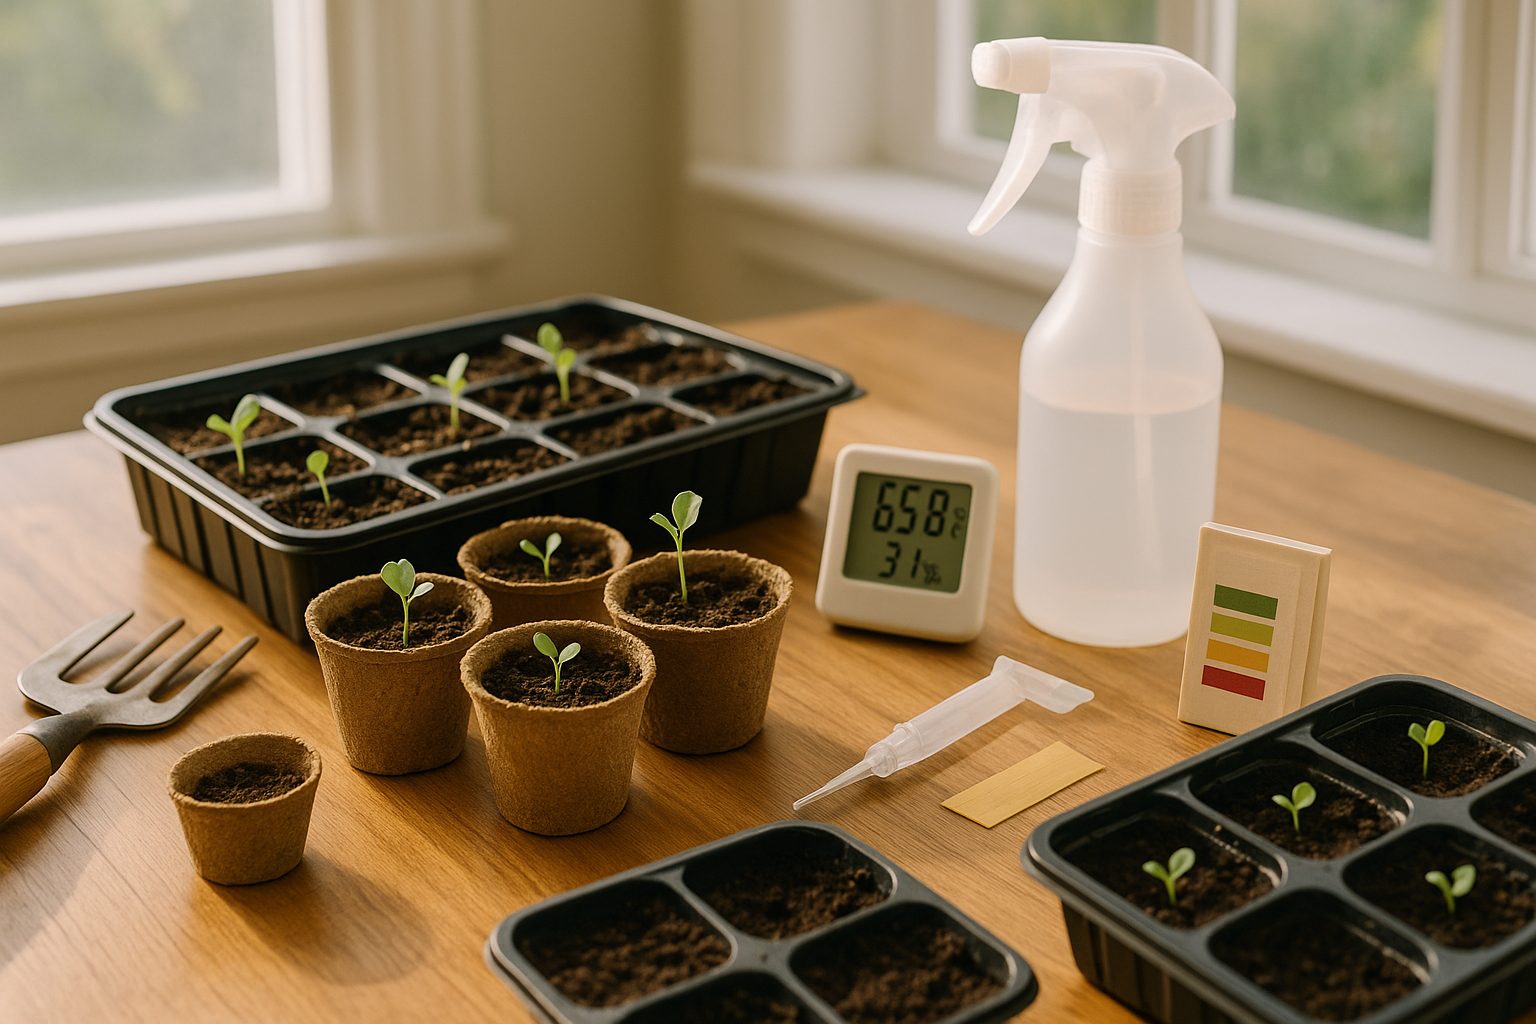
Starting cauliflower from seed is straightforward when you follow a few key steps to give your plants the best start. If sowing indoors, begin about 6–8 weeks before your area’s last expected frost. Fill seed trays or pots with a quality seed-starting mix and plant the seeds about 1/4 inch deep. Keep them moist but not soggy, and place them in a bright spot where the temperature stays between 65–70°F. This warmth helps seeds germinate, usually within 7–10 days.
Once the seedlings develop two true leaves, thin them so the strongest remain, ideally spacing them about 2 inches apart in their trays to avoid crowding.
For outdoor sowing, wait until the soil can be worked and temperatures are steadily above 50°F. Sow seeds 1/4 inch deep in rows spaced 18–24 inches apart, placing seeds every 2 inches. Thin seedlings later to 18–24 inches apart so they have enough room to grow large heads.
Whether starting indoors or out, young cauliflower plants are sensitive to sudden temperature shifts. Before transplanting indoor-grown seedlings outside, harden them off over 7–10 days: set them outdoors in a sheltered spot for a couple of hours each day, gradually increasing their exposure and time outside.
Transplant only when night temperatures remain above 45°F, spacing the seedlings 18–24 inches apart in rows for good airflow and easy access. Water well after transplanting and keep the soil evenly moist—cauliflower is happiest with consistent care.
These steps ensure your seedlings are strong enough to handle the transition and grow into healthy, productive plants.
Caring for Growing Cauliflower Plants
Caring for growing cauliflower plants means paying close attention to their needs at different stages. In the early weeks after transplanting, keep the soil consistently moist but not soggy, watering deeply once or twice a week depending on rainfall and temperature. Cauliflower likes steady moisture—dry spells can cause heads to become small or bitter—so monitor the soil by pressing your finger an inch deep to check dampness.
As the plants mature and heads begin to form, their water needs peak; don’t let them dry out during this time. Feeding is equally important: use a balanced organic fertilizer or side-dress with compost about three weeks after planting, then again as heads develop. Avoid over-fertilizing with nitrogen, as this encourages leaves at the expense of tasty curds.
Mulching is a powerful ally—spread a two-inch layer of straw, shredded leaves, or grass clippings around the base of each plant to lock in moisture, regulate temperature, and keep weeds at bay. Thin seedlings early, leaving 18–24 inches between plants for ample airflow and to minimize disease.
While cauliflower is usually stocky, large-headed varieties or windy sites may require gentle staking—tie the main stem loosely to a bamboo stake to prevent tipping. Keep the area weed-free by hand-pulling weeds as soon as they appear, and inspect plants weekly for pests like aphids or cabbage worms, removing them promptly.
To maintain productivity, harvest heads promptly as soon as they’re firm and full-sized—waiting too long can cause them to split or discolor. Rotate crops each season to deter soil-borne diseases, and tidy away old leaves and debris to prevent the buildup of pests.
With a little ongoing effort, your cauliflower patch will reward you with robust, delicious heads all season long.
Managing Pests, Diseases, and Common Problems
Dealing with pests and diseases is a crucial part of maintaining healthy brassica crops like cabbage and broccoli. Common pests such as cabbage worms (small green caterpillars) and aphids (tiny, soft-bodied insects) can quickly damage leaves and stunt plant growth.
To prevent infestations, inspect plants regularly, especially the undersides of leaves, and handpick worms when you see them. Floating row covers act as a physical barrier, keeping adult moths from laying eggs. Natural predators like ladybugs and lacewings help keep aphid populations in check. If you spot an infestation, a gentle spray of soapy water or neem oil is an effective organic control.
Diseases like clubroot, which causes swollen, misshapen roots and wilting, and downy mildew, which appears as yellow patches and fuzzy growth on leaves, are also common threats. To avoid them, rotate crops yearly and avoid planting brassicas in the same spot for at least three years. Ensure soil drains well and avoid watering late in the day, as damp foliage favors disease. Pull up and discard infected plants promptly to prevent spread.
If you notice poor head formation or slow growth, check that plants are getting enough sunlight and water, and that soil pH is neutral to slightly acidic (6.0–7.0) for optimal nutrient absorption. Feed with compost or a balanced organic fertilizer if growth seems sluggish.
Addressing problems early and using integrated pest management strategies will keep your brassicas healthy and productive.
Harvesting and Enjoying Your Cauliflower
Knowing when your cauliflower is ready to pick is key—look for a tight, compact head (called a “curd”) that’s about 6–8 inches across, with a creamy white color and a firm feel. If the heads begin to loosen or separate, harvest right away, as they can quickly become tough or bitter.
To harvest, use a sharp knife and cut the stalk just below the head, keeping a few layers of leaves to protect it during handling. Be gentle to avoid damaging the surrounding leaves and roots. If you’re growing a variety like broccoli, the plant may produce small side shoots after the main head is picked, giving you a bonus harvest.
After cutting, gently brush off dirt and store unwashed heads in the refrigerator, wrapped loosely in a damp paper towel and placed in a perforated plastic bag. This helps maintain moisture and keeps your cauliflower fresh for up to a week. For longer storage, you can also blanch florets briefly and freeze them for use in soups, stir-fries, or roasting later.
Enjoy your homegrown cauliflower raw as a crunchy snack, steamed as a side, or transformed into a tasty mash or pizza crust—it’s versatile and rewarding straight from your garden.
Conclusion
Growing cauliflower from seed gives you fresher produce, more plant variety, and cost savings compared to buying store-bought heads. Starting with seeds lets you try unique or heirloom varieties, like purple or Romanesco cauliflower, which aren’t always available locally. Experiment with a few types to discover which thrive best in your climate and suit your taste buds.
Even if you’re new to gardening, don’t be intimidated—each season is a new chance to learn, grow, and enjoy the satisfaction of harvesting your own delicious cauliflower. Give it a try, and watch your skills and confidence bloom!