How to Successfully Grow Cauliflower
Learning how to grow cauliflower at home can seem daunting—even for seasoned gardeners—but with a few beginner-friendly tips, you’ll be harvesting crisp, delicious heads in no time. Whether you’re working with a backyard plot or a few containers on your balcony, cauliflower thrives once you understand its preferences for cool weather, rich soil, and consistent moisture.
From choosing the right varieties to protecting plants from pests, we’ll walk you through each crucial step. Before you know it, you’ll enjoy homegrown cauliflower that’s fresher and more flavorful than anything from the store!
Introduction to Cauliflower: What Makes It Unique?
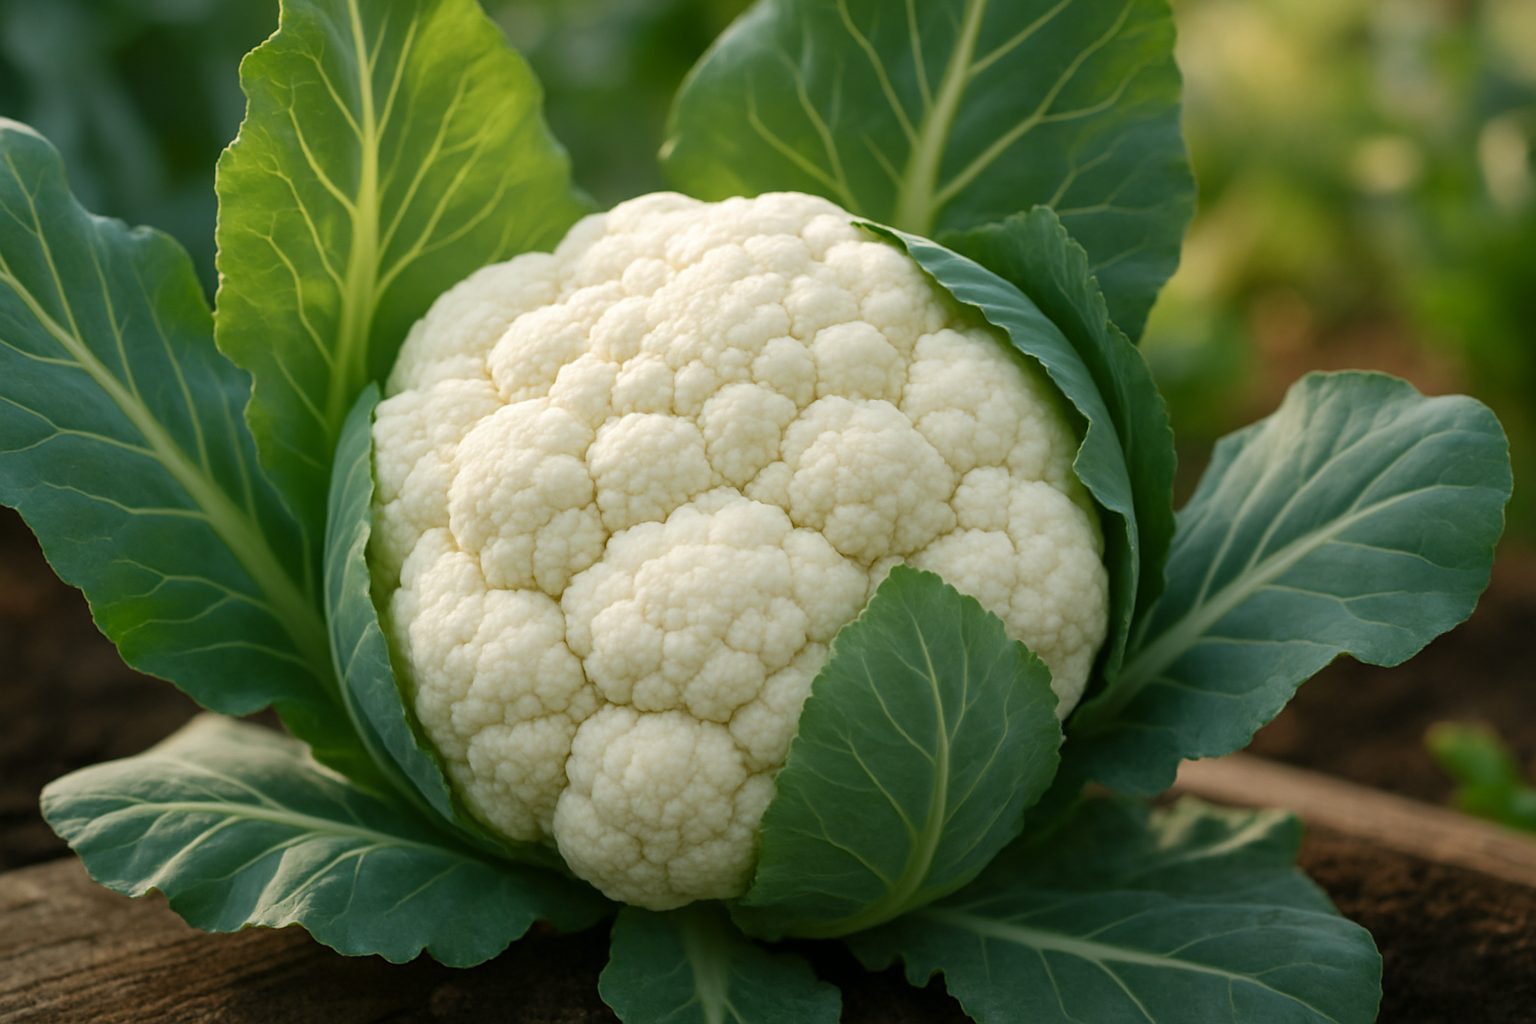
Cauliflower is a cool-season vegetable that has earned its spot in home gardens thanks to its mild flavor, versatility, and impressive nutritional profile. Unlike some of its brassica relatives, such as broccoli or cabbage, cauliflower requires a bit more attention but rewards growers with compact heads—called curds—that are packed with vitamin C, fiber, and antioxidants.
In the kitchen, cauliflower is a true chameleon: you can steam, roast, mash, or even “rice” it, making it a go-to for everything from pizza crusts to creamy soups. This versatility has made it a favorite among those following low-carb or gluten-free diets.
However, growing quality cauliflower takes more patience and care than some other vegetables. It’s sensitive to temperature swings and needs consistent cool weather (ideally between 60–70°F). It also prefers rich, well-drained soil with plenty of organic matter. Sun exposure should be just right, as too much heat can cause the heads to separate or turn yellow—a process called “ricing.”
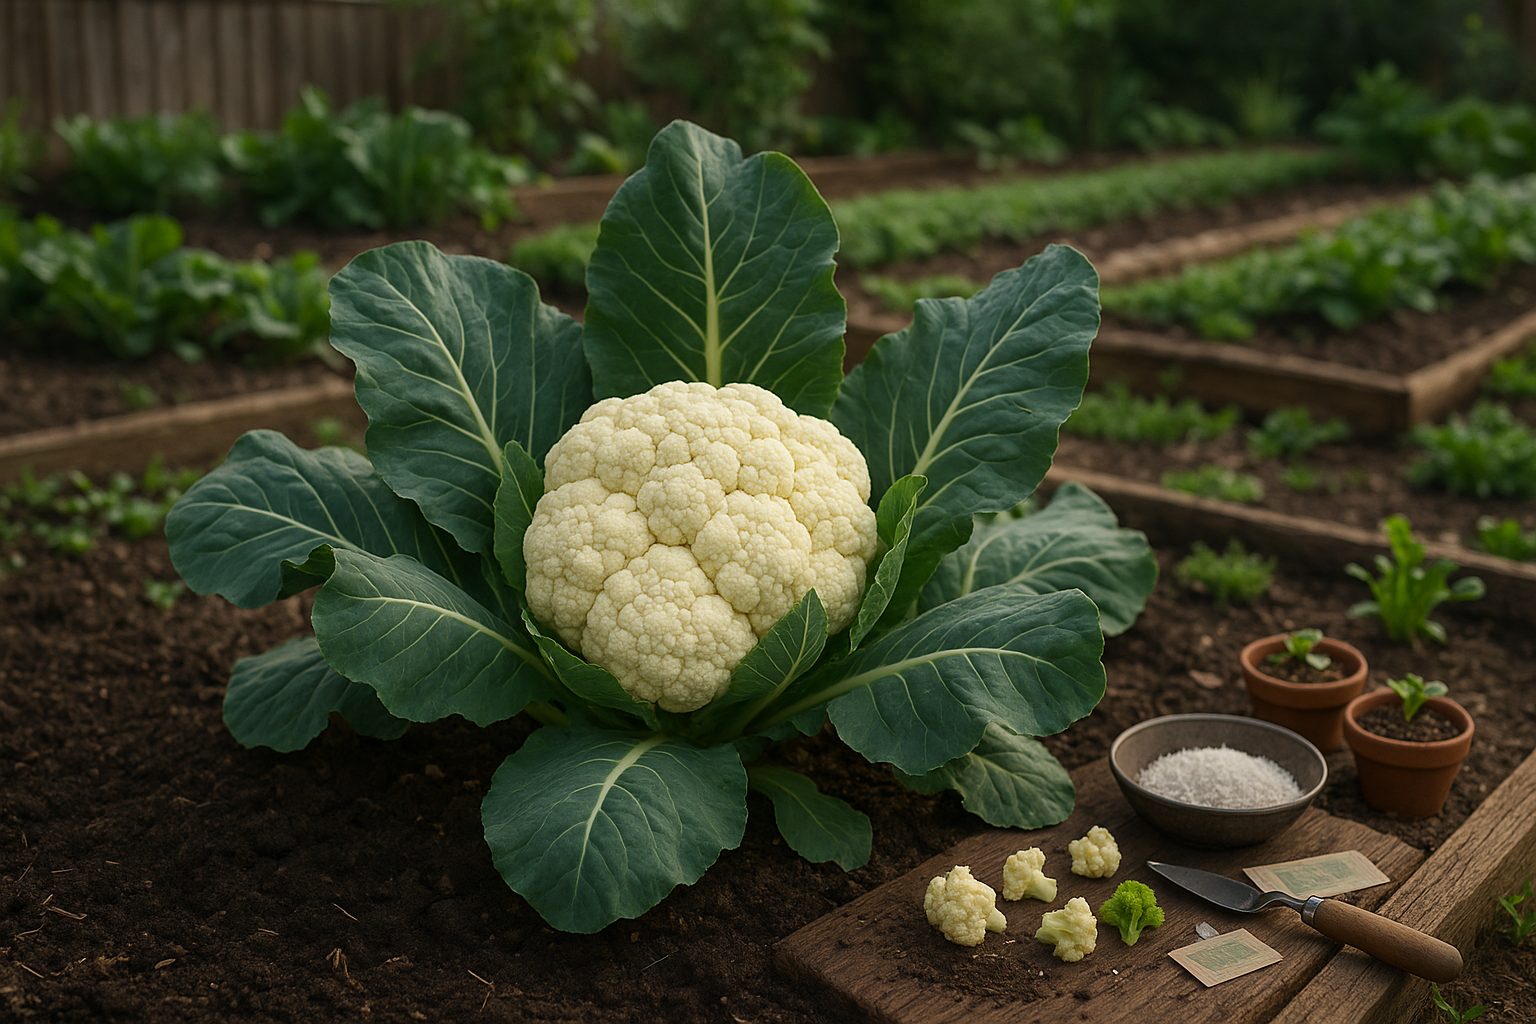
Savvy gardeners often blanch the heads by tying leaves over them to protect their snowy whiteness. While these extra steps may seem daunting at first, the payoff—fresh, delicious cauliflower from your own backyard—makes it all worthwhile.
Choosing and Sourcing the Right Cauliflower Varieties
Selecting the right cauliflower variety is key to a productive and rewarding harvest. Cauliflower comes in shades beyond classic white; try orange and purple types for added color and extra nutrients—these often appeal to kids and make dishes pop.
Size can range from small, early-maturing heads like ‘Snow Crown’ to larger, robust options such as ‘Cheddar’ or ‘Romanesco,’ which has a striking fractal shape.
Climate matters: cooler regions do best with cold-tolerant varieties like ‘Amazing’ or ‘Snowball Y,’ while heat-resistant types like ‘Attribute’ or ‘Flame Star’ thrive in warmer zones with hot springs or autumns. Consider your garden space, too—compact breeds excel in containers or small beds.
When sourcing seeds or seedlings, buy from reputable nurseries or seed companies with positive reviews and fresh stock—look for companies that specify germination rates and expiration dates on packets. Avoid seeds with broken packaging or seedlings with yellowed or wilting leaves, as healthy plants will set your season up for success.
For extra assurance, ask local gardeners or extension offices which varieties perform best in your microclimate. A little research and careful sourcing make all the difference in your cauliflower growing journey.
Preparing for Planting: Soil, Location, and Timing
Getting your garden off to a strong start begins with preparing the soil and site. Most vegetables, herbs, and flowers thrive in soil with a pH between 6.0 and 7.0, which is slightly acidic to neutral. Test your soil using an affordable kit from a garden center; if it’s too acidic, mix in lime, and if it’s too alkaline, add elemental sulfur.
Equally important is soil fertility—rich, dark soil loaded with organic matter like compost or aged manure supports healthier roots and faster growth. Make sure your garden beds drain well, too; roots sitting in water are prone to rot and disease. For a simple drainage check, dig a hole and fill it with water—the water should drain within a few hours.
Selecting the right location is just as crucial. Most crops need at least 6 hours of direct sun daily, so pick a spot that isn’t shaded by trees or buildings. Choose an area with some natural wind protection, such as a fence or hedge, to prevent fragile seedlings from being battered and to reduce water loss from strong breezes.
When it comes to timing, planting too early can leave seeds or transplants stressed by chilly soil, while waiting too long can miss the productive growing window. Consult your region’s average last frost date, and only sow seeds outdoors when soil temperatures meet each crop’s minimum requirement—often between 50°F to 70°F for many vegetables.
For a head start, consider starting seeds indoors 4–8 weeks before your frost-free date, especially for slow-growing crops like tomatoes and peppers; this leads to earlier harvests. Alternatively, purchasing nursery seedlings is convenient and saves time, perfect if you have a short growing season or want to avoid the hassle of indoor seed starting.
Both approaches have merit—choose according to your schedule, space, and gardening goals.
Step-by-Step Guide to Planting and Growing Cauliflower
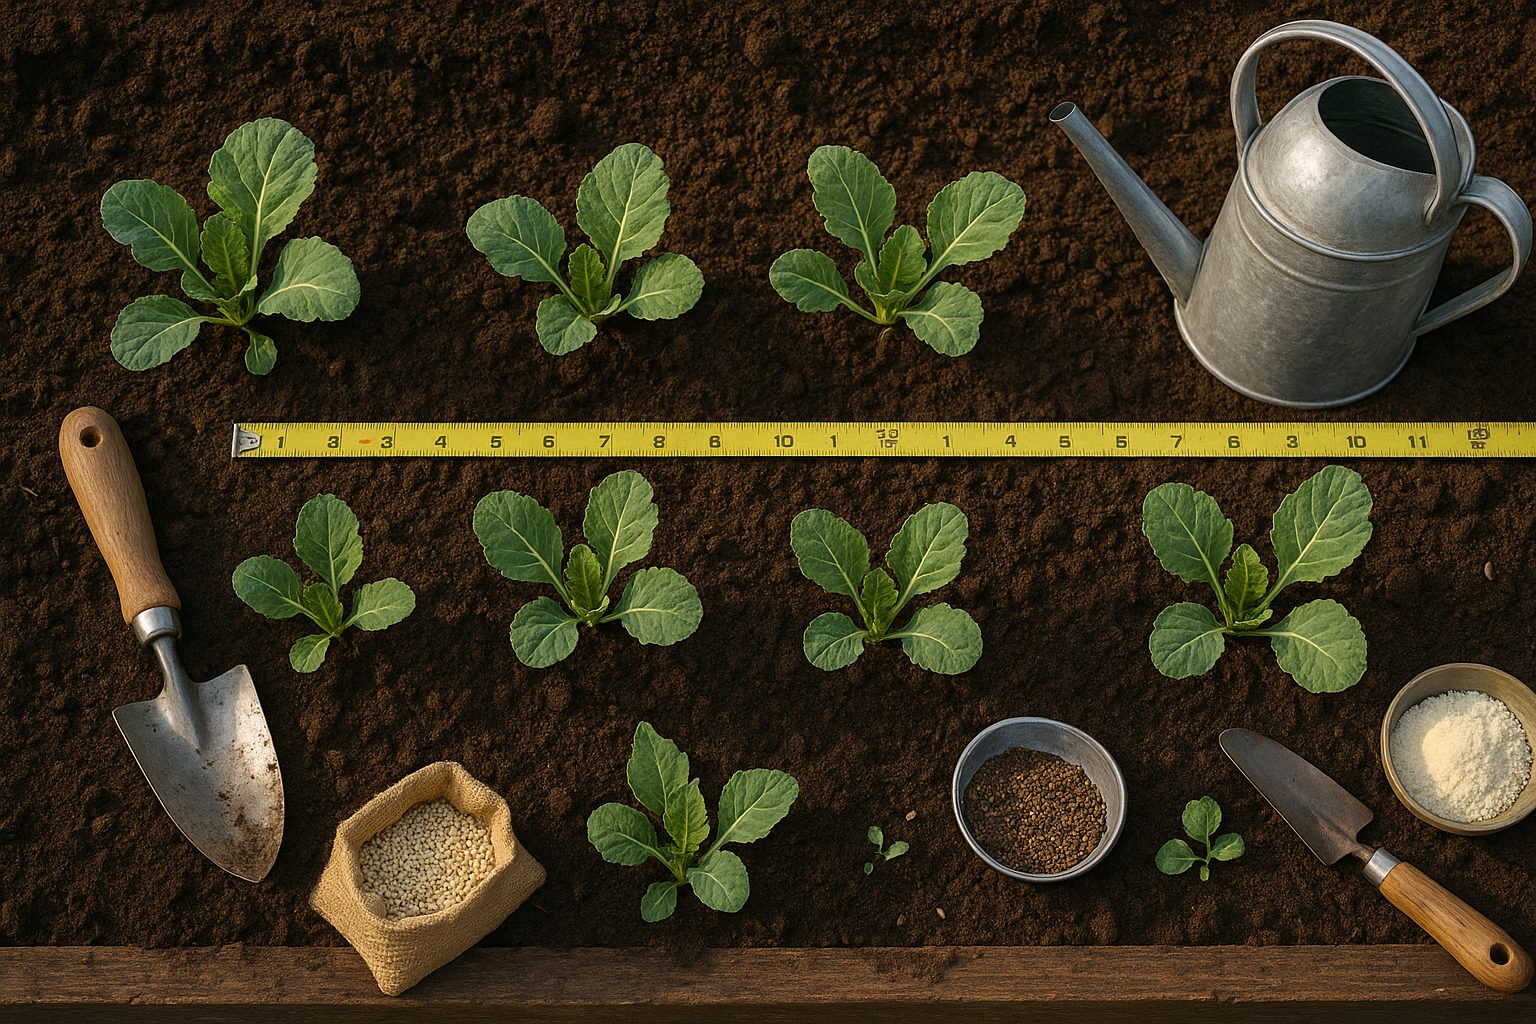
Starting cauliflower from seed is a rewarding way to grow robust, healthy plants. Begin by sowing seeds indoors four to six weeks before your last expected frost date, using seed trays filled with quality potting mix. Keep the soil moist but not soggy, and provide ample light to encourage sturdy seedlings.
Once the seedlings have two to three true leaves and all danger of frost has passed, harden them off gradually by placing them outdoors for a few hours daily before transplanting. When transplanting, space plants about 18–24 inches apart in rows that are 2–3 feet apart to give their large heads room to grow—crowding can lead to small or deformed curds.
Cauliflower loves consistent moisture, so water regularly—about one to two inches a week—taking care not to let the soil dry out. Mulching around plants helps retain moisture and keep the roots cool. Feed your cauliflower with a balanced fertilizer at planting, and side-dress with a nitrogen-rich fertilizer three to four weeks later for strong growth. Gently stake tall plants if they start to topple, especially in windy areas.
To deter pests and enhance growth, practice companion planting by interspersing cauliflower with herbs like dill or flowers like marigolds, which can help repel unwanted insects. Check your plants regularly for signs of aphids or cabbage worms; picking them off by hand or spraying with neem oil can keep small problems from turning into big headaches.
With a bit of attention each week—watering, weeding, and watching for pests—you’ll be rewarded with crisp, beautiful heads ready to harvest when they’re firm, white, and about six to eight inches across.
Troubleshooting Common Problems: Pests, Diseases, and Disorders
Keeping your garden healthy starts with spotting and solving common problems early. Aphids are notorious for clustering on tender shoots and sucking plant juices, often leaving a sticky residue behind. A strong blast of water, introducing ladybugs, or spraying diluted soapy water can help control them without chemicals.
Caterpillars, another frequent pest, chew large holes in leaves. You can pick them off by hand or use Bacillus thuringiensis (Bt), an organic microbial insecticide, to manage outbreaks.
Diseases like clubroot, which causes swollen, distorted roots and wilting in brassicas, can devastate crops. Practice three-year crop rotation, improve drainage, and lime acidic soils to make conditions less favorable for the pathogen.
Fungal issues, such as powdery mildew, appear as whitish patches on plant surfaces. Prevent them by providing good airflow through proper spacing and watering in the morning to allow leaves to dry. You can also apply neem oil as a natural treatment.
Physiological disorders, although not caused by pests or pathogens, can be equally troublesome. For example, buttoning in broccoli, where tiny heads form prematurely, is often the result of planting out seedlings too early or experiencing stress from temperature swings. Avoid it by waiting until after the last frost and ensuring plants have steady moisture.
Leaf tip burn, commonly seen in lettuce, is linked to uneven watering or low calcium. Mulch plants to conserve moisture and water consistently.
By staying observant and using these organic strategies, gardeners can nip problems in the bud and grow productive, resilient plants.
Harvesting, Storing, and Using Your Cauliflower
Knowing the right moment to harvest your cauliflower is key to getting the best taste and texture. Keep an eye on the heads—they’re ready to pick when they reach 6-8 inches across, are compact, and have a milky white color. Harvest in the morning by cutting the head off the plant with a sharp knife, leaving a few leaves to protect it. Avoid waiting too long, as the florets can separate and turn grainy.
For storage, gently brush off dirt without washing, then wrap the heads loosely in a damp paper towel and place them inside a perforated plastic bag in the crisper drawer. Stored this way, cauliflower stays fresh for up to two weeks. If you want to keep it even longer, break it into florets, blanch for three minutes in boiling water, cool quickly, then freeze in airtight bags.
When it’s time to use your harvest, cauliflower’s mild flavor makes it incredibly versatile. Toss florets in olive oil for roasting, steam and mash as a low-carb potato substitute, or blend into a creamy soup. It’s great raw as well—try pairing with hummus for snacking or adding bite-sized pieces to salads for extra crunch. With these simple steps, you’ll enjoy homegrown cauliflower at its peak flavor in any meal.
Quick Tips and Frequently Asked Questions
If you’re wondering how to boost yield and productivity, start by ensuring your plants receive enough light—most crops thrive with at least six hours of sunlight per day. Consistent watering is crucial, but be careful not to overdo it; soggy roots can lead to rot and poor growth.
If leaves turn yellow or growth seems stunted, check for pests or nutrient deficiencies, both common issues that often have simple fixes like natural pest deterrents or fertilizer. Pruning and spacing also make a big difference—remove dead or crowded stems to let air and light reach each plant.
Regularly rotating crops and refreshing soil can prevent disease buildup and keep your garden thriving year after year. For more detailed advice or specific issues, join local gardening groups on social media, binge-watch YouTube garden channels, or consult extension service websites, which often have region-specific expertise.
Remember, gardening is a journey—mistakes help you learn, and community advice can be a game-changer for long-term success.