Introduction
If you’ve ever tried moving young carrot seedlings directly from the cozy indoors to the unpredictable outdoors, you know it rarely ends well. Learning how to harden off carrots is essential for giving your delicate seedlings the best start in your garden. Hardening off is the process of gradually acclimating your indoor-grown plants to outdoor conditions—think fluctuating temperatures, direct sunlight, and gusty winds.
By taking this step, gardeners prevent transplant shock, a common issue that can cause carrot tops to wilt or stunt growth just as your crop is getting started. Success with carrots, like many vegetables, depends on this careful transition period, which helps your seedlings build resilience in a way that mimics nature.
In this article, you’ll discover practical steps for hardening off carrot seedlings, including daily schedules, signs your plants are ready, and troubleshooting tips if problems arise. Whether you’re a beginner or looking to improve your carrot harvest, these guidelines will set you up for strong, healthy plants—so you can enjoy sweet, homegrown carrots this season.
Why Hardening Off Seedlings Matters
Hardening off is the essential process of gradually exposing indoor-grown seedlings to outdoor conditions before planting them in the garden. This slow introduction helps seedlings adjust to changes in temperature, sunlight, and wind, which are often much harsher than the protected environment of a windowsill or greenhouse.
The science behind hardening off revolves around acclimation—plants need time to strengthen their cell walls, build up protective pigments, and activate defenses that help them handle brighter sun, fluctuating temperatures, and drier air.
If you skip this step and move your seedlings straight outside, they’re likely to suffer from transplant shock. You may notice wilting, yellowing, scorched leaves, and, in some cases, stunted growth or even death. For example, a tomato seedling moved outdoors too quickly can develop sunburned leaves and stop growing for weeks as it tries to recover.
By properly hardening off your seedlings over 7–10 days, you’ll help them thrive. Well-acclimated plants not only continue growing steadily after transplant, but they also tend to be more resilient when facing pests, diseases, and even unexpected weather changes. Gardeners who take the time to harden off often report earlier harvests and healthier plants.
A simple trick is to start by placing seedlings outside in a sheltered, shady area for a few hours a day, gradually increasing their exposure to sunlight and weather over a week. This easy step makes a world of difference, ensuring your young plants make a strong transition from indoors to the garden.
When and How to Start the Hardening Off Process
Knowing when to start the hardening off process is crucial for helping your seedlings adjust smoothly to outdoor conditions. The ideal timing depends on both the weather and the readiness of your plants. Generally, you’ll want to begin hardening off one to two weeks before you plan to set your seedlings into the garden, making sure to start after the danger of frost has passed—check your area’s average last frost date as a guide.
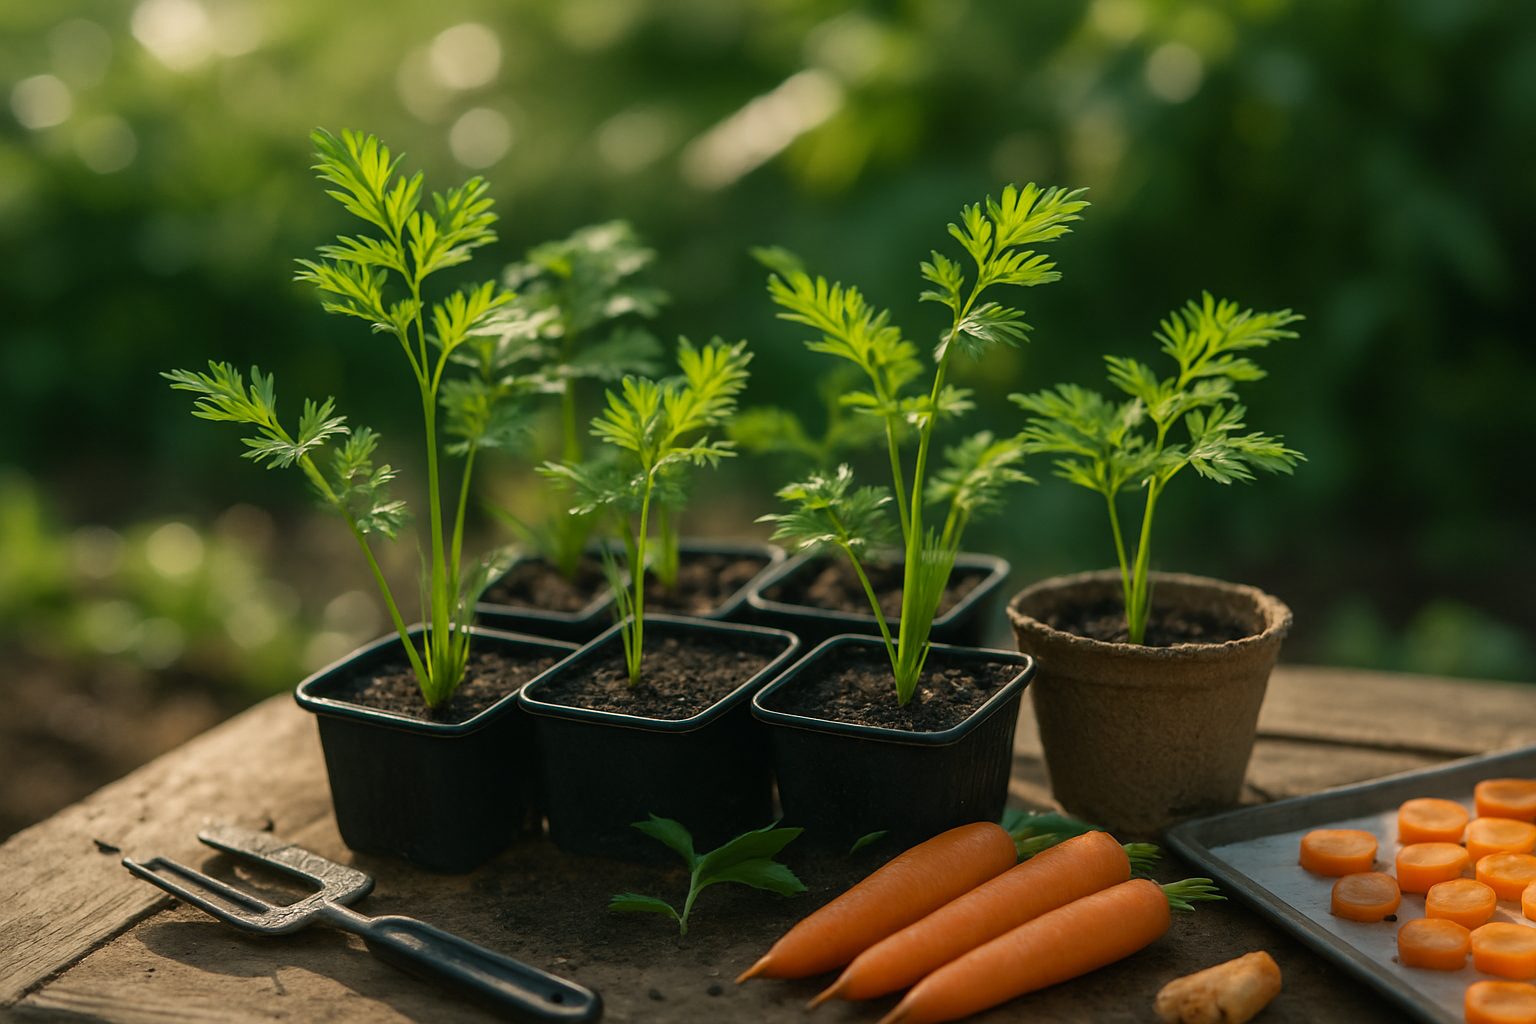
Look for signs that your seedlings are ready: sturdy, healthy stems; at least two or three sets of true leaves; and a vibrant green color without signs of stress like legginess or drooping.
Begin by setting the seedlings outside in a sheltered, shady spot for just one or two hours on the first day, then gradually increase their outdoor time by an hour or two each day. Over the next week, expose them to more sunlight and gentle breezes, but bring them back inside or cover them if nighttime temperatures drop below their comfort level, usually around 50°F (10°C) for most vegetables.
By the end of the hardening off period, your seedlings should be able to withstand a full day outside, direct sunlight, and moderate winds without wilting. For example, tomato seedlings might spend a week acclimating—starting with mornings in dappled shade and progressing to a full afternoon in sunshine. Always be ready to pull your seedlings indoors if sudden cold, strong wind, or heavy rain is predicted.
This gradual exposure toughens up seedlings, reduces transplant shock, and boosts their chances of thriving once planted in the garden.
Materials and Tools You’ll Need
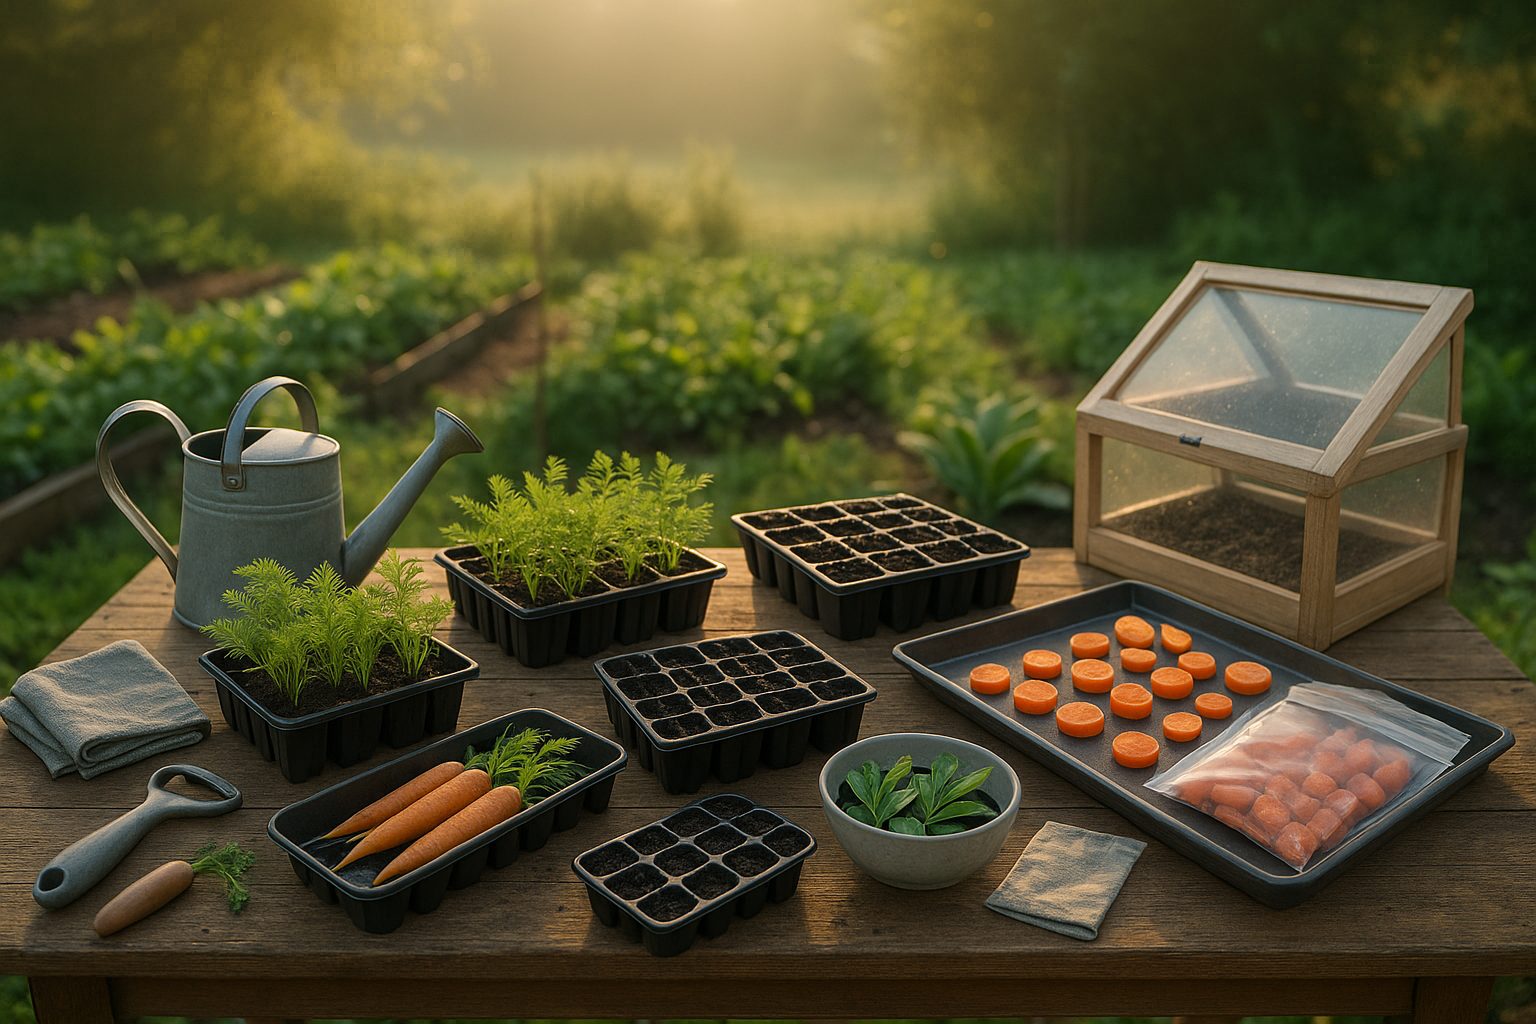
To successfully harden off your seedlings, you’ll need a few essential items: seed trays or small containers for easy transport, a lightweight watering can to keep young plants hydrated, and a shade cloth or old bed sheet to protect them from intense midday sun.
If nighttime temperatures are still chilly, a cold frame or even a large clear storage bin can help shield the plants from wind and cold while retaining warmth.
The seed trays and containers make it easy to move your seedlings in and out as needed, slowly acclimating them to outdoor conditions. A watering can with a gentle rose prevents disturbing delicate roots and avoids splashing soil.
Shade cloth is especially valuable during sunny afternoons, but if you don’t have one, an old white pillowcase or sheer curtain offers similar protection.
For a DIY cold frame, you can use a cardboard box covered in clear plastic wrap to create a mini greenhouse. Even turning a laundry basket upside down over your trays provides temporary shelter from wind or curious animals.
These simple tools and creative substitutions make the hardening off process smooth, even if you’re working with limited gardening supplies.
Methods for Hardening Off Seedlings
Hardening off seedlings is a crucial step to help young plants adjust from the cozy, controlled environment indoors to the unpredictable world outside.
One common method is gradual outdoor exposure. Start by placing seedlings outside in a sheltered, shady spot for 1-2 hours on the first day, then gradually increase the time and sunlight exposure by 1-2 hours per day over 7-10 days. For delicate plants like tomatoes or peppers, begin even slower—perhaps 30-60 minutes on the first day—adding time more cautiously and avoiding direct midday sun or windy conditions. Hardier plants like cabbage or lettuce can usually handle longer, cooler exposures right from the start.
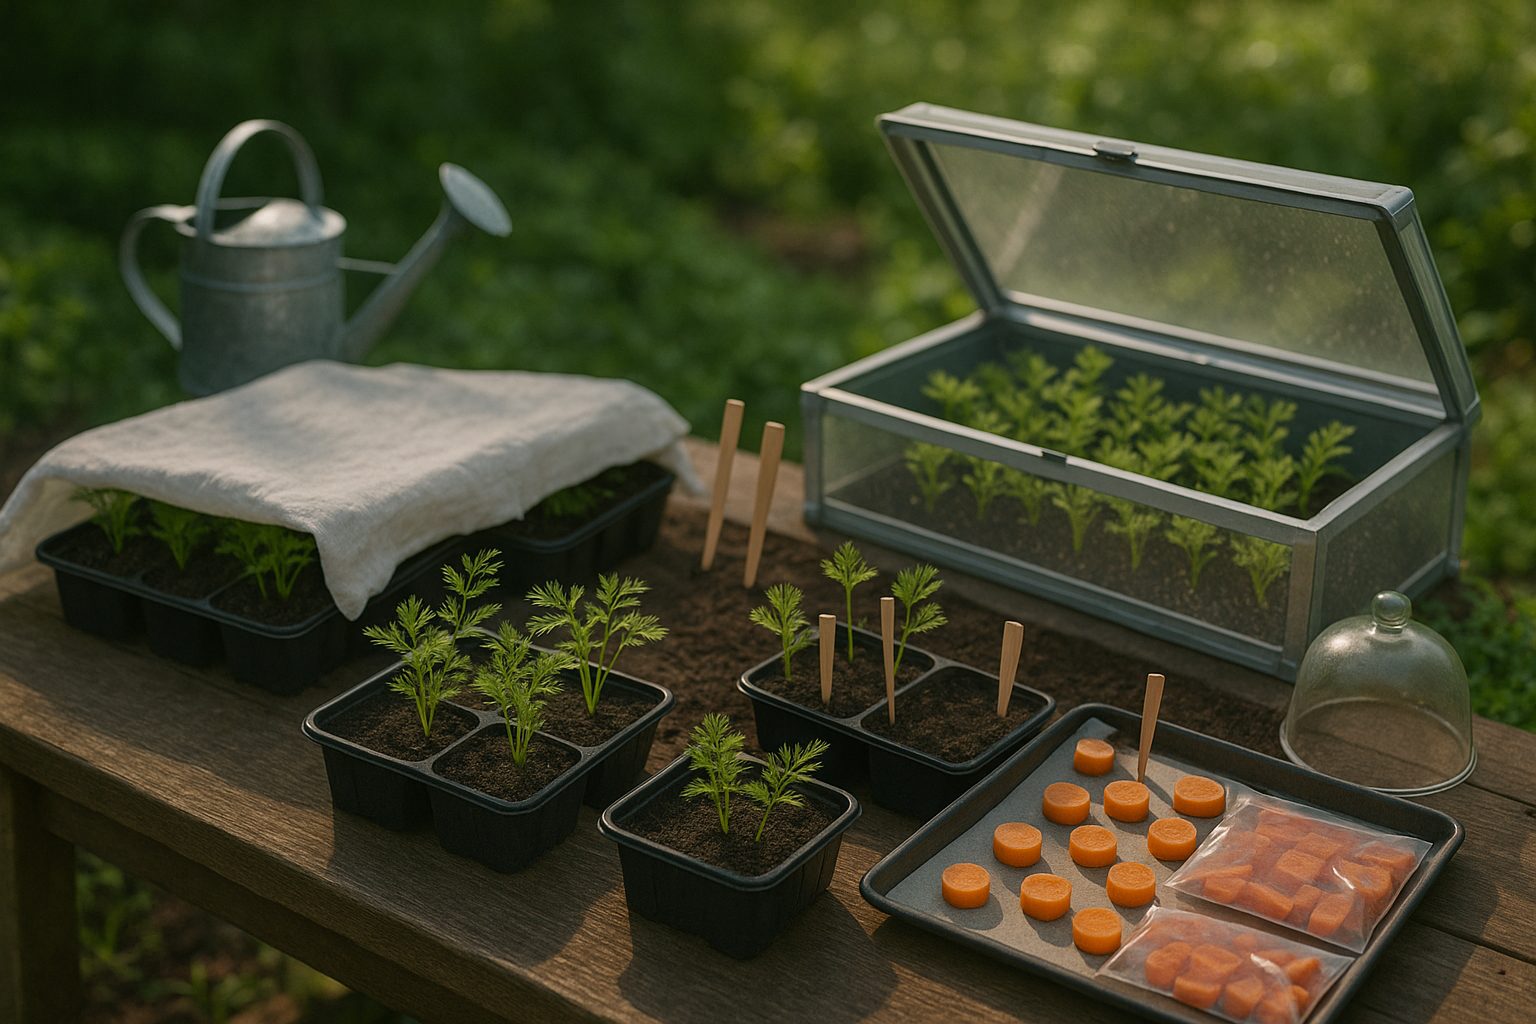
Another technique uses cold frames, which act like mini-greenhouses. Place your seedlings inside the closed cold frame for a full day at first, then start propping open the lid a crack for a couple of hours each day. Gradually increase the opening and eventually leave the frame open for longer stretches as temperatures allow. This process typically spans 7-14 days.
Cloches, which are individual protective covers, are perfect for a smaller number of seedlings. Just cover your plants outdoors for a few hours on the first day, then each day lift the cloche for an hour or two longer, exposing them bit by bit.
For all methods, watch the forecast and bring seedlings inside or cover them if there’s a threat of frost or heavy rain. Adjust your schedule if plants show signs of stress such as wilting or yellowing leaves; slower is safer, especially for tender varieties. Once seedlings withstand a full day and night outdoors without stress, they’re ready to be transplanted into your garden beds.
Protecting Seedlings During Hardening Off
Hardening off seedlings can be a nerve-wracking process for gardeners, especially when unexpected cold snaps, strong winds, pests, or intense sun threaten your delicate young plants. Sudden drops in temperature are common in spring, so keep old sheets, row covers, or frost cloth handy to drape over seedlings on chilly nights—just be sure to remove them in the morning so plants don’t overheat.
High winds can dry out or break fragile stems, so place seedlings near windbreaks (like fences or shrubs), or set them on the leeward side of your house where they’re shielded.
To guard against sunburn, give seedlings just an hour or two of direct sunlight on the first day, increasing their exposure gradually over a week. If leaves scorch or wilt, move them back to shade right away and slow the transition.
Watch for pests like slugs and beetles, especially when plants spend more time outside—use collars around stems or diatomaceous earth as a barrier.
If your seedlings show signs of stress, don’t panic: move them indoors or to a sheltered site, keep the soil slightly moist but not soggy, and allow them time to recover before resuming the hardening off process.
With patience and a little protection, even setback seedlings often bounce back stronger, ready to thrive in your garden beds.
Planting Out: Moving Seedlings Permanently Outside
Knowing when to move your seedlings outdoors is key to their success. First, check that each plant has at least two to three sets of true leaves (not just the first tiny seed leaves). The stems should look thick and sturdy, not thin or leggy, and roots should be visible at the drainage holes but not circling the container.
Your seedlings must also be acclimated to outdoor life through a process called “hardening off,” which means exposing them to outdoor conditions a little more each day over one to two weeks. Wait to transplant until night temperatures are consistently above 50°F (10°C) for warm-season crops, and there’s no longer a threat of frost.
When planting, dig a hole twice as wide as the seedling’s root ball and just as deep. Gently remove the plant, keeping as much soil around the roots as possible, and place it in the hole. Fill in with soil, press lightly to eliminate air pockets, and water thoroughly to reduce transplant shock. Avoid planting during the heat of midday to prevent stress; early morning or late afternoon is best.
After transplanting, apply a mulch layer to conserve moisture and suppress weeds, but keep it a couple of inches away from stems. Check soil moisture daily—young plants need consistent, even moisture while they establish roots, but soggy soil can cause rot. For extra protection, use row covers to shield seedlings from harsh sun or wind until they are strong.
Watch for wilting or yellowing, which may signal stress or overwatering, and address issues promptly. With careful attention during this transition, your seedlings will thrive in their new home and reward you with vigorous, healthy growth.
Conclusion
Taking the time to harden off your seedlings is one of the smartest steps you can take as a gardener. Start by gradually exposing your young plants to outdoor conditions, beginning with just an hour or two in the shade before slowly increasing their time outside over a week or two.
Make sure to protect them from wind, intense sun, and sudden drops in temperature during this period. Bring the seedlings indoors if the weather turns cold or stormy, and keep the soil well-watered but not soggy.
This process helps your plants build resilience and adapt to the real-world environment, preventing shock and stunted growth once they’re planted in the garden. Although it might be tempting to rush and get everything planted quickly, patience pays off—hardened-off seedlings are more likely to thrive, resist pests, and produce a much better yield.
Think of hardening off as an investment in your garden’s success. With a little care and a measured approach, you’ll set your plants up for a strong start and healthier growth all season long. Trust the process, use these tips, and watch your hard work flourish into a thriving, beautiful garden.