Introduction
If you’ve ever wondered how to stretch your garden harvest further, carrot powder DIY is a surprisingly simple solution that delivers big rewards. Making your own carrot powder at home means you get vibrant flavor and maximum nutrition—without the preservatives and fillers often found in store-bought options. Plus, you’re making the most of your hard-earned garden carrots while saving money—a win for both your kitchen and your wallet.
Homemade carrot powder can brighten up everything from soups to smoothies, salad dressings to baked goods. Just a small spoonful adds color, vitamins, and a subtle sweetness to almost any dish. Imagine boosting your morning pancakes or homemade pasta with a fresh garden touch, or sneaking extra veggies into picky eaters’ meals with ease.
In this post, we’ll walk you through the simple steps of turning your carrots into a handy pantry staple. You’ll find practical tips for harvesting, drying, and storing carrot powder, plus creative ideas for using it every day. Whether you’re a seasoned gardener or just looking for ways to cut food waste, this guide will inspire you to put every last carrot to good use.
Selecting and Preparing Garden Carrots for Carrot Powder DIY
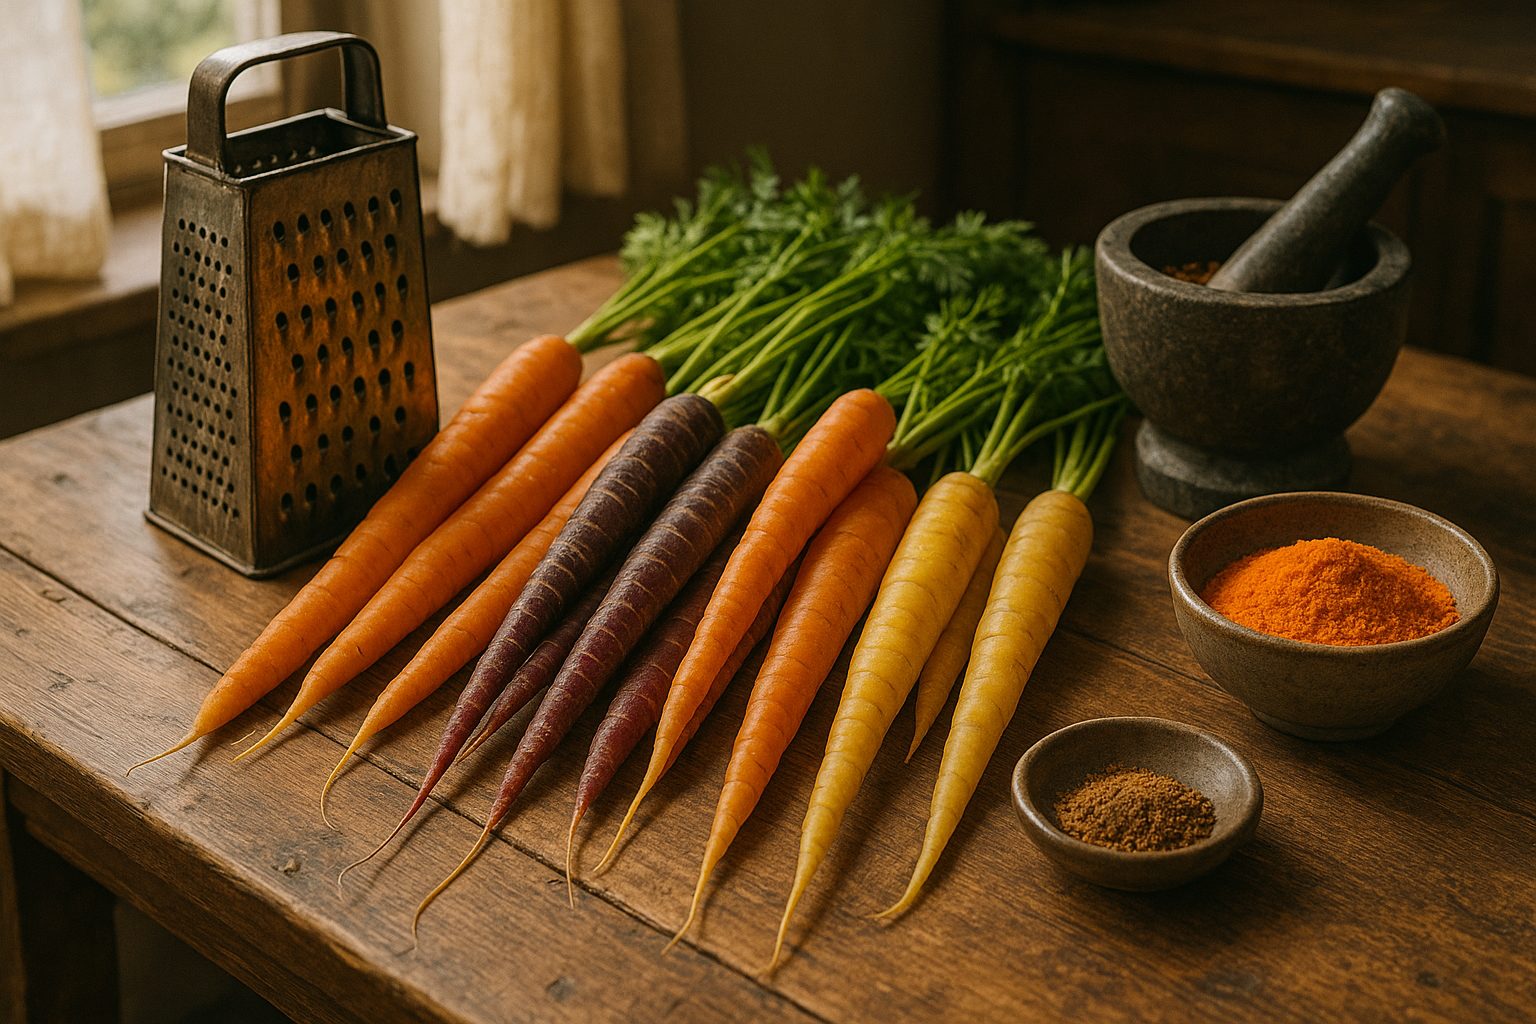
When starting your carrot powder DIY project, the first step is selecting the best carrots from your garden to ensure a flavorful and nutrient-rich powder. Choose carrots that are firm to the touch, with a vibrant orange color and no limpness. Medium-sized carrots tend to be sweeter and more tender than very large ones, making them ideal for drying and powdering.
Avoid any carrots with cracks, blemishes, or signs of rot, as these can affect the taste and quality of your finished powder. After harvesting, rinse off any soil or debris under cold running water immediately. If the carrots are freshly picked, a quick soak can help loosen stubborn dirt in the crevices. Use a soft brush or cloth to gently scrub the skin, especially if you want to keep the peel for added fiber and nutrients.
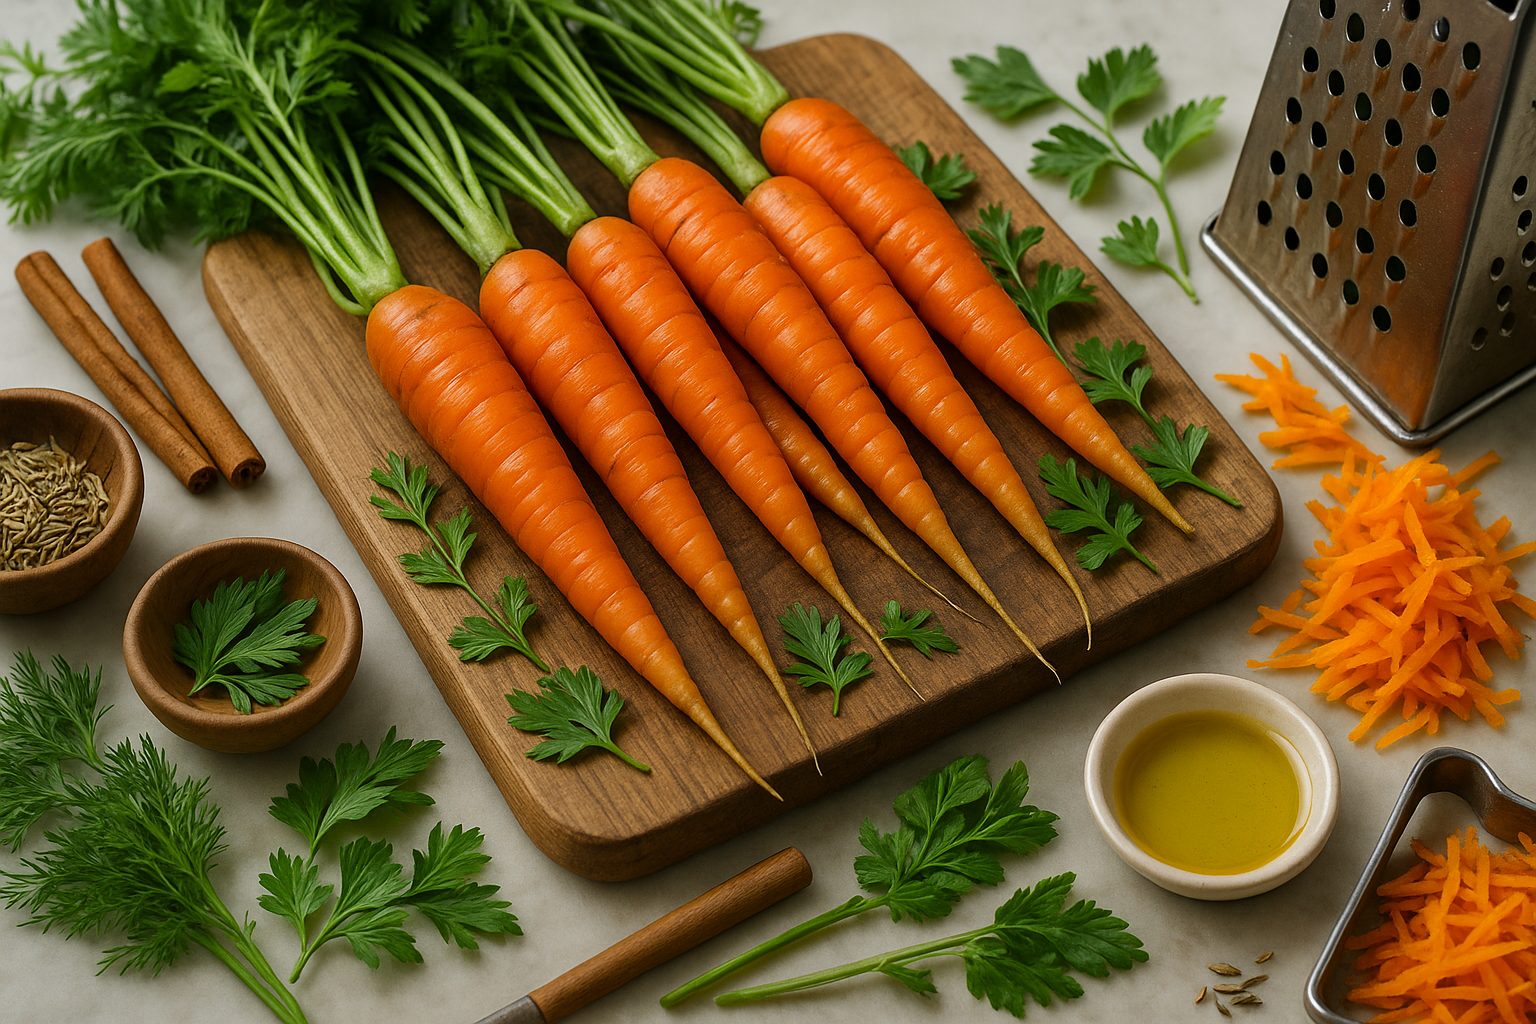
For a smoother powder, many prefer peeling garden carrots using a standard vegetable peeler. Next, trim both ends—the top with the greens and the thin root tip—as these parts may be bitter or tough. Cut the carrots into uniform slices or thin strips to help them dry evenly and quickly.
For maximum flavor and nutrient retention, work quickly after washing and peeling, since exposure to air can degrade some vitamins. To further lock in nutrients, consider blanching the slices in boiling water for 1-2 minutes, then plunging them into ice water to stop the cooking process before drying. Taking the time to choose and properly prepare your garden carrots makes all the difference in the quality of your homemade carrot powder.
Drying Methods for Carrot Powder
When it comes to carrot powder DIY, the drying step is essential for preserving flavor and ensuring a fine, usable powder. The three most popular methods are using an oven, a dehydrator, or air-drying—each with its own process and benefits.
For oven drying, start by washing, peeling, and slicing your garden carrots into thin, even pieces. Arrange them in a single layer on a baking sheet lined with parchment paper. Set your oven to its lowest temperature, ideally between 120°F and 150°F (50°C to 65°C), and prop the door open slightly to let moisture escape. Check and flip the carrots every hour; drying can take 4 to 8 hours. The upside is that ovens are fast and convenient since most kitchens have one. However, ovens can use a lot of energy and may not keep the low, steady heat needed to preserve nutrients fully.
A food dehydrator is often considered the gold standard for carrot powder DIY because it provides low, consistent heat that helps preserve color and nutrients. Prepare the carrots as before, then spread them out in a single layer on dehydrator trays. Set the dehydrator to 125°F (52°C). Drying usually takes 6 to 10 hours, depending on slice thickness and humidity. While dehydrators are more energy-efficient and produce better results, they require owning the equipment and dedicating counter space during the process.
Air-drying is the most accessible and energy-efficient method, but it’s also the slowest and more susceptible to issues in humid climates. Simply place thinly sliced carrots on mesh racks or screens in a warm, well-ventilated spot away from direct sunlight. Turn the slices daily to prevent sticking and ensure even drying. This method can take several days to over a week. While it’s free and sustainable, mold and spoilage are risks if the environment isn’t dry enough.
No matter which drying method you choose, checking readiness is key. The carrots should feel brittle and snap cleanly, not bend or feel leathery. Any leftover moisture can cause your powder to clump or spoil. To test, try breaking a slice in half—if it snaps easily, you’re ready to grind! Be sure to let dried carrots cool before grinding, as residual heat can release unwanted moisture and affect storage. With patience and the right method, you’ll have vibrant, homemade carrot powder to enjoy year-round.
Grinding and Sieving: Turning Dried Carrots into Powder
After thoroughly drying your carrots, it’s time to transform them into a fine, versatile powder. For most home kitchens, a high-speed blender, spice grinder, or food processor works well for grinding dried carrot slices or chips. Start by working in small batches—overloading your appliance can lead to uneven grinding and blade jams.
If you’re using a blender, pulse the dried carrots in short bursts to prevent motor overheating and to control the powder’s texture. Spice grinders and dedicated coffee grinders often produce the finest results, especially for small amounts, making them ideal for creating a silky “carrot flour.”
Once ground, sift the powder through a fine-mesh sieve. This step removes any stubborn chunks or fibrous bits, leaving a smooth, even powder that blends effortlessly into recipes. You can re-grind leftover bits or add them to soups and stews for extra flavor and fiber.
If your carrot powder clumps or has an uneven texture, check that the carrots were completely dry before grinding—residual moisture is the most common cause of clumping and grittiness. To fix this, spread the clumpy powder on a lined baking sheet and place it in a low oven or dehydrator for 10–15 minutes, then grind again. Patience with drying and blending is key to perfecting your carrot powder DIY experience!
Storing and Shelf Life
Proper storage is key to making your carrot powder DIY project a long-lasting success. Once your carrot powder is thoroughly dried and cooled, transfer it to airtight containers—glass jars with tight-fitting lids, vacuum-sealed bags, or high-quality plastic containers all work well. Clear containers let you admire your handiwork, but be sure to store them in a cool, dark place like a pantry, kitchen cabinet, or basement shelf.
Light, air, and moisture can break down nutrients and flavor, so keep your powder away from windows, ovens, and humid spots. Always label your containers with the date made so you can track freshness. When stored correctly, carrot powder typically lasts 8–12 months. Check the powder every couple of months for any changes; if you notice a musty smell, clumping, discoloration, or signs of mold, it’s time to toss it out.
To keep your carrot powder fresh, never use a wet spoon in the container, and reseal it tightly after each use. Consider dividing large batches into smaller jars to reduce air exposure each time you open one. These simple storage tips will help keep your homemade carrot powder vibrant and nutritious for months to come.
Creative Uses for Carrot Powder in Everyday Cooking
Carrot powder DIY opens the door to a world of creative possibilities in your kitchen, making it easy to sneak more veggies into your meals without much fuss. In smoothies, just a spoonful of carrot powder blends right in, adding natural sweetness and a gentle boost of fiber and vitamins—perfect for busy mornings when you’re short on time but want something nourishing.
Bakers will appreciate the subtle earthy flavor it brings to pancakes, muffins, or even carrot cake; simply substitute a few tablespoons of powder for some of the flour and enjoy a nutritious twist without the hassle of shredding fresh carrots. Homemade seasoning mixes are another fantastic use—combine carrot powder with salt, garlic, onion powder, and your favorite herbs to create a vibrant vegetable spice blend. Sprinkle it over popcorn, roasted veggies, or grilled chicken for a pop of color and flavor.
When making soups or stews, carrot powder acts as a natural thickener and flavor enhancer; just stir in a tablespoon or two during simmering for an instant vegetable boost. If you’re seeking a natural food coloring alternative, carrot powder delivers: mix it into frosting, rice, or even pasta dough for a beautiful orange hue and extra nutrition, all without artificial additives.
A simple kitchen hack is to keep a small jar near your spice rack for those moments when you need to thicken a sauce, liven up a bland broth, or add hidden veggies to your kids’ meals. Best of all, carrot powder retains much of the nutritional punch of fresh carrots, including beta-carotene, antioxidants, and dietary fiber, making it not only convenient but also a healthful addition to your everyday cooking.
With just a handful of garden carrots transformed into powder, you’ll find yourself reaching for this versatile pantry staple more often than you’d expect.
Troubleshooting and FAQs
It’s perfectly normal to hit a few bumps when trying carrot powder DIY for the first time. If your powder is clumping, it’s usually due to moisture lingering during the drying or storage process—make sure to let your carrots dry completely and store the powder in an airtight container with a silica gel packet or a few grains of rice to absorb any residual moisture.
For bland-tasting powder, be patient: drying carrots at low temperatures helps preserve more of their natural sweetness and flavor. Roasting before dehydrating can also enhance that rich, earthy taste. If your carrot powder turns out paler than expected, don’t worry—exposure to high heat or too much sunlight during drying can fade the color, but the powder is still perfectly usable.
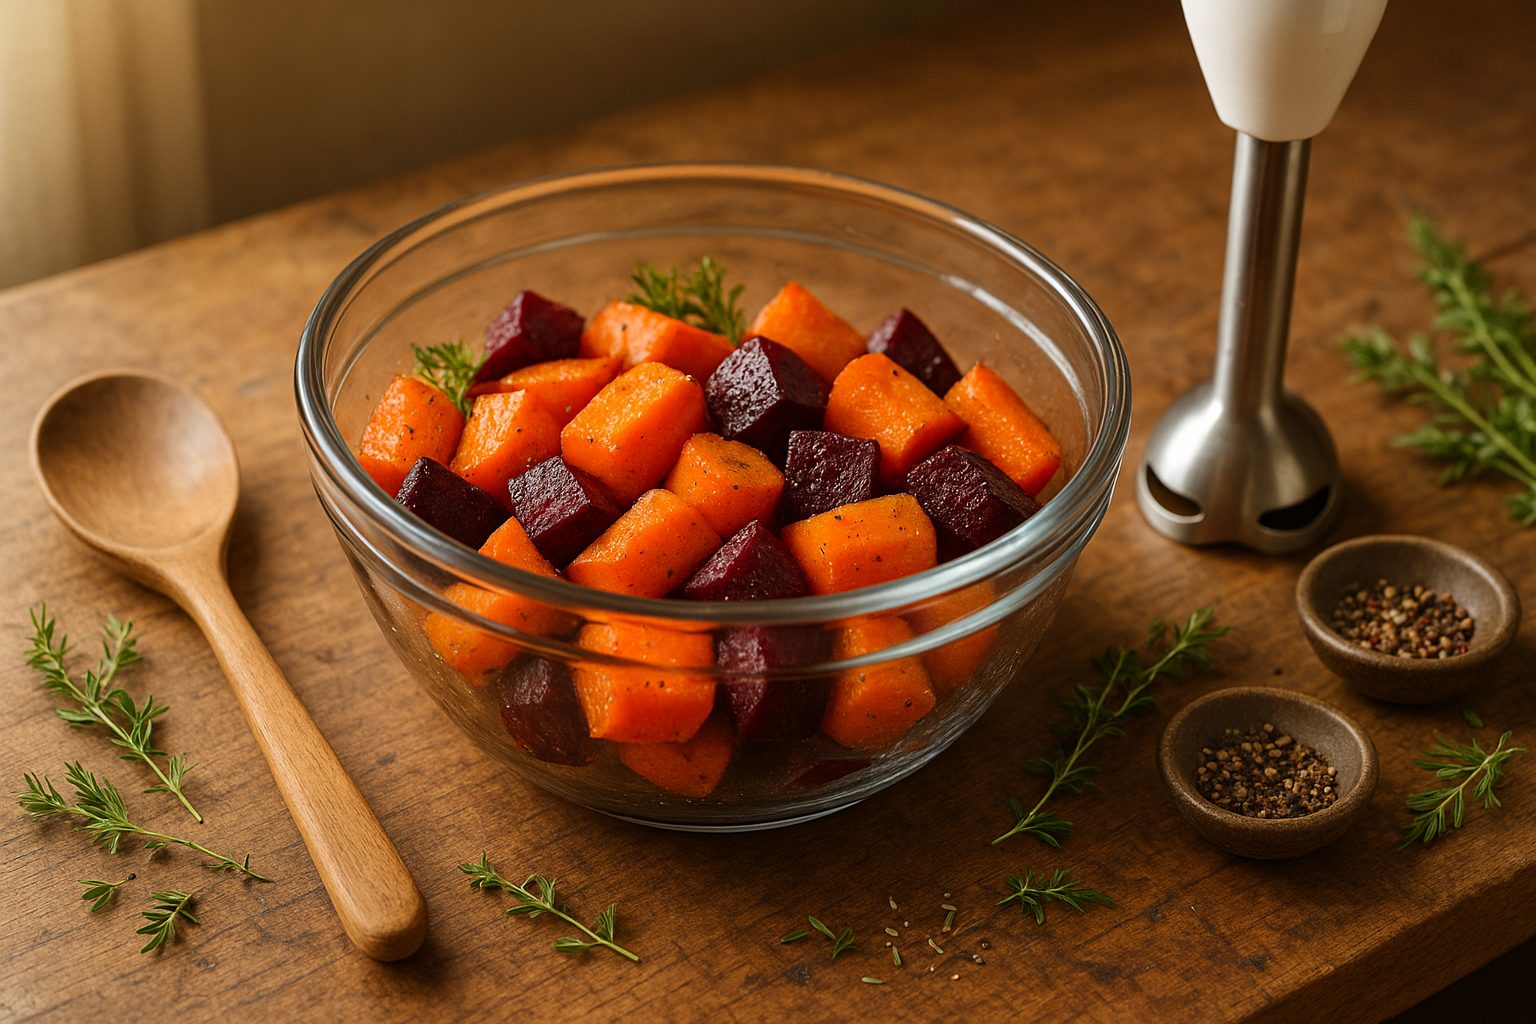
Got extra garden veggies? You can try this method with beets, sweet potatoes, or even spinach, though each brings its own unique flavor and drying quirks. Air drying tends to yield a deeper flavor profile, while oven or dehydrator methods preserve more brightness.
When rehydrating, remember a little goes a long way; start with a teaspoon of powder per tablespoon of water and adjust as needed for soups, smoothies, or baking. A few tweaks make all the difference—don’t let hiccups stop your homemade veggie adventures!
Conclusion
Making carrot powder DIY from your garden carrots is a simple and rewarding process: just wash, peel, slice, dehydrate, and blend your carrots until you achieve a fine powder. This homemade powder is packed with vitamins and flavor, making it perfect for boosting smoothies, soups, or baked goods while helping reduce food waste.
Try experimenting with other vegetables like beets or tomatoes, which also make excellent powders, and discover new ways to preserve your harvest. For more tips on storing your garden bounty, explore helpful guides on dehydrating, freezing, and canning vegetables to get the most out of your homegrown produce.