Introduction to Carrot Growth
Carrots are a staple in home gardens worldwide, loved not just for their sweet crunch but also for their versatility in everything from salads to soups. Yet, even though many gardeners enjoy growing them, understanding the stages of carrot growth can make all the difference between spindly roots and a vibrant, bountiful harvest. Knowing how carrots develop from tiny seeds to full-sized roots gives you the power to address their needs before any issues arise—like overcrowding or uneven watering.
In this post, we’ll walk you through each major stage of carrot growth, breaking down what to expect and when. You’ll learn how to spot critical milestones, from sprouting leaves to the swelling of that familiar orange root, along with simple, real-world tips for caring for your plants at every step. Whether you’re a first-time grower or looking to fine-tune your gardening results, this guide is packed with practical advice to boost your carrot crop from seed to harvest.
Carrot Growth Stages Explained
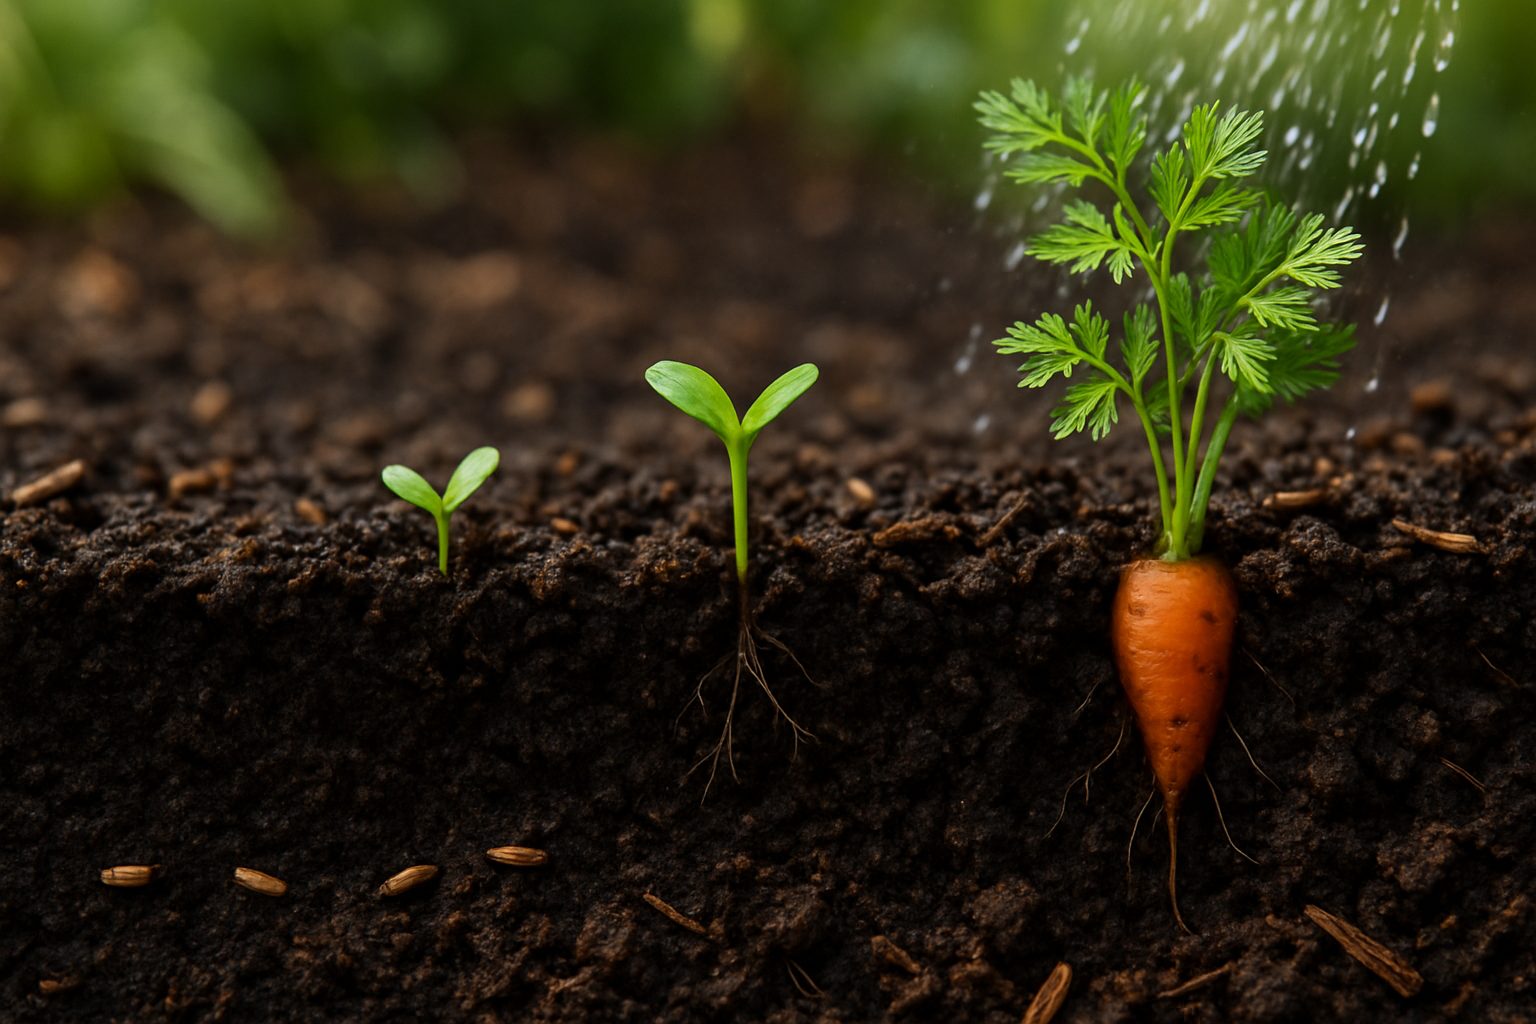
Understanding the growth stages of carrots helps gardeners know what to expect and how to care for their crops at every step. Carrot growth begins with seed germination, which typically takes 10 to 21 days. During this time, you might not see much above the soil, but keep the top layer consistently moist—dryness can delay sprouting.
The next phase is seedling emergence, marked by the appearance of cotyledons, which are small, grass-like first leaves. This stage lasts about a week, and it’s important to weed carefully, as seedlings are delicate and easily outcompeted.
Soon after, the true leaf development stage kicks in, about 3 weeks from planting. Gardeners will notice the seedlings producing frilly, fern-like leaves—the plant is now starting real photosynthesis. Thinning crowded seedlings during this phase helps remaining plants mature properly.
Over the next four to six weeks, carrots enter their vegetative and root growth phase. Foliage continues to expand, and underground, the roots swell and start to take on their familiar orange or purple hue. Gardeners might see the tops of roots pushing above the soil—adding some mulch or extra earth can prevent green shoulders.
Finally, carrots reach harvest readiness usually around 60 to 80 days after sowing, depending on the variety. Signs of maturity include sturdy leafy tops and root diameters of about 1/2 to 1 inch. If unsure, gently uncover a root to check its size; carrots left too long may become woody.
Knowing these stages—and what your carrots should look like at each one—makes it easier to give your crop the best chance at a sweet, crunchy harvest.
Seed Selection, Sowing, & Germination Tips
Choosing the right carrot seeds can make all the difference in your garden’s success. Look for reputable brands and check the seed packet date to ensure freshness, as carrot seeds lose viability quickly. Consider your climate: ‘Nantes’ and ‘Bolero’ work well in cooler regions, while ‘Danvers’ is tough enough for heavier soils or unpredictable weather. If you want small, sweet carrots for snacking or raised beds, try ‘Thumbelina’ or ‘Parisian’.
Before sowing, prepare well-drained, loose soil that’s free of rocks and compacted clumps — carrots need space for roots to grow straight and long. Work in compost, but avoid fresh manure, which can cause forked roots.
Sow seeds directly outdoors, spacing them about 2 inches apart and barely covering them with a thin layer — no more than 1/4 inch deep. Keep rows at least 12 inches apart for airflow and easier thinning later. Carrot seeds require patience, sometimes taking up to three weeks to sprout, and they need consistent moisture: water the soil gently but often to keep it damp, not soggy.
Cover rows with a light layer of burlap or cardboard to retain moisture until seedlings appear, then remove. If germination is patchy, overseed lightly in gaps and thin crowded seedlings to about 2–3 inches apart once they’re a couple of inches tall. Cool spring or early fall temperatures are best for sowing; high heat can hinder germination.
Real-world tip: Mix a few quick-germinating radish seeds with your carrot seeds to help mark rows and loosen the soil as carrots establish. With a bit of care up front, you’ll set the stage for sweet, crisp carrots all season long.
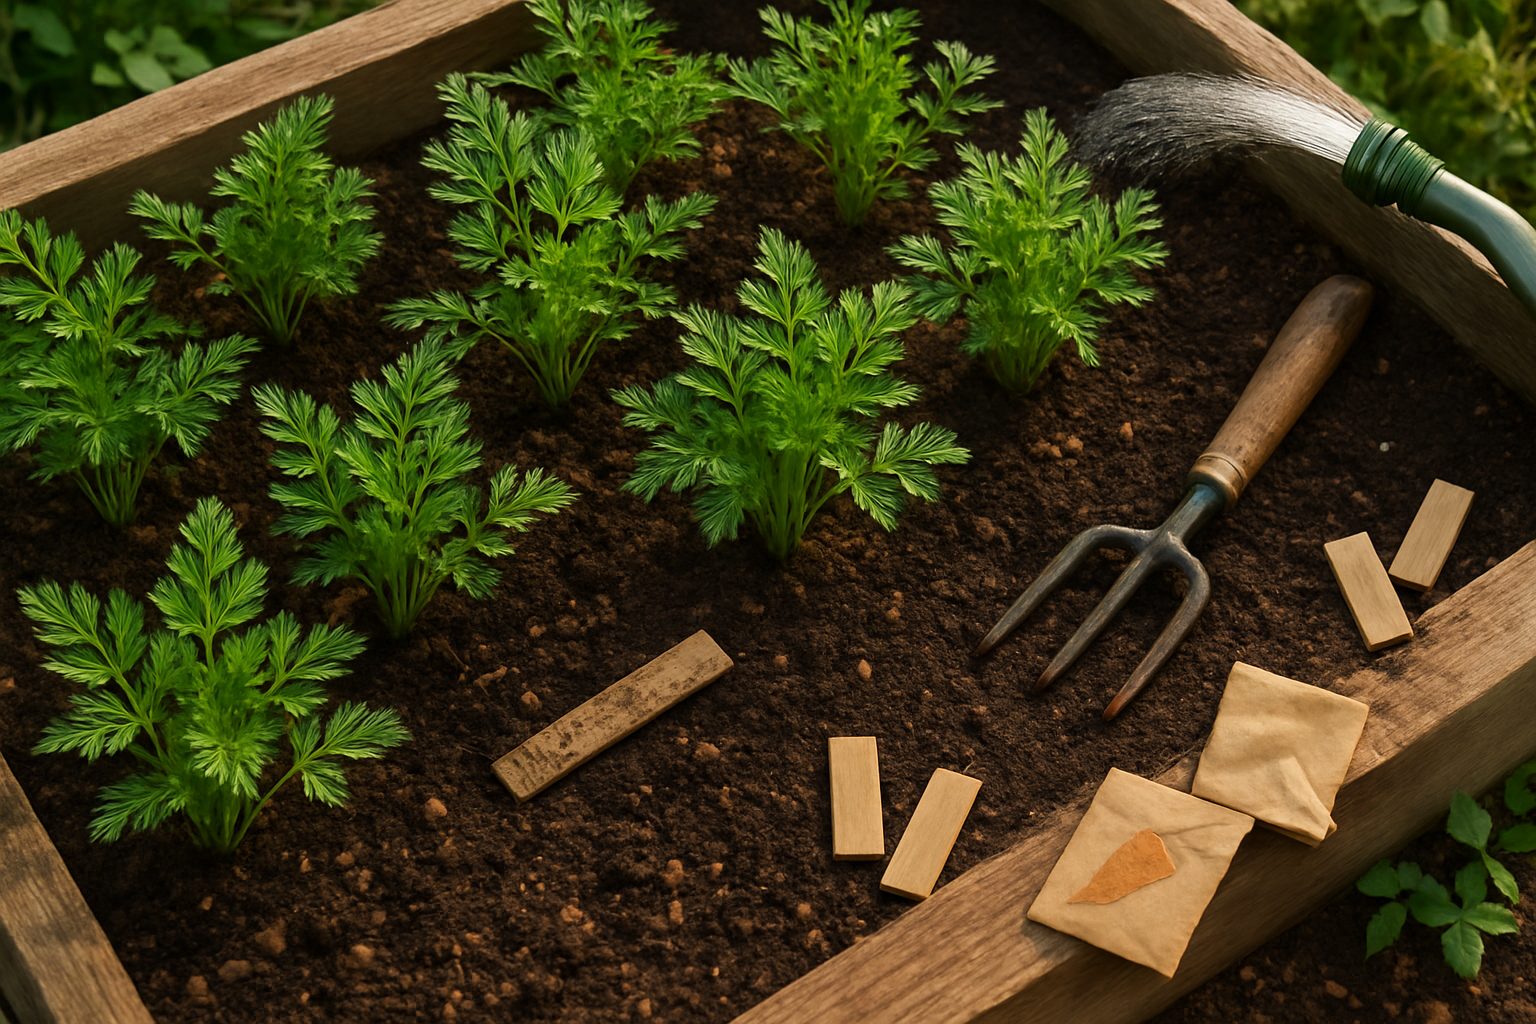
Caring for Young Carrot Plants
Once your carrot seedlings are a couple of inches tall, thinning them is crucial to ensure each plant has enough space to grow a straight, healthy root. Crowded carrots will compete for room, often resulting in twisted or stunted veggies. Gently pull out extra seedlings, leaving about two inches between each plant.
For watering, carrots prefer consistently moist but not soggy soil. Aim to water deeply 1-2 times per week, depending on your weather, so that moisture reaches down to the root zone without creating standing water, which can lead to rot. Mulching with grass clippings or straw helps retain even soil moisture and reduces the need for frequent watering.
Keep an eye out for early threats like carrot rust fly or aphids. Floating row covers can physically block many pests, while growing strong-smelling companions such as onions or chives can help naturally deter unwanted bugs.
To prevent fungal diseases, water at the soil level instead of overhead and make sure the bed has good air circulation. With these tips, you’ll give your young carrots the best start for a healthy, delicious harvest.
Supporting Root and Foliage Development
Once carrot seedlings have emerged—usually about two to three weeks after sowing—timing your fertilization is key to supporting both root and foliage growth. Start by applying a balanced, low-nitrogen fertilizer (for example, a 5-10-10 or 6-6-18 formula) about two weeks after germination, when the seedlings have developed their first true leaves.
Avoid fertilizers high in nitrogen, as too much can lead to bushy tops and small, underdeveloped roots. For best results, lightly water the soil before applying granular fertilizer and spread it in a band a few inches away from the plants rather than directly at the base, then water it in to prevent fertilizer burn.
Throughout growth, maintain even soil moisture—avoid letting the ground dry out or become soggy, as carrots are sensitive to fluctuations. Keep the bed weed-free, as weeds compete for nutrients and can crowd young carrots. Use hand-pulling or a small hoe to gently uproot weeds, taking care not to disturb the shallow carrot roots; mulching with straw or grass clippings can also help suppress weed growth.
Watch for signs of stress: yellowing or purpling leaves may indicate a nutrient deficiency (often potassium or phosphorus), while distorted or split roots could result from irregular watering, overcrowding, or compacted soil. If you notice these symptoms, adjust your fertilization routine, ensure carrots are properly thinned for space, and re-check your watering practices.
Staying attentive to these details gives you the best chance for sweet, straight, and healthy carrots at harvest.
Harvesting and Aftercare

Knowing when to harvest carrots is key for the sweetest flavor and best texture. Generally, carrots are ready when their shoulders (the tops of the roots) poke out from the soil and reach about ½ to 1 inch in diameter, usually 60–80 days after planting.
For the most tender carrots, harvest sooner; for larger, crunchier roots, wait a bit longer. However, don’t delay too much, as they can become woody.
To pull them up, water the bed first to loosen the soil and gently pull on the tops, or use a garden fork if the soil is compact. Immediately cut off the green tops to prevent wilting and brush or rinse off excess soil. Avoid scrubbing if you plan to store them for more than a few days, as this can damage the skin and shorten shelf life.
Freshly harvested carrots can be kept in a perforated plastic bag in the fridge for up to two weeks.
After harvest, remove any plant debris and loosen the soil with a fork to improve aeration, then add compost or well-rotted manure to replenish nutrients.
To prevent pest and disease problems, rotate root crops with leafy greens or legumes in your next planting cycle—healthy soil leads to better harvests each year.
Conclusion
Paying close attention to each growth stage and providing the right care are key to harvesting healthy, sweet carrots from your own garden. With a bit of patience and regular watering, even beginners can enjoy the satisfaction of pulling crisp, homegrown carrots from the soil.
Remember, loose, stone-free soil and steady thinning will make a big difference in your success. Give it a try—even a small container on your balcony can yield surprising results!
Have you grown carrots before, or are you thinking of starting? Share your experiences or drop your questions in the comments below—we’d love to hear from you!