Introduction
If you’ve ever tried your hand at growing carrots, you’ve probably encountered a few common carrot growing mistakes along the way. Maybe you pulled up squat, twisted roots instead of those long, crisp carrots you dreamed of. Or perhaps your carrot seedlings barely emerged at all. Carrots may seem simple, but they come with unique challenges for gardeners: tricky seeds, fussy soil requirements, and an uncanny sensitivity to overcrowding.
The good news? Most common carrot problems have straightforward solutions once you know what to look for. In this article, we’ll dive into the most frequent carrot growing mistakes—like planting too shallow, ignoring soil prep, or letting weeds take over—and how you can easily avoid them.
With a few practical tips and a little planning, anyone can grow sweet, straight carrots right in their own garden. Don’t let past failures hold you back: armed with the right knowledge, your next carrot harvest could be your most abundant and satisfying yet.
Choosing and Preparing the Best Soil for Carrots
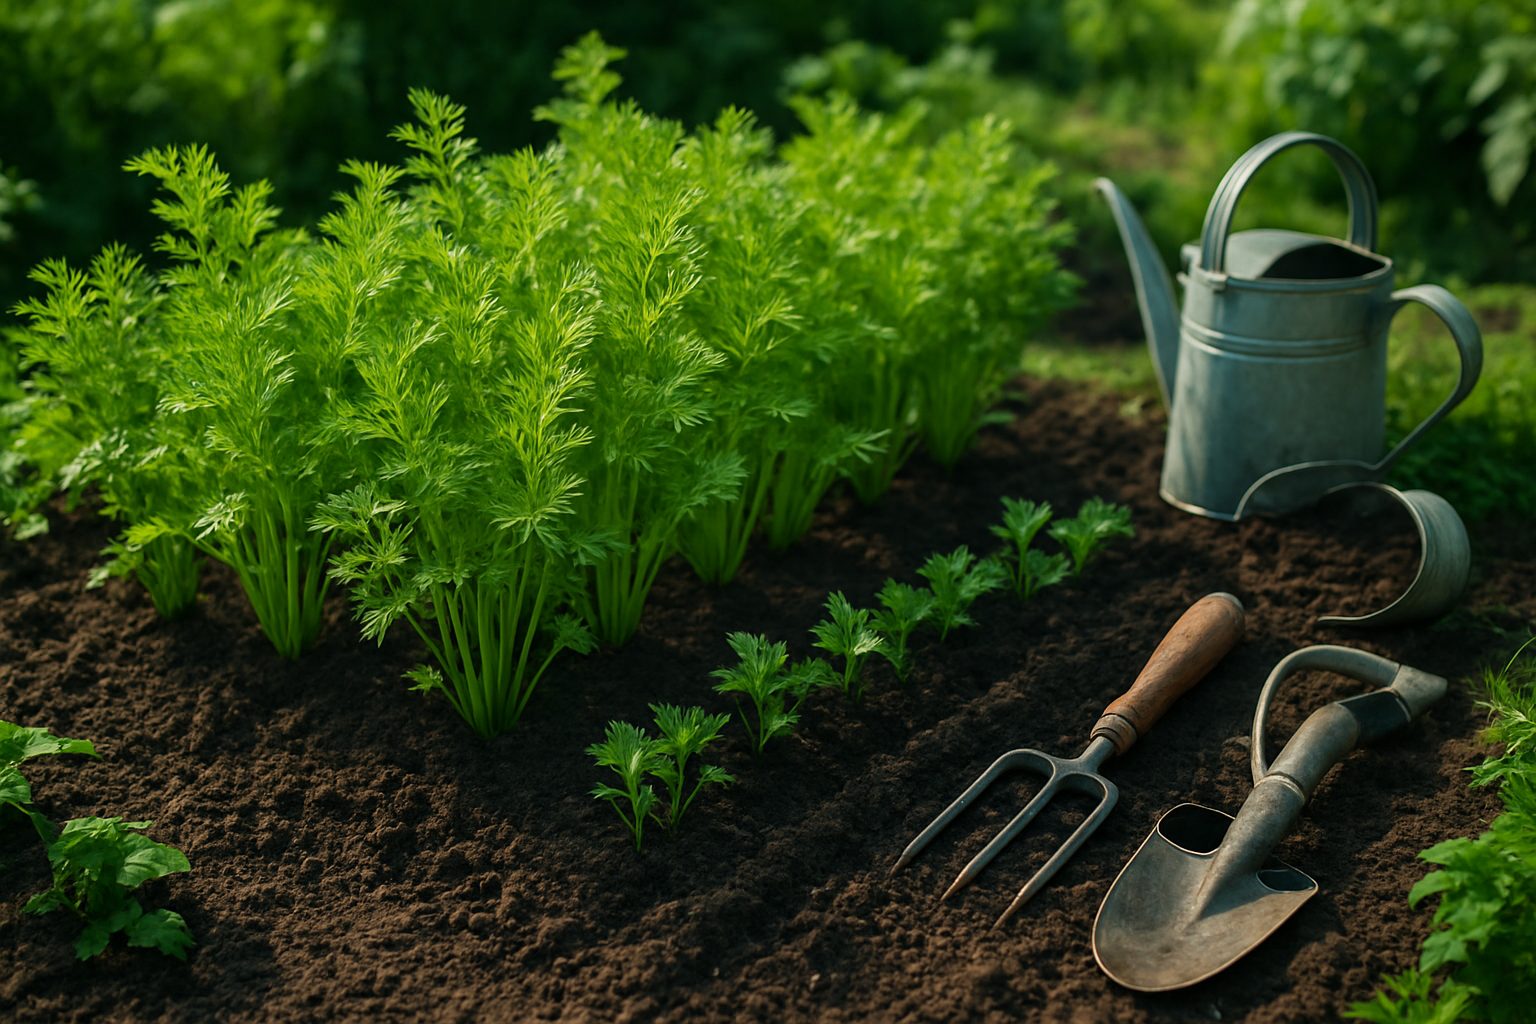
Loose, well-drained soil is the secret to growing straight, healthy carrots because their roots need space to grow deep and uninterrupted. If soil is heavy, compacted, or clay-like, carrots can become twisted or forked as they hit obstacles.
To create the ideal carrot bed, start by mixing in plenty of mature compost—this enriches the soil and improves its texture, allowing roots to move freely while retaining just enough moisture. However, avoid using fresh manure or fertilizers high in nitrogen shortly before planting, since undecomposed organic matter can lead to short, hairy, or misshapen carrots and may even burn tender seedlings.
Take time to dig down at least 8–12 inches, breaking up clumps and carefully removing rocks, sticks, or any debris—you can even sift the soil if needed for extra smoothness. Gardening forks or your hands work well for this step and make a noticeable difference in root health.
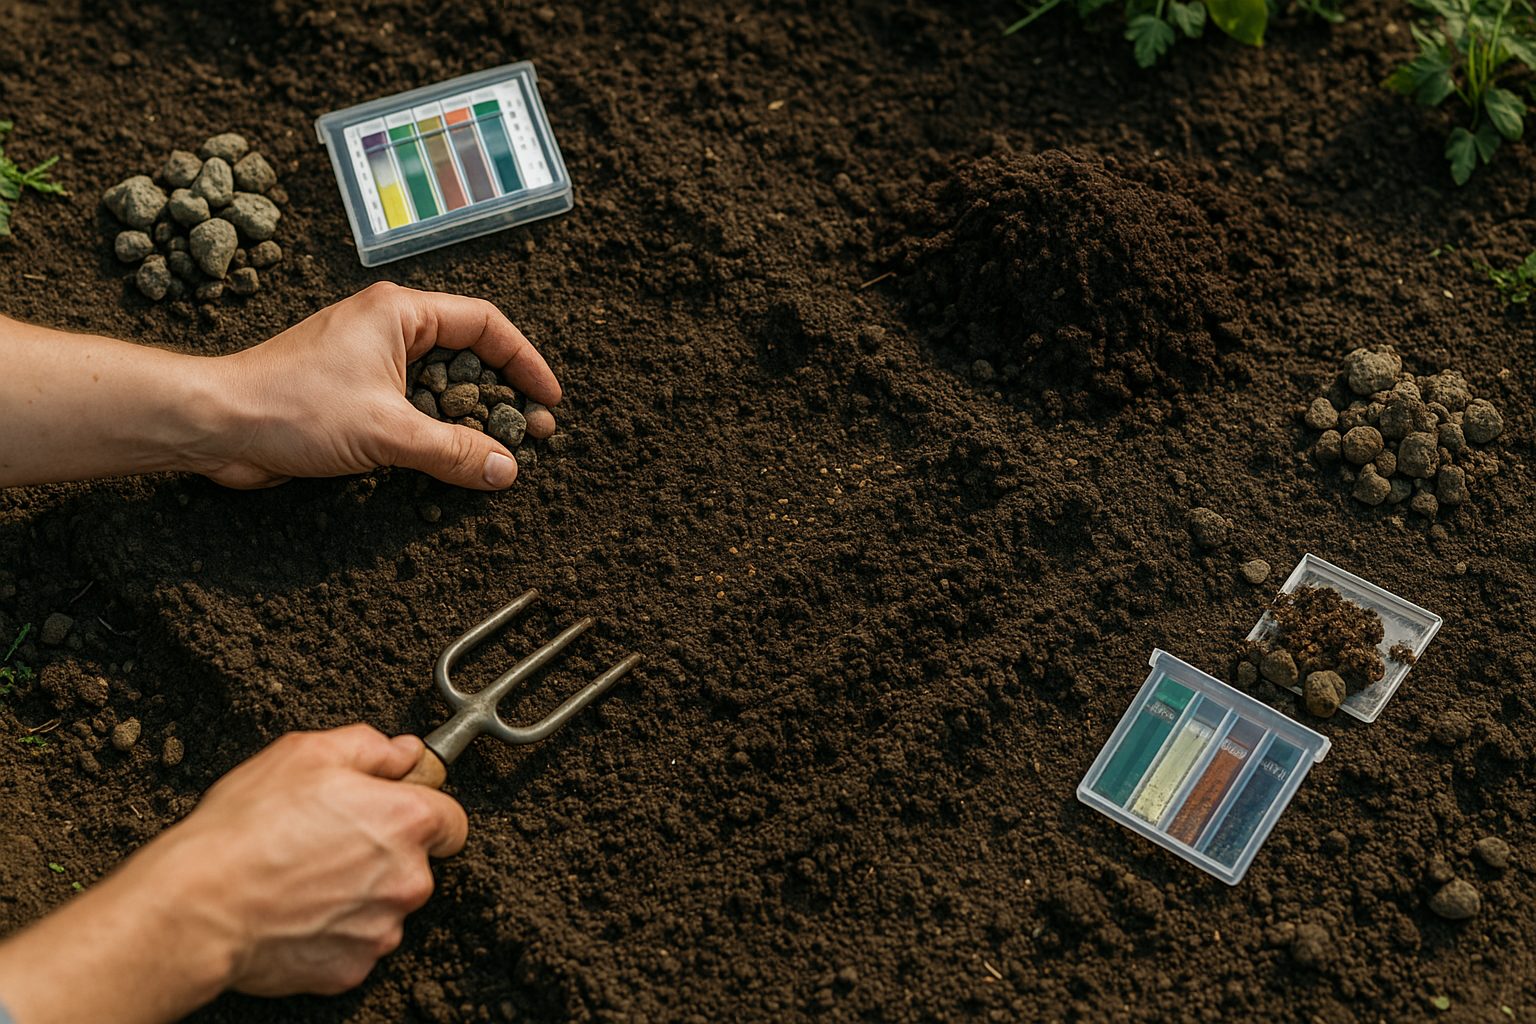
Carrots also thrive best in soil with a neutral to slightly acidic pH, ideally between 6.0 and 6.8. To check, inexpensive soil test kits are available at most garden centers. A sandy loam texture is perfect, as it provides the right balance of drainage and support.
Spending a little extra time on soil prep before planting pays off with a harvest of beautiful, sweet carrots that grow long and straight—no surprises when you pull them from the ground!
Planting Carrots: Timing and Techniques for Success
Timing is everything when it comes to planting carrots, as the right schedule can make or break your harvest. In cooler climates (USDA zones 3-6), start direct-sowing carrot seeds outdoors two to four weeks before the last expected frost—carrots don’t mind a little chill in the soil and actually develop better sweetness in cooler temperatures.
For warmer climates (zones 7 and up), plant during late winter or very early spring, and consider a fall crop by sowing seeds in late summer, about ten weeks before your first autumn frost.
Always choose direct-sowing over transplanting; carrot roots are highly sensitive and don’t handle disturbance well, so moving seedlings often leads to forked, misshapen roots.
When sowing, plant seeds just 1/4 inch deep—shallow enough for easy germination, but deep enough to keep them moist. Space seeds about an inch apart in rows that are 12-18 inches apart to let the roots expand.
Because carrot seeds are tiny and often end up clumped, thinning is crucial once seedlings reach about two inches tall. Gently pull or snip out excess plants until the remaining carrots are spaced two to three inches apart. Thinning might feel wasteful, but it’s key for growing well-shaped, healthy carrots; crowded roots compete for nutrients and develop poorly.
For a smooth process, water the soil lightly before thinning so it’s easier to remove seedlings without disturbing their neighbors.
Remember, patience is rewarded—careful timing, direct planting, and proper thinning set the stage for crisp, flavorful carrots straight from your garden.
Watering and Sunlight: Getting the Balance Right
Striking the right balance between watering and sunlight is essential for growing healthy carrots. Carrots need consistently moist soil, especially during the germination phase when shallow seeds can quickly dry out—a daily light misting works best until seedlings sprout.
As they develop, deep but less frequent watering encourages strong root growth. Aim to soak the soil to at least six inches deep once or twice a week, depending on your weather. However, be careful not to overdo it: soggy soils not only suffocate roots by limiting oxygen but also encourage rot and disease, leading to stunted or misshapen carrots. On the other hand, letting the soil dry out too much causes roots to become skinny, fibrous, and bitter.
In addition to proper moisture, carrots need full sun—at least six hours a day—to fuel the energy-intensive process of root and top growth. A shaded site may result in weaker tops and underdeveloped carrots.
Real-world tip: sticking your finger into the soil up to your second knuckle is a quick way to check if it’s time to water—the soil should feel moist but not wet. Setting up mulch can also help hold just the right amount of moisture between waterings.
With steady sunlight and mindful watering, your carrots have the best chance for sweet flavor and robust harvests.
Troubleshooting Common Carrot Problems

Growing carrots can be tricky, even for seasoned gardeners, but understanding common carrot problems can help you get better results this season.
Poor germination is often caused by dry, crusty soil or planting seeds too deep—try to sow seeds just ¼ inch deep in loose, well-watered soil and keep it evenly moist until they sprout.
If your roots turn out thin or tiny, your soil might be too compact or rocky; carrots prefer loose, rock-free soil, so amend your bed with compost and remove stones before planting.
Forked or split roots signal obstacles in the soil like stones or heavy clay, or sometimes fresh manure—always choose aged compost over fresh manure and ensure your soil texture is soft and uniform.
Green shoulders appear when the carrot tops get exposed to sunlight, turning them bitter; you can avoid this by mounding a bit of soil over the roots as they grow.
Stunted or leggy carrots may result from crowding, so thin seedlings to about two inches apart once they get their first real leaves.
Pests like carrot rust flies and nematodes chew tunnels in roots, while fungal diseases can wilt leaves or cause rot—use floating row covers early in the season and rotate crops each year to help break pest and disease cycles.
If your carrots flower too soon (premature bolting), it could be due to fluctuating temperatures or stress; sow seeds at the right time for your climate, and avoid transplanting seedlings, since carrots dislike root disturbance.
Paying attention to these details and making small adjustments can help you grow sweet, straight carrots with lush tops, ready for the kitchen or a snack right out of the garden.
Pests, Diseases, and How to Protect Your Carrots
Carrots may be hearty, but they aren’t immune to pests and diseases. Two main culprits are the carrot rust fly, whose larvae tunnel into roots leaving messy rust-colored scars, and root-knot nematodes, which cause stunted or distorted roots with noticeable swellings.
If you see wilted carrot tops, crooked growth, or mushy, brown areas, it might be a sign of trouble. Diseases like damping-off can wipe out seedlings overnight, causing them to collapse and rot at the base, while root rot typically shows up as mushy, discolored sections on mature carrots, usually in overly wet soils.
To keep your crop safe, start with organic solutions such as covering young plants with fine mesh row covers to block egg-laying pests and applying beneficial nematodes to the soil to naturally combat root-knot nematodes. Always water in the morning to help foliage dry quickly, reducing fungal problems, and remove plant debris that could harbor disease.
Crop rotation is key—avoid planting carrots (or other root vegetables) in the same spot more than once every three years to break pest and disease cycles in the soil. Companion planting can add another line of defense: try interplanting carrots with strong-scented allies like onions or leeks, which help deter carrot flies.
By combining these strategies, you reduce reliance on chemicals and create a healthier, more resilient carrot patch.
Harvesting and Storing Carrots for Maximum Quality
Knowing when to harvest carrots is key to getting the best taste and texture. Carrots are usually ready to pull about 60-80 days after planting, but the real hint is in their appearance: check if the shoulders (tops of the roots) are about ½ to 1 inch in diameter and have a bright orange color peeking above the soil. Gently brush aside some soil to assess their size if you’re unsure.
When it’s time to harvest, water the bed lightly beforehand to soften the ground—this makes pulling up the carrots much easier and reduces the risk of snapping the roots. Use a garden fork or trowel to loosen the soil alongside the row before gently lifting each carrot by the greens, twisting lightly to avoid damage.
Once out of the ground, trim off the tops to about half an inch—leaving more foliage can sap moisture from the root and lead to shriveling. For best storage, avoid washing carrots before storing; instead, brush off loose soil and store the roots in a perforated plastic bag or layered in sand in a cool, dark place like a root cellar or the crisper drawer of your fridge. This way, carrots can stay fresh and crisp for months.
Be careful not to leave carrots in the ground too long, especially after heavy frosts, as they can become woody or develop a bitter flavor, diminishing their quality and sweetness. Prompt harvesting and proper storage really make all the difference in enjoying homegrown carrots at their very best.
Quick Tips for a Bumper Carrot Harvest
For a bumper carrot harvest, start with loose, well-drained soil—compact or rocky dirt will result in stubby, twisted roots. Sow seeds thinly and keep the top inch of soil evenly moist until they sprout; a gentle daily misting works well.
Don’t forget to thin seedlings once they’re a couple of inches tall—overcrowding leads to spindly, undersized carrots. Rotate your carrot beds every year to avoid pest buildup, and cover crops like radishes can help break up tough soil for next season.
Mulch with straw or grass clippings to retain moisture and block weeds without smothering emerging shoots. Watch for problems like yellowing tops (often a sign of overwatering or poor drainage) and forked roots, which signal rocks or unfinished compost.
If your first try doesn’t go perfectly, don’t get discouraged! Even experienced gardeners deal with the occasional crooked carrot. Each season brings new lessons, so keep notes and tweak your approach—better spacing, smoother soil, or consistent watering can all boost results.
Celebrate every homegrown carrot, and remember: with a bit of patience and attention, your next harvest is always an opportunity to grow something even better.