Choosing the Right Container and Soil
carrot gardening with kids isn’t just a fun pastime—it’s a chance to spark curiosity and teach practical science right in your backyard or even on a sunny balcony. One of the first lessons is choosing the right container and soil to set up young gardeners for success.
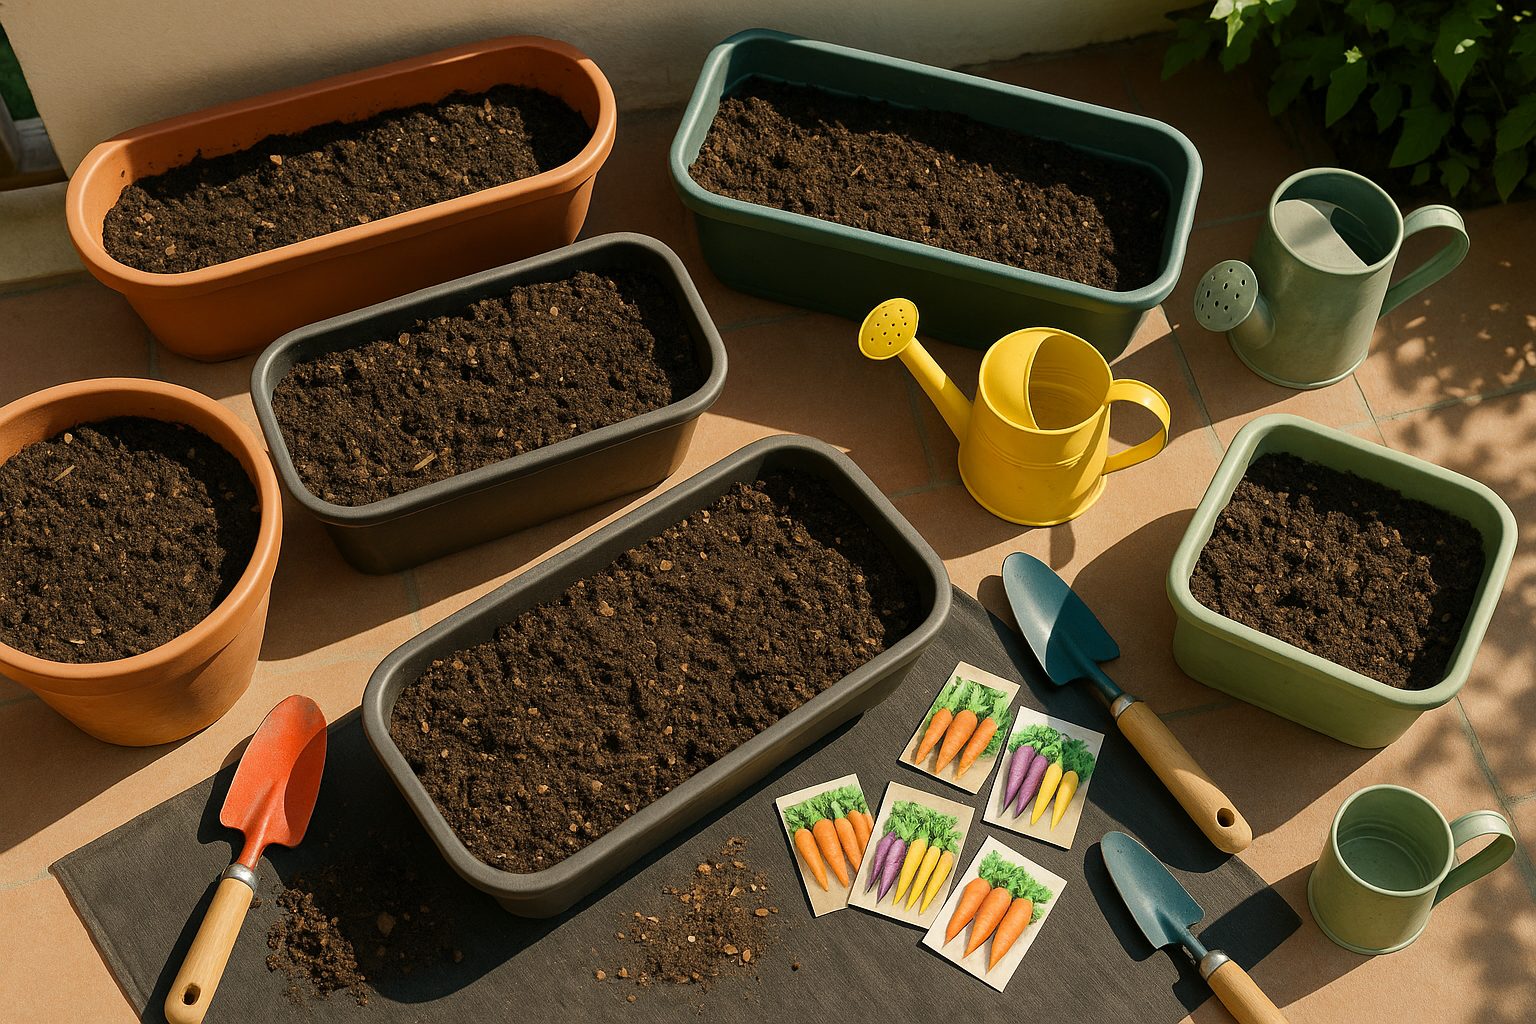
The size and depth of your container play a big role in how your carrots grow. Since carrots naturally develop long roots, shallow containers might stunt their growth or create stubby, twisted roots. Aim for containers at least 12 inches deep, whether you’re using classic terracotta pots, sturdy plastic planters, repurposed jars, or raised containers. Each of these options can work well for kids, but make sure they have adequate drainage holes at the bottom to avoid soggy soil.
Equally important is the type of soil you choose. Carrots thrive in loose, well-draining soil that’s free of stones and clumps. Compact or rocky soil can cause carrots to split and fork—something you’ll notice immediately, making it a great teaching moment about plant development.
To create the ideal environment, mix in organic compost for nutrients and a bit of clean sand to improve drainage and texture. This blend helps young roots push down easily, growing long and straight. Sprinkle in a balanced organic fertilizer to give your carrots a healthy boost right from the start.
By setting the stage with the right container and nutrient-rich, loose soil, you and your kids can watch carrots flourish—and maybe even inspire a lifelong love of gardening and good food.
Selecting Carrot Varieties for Containers
When growing carrots in containers, choosing the right variety is crucial for success. Mini and short-rooted carrot varieties perform best because they don’t require deep soil, making them perfect for pots, window boxes, or grow bags. These types mature more reliably in limited space, producing sweet, crunchy roots that won’t become stunted or misshapen.
Popular mini cultivars include:
- Parisian: Small, round carrots with a mild, crisp flavor, ready in about 55 days.
- Little Finger: Slender, 3-4 inch carrots with a sweet taste and fast growth—often harvestable in just 60 days.
- Thumbelina: A round, bite-sized variety ideal for shallow containers and especially popular with kids due to its cute shape and tender texture.
With these varieties, you can enjoy fresh, homegrown carrots even if you don’t have a garden bed. For seeds, check your local garden center or nursery, where staff can offer advice tailored to your climate. Online retailers like Burpee or Johnny’s Selected Seeds often carry a broader range of cultivars, and you might even find interesting heirlooms. Always look for fresh, well-labeled seed packets for the best germination rates and results.
Planting and Sowing Carrots in Containers
Growing carrots in containers is both rewarding and space-saving, but it’s important to start with the right foundation. Choose a deep container—at least 12 inches (30 cm) deep—so the roots have room to grow straight. Use a loose, well-draining potting mix enriched with compost to provide nutrients.
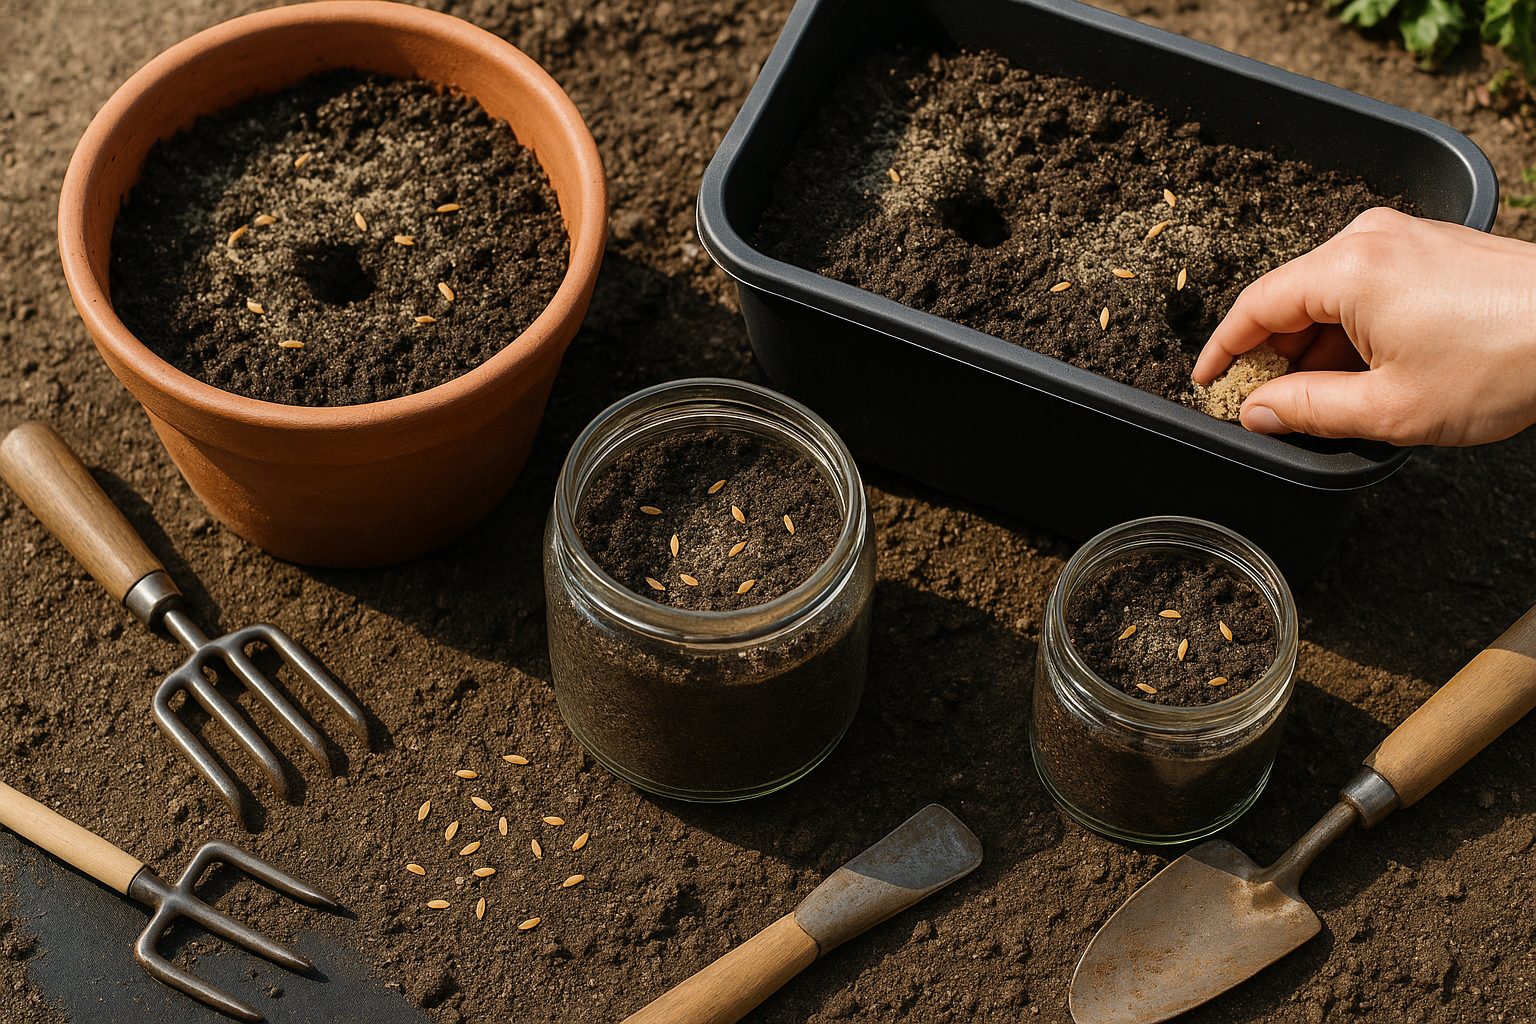
Before filling the container, make sure it has drainage holes to prevent soggy roots. Fill it almost to the top, then create shallow rows about a quarter-inch (0.5 cm) deep and 2 inches (5 cm) apart. This spacing gives each carrot enough room to develop without competition.
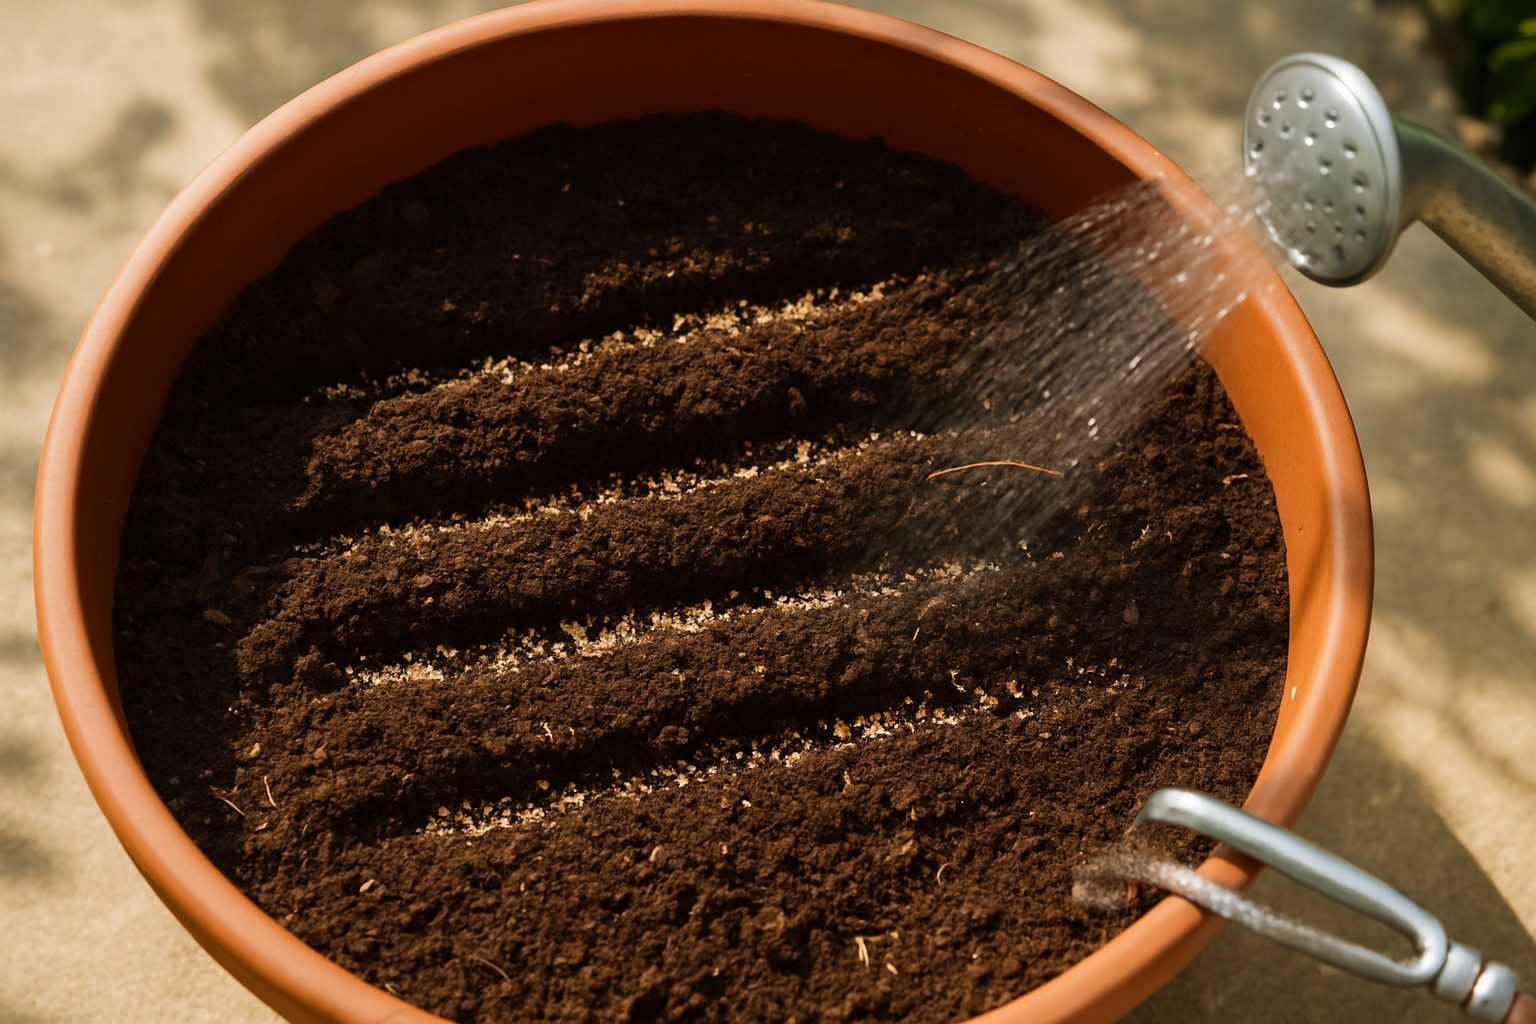
Sprinkle seeds thinly in each row—carrot seeds are tiny, so mixing them with a bit of dry sand helps space them more evenly. Cover the seeds lightly with soil. Gently water the surface with a fine spray or mist to avoid washing the seeds away, keeping the soil consistently moist (but not soggy) during germination, which can take up to three weeks.
Place the container in a spot that receives at least 6 hours of direct sunlight daily; carrots love warmth, so aim for daytime temperatures between 60–75°F (16–24°C). After the seedlings emerge, thin them to one every 2 inches to prevent crowding.
Remember, carrots are slow to sprout and need steady moisture. Check the soil daily and water when the top inch feels dry. By providing adequate depth, carefully spacing seeds, and maintaining even moisture and warmth, you’ll encourage strong, straight carrots ready for harvest in a few months.
Caring for Carrots as They Grow
Thinning carrot seedlings is a crucial step for healthy root development. Overcrowded plants compete for space and nutrients, resulting in small or misshapen carrots. Once seedlings are about one to two inches tall, gently pull extras to leave each carrot two to three inches apart. It can be tough to remove healthy sprouts, but this gives the remaining plants the room they need to grow straight, long roots.
Consistent watering is also vital—aim to keep the soil evenly moist but never soggy, as carrots are prone to “forking” or rotting if left in waterlogged soil. A good tip is to check the top inch of soil; water when it starts to dry out, and use a watering can with a fine rose to avoid disturbing the seedlings.
Dealing with Pests and Diseases
Container-grown carrots may face pests like aphids or fungus gnats, as well as issues such as leaf spot. Combat these naturally by spraying a mild solution of soapy water to deter aphids and letting the soil dry between waterings to control gnats. If leaf spot appears, trim away infected foliage and improve air circulation by spacing plants properly.
Fertilizing Your Carrots
Feed your carrots with a balanced, low-nitrogen fertilizer once they have several true leaves, and again about halfway through their growth. Avoid high-nitrogen formulas, which promote leafy tops rather than robust roots. Choose slow-release organic fertilizers and mix them into the top soil layer carefully, being mindful not to disturb the delicate roots.
These simple care steps will help ensure a sweet and plentiful carrot harvest, even from the smallest containers.
Harvesting and Enjoying Your Homegrown Carrots
Knowing when your mini container carrots are ready to harvest can really boost their flavor and your gardening satisfaction. Look for a vibrant orange color (or the specific hue of your chosen variety) and carrot tops that are at least half an inch wide or just peeking out of the soil—most mini varieties mature in about 60-70 days.
Gently brush away a bit of soil to check the root size before pulling. When it’s time to harvest, water the container the night before to soften the soil, then grasp the leafy tops at the base and wiggle them free with a gentle tug. If carrots are stubborn, use a small trowel to loosen the dirt around them.
After harvesting, rinse the carrots under cool water to remove soil, rubbing them lightly with your fingers or a soft brush. There’s no need to peel them if you scrub well—carrot skin packs in nutrients and flavor.
To keep your carrots crisp and sweet, trim off the leafy tops (they draw out moisture if left on) and refrigerate the carrots in a sealed container or produce bag lined with a damp paper towel.
Enjoy your mini homegrown carrots raw as a sweet snack, toss them into salads, or roast them in olive oil with a sprinkle of salt for an easy, irresistible treat. With a little care in harvesting and storing, your container-grown carrots will stay fresh and tasty for weeks.
Fun Gardening Activities for Kids and Beginners
Container carrot gardening offers a hands-on way for kids and beginners to explore the magic of growing food. Start by letting kids decorate their own plant markers using popsicle sticks and colorful markers; they can label each container with their name or a funny carrot character.
Make growth tracking exciting by measuring the height of carrot greens each week and marking progress on a chart—this teaches observation skills and patience. Once carrots are ready, organize a taste test comparing homegrown and store-bought varieties; kids love discovering how fresh, sweet, and crunchy garden carrots taste in comparison.
Beginners can stay engaged by checking soil moisture with their fingers—carrots prefer consistently damp soil—and thinning seedlings gently so the roots have room to grow straight. If leaves look pale or stunted, try moving containers to a sunnier spot, as carrots love sunlight.
For extra fun, share that carrots were originally purple, not orange, and that the biggest carrot ever grown weighed over 20 pounds!
Using simple steps and turning gardening into an adventure, children and adults alike can build confidence, practice care, and perhaps develop a lifelong love of growing their own food.
Troubleshooting Common Container Carrot Problems
Growing carrots in containers can be incredibly rewarding, but it often comes with a few challenges. If you’re struggling with poor germination, double-check that you’re using fresh seeds and consistently keeping the soil moist—a light misting every day helps, as carrots need steady moisture to sprout.
Forked or stunted roots are often the result of heavy, compacted, or rocky soil; opt for deep containers filled with loose, stone-free potting mix to give roots plenty of space to grow straight.
If your carrots look nibbled or have strange holes, you might be dealing with pests like root maggots or aphids. Try covering your container with a fine mesh or regularly check plants and rinse pests away with water.
Rotating your pots to a new spot each growing season can also help break pest cycles.
For more detailed troubleshooting, reliable resources like the GrowVeg forum, the RHS (Royal Horticultural Society) website, or local gardening groups can connect you with experienced gardeners happy to offer advice tailored to your region and setup.