Choosing the Right Carrot Variety and When to Plant
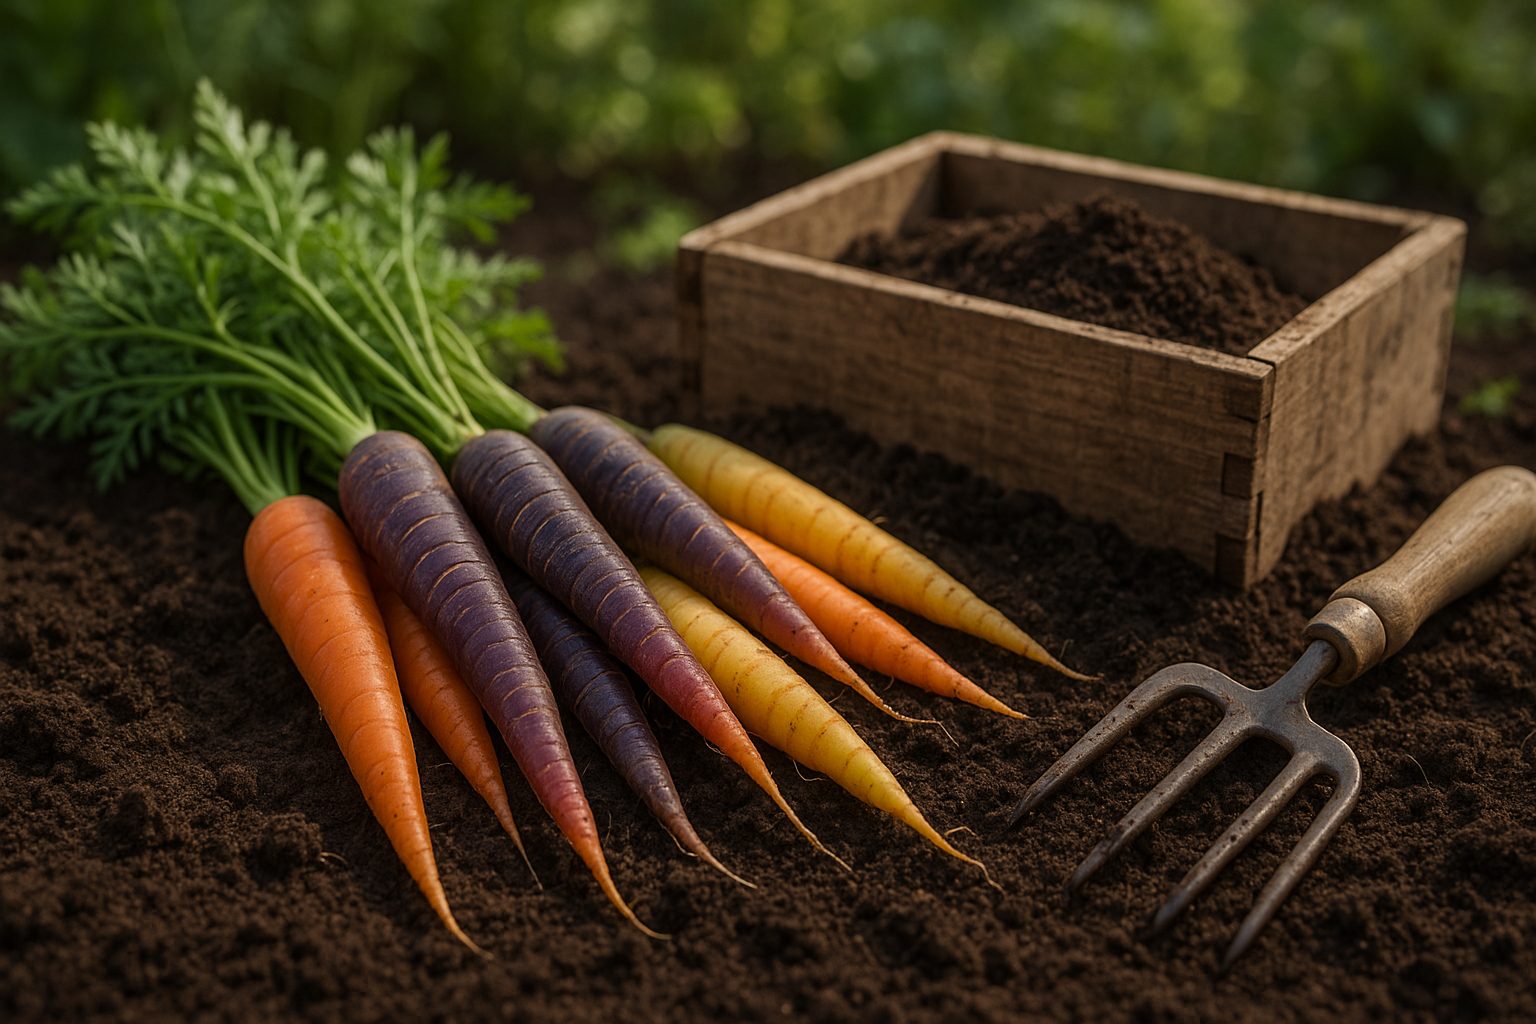
Learning how to grow carrots is both fun and rewarding—especially when you discover the variety of options available, from small, sweet round types to classic long orange roots, and even purple or yellow carrots that add a splash of color to your table.
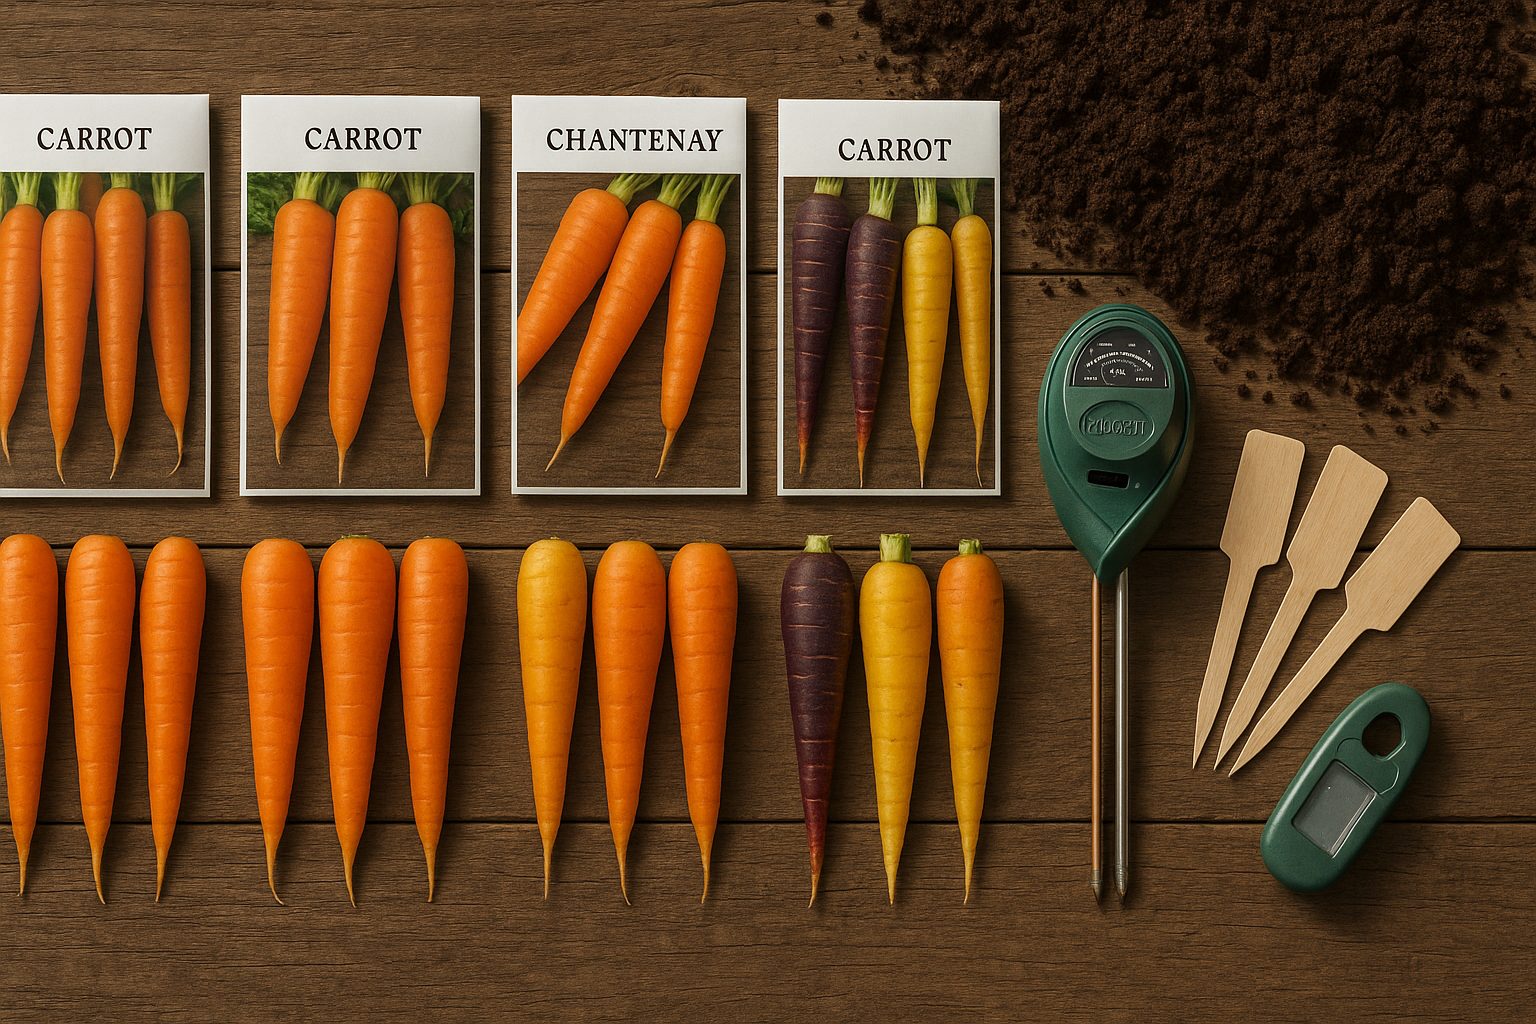
Not all carrots are created equal: Nantes carrots are famous for their crisp, tender texture and uniform, cylindrical shape, making them great for beginners seeking reliable results. Imperator carrots, on the other hand, are the large, tapered type you usually see in grocery stores—fantastic for deep, loose soil, but not ideal if your garden has heavy clay. Shorter, stump-rooted types like Chantenay or Paris Market do best in shallow or rocky beds, while colored carrots such as Purple Haze or Solar Yellow add extra nutrients and visual appeal to your harvest.
Choosing the Right Variety for Your Environment
When picking which carrot variety to grow, consider your local climate and available space. In cool northern regions, early-maturing varieties are best, allowing you to harvest before the heat sets in. Warmer climates can enjoy successive plantings with heat-tolerant types like Danvers. If your garden soil isn’t ideal, try round or blunt-rooted carrots to avoid disappointing forked roots. For small-space gardeners, even containers and raised beds can support shorter carrot types.
Timing Your Planting
Plan your planting according to your region. In most areas, sow seeds directly outdoors 2–4 weeks before the last expected frost. In mild winters, fall plantings can yield sweet carrots during the cooler season. Always check seed packets for specific timing—success comes from matching variety, timing, and your garden’s unique conditions.
Preparing Your Soil for Carrot Success
Getting your soil right is the first and most crucial step toward growing healthy, straight carrots. Carrots need loose, well-drained soil so their roots can grow deep without hitting obstacles or becoming misshapen. Dense, rocky, or clumpy ground will cause carrots to fork, twist, or become stunted.
To prep your plot, start by removing rocks, sticks, and debris from the planting area—these hidden obstacles are often to blame for odd-looking carrots. Use a garden fork or tiller to break up compacted soil to a depth of at least 12 inches, making sure to crumble any large clumps with your hands or a rake.
Before planting, work in plenty of finished compost or well-rotted manure; this boosts organic matter, improves drainage, and provides essential nutrients. Avoid using fresh manure, which can harm young carrot roots and encourage pests.
Carrots thrive in a pH range of 6.0 to 6.8, so it’s worth testing your soil. If it’s too acidic, add a little garden lime to raise the pH. Lastly, avoid adding too much fertilizer high in nitrogen—a balanced or lower-nitrogen amendment is best, as excess nitrogen can result in bushy tops rather than well-formed roots.
By taking these steps before you sow, you set your carrots up for straight, flavorful success come harvest time.
Planting Carrot Seeds the Right Way
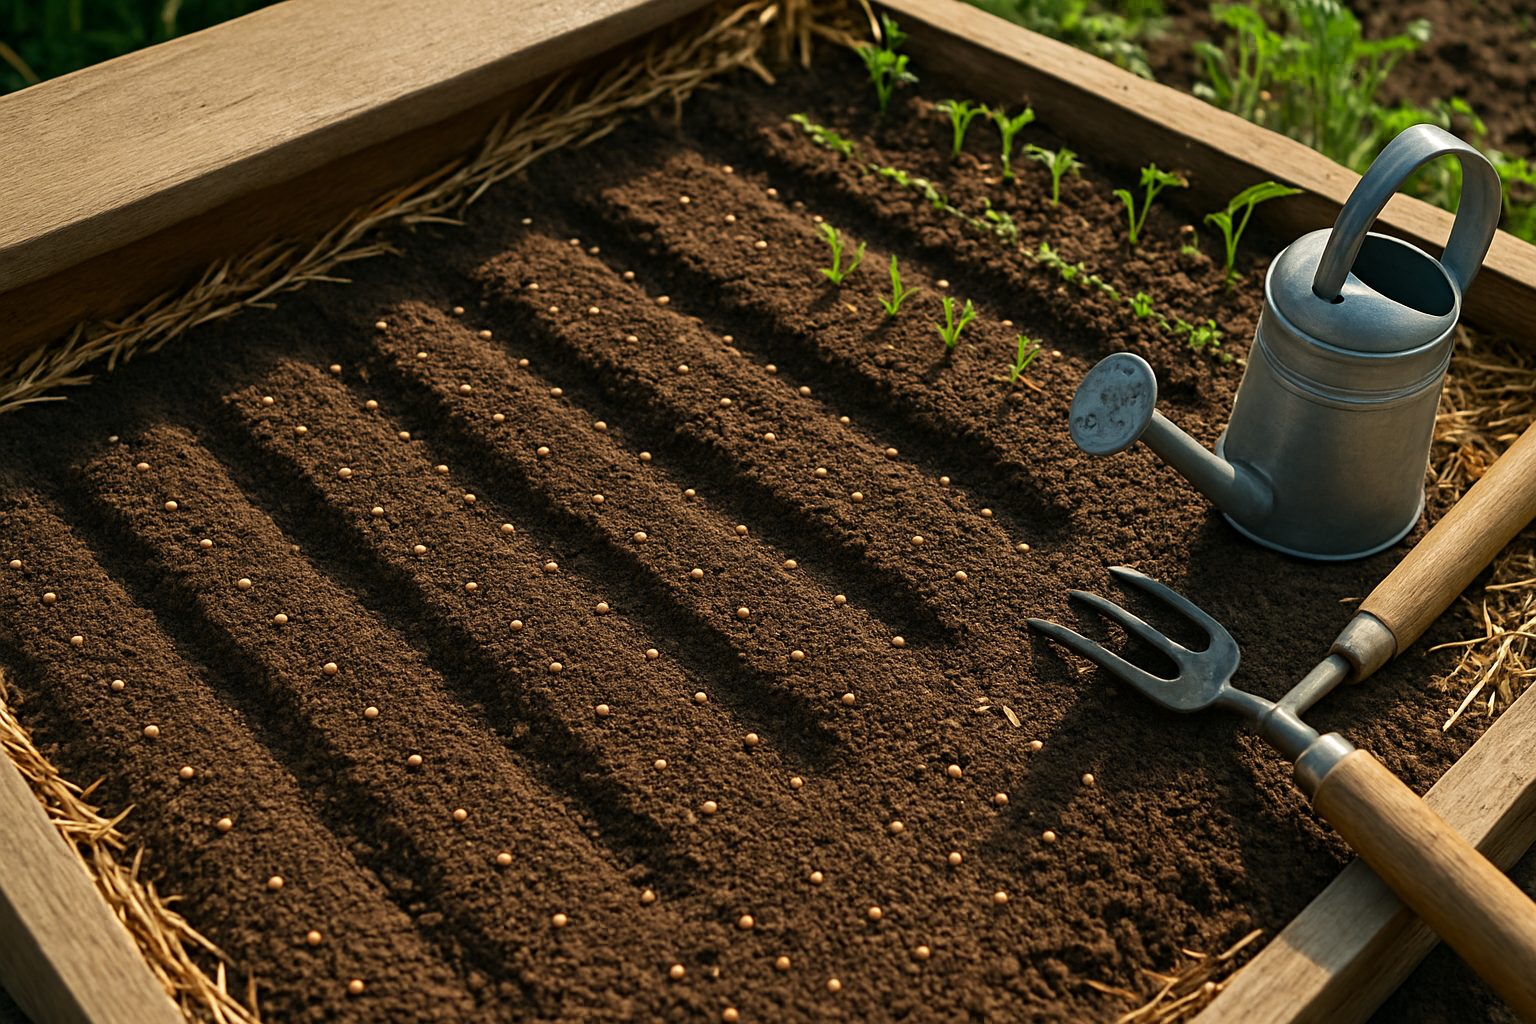
Getting the basics right when planting carrot seeds can make a big difference in your harvest. Start by spacing seeds about 2 inches apart in rows that are 12 inches apart, or try scattering them thinly over the soil if you’re short on space—both methods work, but rows make thinning and weeding easier.
Sow the seeds about a quarter-inch deep—carrot seeds are tiny, so covering them too much may prevent sprouting. Keep the soil consistently moist throughout the two- to three-week germination period; this can mean daily watering for the first 10 days, especially in hot or windy climates.
To help, gently lay a sheet of burlap, light frost cloth, or a wooden board over the seeded area to retain moisture and shade the soil, but check daily and remove as soon as the first sprouts appear.
For containers or raised beds, choose a deep container at least 12 inches tall and use loose, sandy soil to allow roots to grow straight and long. Carrots are sensitive to crowding, so thin seedlings once they’re a couple of inches tall, leaving about two inches between plants.
Whether you plant in rows, scatter the seeds, or use raised beds, focus on even spacing, moisture, and loose soil—these simple steps go a long way toward a successful, straight, and sweet harvest.
Caring for Carrot Seedlings and Growing Strong Plants
Caring for carrot seedlings properly is key to growing strong, straight roots you’ll be proud of. Start with consistent watering—carrots need steady moisture, especially as seeds sprout and roots form. The soil should be damp but not soggy, so aim to water lightly every few days and adjust based on rainfall to avoid drought stress or waterlogging.
As your carrots germinate, you’ll notice clusters of feathery greens. It’s tempting to let them all grow, but crowded seedlings lead to small, misshapen carrots. Once seedlings are about two inches tall, thin them to at least two inches apart; gently snip the extras at soil level rather than pulling, which can disturb nearby roots.
Keeping your carrot bed weed-free is also essential since weeds can quickly take over and compete for nutrients. Hand-pull weeds carefully to avoid uprooting tender seedlings.
For healthy growth, carrots benefit from light fertilization. Use a balanced, low-nitrogen fertilizer to promote root rather than leaf growth, applying it sparingly about three weeks after sowing. Mulching with a thin layer of straw or compost is also helpful—it conserves moisture, reduces soil temperature swings, and keeps weeds at bay.
Lastly, protect seedlings from temperature extremes. On hot days, shade cloth or a thin row cover can prevent heat stress and slow soil evaporation. During unexpected spring frosts, a floating row cover or even an old bed sheet overnight will shield delicate plants.
By paying attention to these details, you’ll give your carrot seedlings the best chance to thrive and harvest plenty of sweet, crisp roots.
Dealing with Pests, Diseases, and Common Growing Problems
Carrots, while generally easy to grow, can fall victim to a handful of persistent pests and diseases. One of the most common is the carrot fly, whose larvae tunnel into roots and cause brown scars or mushy spots. Floating row covers placed at planting time are an effective organic barrier, while interplanting carrots with strong-smelling companions like onions can also help deter these pests.
Fungal diseases, such as damping off and powdery mildew, can hinder seedling growth or lead to discolored, stunted plants. Avoid overcrowding and water early in the day to keep foliage dry; crop rotation further reduces disease build-up in the soil.
Forked or twisted roots are usually a sign of compacted or rocky soil—always loosen soil at least a foot deep and remove stones before sowing seeds. If germination is poor, check that seeds are sown shallowly, the soil stays moist but not soggy, and temperatures aren’t too cold for sprouting. Mulching thinly with organic compost helps conserve moisture and maintain even temperatures.
Preventative steps like regular weeding, timely thinning of seedlings, and keeping the garden tidy go a long way toward healthier crops. Even a simple habit—such as checking your garden each week for signs of trouble—can help catch problems before they get out of hand, leading to a successful and rewarding carrot harvest.
Harvesting and Storing Carrots for Maximum Flavor
Knowing when to harvest carrots is essential for achieving the best flavor and texture. Look for mature plants with bright, bushy tops and roots about ¾ to 1 inch in diameter poking out from the soil. If you’re unsure, gently brush away some soil near the top of a carrot to check its size and color.
To harvest without damaging the roots, water the soil lightly to soften it, then grasp the carrot tops close to the base and wiggle them to loosen the roots. If the ground is compacted, use a fork or trowel to gently lift under the roots while pulling upward.
After harvesting, twist off the green tops to prevent them from drawing moisture away from the roots.
Storage Tips
For short-term storage:
- Place unwashed carrots in a perforated plastic bag
- Store in the refrigerator’s crisper drawer
- They can stay fresh for several weeks this way
For long-term storage:
- Layer unwashed carrots in a box of damp sand or sawdust
- Keep the box inside a cool, dark root cellar or garage where temperatures stay just above freezing
- Make sure the carrots don’t touch each other to reduce rot
- Check periodically for any spoilage
With these steps, you can enjoy sweet, crisp carrots well beyond harvest season, whether you’re snacking, cooking, or prepping meals ahead.
Carrot Nutrition and Creative Ways to Enjoy Your Harvest
Carrots are a powerhouse of nutrition, packed with vitamin A from beta-carotene, which is essential for eye health and immune support. They also provide a good dose of fiber, potassium, and antioxidants that help maintain heart health and aid digestion.
Enjoying carrots is easy and fun—raw carrot sticks make a crunchy snack or a fresh salad addition, while roasting brings out their natural sweetness. For something different, try grating carrots into muffins or pancakes for a hidden veggie boost.
Don’t toss those leafy green tops! Carrot greens have a mild, parsley-like flavor and work well chopped into pesto, stirred into soups, or sprinkled over roasted veggies.
If your harvest outweighs your appetite, preserve the surplus by:
- Slicing and freezing carrots for winter stews
- Pickling them for tangy snacks
- Dehydrating into crunchy chips
These methods are simple and help extend the life of your crop, ensuring you have homegrown carrots ready for recipes all year round. Whether you eat them fresh, toss them into creative dishes, or store them away for later, carrots are a colorful and healthy addition to your kitchen.