Introduction
Saving brussels sprouts seeds is a smart and rewarding step for any home gardener who loves this cool-season vegetable. Brussels sprouts, those bite-sized, cabbage-like crops, thrive in chilly weather and bring nutritious, homegrown food to fall and winter tables. Instead of buying new seed packets every year, many gardeners are discovering the benefits of saving their own seeds. Not only does this save money, but it also allows you to preserve beloved heirloom varieties and gradually adapt your plants to your garden’s unique conditions. Passing seeds from one season to the next helps create stronger, more resilient crops over time.
In this article, we’ll guide you through every step of the process—from choosing which plants to save seeds from, to harvesting pods at just the right time, and properly cleaning and storing your seeds for future planting. Whether you’re a first-time seed saver or looking to expand your gardening know-how, you’ll find practical tips and straightforward advice for building a more self-sufficient and sustainable vegetable patch.
Understanding Brussels Sprout Seed Basics
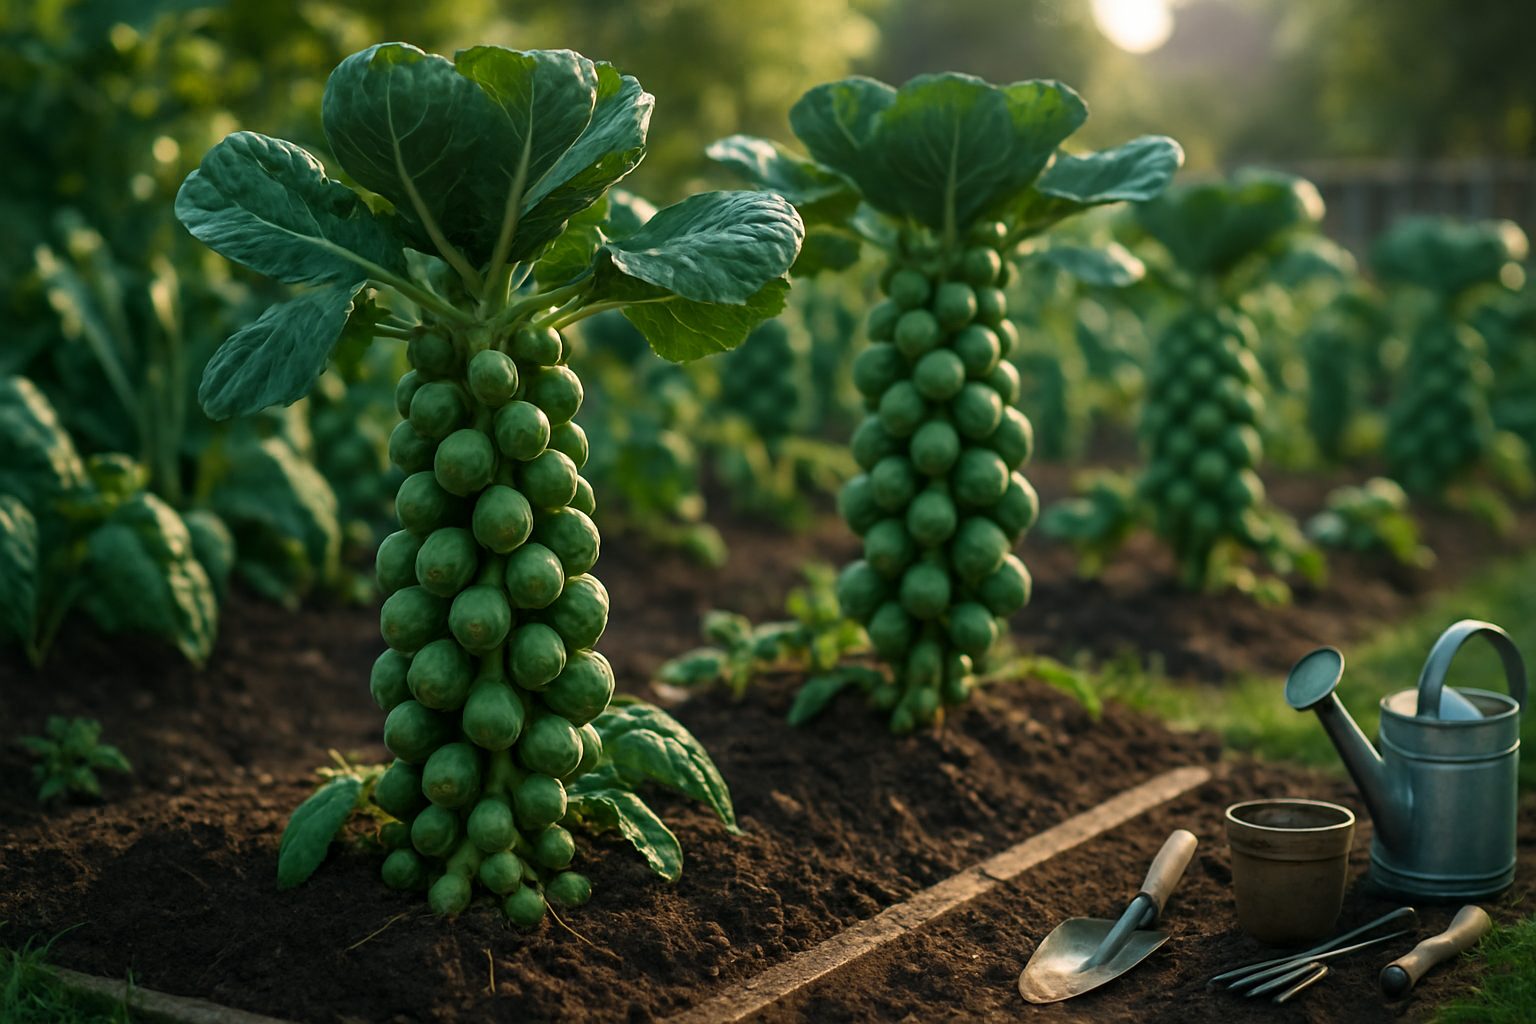
Brussels sprouts are unique among many vegetables because they are biennial, meaning they take two years to complete their life cycle and produce seeds. In the first year, they develop the leafy stalks and edible “sprouts” we recognize. To collect viable seeds, however, you need to overwinter the plants and allow them to flower during the second growing season.
When it comes to saving Brussels sprouts seeds, it’s important to choose open-pollinated or heirloom varieties rather than hybrids. Hybrids—often labeled “F1” on seed packets—are bred for specific traits but may not produce true-to-type offspring. This means seeds saved from hybrids might yield unpredictable or undesirable results. Open-pollinated and heirloom varieties, on the other hand, reliably produce plants similar to the parent, making them the best choice for seed saving.
Pollination is another key consideration: Brussels sprouts belong to the Brassica family, which means they can cross-pollinate with other Brassica oleracea crops like broccoli, cabbage, or kale if flowering at the same time and planted nearby. To keep seeds pure, separate Brussels sprouts from other compatible brassicas by at least 1,000 feet (about 300 meters), or use physical barriers like mesh cages to prevent cross-pollination.
In a backyard setting, dedicate a specific space for your seed crop and mark it clearly. Saving seeds from healthy, vigorous plants grown under these controlled conditions will give you the best chance of maintaining high-quality, true-to-type Brussels sprouts for future seasons.
Selecting and Preparing Parent Plants for Saving Brussels Sprouts Seeds
When saving brussels sprouts seeds, the process begins long before the plants flower—success depends on carefully selecting parent plants. Choose only the healthiest and most vigorous brussels sprouts to ensure strong, resilient offspring. Look for plants that thrive with minimal care and show resistance to common diseases like clubroot and powdery mildew.
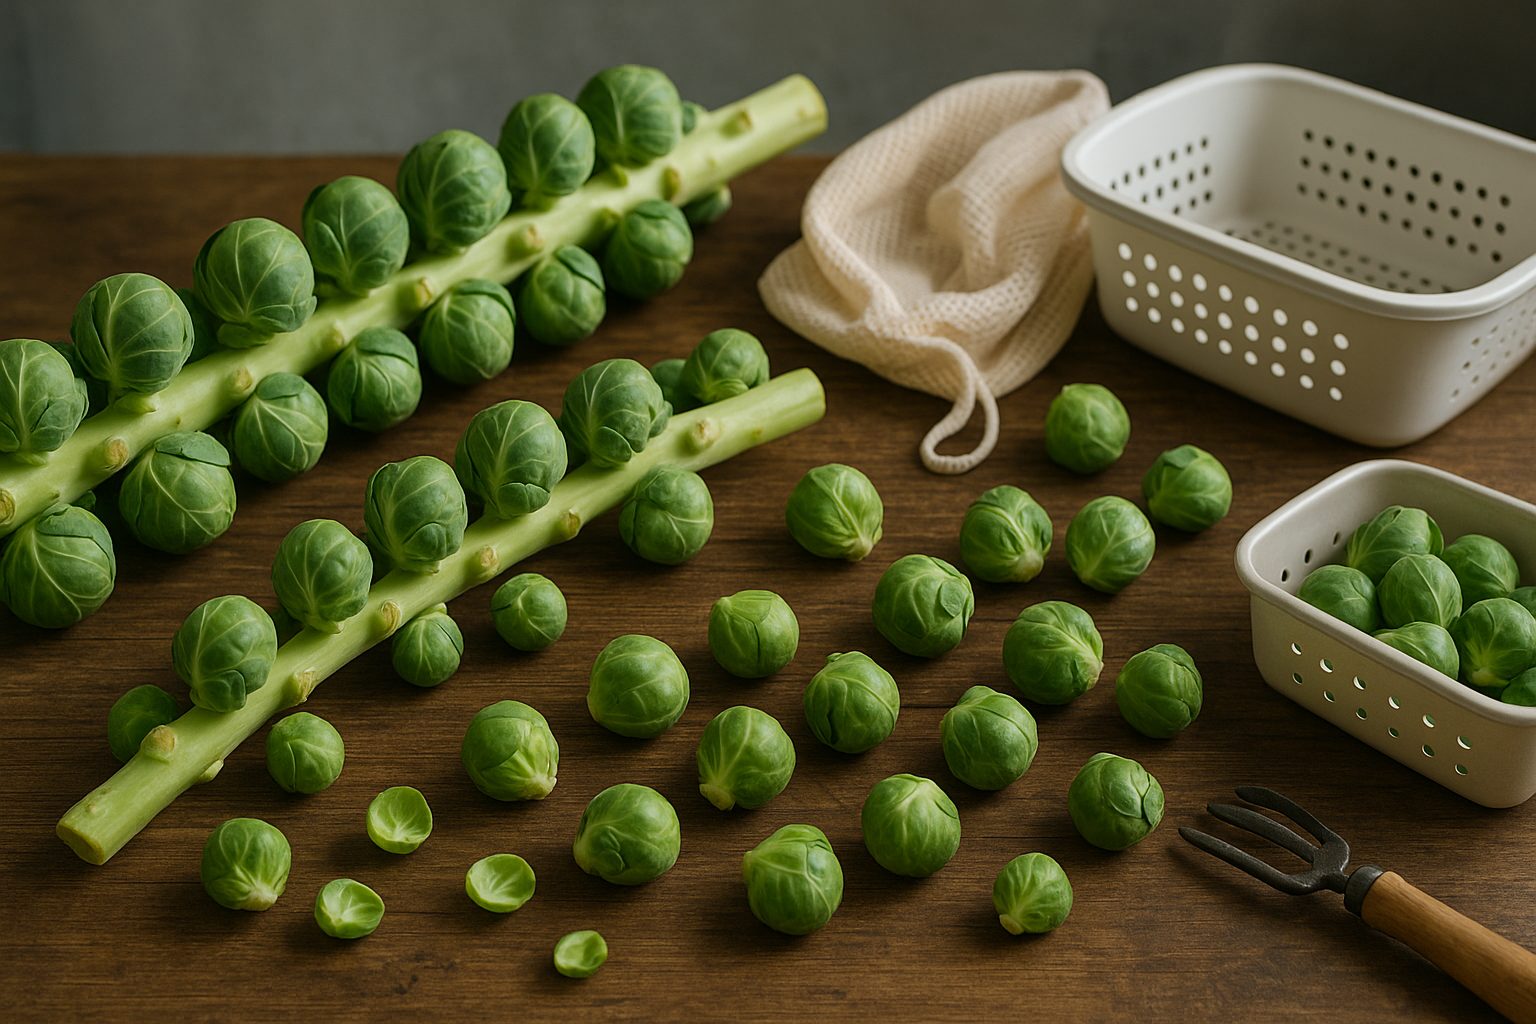
Uniformity is also key for seed saving; select plants that produce sprouts of even size and shape along the stalk, as this trait leads to reliable future harvests. Taste matters too—sample the sprouts before deciding which plants to save, favoring those with a sweet, nutty flavor without bitterness. It’s helpful to tag your top choices as the season progresses, so you don’t lose track.
Once you’ve picked your ideal candidates, plan ahead for overwintering, especially if you live in a colder climate where brussels sprouts are biennial and must survive the winter to bloom the following spring. A simple method is to apply a thick mulch of straw or leaves around the base for insulation.
In areas where the ground freezes solid, carefully dig up plants after the first frost, transplant them into large pots, and overwinter them in a cold frame, unheated garage, or a sheltered corner of a greenhouse. Water sparingly—just enough to keep the soil barely moist.
By prioritizing hardy, top-quality plants and protecting them through winter, you’ll set the stage for saving vigorous, productive brussels sprouts seeds in the next season.
Encouraging Flowering and Pollination for Saving Brussels Sprouts Seeds
After harvesting your main crop, leaving a few healthy Brussels sprout plants in the garden over winter is the first step toward saving Brussels sprouts seeds. In early spring, these overwintered plants will begin to bolt, sending up tall flower stalks as they respond to warmer days and longer daylight.
To encourage bolting, make sure your plants experience some vernalization—exposure to cold but not freezing temperatures—during winter. If you live in a harsh climate, apply mulch or row covers to protect the crowns and roots, increasing the chances of bolting once spring arrives.
As Brussels sprouts transition from tight leaf buds to flowering, you’ll notice clusters of small, four-petal yellow flowers atop tall stems. These bright blossoms attract a variety of pollinators, especially bees and hoverflies. To boost natural pollination, consider planting early-blooming flowers like alyssum or calendula nearby to draw pollinators to your vegetable patch. Avoid using pesticides during flowering to keep these helpful insects safe.
It’s also important to manage cross-pollination, especially if you’re growing other brassicas such as cabbage, broccoli, or kale nearby. Since Brussels sprouts readily cross-pollinate with other members of the Brassica oleracea group, maintain an isolation distance of at least 1,000 feet (300 meters), use physical barriers like fine mesh, or time flowering periods so different brassicas don’t bloom simultaneously. These precautions help ensure you save pure Brussels sprout seeds that closely resemble the parent plants for your next sowing season.
Harvesting Mature Seed Pods
When saving brussels sprouts seeds, the key to a successful harvest is knowing exactly when the seed pods are mature and ready to be collected. Look for pods that have changed from bright green to a yellowish-brown or tan color and have a dry, papery texture—these signs indicate the seeds inside are fully developed. The pods should feel brittle rather than soft or pliable, and you might even hear a faint rattling sound when you gently shake the stalk, a good sign that the seeds are loose inside.
It’s important to check regularly because pods left too long on the plant will eventually split open and scatter seeds, making collection much harder. To minimize seed loss, harvest pods on a dry morning just before they begin to split. Use clean, sharp scissors or pruners to snip off whole branches or clusters of pods instead of picking individual ones, which reduces the risk of accidentally dispersing the seeds.
Once harvested, bundle the stalks or place the pods in a breathable paper bag and hang them upside down in a well-ventilated, dry area away from direct sunlight. Allow them to dry for at least one to two weeks; this ensures the seeds are completely dry for storage and makes extracting them easier. After drying, gently crush the pods by hand or inside the bag to sift out the seeds. Proper drying helps prevent mold and ensures your saved seeds stay viable for next season’s planting.
Cleaning and Processing Brussels Sprouts Seeds
After collecting your Brussels sprout seed pods, it’s important to clean and process them properly to ensure you get the healthiest, most viable seeds. Start with threshing, which is simply the act of releasing the seeds from their dry pods. For home gardeners, an easy method is to place the dry pods in a sturdy pillowcase or paper bag, then gently roll or knead them with your hands. Some people use a rolling pin for extra efficiency, but always use gentle pressure—forceful crushing can damage the delicate seeds inside.
Once the pods crack open, you’ll notice a mix of seeds and bits of dry plant material, known as chaff. Next, use winnowing to separate the good seeds from this debris. If you’re working outdoors on a breezy day, slowly pour the seed mix from one container to another, letting the wind blow away the lighter chaff while the heavier seeds fall into your catch bowl. Indoors, a small fan on low or even gentle blowing can do the trick.
When most of the chaff is removed, pick out any remaining bits by hand for a final clean. Before storing your seeds, check their maturity. Viable Brussels sprouts seeds should be hard, round, and dark brown to black. Discard small, pale, or shriveled seeds, as they are less likely to sprout.
For added confidence, you can test a few seeds for viability by laying them on a damp paper towel for several days; seeds that swell or sprout are keepers. Once cleaned and sorted, fully dry the seeds before storing them in a cool, dry, and dark place to preserve their quality for next season’s planting.
Storing Seeds for Best Viability
To make the most of your efforts in saving brussels sprouts seeds, it’s essential to store them under the right conditions. Seeds last longest when kept in a cool, dry, and dark environment. Ideally, maintain a temperature between 32–41°F (just above freezing)—think unheated basements or the crisper drawer of your refrigerator.
Humidity is the biggest enemy, so ensure your seeds are completely dry before putting them away. Use airtight containers like glass jars with rubber gaskets, small plastic vials, or resealable Mylar bags with silica gel packets to keep moisture out. Paper envelopes can also work, as long as they’re stored inside a sealed jar.
Whatever container you choose, always label each batch clearly with the variety and the date collected. You’ll appreciate this when planning next year’s garden. For extra organization, keep an inventory sheet or a digital record.
Brussels sprout seeds typically remain viable for up to five years when stored properly, but germination rates are best within the first two to three years. To avoid disappointment, test a few seeds annually by sprouting them on a damp paper towel. This way, you can plant with confidence, knowing your home-saved seeds are still strong and ready for the next growing season.
Conclusion & Next Steps
Saving Brussels sprouts seeds is a rewarding way to preserve your favorite plant varieties and become more self-sufficient in the garden. To recap, start by selecting strong, healthy plants as your seed sources and allow them to overwinter so they can flower and produce seed pods in their second year. Harvest the dry pods, carefully thresh them to collect the seeds, and store them in a cool, dry place for future planting.
As you experiment with saving Brussels sprouts seeds, keep notes on what worked well and what didn’t—each season is a new opportunity to refine your technique. We encourage you to share your seed-saving experiences or questions in the comments below, and don’t hesitate to explore our other articles about saving seeds from different vegetables. Every seed you save not only grows a new crop but also expands your gardening knowledge!