Understanding Brussels Sprouts
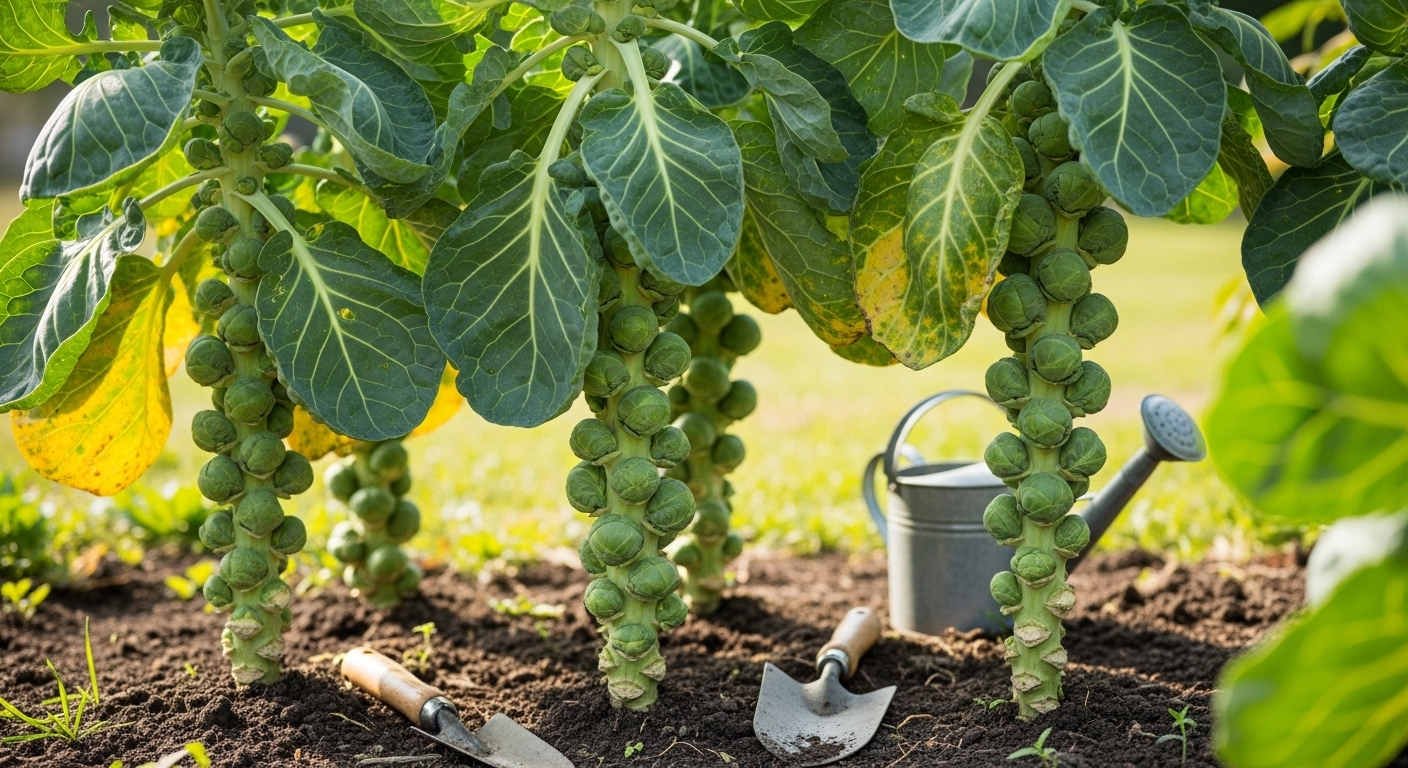
If you’re interested in boosting your harvest with a homemade brussels sprouts fertilizer, it’s helpful to first understand what makes these unique veggies thrive. Brussels sprouts are hardy, cool-season crops belonging to the cabbage family, known for their tall stalks lined with mini “cabbages” (the sprouts) that mature gradually from the base upward. They typically reach about 2-3 feet in height, producing sturdy, broad leaves and rows of tight, green sprouts perfect for picking at peak flavor. In the kitchen, Brussels sprouts shine when roasted, sautéed, or shredded into salads—valued for their slightly nutty taste and versatility.
For home gardeners, growing Brussels sprouts is especially rewarding. Not only do fresh-picked sprouts taste sweeter and more tender than store-bought ones, but cultivating them at home gives you control over growing conditions and inputs, including fertilizer choices. Their long growing season, often stretching from early spring to late fall, means gardeners enjoy months of visual interest and extended harvest opportunities. Plus, with the right homemade fertilizer, you can tailor nutrients to your soil and plant needs—helping you yield plumper, healthier sprouts while reducing reliance on synthetic products. It’s no wonder homegrown Brussels sprouts have earned a devoted following among gardening enthusiasts.
Preparing the Perfect Soil & Planting Site
Brussels sprouts thrive best in rich, well-draining soil with a slightly acidic to neutral pH, ideally between 6.0 and 7.5. To give your plants the healthiest start, choose a site that gets at least 6 hours of full sun each day—avoid shaded spots, as too little light can result in weak, leggy growth and smaller sprouts.
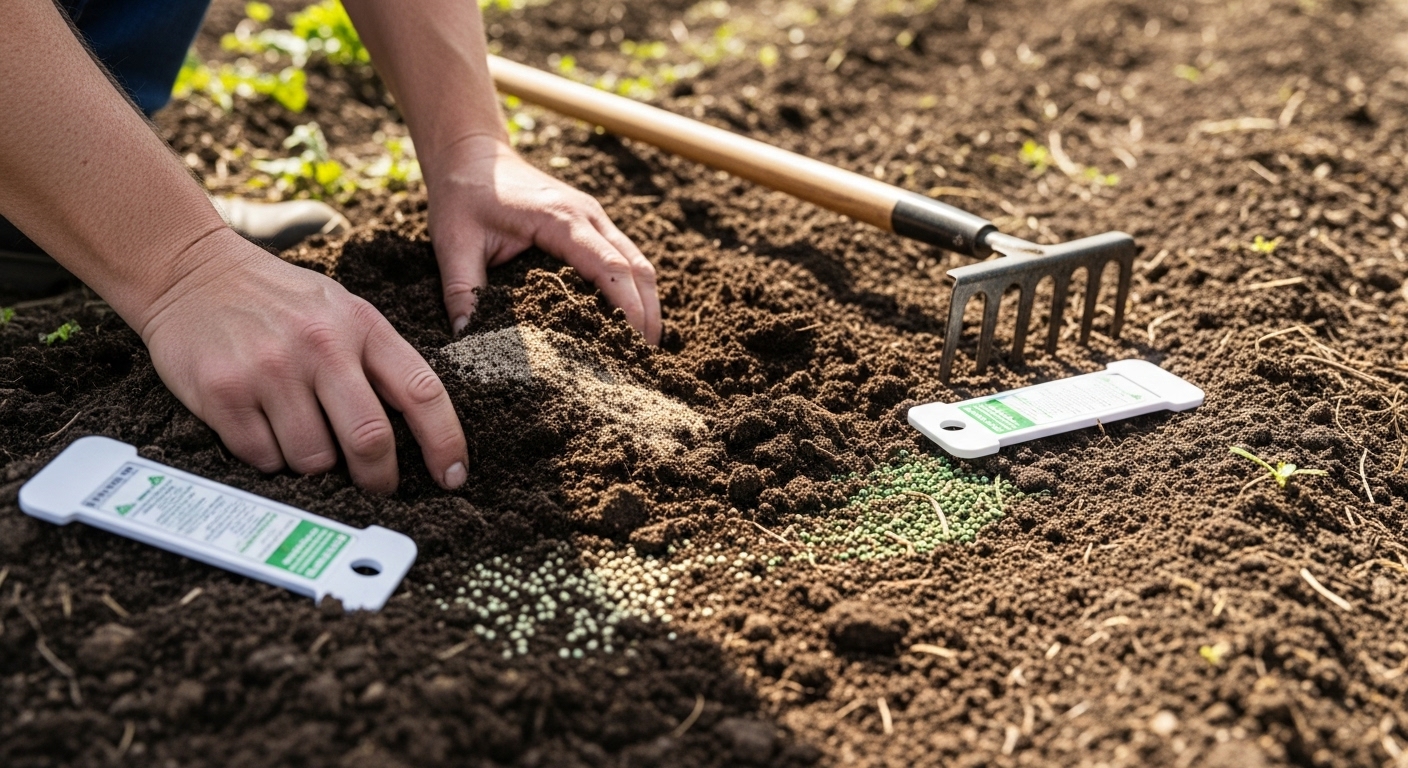
Before planting, test your soil to determine its pH and nutrient content; home soil kits are widely available at garden centers. If your soil is too clay-heavy or tends to collect water, work in plenty of compost or well-rotted manure, plus some coarse sand, to improve drainage and fertility. For sandy soils, adding organic matter is essential to hold moisture and support robust root development.
After amending, loosen the soil to a depth of at least 12 inches, removing rocks and debris. To boost Brussels sprouts’ growth, sprinkle in a balanced, slow-release vegetable fertilizer according to the manufacturer’s instructions. Raised beds can be especially helpful if your garden soil is dense or poorly drained.
Always avoid planting in areas where you recently grew other cabbage family crops—this helps prevent soil-borne diseases. Choosing a sunny, open spot with good airflow also helps minimize pest and fungal issues. With a bit of preparation and the right location, you’ll set your Brussels sprouts up for a productive, healthy season.
Sowing, Transplanting & Planting Timing
When it comes to growing healthy, productive plants, timing and method matter just as much as the seeds you choose. For many vegetables and herbs, you’ll face the choice between starting seeds indoors or sowing them directly in your garden.
Starting seeds indoors—using seed trays or small pots placed in a warm, sunny spot—can give seedlings a head start, especially in climates with short growing seasons. Tomatoes, peppers, and herbs like basil often benefit from this early boost; you can transplant these seedlings outdoors once they’re hardy enough and after the risk of frost has passed.
Direct sowing outdoors, on the other hand, works best for tough, fast-growing crops such as carrots, beans, and radishes, which don’t transplant well and prefer minimal root disturbance.
When transplanting, use a gentle touch to avoid damaging delicate roots. Space the seedlings according to the mature plant’s requirements—about 12–18 inches for tomatoes, 6 inches for lettuce, and following the packet’s guidance for each crop. This prevents overcrowding and encourages better air circulation, reducing disease risks.
Timing your planting is key:
- Most spring crops like peas, spinach, and lettuce prefer cooler soil and are usually sown as soon as the ground can be worked, sometimes as early as late March in milder regions.
- Warm-season crops, such as basil and squash, demand higher soil temperatures and should be planted after the last frost.
- In some areas, a fall planting window exists for crops like broccoli and kale; these can thrive when sown in late summer to mature as the weather cools.
Always check your local frost dates and adapt to your region’s climate for the best results.
Essential Care: Fertilization, Watering, and Pruning Tips
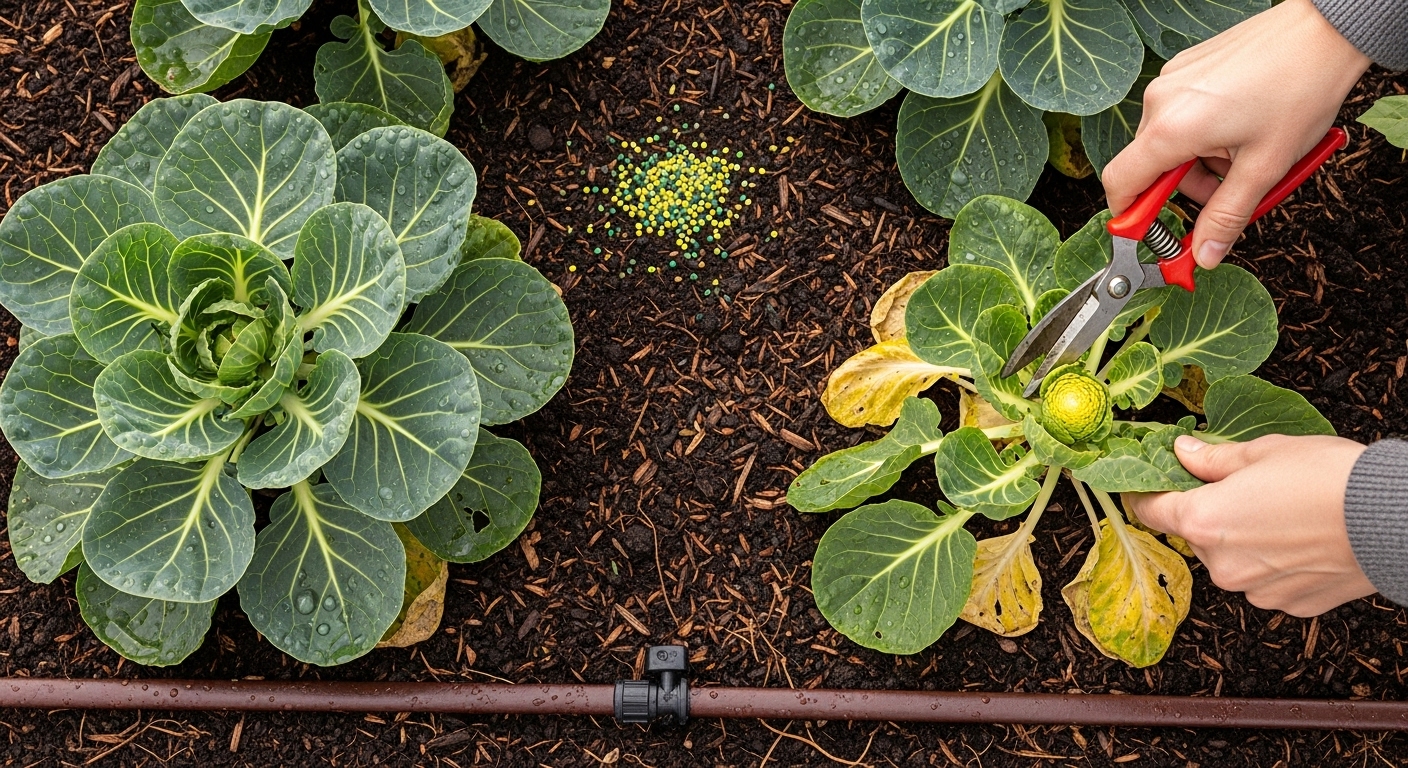
For the healthiest Brussels sprouts, fertilize your plants at planting time using a balanced, slow-release fertilizer like 10-10-10. As the sprouts begin to enlarge—typically about halfway through the season—side-dress with compost or apply another round of fertilizer to give them an extra boost. It’s best to avoid high-nitrogen formulas, as these can encourage excessive leaf growth at the expense of sprout development.
When it comes to watering, Brussels sprouts thrive in soil that stays consistently moist but not soggy. Aim to provide about 1 to 1.5 inches of water per week, adjusting for rainfall. Using mulch helps lock in moisture and keeps soil temperatures steady.
For strong, productive plants, pay attention to pruning as well. Once sprouts begin forming on the lower stalk, regularly remove yellowing or damaged lower leaves. This simple step improves air circulation, reduces the risk of pests and disease, and signals the plant to channel its energy into growing bigger, tighter sprouts.
Many gardeners also “top” the plant—pinching off the top growing tip about a month before harvest—to encourage the development of the largest sprouts possible. With these small but effective care adjustments, you’ll be rewarded with a productive and healthy Brussels sprout harvest.
Protecting Brussels Sprouts: Pests, Diseases & Troubleshooting
Brussels sprouts are rewarding to grow, but they can attract several pests and diseases that threaten your harvest.
Aphids are a common nuisance, clustering on leaves and stems. You can combat them by regularly spraying plants with water or using insecticidal soap. Cabbage caterpillars can be hand-picked or kept away with row covers, while netting helps protect sprouts from hungry birds.
Fungal diseases like powdery mildew or clubroot may attack, especially in damp conditions. To prevent these, rotate crops each year, ensure good airflow between plants, and avoid overhead watering.
For troubleshooting:
- If your sprouts are underdeveloped or tiny, check your spacing—crowded plants yield smaller harvests—and make sure they receive at least six hours of sunlight daily.
- Yellowing leaves may indicate overwatering or nutrient deficiencies; add compost or a balanced fertilizer to enrich the soil and water only when the top inch feels dry.
- Stunted growth could point to poor soil, pest infestation, or root damage from disease. Inspect roots and stems for signs of rot or larvae, amend the soil as needed, and promptly remove affected plants to prevent spread.
Consistent monitoring and good garden hygiene go a long way in keeping your Brussels sprouts healthy and productive.
Harvesting Brussels Sprouts & Storage
Knowing when to harvest Brussels sprouts is key to enjoying their nutty, sweet flavor. Look for sprouts that are firm, bright green, and about the size of a marble or golf ball. They should be tightly closed; any yellowing or opening leaves mean they’re past their prime.
Sprouts mature from the bottom up, so start harvesting from the lowest stalks first. For best results, use a sharp pair of pruners or a garden knife to cut off each sprout by snapping or slicing it away from the stalk—never twist, as this can damage the plant and reduce future yields. Harvest every few days as more sprouts reach the right size. If a frost is coming, pick what’s ready because a light frost can actually enhance their sweetness, but avoid leaving them on the plant too long afterward.
Once harvested, remove any loose or yellow outer leaves and store the sprouts unwashed in a perforated plastic bag in the vegetable drawer of your fridge. They’ll keep fresh for up to two weeks. For long-term preservation, blanch the sprouts in boiling water for three to five minutes, let them cool, and then freeze them in airtight containers.
These simple steps help maximize both the yield and flavor of your Brussels sprouts while keeping them fresh long after harvest.
Top Varieties & Expert Tips for Success
When it comes to growing Brussels sprouts at home, choosing the right variety makes a big difference. Popular choices like Jade Cross and Long Island Improved are beloved for their reliability, high yields, and disease resistance—perfect for beginners.
If you want a shorter growing season, try Catskill, which delivers larger sprouts on compact plants ideal for smaller spaces. For a splash of color and extra eye appeal, adventurous gardeners can try the rare Red Rubine variety, featuring striking reddish-purple sprouts and a unique, nutty flavor.
To ensure success, stake your plants early, as Brussels sprouts can grow tall and become top-heavy, especially in windy spots. Mulch generously to maintain soil moisture, suppress weeds, and keep roots cool—conditions that Brussels sprouts love.
Planting with companions like carrots, onions, or beets can improve pest resistance and optimize garden space. However, avoid growing Brussels sprouts near strawberries or pole beans, as they can hinder each other’s growth.
For the best flavor, harvest Brussels sprouts after a light frost—this sweetens their taste. With the right selection and a few expert tips, you’ll be on your way to a bountiful harvest and perhaps even discover a new favorite variety.