Introduction to Brussels Sprouts
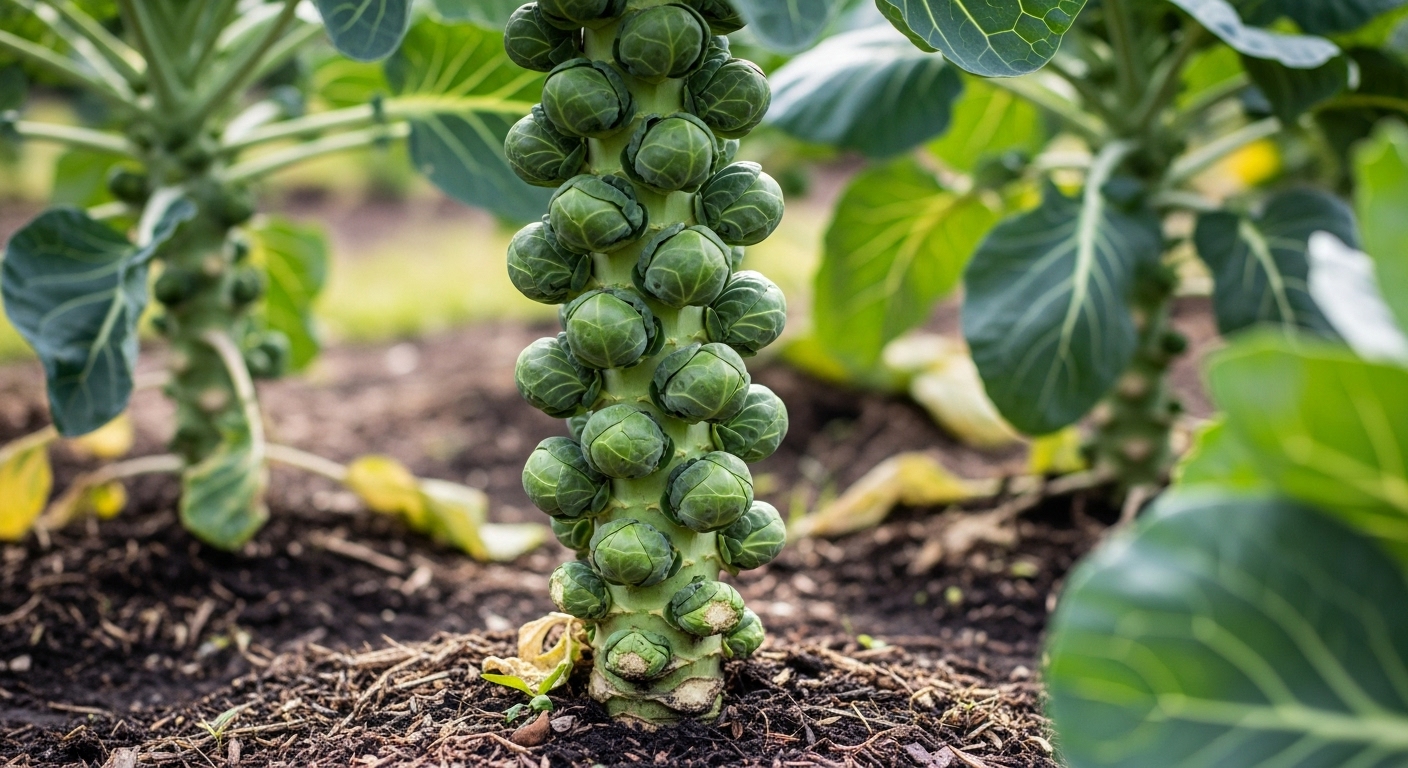
Fertilizing brussels sprouts is one of the best ways to help this cool-season vegetable thrive in your home garden. Belonging to the nutrient-packed brassica family alongside cabbage, broccoli, and kale, Brussels sprouts have earned a devoted following among gardeners and food lovers alike. Their miniature, leafy “sprouts” form in tight clusters along tall stalks and deliver a distinctive nutty-sweet flavor that develops especially well when exposed to light frosts.
Not just a treat for the taste buds, Brussels sprouts are loaded with vitamins C and K, fiber, antioxidants, and other essential nutrients—making them a smart addition to any diet. As more people discover their unique flavor and health perks, Brussels sprouts are popping up not just on holiday tables but in everyday meals and gourmet recipes.
For home gardeners, growing your own means harvesting fresh, flavorful sprouts and enjoying complete control over what goes into your soil and onto your plate. Whether you roast them, sauté them, or toss them into salads, nurturing a crop of Brussels sprouts with the right natural fertilizers rewards both your palate and your well-being.
Best Soil, Site, and Climate for Brussels Sprouts
For the best Brussels sprouts harvest, start by choosing well-drained, fertile soil—these veggies love heavy or clay soils that hold moisture but don’t get waterlogged. If your garden has sandy or light soil, mix in plenty of organic matter like compost or well-rotted manure to improve both fertility and structure.
Brussels sprouts prefer a slightly acidic to neutral soil pH, ideally between 6.5 and 7.0. Before planting, use a soil test kit to check your pH and add lime if it’s too acidic or sulfur if it’s too alkaline. Amending the soil with slow-release fertilizers high in potassium and phosphorus helps boost healthy growth, while side-dressing with nitrogen later in the season keeps plants vigorous.
When it comes to climate, Brussels sprouts thrive as a cool-weather crop. They’re best planted in early spring for a fall harvest, or late summer for a late fall or early winter crop—timing it so the sprouts mature in cool, even lightly frosty weather, which improves their flavor.
Choose a spot that gets full sun, at least six hours a day, to encourage strong stalks and full-sized sprouts. Avoid areas where other brassicas (like cabbage or broccoli) have recently grown to reduce the risk of soil-borne diseases. If you live in a region with hot summers, wait until temperatures consistently cool before planting; too much heat can cause loose buds and bitter-tasting sprouts.
With these steps, you’ll give your Brussels sprouts the best chance to thrive.
Recommended Brussels Sprout Varieties
When choosing Brussels sprout varieties for your home garden, consider options like ‘Jade Cross’ and ‘Long Island Improved’, which are favorites for their consistent yields and compact plants—ideal for small spaces. If you’re gardening in a warmer zone, try ‘Oliver’ or ‘Churchill’, both bred to tolerate more heat without sacrificing sprout quality.
For cold climates, ‘Redarling’ stands out with its beautiful reddish-purple sprouts that not only add visual interest but also withstand frosts, often tasting sweeter after a cold snap. In terms of flavor, varieties like ‘Bubbles’ are known for their mild, nutty taste, while ‘Falstaff’ brings a subtle, earthy sweetness.
Early-maturing types such as ‘Diablo’ can be ready to harvest in as little as 85 days, making them perfect if you have a shorter growing season. For larger sprouts that are easy to clean and prepare, look for ‘Hestia’ or ‘Dagan’.
When selecting a variety, think about your climate—choose heat-tolerant kinds for hot summers and cold-hardy cultivars for northern gardens. Also, consider your taste preference: milder varieties are better for those new to Brussels sprouts, while more robust flavors suit adventurous cooks.
Planting and Growing Brussels Sprouts
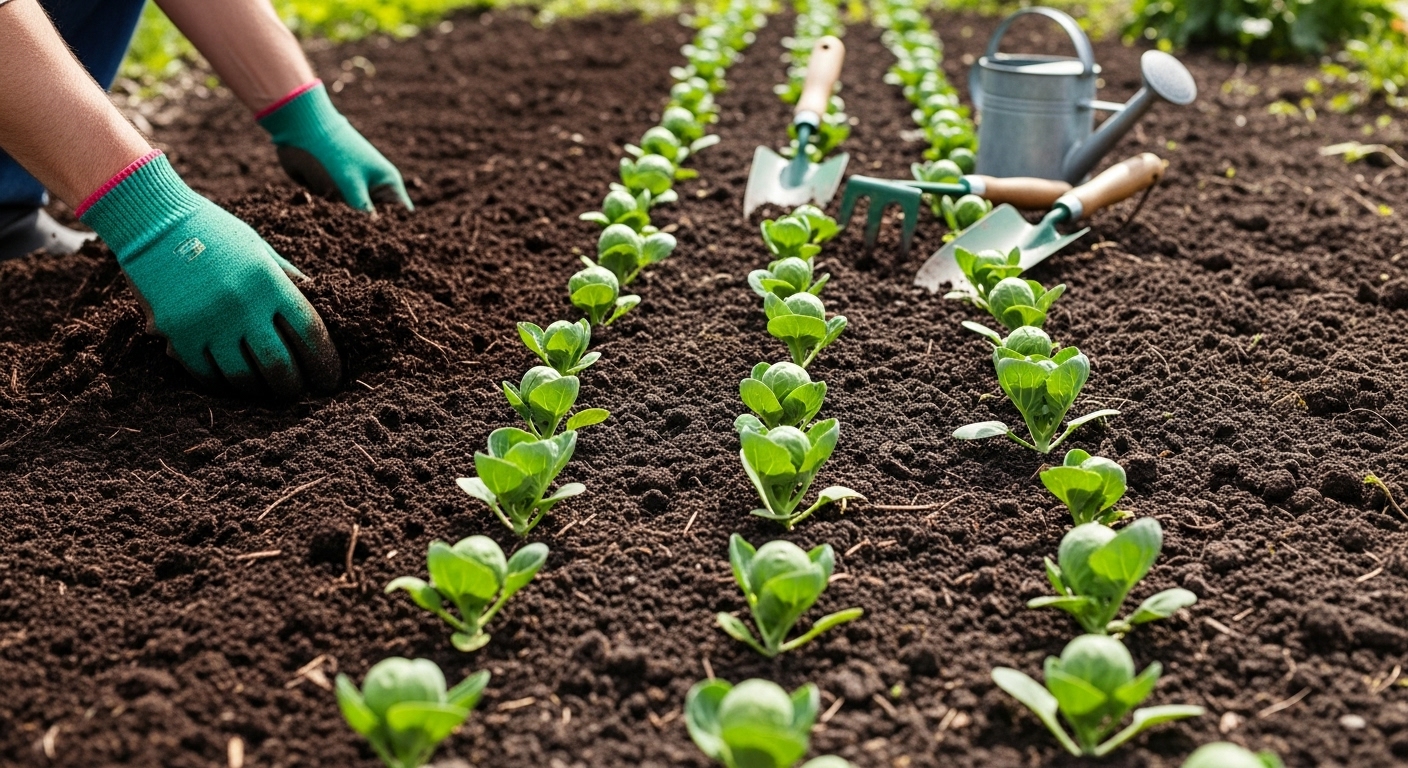
Starting Brussels sprouts from seed is straightforward—sow seeds indoors about 6-8 weeks before your last expected frost, planting each seed a half-inch deep in seed-starting mix. Once the seedlings have at least two true leaves, they can be transplanted outdoors, ideally when temperatures range between 45-75°F.
For direct planting or transplanting, set each seedling 18-24 inches apart in rows spaced 2-3 feet apart, giving each plant ample room to develop those signature stalks. Keep the soil consistently moist but not soggy; water deeply once or twice a week, more often during dry spells, and aim to water at soil level to discourage fungal diseases.
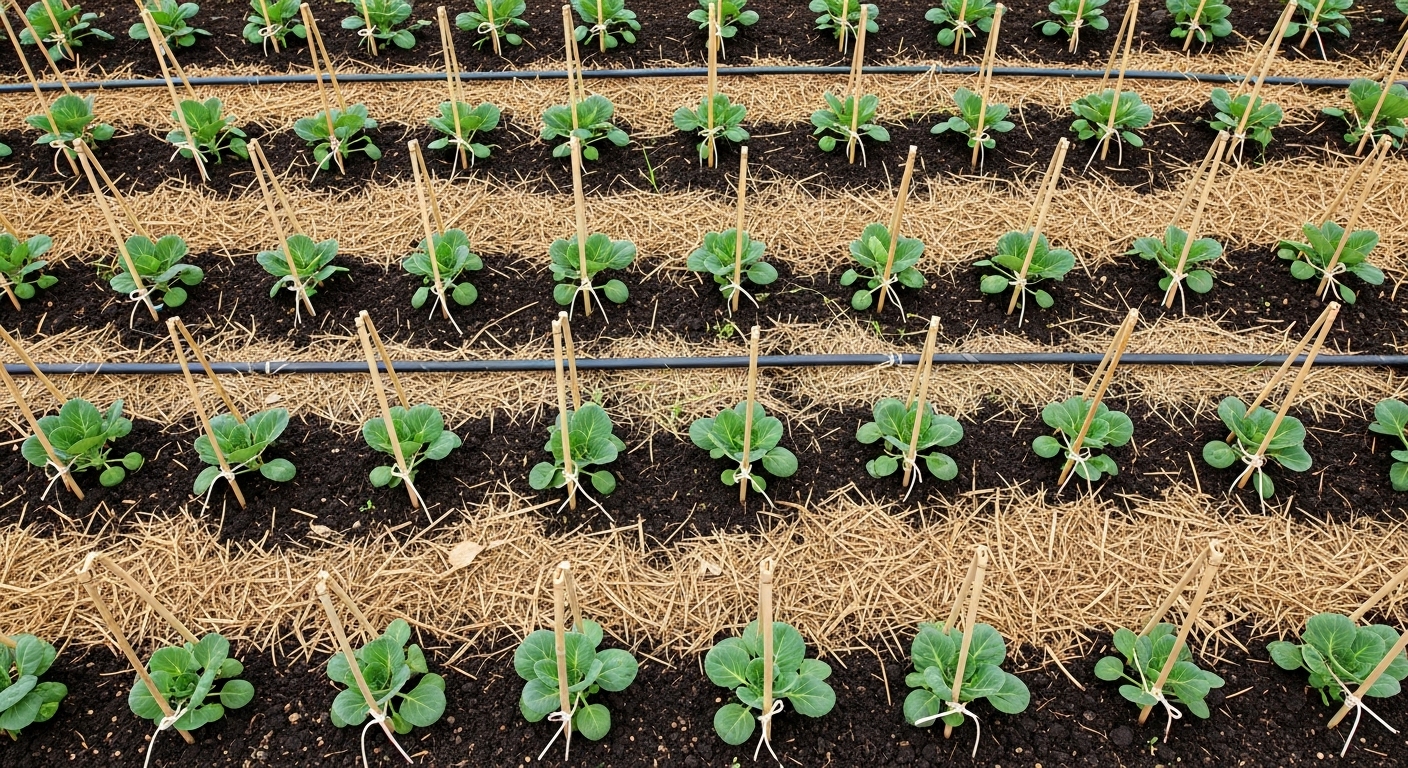
Apply a balanced fertilizer when transplanting, then side-dress with compost or a nitrogen-rich fertilizer every 3-4 weeks to keep those sprouts developing strong. To help Brussels sprouts thrive, mulch around the base with straw or shredded leaves—this locks in moisture, keeps roots cool, and limits weed competition.
Since the plants can grow fairly tall and become top-heavy, especially as they mature, staking each plant or providing a gentle cage support prevents bending or breaking. Brussels sprouts prefer cool weather and may bolt or produce loose, poor-quality sprouts if exposed to sudden heat waves—using shade cloth or row covers on especially hot days can help manage unexpected temperature fluctuations.
Consistent care and a little weather vigilance go a long way toward a productive, tasty harvest from your Brussels sprout patch.
Pests, Diseases, and Common Problems
Keeping your cabbage patch healthy starts with recognizing and warding off its most troublesome invaders. Cabbage worms and aphids top the list—they chew holes in leaves and suck plant juices, leaving cabbage heads wilted or curled.
To keep them at bay, try using lightweight row covers, which physically block pests without chemicals. If you notice tiny green caterpillars or clusters of small white eggs on the underside of leaves, act fast: handpick the worms or spray with neem oil as a safe, organic deterrent.
Aphids can be blasted away with a strong jet of water or controlled with insecticidal soap.
Unfortunately, diseases like clubroot and powdery mildew can also strike.
- Clubroot causes swollen, misshapen roots and yellowing leaves. If you spot these, remove affected plants and rotate crops next season since the disease can linger in soil.
- Powdery mildew leaves a white, powdery film on leaves and thrives in humid conditions. Prune overcrowded plants to boost airflow and apply a baking soda spray for minor cases.
Stunted growth or pale leaves often signal nutrient deficiencies—yellow leaves point to nitrogen shortage, while purple tinges might mean a phosphorus deficit. Address these by side-dressing with compost or using an organic fertilizer tailored to leafy crops.
With quick detection and simple interventions, you can protect your cabbages from common setbacks and reap a plentiful harvest.
Harvesting and Storing Brussels Sprouts
Knowing when to harvest Brussels sprouts is key to getting the best flavor and yield from your plants. Look for firm, bright green buds about one to two inches in diameter growing along the stem—these are ready when they’re tight and before the outer leaves start to yellow.
Begin harvesting from the bottom of the stalk, gently twisting or snapping the sprouts downward; this encourages upper sprouts to mature so you can keep picking for several weeks. For a sweeter taste, wait until after a light frost, as cooler temperatures enhance their flavor.
After harvest, remove any yellow leaves and keep sprouts unwashed in a breathable bag in the refrigerator, where they’ll last up to a week. For longer storage, blanch the sprouts in boiling water for a few minutes, cool them quickly in ice water, drain, and freeze in airtight containers.
To extend your harvest, remove the plant’s growing tip (the central bud) a month before your first expected frost—this signals the plant to mature the remaining sprouts. Regularly picking mature sprouts also prevents overripening and encourages a steadier supply throughout the season.
Nutrition, Culinary Uses, and Frequently Asked Questions
Packed with fiber, vitamins A, C, and K, as well as essential minerals like potassium and magnesium, this vegetable supports a healthy digestive tract, immune function, and bone health.
When it comes to the kitchen, you can enjoy it raw in salads for a fresh crunch or roast slices with olive oil and herbs for a caramelized, savory side dish. Stir-fries, soups, and gratins are other simple ways to add it to your meals—try tossing it with lemon juice and a pinch of salt just before serving to bring out its natural flavors.
New growers often ask why their harvest tastes bitter; this is usually due to high temperatures during growth or harvesting too late, so aim to pick when the vegetable is young and tender.
As for leftovers, store them in an airtight container in the fridge, where they’ll keep for up to four days—reheat gently to avoid sogginess. If bitterness is an issue in cooked dishes, blanching pieces in boiling water for a minute before cooking can help mellow the flavor.
Whether you’re new at growing or preparing it, these simple strategies can help you enjoy all its nutritional and culinary benefits.