Getting Started with Brussels Sprouts
Direct sow brussels sprouts and discover why this veggie has become a favorite for both beginner and experienced gardeners. Brussels sprouts are celebrated for their mild, nutty flavor and remarkable versatility in the kitchen—whether roasted, sautéed, or tossed into salads, they add a nutritional punch and unique taste to your meals.
Part of the brassica family, these compact “mini cabbages” not only deliver delicious results but also thrive in home gardens across many climates, especially where cool seasons prevail. Their rise in popularity comes from their long shelf life, impressive yields, and reputation as a cool-weather superfood packed with vitamins C and K.
But growing Brussels sprouts is not a sprint—it’s a gardening marathon. With a lengthy growing season that can stretch over six months, these plants demand both patience and planning. Success depends on getting your timing right and understanding that, while it’s tempting to look for shortcuts, their best flavor develops after a light frost, making them a truly rewarding autumn or early winter harvest.
In this guide, we’ll break down everything you need to start direct sowing Brussels sprouts, including seed selection, soil preparation tips, and why some gardeners prefer to skip transplanting. If you’re wondering whether direct sowing actually works or if it’s worth the wait, read on for practical advice and honest insights to help you grow robust, tasty crops from seed to plate—right in your own backyard.
Choosing and Sowing Seeds
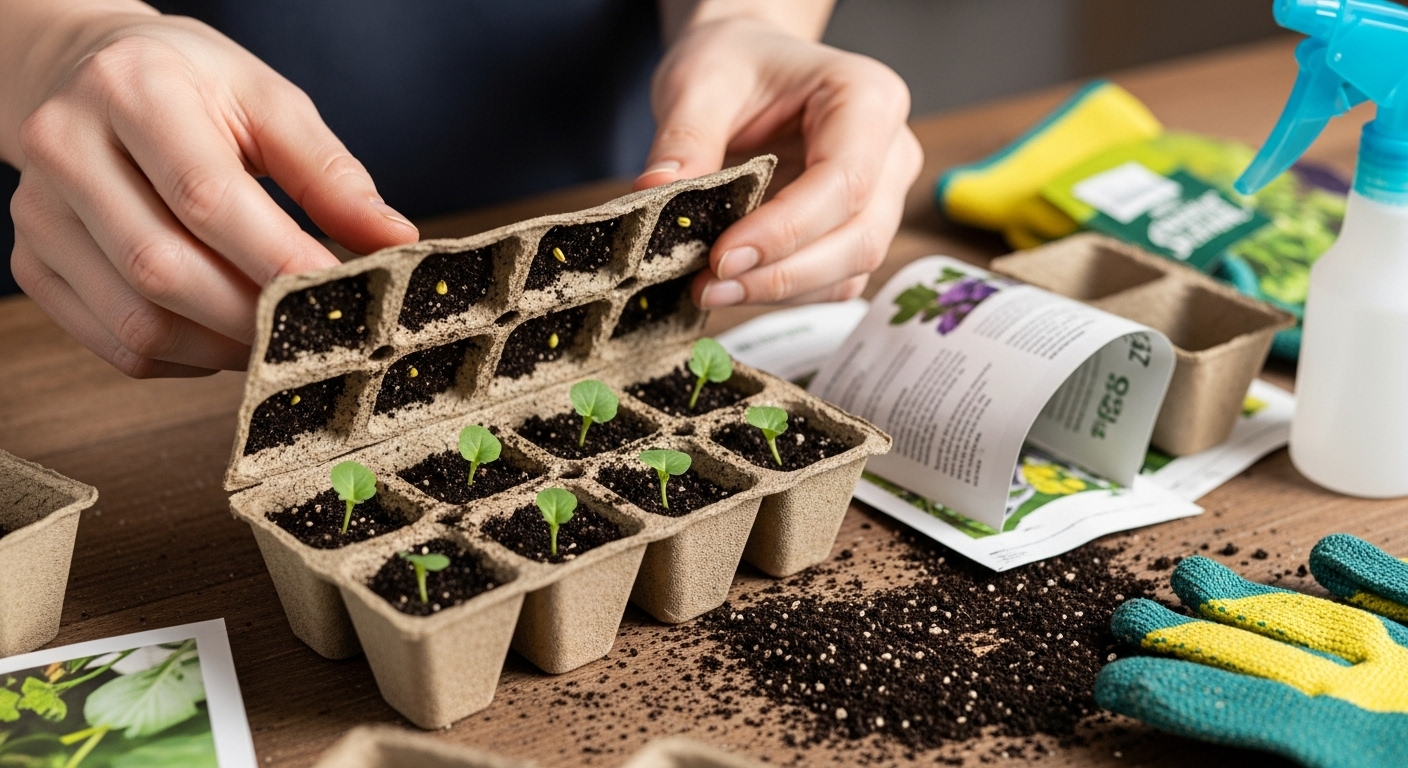
When it comes to choosing and sowing seeds, timing is everything. For most vegetables, starting seeds indoors gives you a head start, especially in cooler climates where outdoor planting is delayed by frost. Generally, indoor sowing happens 6-8 weeks before your area’s last expected frost date—consult local gardening calendars for specifics.
Seeds like tomatoes, peppers, and basil thrive in indoor temperatures of 70-75°F (21-24°C) and need plenty of bright, indirect light—a sunny windowsill or grow lights for 12-16 hours daily works best. Use a sterile seed-starting mix rather than garden soil, as it’s lighter and drains better, preventing damp-off disease.
Outdoors, cool-weather crops like peas, spinach, and radishes can be direct-sown when soil temperatures reach about 45-55°F (7-13°C), while heat-loving plants like beans, squash, and corn wait for soil to warm to at least 60°F (16°C).
Select high-quality seeds from reputable suppliers; check for current-year packaging and high germination rates—avoid seeds that look shrunken or discolored. If you’re after reliable yields, opt for disease-resistant hybrid varieties or tried-and-true heirlooms with strong local track records. For instance, ‘Sungold’ cherry tomatoes are robust for a range of climates, while ‘Lacinato’ kale performs well from cool to warm zones.
Label all trays and track sowing dates to avoid confusion later. Water seeds gently, using a spray bottle or bottom-watering trays, to keep soil moist but not soggy. Finally, time your transplanting carefully—seedlings generally move outside after the risk of frost has passed and after gradual acclimatization, called hardening off, to help them transition smoothly to outdoor conditions.
By following these smart tips, you’ll set your garden up for a strong, fruitful season right from the start.
Planting and Site Preparation
Before you start planting, it’s essential to prepare your site for success. Begin by assessing your soil quality; healthy vegetable gardens need loose, well-draining soil rich in organic matter. Conduct a simple soil test—home kits are readily available—to determine pH and nutrient levels. If your soil is heavy clay or sandy, blend in compost or well-rotted manure to improve structure and fertility.
For especially poor or compacted soils, consider raised beds or large containers filled with high-quality potting mix, which also allows better control of drainage and soil health. When planning your layout, note each plant’s mature size and arrange them so there’s adequate airflow—check seed packets or plant tags for spacing recommendations, usually ranging from 6 inches for greens to 24 inches for larger crops like tomatoes.
Choose a spot that receives at least six hours of direct sunlight daily; if your yard is shaded, containers give you flexibility to chase the sun. If you’re starting from seedlings, harden them off by gradually exposing them to outdoor conditions over a week—set them outside in a sheltered area for a few hours each day, increasing time and direct sun exposure bit by bit.
When transplanting, dig holes just deep enough so the seedling’s soil clump sits level with the garden bed; for tomatoes, you can bury stems a bit deeper to encourage root growth. Water each plant well at the time of planting to settle the roots and minimize transplant shock.
Laying a two-inch layer of organic mulch, such as straw or shredded leaves, around your transplants will conserve moisture, regulate temperature, and discourage weeds. Remember, even after planting, consistent watering is vital—aim for deep soakings rather than light sprinkles, particularly in raised beds or containers which can dry out faster.
Thoughtful preparation at planting time sets the foundation for a thriving, productive garden all season long.
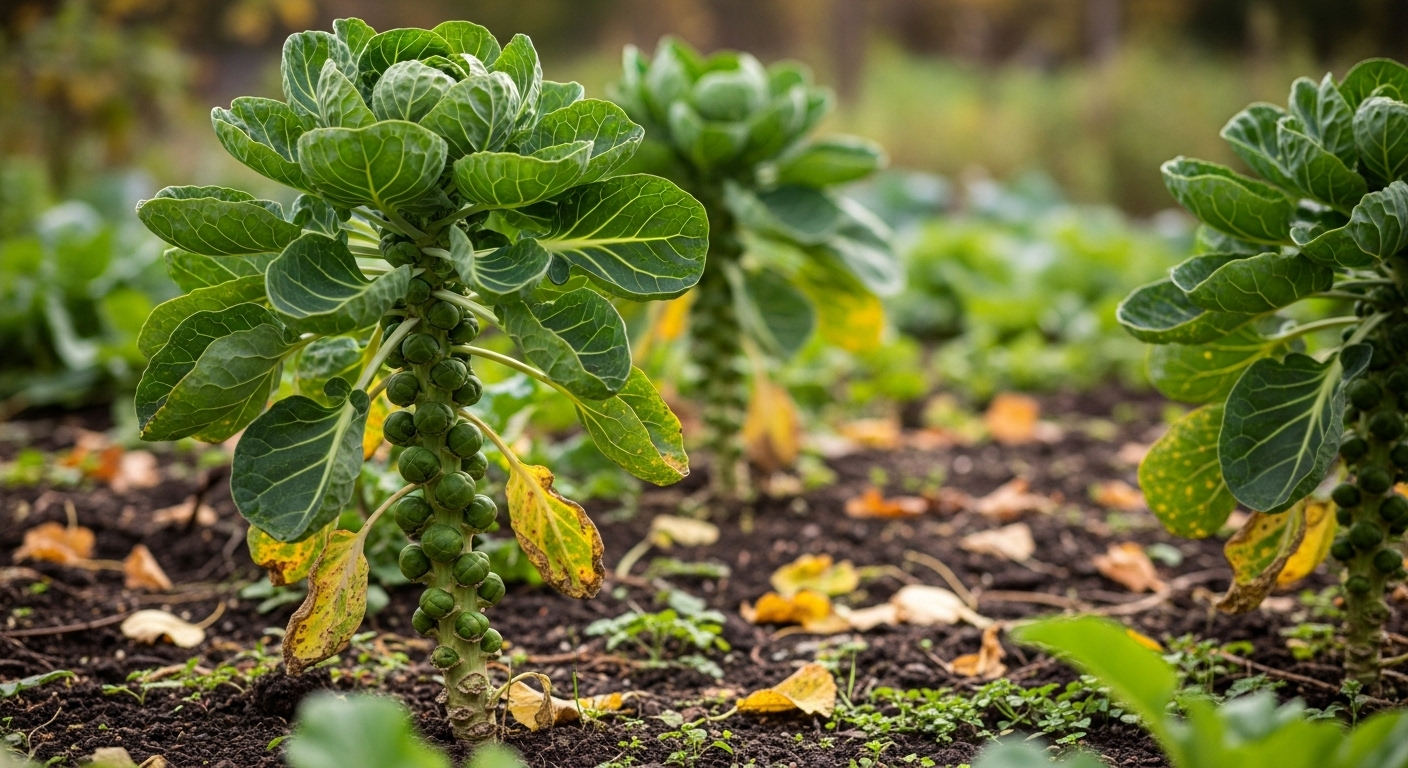
Caring for Your Brussels Sprouts All Season
Keeping your Brussels sprouts happy all season means focusing on consistent, attentive care. Start by watering deeply once or twice a week, making sure the soil stays evenly moist but never waterlogged. Mulch thickly with straw or shredded leaves to help retain moisture and suppress weeds, especially during hot summer spells.
Check soil moisture regularly—Brussels sprouts don’t like to dry out, particularly as they set sprouts later in the season. Feed them every four weeks with a balanced fertilizer or homemade compost tea to provide the steady nutrients these heavy feeders crave.
As the plants grow taller, they may lean or topple, so use stakes or soft ties for support in windy spots or after heavy rain. In summer, be diligent about weeding since weeds can rob young plants of light, nutrients, and water. Pull weeds by hand or use a lightweight hoe, being careful not to disturb shallow roots.
To shield your crop from intense midday heat, consider draping lightweight shade cloth over plants during heatwaves, and maintain good airflow to prevent mildew. After downpours, check for pooled water around the stems and reapply mulch as needed to prevent rot.
Animal pests like pigeons can be persistent throughout the season; use lightweight netting draped over hoops or sturdy stakes to keep birds from pecking young leaves. With a little ongoing attention, your Brussels sprouts will reward you with robust, flavorful harvests as the year rolls on.
Common Pests, Diseases, and Troubleshooting Tips
When growing brassicas or leafy greens, it’s important to be aware of potential threats in your garden. Caterpillars—especially those from cabbage moths and butterflies—often leave ragged holes in leaves and dark droppings behind, so check both sides of the foliage regularly.
Aphids, tiny pear-shaped insects, cluster on stems and the undersides of new leaves, causing leaves to curl or yellow and potentially transmitting viral diseases. Clubroot, a soil-borne disease, causes plants to wilt even when soil is moist, and you’ll find swollen, misshapen roots if you pull one up. Fungal issues like downy or powdery mildew show up as white or gray fuzzy patches on leaves, leading to yellowing and slowed growth.
Organic Control Methods
To fight back organically, cover your crops with fine mesh netting or floating row covers to keep moths and butterflies from laying eggs. Handpick caterpillars and larger pests in the early morning when they’re easiest to spot—drop them into a bucket of soapy water to protect your crops.
For aphids, spraying plants with a jet of water or introducing beneficial insects like ladybugs can help manage infestations naturally.
Disease Prevention
Prevent clubroot by practicing crop rotation—avoid planting brassicas in the same spot every year—and add lime to soil to raise the pH above 7.0, making it harder for the disease to take hold.
Good airflow is key for controlling fungi, so avoid overcrowding plants and water at the base rather than overhead. Mulching around plants and promptly removing affected leaves can further reduce fungal spread.
Nutritional and Growth Troubleshooting
To prevent nutritional deficiencies, ensure soil is rich in organic matter and supplement with a balanced fertilizer if you notice yellowing leaves or stunted growth.
Abnormal sprout development—such as tiny heads on cabbages or loose, button-like sprouts on Brussels sprouts—often points to temperature stress, lack of nutrients, or crowded spacing. Plant at the right time for your region and thin seedlings as needed.
Paying attention to these signs early and taking simple preventative actions can help you grow healthy, productive crops and avoid common setbacks in your vegetable garden.
Harvesting Brussels Sprouts and Beyond
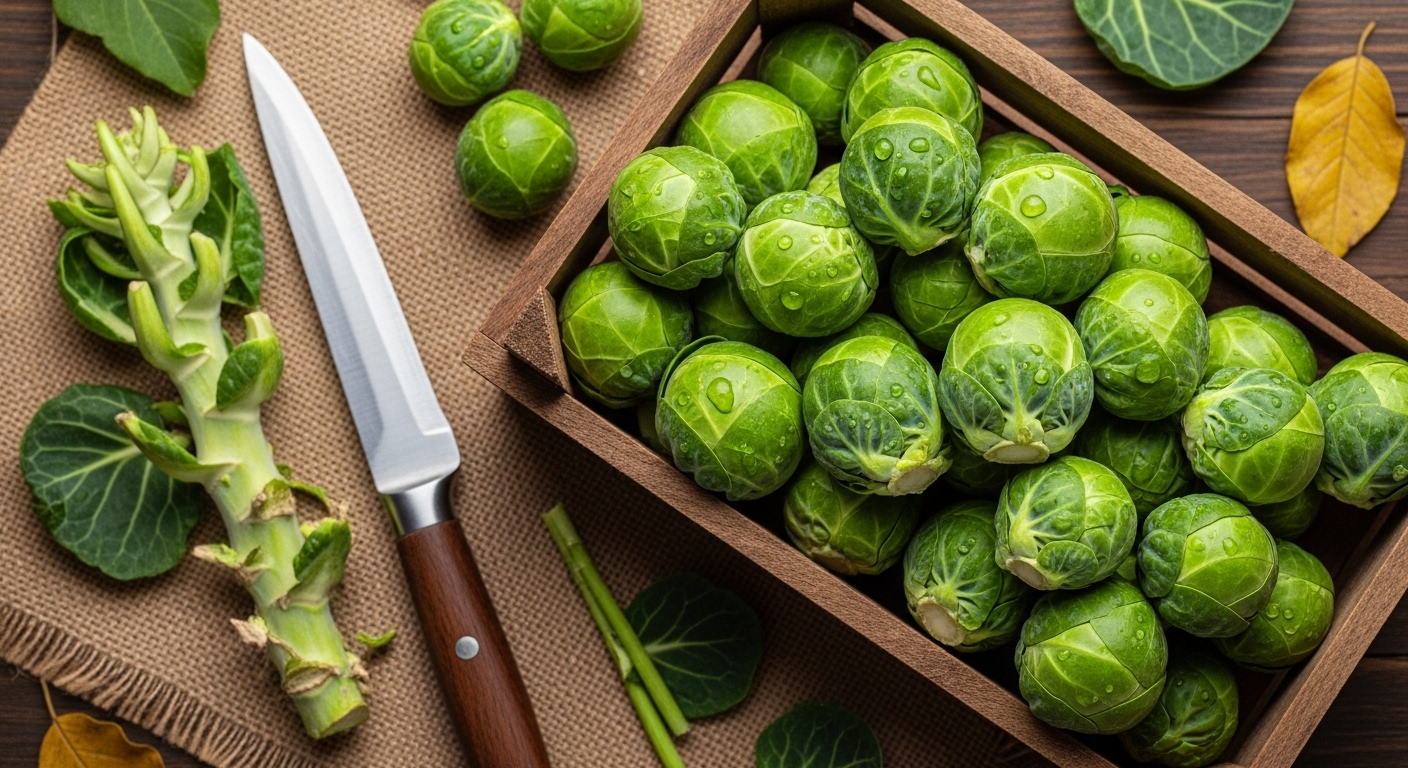
Brussels sprouts are ready to harvest when the small buds, known as sprouts, reach about one to two inches in diameter and feel firm to the touch. While you might be eager to pick them early, waiting until after the first light frost often pays off; exposure to cold temperatures triggers a natural sweetness in the sprouts, mellowing their flavor and making them tastier.
To harvest, start from the bottom of the plant where the oldest sprouts grow first. Gently twist each sprout off or cut it away with a sharp knife to avoid damaging the stalk, and check plants every week for new growth. As you harvest, remove yellowing lower leaves to let more energy flow to developing sprouts up the stalk, which can result in a longer and more productive season.
After picking, refrigerate sprouts in a breathable produce bag or container, where they’ll keep fresh for up to a week. For the best flavor, try roasting Brussels sprouts with a drizzle of olive oil and a sprinkle of salt and pepper, or sauté them with garlic and lemon zest for a simple and delicious side.
Blanching and freezing is also a good option if you have a bumper crop—just trim and quickly boil, then chill in ice water before storing in freezer bags. With the right harvesting methods and a little kitchen creativity, you’ll get the most sweetness and crunch from your homegrown Brussels sprouts.