
Choosing the Right Brussels Sprouts and Preparing to Grow
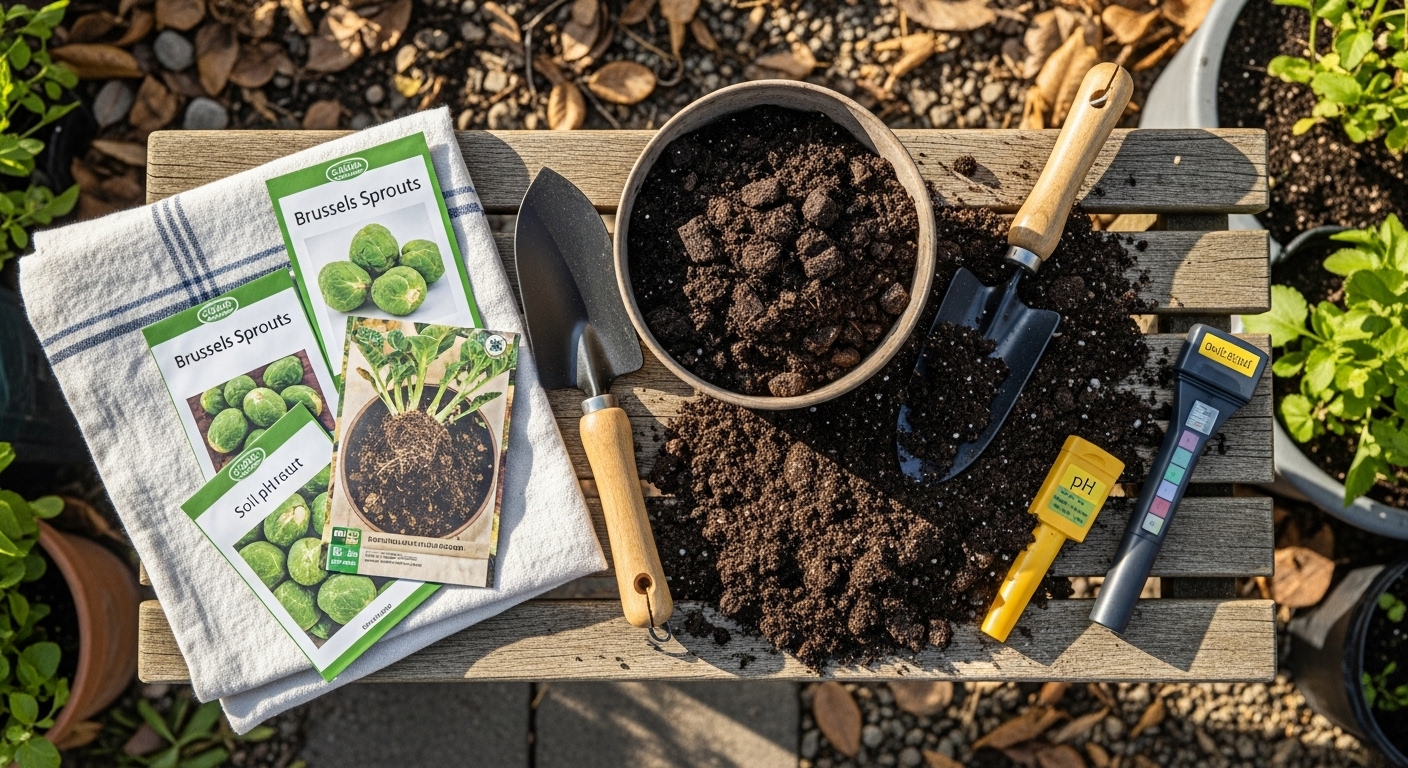
Getting the right brussels sprouts seed depth is the first step to a successful harvest, but choosing the best variety and preparing to grow your plants will make all the difference. With so many Brussels sprouts varieties out there—like ‘Long Island Improved,’ prized for its classic flavor and steady yield, or ‘Jade Cross,’ known for early maturity and impressive pest resistance—it’s wise to consider your space, climate, and taste preferences before you buy. If you live in an area prone to cabbage worms or other common pests, opt for modern hybrids that offer extra disease and pest resistance, even if it means a slight change in flavor profile from traditional heirlooms.
When purchasing seeds, don’t just grab the first packet you see. Look for reputable seed suppliers—those that clearly list germination rates and provide guarantees. High-quality seeds from trusted retailers minimize surprises and often come with detailed product descriptions highlighting disease-resistant traits or regional adaptability. Seeds with a proven track record for resisting issues like clubroot or downy mildew can help reduce the need for chemical interventions later on.
Once you’ve chosen your seeds, picking the best spot in your garden is essential. Brussels sprouts thrive in full sun—think 6–8 hours a day of unfiltered rays. They prefer fertile, well-drained loam soils with a neutral to slightly alkaline pH (around 6.5–7.5). Good soil preparation pays off: loosen the soil to at least 12 inches deep, removing rocks and mixing in compost or well-aged manure for plenty of nutrients. Ensuring this rich, crumbly foundation helps young sprouts root deeply at the correct Brussels sprouts seed depth and gives your crop a strong start. Remember, planning ahead—right down to variety, soil, and site—sets you up for tasty, healthy homegrown sprouts all season long.
Sowing Brussels Sprouts Seeds
Sowing Brussels sprouts seeds at the right time is key for a successful harvest, and timing depends on your region’s climate. In cooler northern areas, it’s best to start seeds indoors about 6 to 8 weeks before your last expected spring frost. For warmer regions with mild winters, you can sow seeds directly outside in late summer for a fall or winter crop.
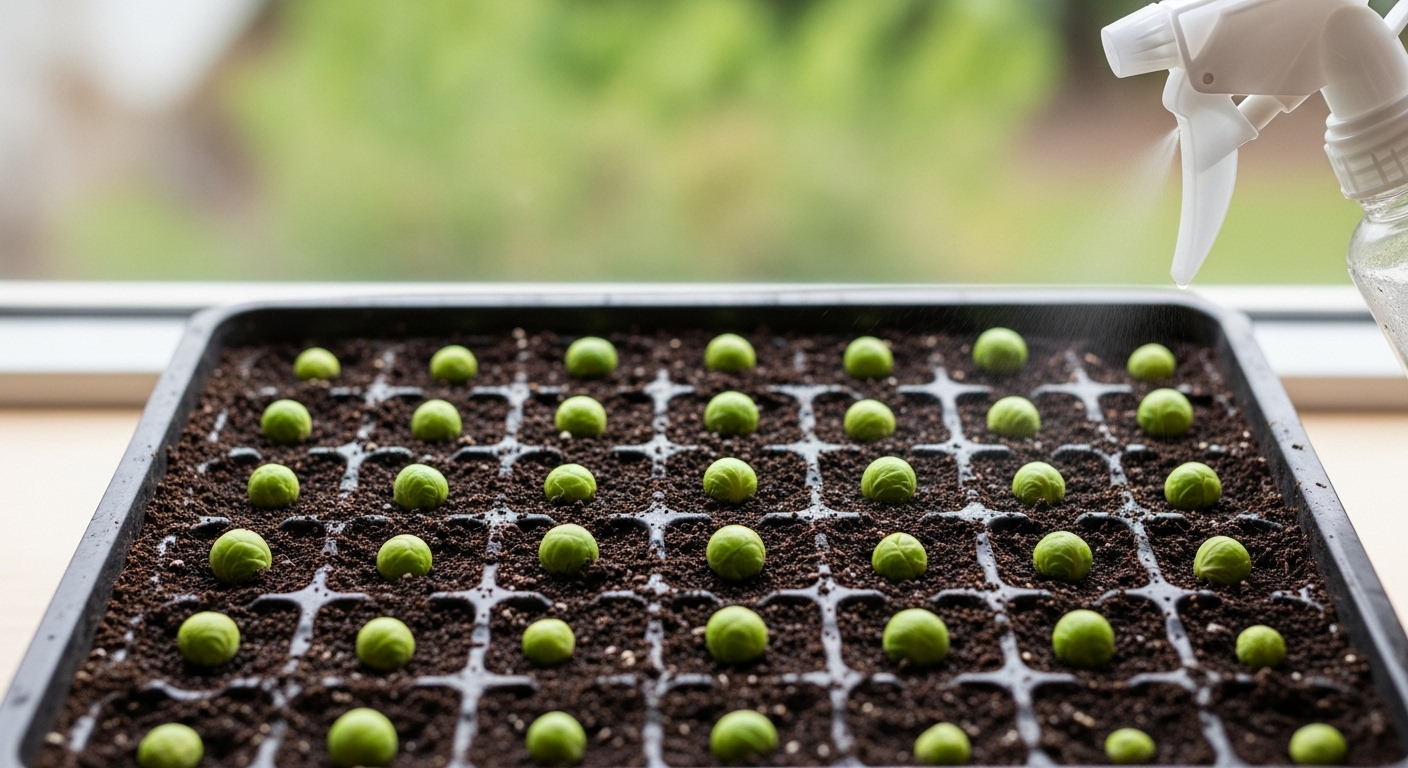
To begin indoors, use cell trays or small pots filled with seed-starting mix. The soil should be kept between 60-70°F for optimal germination. Plant each seed about a half-inch deep, spacing them 2 inches apart to allow room for growth. Keep the soil consistently moist but not soggy, using a spray bottle to gently water seedlings and prevent damping off (a common seedling disease).
Once sprouts develop their first set of true leaves, thin out weaker seedlings, leaving the strongest one per cell or pot. About a week before transplanting outdoors, begin hardening off your plants by placing them outside for a few hours each day, gradually increasing their exposure to sunlight and wind. This helps build resilience to outdoor conditions.
Whether starting indoors or directly sowing outside, careful timing and these steps will give your Brussels sprouts the best head start for a healthy growing season.
Planting and Spacing Brussels Sprouts
Transplanting Brussels sprout seedlings into the garden at the right time is key to a thriving harvest. Aim to move them outdoors when seedlings are 4–6 weeks old and have at least two sets of true leaves—usually after the last spring frost but early enough for them to mature in mild, cool weather. Pick a spot with full sun and rich, well-drained soil.
When transplanting, plant each seedling at the same depth it was growing in its container—burying them too deep can cause stems to rot. Space each plant 18–24 inches apart in rows about 2 feet apart. This generous spacing might feel excessive, but Brussels sprouts are large, leafy plants that need room to spread. Proper distance boosts air circulation around each sprout, reducing humidity and helping prevent common diseases like powdery mildew and downy mildew. Good airflow is one of your best natural defenses against plant problems.
For even healthier Brussels sprouts, try companion planting: pair them with carrots, onions, or aromatic herbs like thyme and mint, which can help repel cabbage worms and aphids. Avoid planting Brussels sprouts near other brassicas like cabbage, broccoli, or cauliflower, since they attract similar pests and compete for the same nutrients—raising the risk of stunted growth and infestations. Also, steer clear of strawberries and pole beans, as they can inhibit the growth of Brussels sprouts.
By timing your transplanting right, spacing your plants carefully, and being mindful of neighbors in your garden, you’ll set your Brussels sprouts up for a strong season and a delicious harvest.
Caring for Your Brussels Sprouts
Caring for your Brussels sprouts requires some ongoing attention, but the results are well worth it. Start with watering: Brussels sprouts prefer consistently moist soil, so provide about 1 to 1.5 inches of water per week—more often during dry spells. Early morning is the best time to water, allowing leaves to dry and reducing the risk of disease.
Mulching with straw or shredded leaves helps retain soil moisture, keeps the roots cool, and suppresses weeds. Weeding is important, especially when seedlings are young; hand-pull weeds or carefully use a hoe to avoid disturbing shallow roots. As your plants grow taller (some reaching 2–3 feet), staking may be necessary to support their stems and prevent wind damage—tomato cages or sturdy bamboo stakes work well.
Fertilizing for Healthy Growth
Fertilize Brussels sprouts at different stages for best results. At planting, enrich the soil with compost or a balanced organic fertilizer high in nitrogen (like blood meal or fish emulsion). Once plants are established and about 12 inches tall, give them a second feeding with a side-dressing of compost or a granular fertilizer formulated for leafy greens.
If using synthetic fertilizers, choose a blend with moderate nitrogen and ample potassium to support sturdy stalks and sprout development. Always water after fertilizing to help nutrients reach the roots.
Pruning Tips
Pruning is a simple but effective way to encourage larger, more uniform sprouts. About a month before the first expected frost, pinch off the top central growing point of each plant (the “apical bud”). This directs the plant’s energy into developing bigger sprouts rather than growing taller. You can also remove any yellowing lower leaves throughout the season to boost air circulation around the base, further reducing disease risk.
Protecting from Heat
In summer, Brussels sprouts benefit from heat protection, as sustained temperatures above 80°F can stress the plants and reduce sprout quality. In hot climates, provide afternoon shade using shade cloth, garden umbrellas, or taller companion plants like sunflowers. Mulching again helps keep soil temperatures down.
Aim to plant in an area with good airflow but shielded from the harshest afternoon sun. With these thoughtful care steps, you’ll set your Brussels sprouts up for a strong harvest—even when the weather doesn’t cooperate.
Managing Common Pests and Diseases
Brussels sprouts are especially susceptible to a handful of notorious pests and diseases that can quickly derail your crop if left unchecked. Aphids, tiny green insects clustered beneath leaves, and cabbage loopers, pale green caterpillars that chew telltale holes, are two of the most common pests to watch for.
Early detection is key—inspect the undersides of leaves weekly and look for curled, yellowing leaves or frass (caterpillar droppings). For organic pest control, spray affected plants with a diluted soapy water solution or introduce beneficial insects like ladybugs that feast on aphids. Handpick cabbage loopers or use Bacillus thuringiensis (Bt), a natural bacteria safe for people and pets.
If infestations are heavy, chemical insecticides may be necessary, but always follow label instructions and consider their impact on pollinators. Prevent problems before they start by practicing crop rotation, moving brassicas to a new spot each year, and using row covers to physically block pests.
Diseases like clubroot—a soil-borne illness causing swollen roots and stunted growth—are harder to treat once established. Prevent it by choosing disease-resistant varieties, amending soil to maintain a pH above 7.0, and never planting Brussels sprouts in the same bed two years in a row.
Fungal infections, such as black rot or powdery mildew, thrive in damp, crowded conditions. Improve air circulation by spacing plants properly, avoid overhead watering, and promptly remove diseased leaves. Clean up all plant debris at the end of the season to reduce sources of infection for next year.
By staying vigilant and combining these smart tactics, you can keep your Brussels sprouts healthy and productive all season long.
Harvesting and Storing Brussels Sprouts
Knowing exactly when to harvest Brussels sprouts can make a big difference in flavor and texture. You’ll know your sprouts are ready when the tiny cabbages reach about 1 to 2 inches in diameter (roughly the size of a large marble or golf ball), feel firm to the touch, and have a bright, rich green color. Avoid waiting too long—over-mature sprouts can become yellowish and bitter.
To harvest, start from the bottom of the stalk where the sprouts mature first. Using a sharp garden knife or pruners, snip off each sprout at its base, being careful not to damage the main stalk or the remaining leaves. You can continue picking sprouts up the stalk every week or two as they mature, which means your harvest can last for several weeks if you don’t remove the whole stalk at once.
After picking, store fresh Brussels sprouts in a perforated plastic bag in the refrigerator’s crisper drawer, where they stay fresh for up to a week. If you have more than you can eat right away, blanch the sprouts in boiling water for 3-5 minutes, then dunk them in ice water to stop the cooking process. Spread them out on a baking sheet to freeze individually before transferring to freezer bags. This prevents clumping and keeps them tasting fresh for several months.
Whether you’re looking for weeknight dinners or prepping for the holidays, these simple techniques ensure homegrown sprouts are delicious and ready anytime.
Troubleshooting: Common Problems and FAQs
Yellow leaves on lettuce seedlings often indicate overwatering or nutrient deficiency. Check the soil moisture with your finger and allow it to dry slightly between waterings. Consider using a balanced, water-soluble fertilizer if your plants seem sluggish.
Poor sprout growth can result from soil that’s too cold, low-quality seeds, or overcrowding. To improve germination, try spacing seeds further apart and ensure the soil stays above 50°F.
If your lettuce suddenly grows tall and flowers—a process called bolting—it’s likely due to hot weather or long days. Choose bolt-resistant varieties, plant in early spring or late summer, and consider using shade cloth during midday sun.
Beginners often ask if pruning is necessary. In most cases, simply harvesting the outer leaves encourages fresh growth and healthier plants, so don’t worry about drastic cuts.
Lettuce bitterness is another common concern, usually caused by heat stress or inconsistent watering. Picking leaves early in the day and maintaining steady moisture can help keep flavors mild.
If pests like aphids or slugs keep returning, start with gentle methods such as a blast of water or hand-picking. Use insecticidal soap only if needed.
As a rule of thumb, if your plants repeatedly fail to thrive despite your best efforts, or if you suspect a disease like powdery mildew or root rot, it’s time to reach out to your local extension service or a gardening expert. They can pinpoint issues specific to your region and help you get your greens back on track.