Choosing the Right Brussels Sprout Varieties
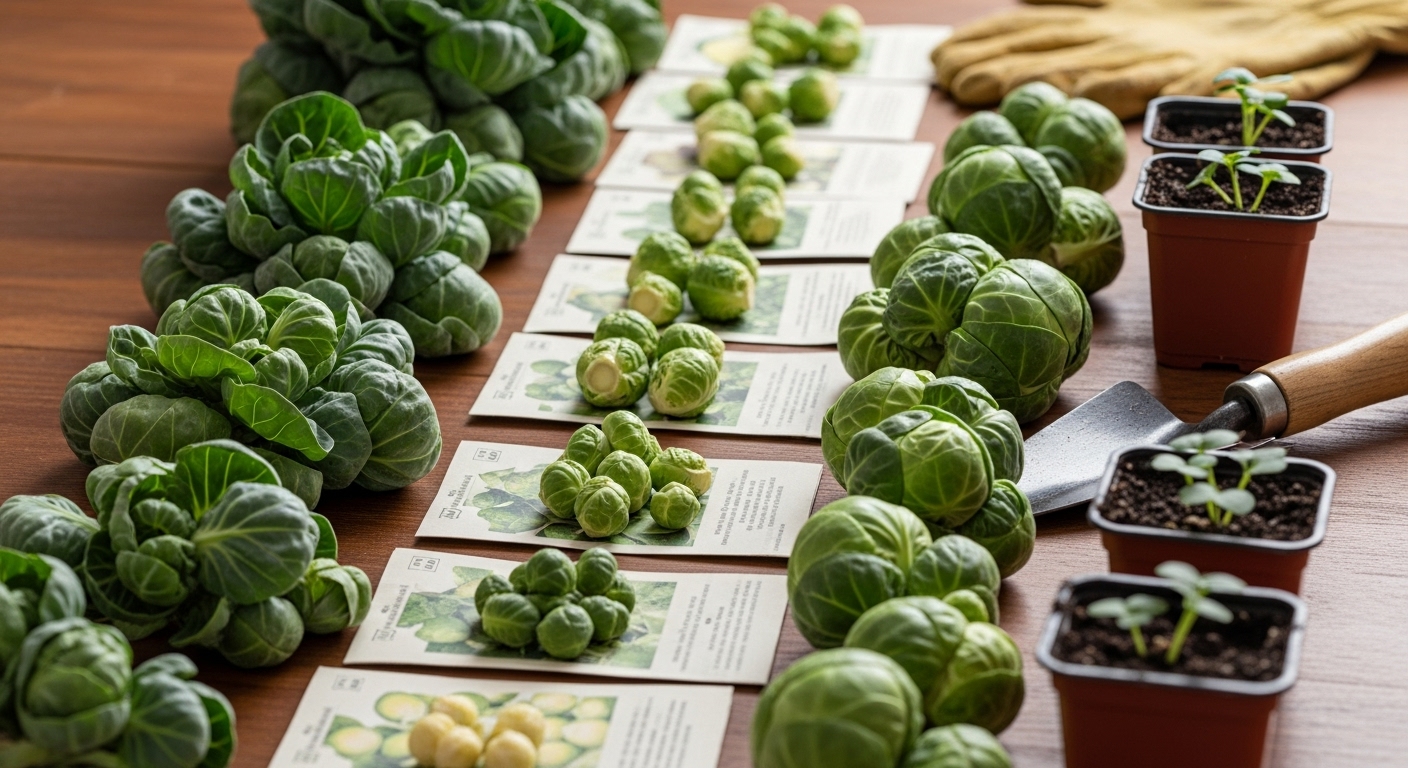
When it comes to growing healthy, flavorful brassicas, understanding the ideal brussels sprouts pot size is just one piece of the puzzle—selecting the right variety is equally important. Brussels sprouts thrive as a cool-weather crop, making them perfect for gardeners aiming to extend their harvest into fall or even early winter. But not every variety is created equal, and choosing the right one can mean the difference between a bumper crop and a disappointing yield.
Heirloom varieties like ‘Long Island Improved’ and ‘Catskill’ are beloved for their robust, nutty flavor and reliability. They tend to produce slightly smaller sprouts but offer exceptional cold-hardiness, making them a great choice if you’re in a region with unpredictable early frosts. In contrast, hybrids such as ‘Jade Cross’ and ‘Oliver’ are bred for disease resistance and high yields. These are especially popular among container gardeners and those with limited outdoor space. These varieties often have a more uniform growth habit and mature more quickly, leading to a more predictable harvest.
Choosing the best Brussels sprouts variety for your home garden comes down to a few key considerations:
- If you have a short growing season, opt for early-maturing hybrids that reach harvest in 85–100 days.
- If space is limited—or you’re gardening on a balcony—look for compact or dwarf varieties that offer a full harvest in a smaller Brussels sprouts pot size.
- Always consider your climate: if summers are mild, most varieties will thrive; if heat sets in early, choose those with proven tolerance to warmer temperatures or faster maturity.
Ultimately, matching your Brussels sprout variety to your pot size, climate, and schedule is the first step toward a rewarding harvest.
Planning and Preparing Your Planting Site
Getting your planting site ready is the first step toward a healthy, productive garden. For most vegetables and flowers, you’ll want loose, well-draining loam soil—think crumbly, not sticky—with a neutral to slightly acidic pH between 6.0 and 7.0.
Use a simple test kit (easily found at garden centers) to check your soil’s pH. If it’s too acidic, mixing in some lime can help, while a high pH may require sulfur or organic matter to balance things out.
At least 6-8 hours of direct sun daily is ideal for most crops, so choose a spot that isn’t shaded by buildings or large trees.
Crop Rotation
Don’t forget about crop rotation—switching up what you plant in each area every year reduces disease buildup and balances soil nutrients. For example, avoid planting tomatoes in the same spot two years in a row, and try following up fruiting crops with leafy greens or legumes.
Companion Planting
Companion planting also works wonders: marigolds deter pests around tomatoes and beans, while basil can boost both the flavor and yield of nearby crops.
Preparing Your Site
Start by clearing away weeds and removing large stones. Turn the soil with a spade or fork to loosen it at least 8-12 inches deep, mixing in 2-3 inches of compost for fertility.
If you have heavy clay, add coarse sand or aged bark to break it up and enhance drainage; for sandy soil, more compost will help retain moisture.
Rake the surface smooth and water lightly to settle the soil a day or two before planting.
Take time now for thoughtful prep, and you’ll save yourself headaches and boost your garden’s success all season long.
Planting Brussels Sprouts: Timing, Methods, and Transplanting
Timing is everything when planting Brussels sprouts, as these cool-season crops thrive best in mild weather. For most gardeners in temperate regions, start seeds indoors about 14–16 weeks before your first fall frost. This usually means sowing seeds in late winter or early spring.
Seeds sown directly outdoors should be planted when soil temperatures are consistently above 45°F (7°C) but before intense summer heat sets in—think early spring or midsummer for a fall harvest. Starting seeds indoors offers more control over temperature and moisture, leading to stronger seedlings.
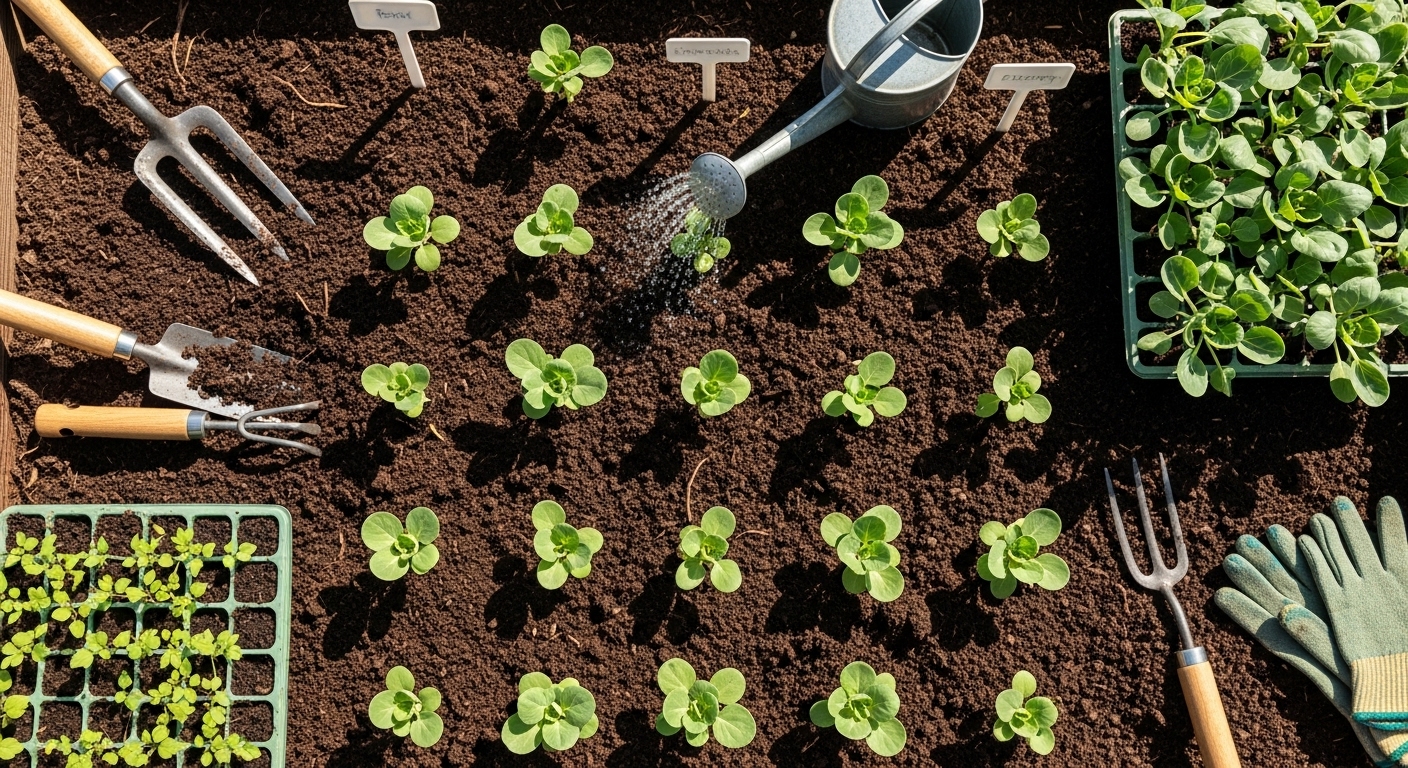
Transplant them outside when they’re 4–6 weeks old and have at least two true leaves, aiming for an outdoor soil temperature of 50–70°F (10–21°C). Harden them off by gradually exposing seedlings to outdoor conditions over a week to minimize transplant shock.
Plant Brussels sprouts seeds about ½ inch deep, whether indoors or outdoors. When transplanting or direct sowing, leave 18–24 inches between plants and 2–3 feet between rows to ensure plenty of airflow and space for their tall stalks.
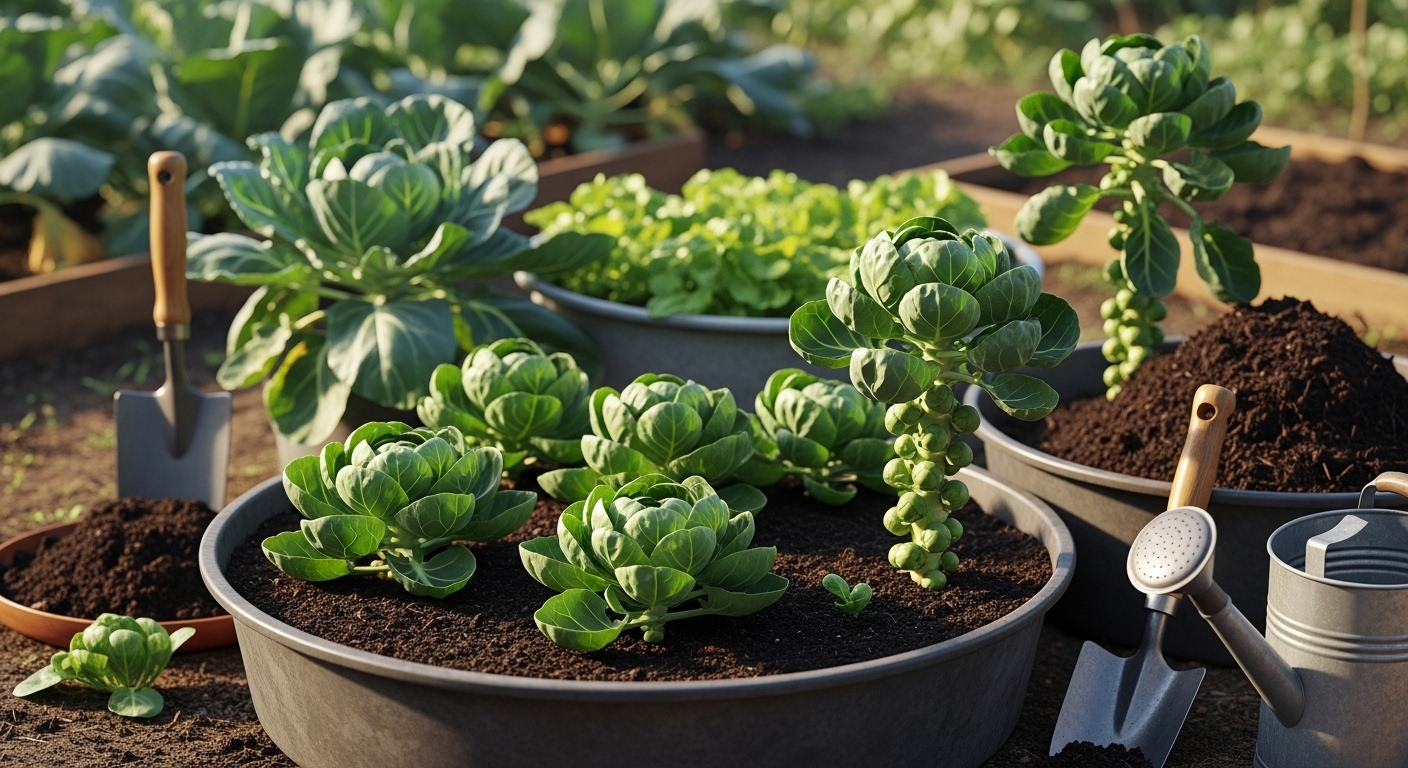
If you’re short on garden space, Brussels sprouts can be grown in large, deep containers—pick one that’s at least 12–16 inches across and equally deep, using rich, well-draining potting mix.
Remember, consistent moisture and strong sunlight make all the difference: aim for 6 or more hours of sun per day and water regularly, keeping the soil evenly moist but not soggy.
A real-world tip: mark your planting and transplanting dates on a calendar so you can time your harvest for the first frosts, since a light frost actually sweetens the flavor of mature sprouts.
Essential Care for Robust Plants
Caring for robust plants starts with consistent, mindful watering—it’s best to water deeply at the base rather than with frequent light sprinkles, ensuring roots grow strong and deep. Early morning is the ideal time to water, reducing evaporation and keeping foliage dry, which helps prevent disease.
Mulching is another must-do: a two to three-inch layer of organic mulch like shredded bark or straw insulates soil, conserves moisture, suppresses weeds, and enriches the earth as it breaks down.
Feed your plants with a balanced organic fertilizer every four to six weeks during the growing season, but always follow the specific needs of each plant—overfeeding can cause more harm than good.
Regular pruning encourages healthy, bushier growth and improves airflow. For flowering shrubs or tomatoes, remove dead or diseased branches and pinch or cut off the tips to direct the plant’s energy into producing more blooms or fruits.
Tall or heavy-yielding plants benefit from staking or caging—simply secure stems with soft ties to sturdy stakes or use tomato cages to keep them upright and prevent breakage under the weight of fruit.
Keep weeds in check by hand-pulling often or applying a weed barrier like newspaper under mulch, minimizing competition for nutrients and water.
Lastly, maintain soil health by rotating crops each season and working in compost or well-rotted manure every spring or fall—healthy soil is the foundation for all strong, productive plants.
These habits, done regularly, create a thriving garden with less stress and more abundant harvests.
Preventing and Solving Common Pest and Disease Problems
Keeping your garden healthy means staying vigilant against common pests and diseases, but you don’t have to reach for harsh chemicals.
Insect pests such as aphids—tiny, soft-bodied insects that suck sap from young leaves—can quickly take over brassica crops, leaving plants sticky with honeydew and vulnerable to sooty mold. Cabbage loopers, on the other hand, are green caterpillars notorious for chewing ragged holes in leaves.
For aphids, a strong blast of water from a hose can knock them off, while introducing ladybugs or lacewings naturally keeps populations in check. Handpicking cabbage loopers or applying Bacillus thuringiensis (Bt), an organic microbial insecticide, helps protect your plants without harming beneficial insects.
Diseases also threaten your harvest. Clubroot, a soil-borne fungus, causes swollen, misshapen roots and stunted growth; rotating crops and improving drainage can reduce its impact. Black rot appears as yellow, V-shaped lesions on leaf edges and spreads in warm, wet conditions, so always remove infected plants quickly and water at the soil level rather than overhead.
By integrating pest management tactics—like using row covers to physically shield plants during vulnerable stages and encouraging pollinators and predatory insects with a diverse array of flowers—you can create a resilient garden ecosystem.
Regularly walk through your garden to spot early warning signs, rotate where you plant each year, and foster healthy soil with compost to boost your plants’ natural defenses. These real-world strategies help you address issues before they get out of hand, protecting your crops and the environment.
Harvesting, Storing, and Using Your Brussels Sprouts
Knowing when to harvest your Brussels sprouts can make all the difference in flavor and texture. For the best results, watch for firm, bright green sprouts about the size of large marbles—usually beginning at the bottom of the stalk and maturing upwards. Cool weather, especially after the first frost, boosts sweetness, so don’t rush; sprouts picked too early can be bitter or underdeveloped.
To harvest, simply twist the sprouts off the stalk or use a sharp knife for a clean cut, always starting from the bottom and working up as new sprouts mature. After picking, remove any damaged outer leaves and wash them gently under cool water to get rid of dirt and insects.
For short-term storage, keep unwashed sprouts in a breathable bag in the crisper drawer of your refrigerator; they’ll stay fresh for up to two weeks. If you have a bumper crop, store whole stalks upright in a cool, dark place like a root cellar, where they can last a month or more.
When it’s time to enjoy your harvest, Brussels sprouts are versatile in the kitchen—try roasting halved sprouts with olive oil and a sprinkle of salt for caramelized edges, or sauté them with garlic and lemon for a quick side. For extra crunch, you can shred raw sprouts into salads.
Brussels sprouts also work well when steamed or stir-fried, and they shine in hearty winter dishes like casseroles or mixed with bacon. With just a little care in harvesting and handling, your homegrown Brussels sprouts can elevate everyday meals all through the season.
Troubleshooting & Pro Tips for a Bountiful Crop
Even the most attentive gardeners occasionally face challenges like poor sprout development, bolting, or leggy seedlings, but a few practical strategies can turn things around.
If your sprouts aren’t thriving, double-check your soil moisture—too much water can suffocate roots, while too little dries them out quickly, especially in containers.
Bolting, or premature flowering, usually happens when temperatures swing or plants get too much direct sun; providing shade cloth during hot spells or choosing slow-bolt varieties helps keep things under control.
Leggy seedlings, often a sign of inadequate light, benefit from being placed closer to a sunny window or under grow lights if sunlight is limited.
For container gardeners or those with a short season, opt for compact or quick-maturing crop varieties—think bush beans or lettuce mixes—to maximize harvests in tight spaces and short timelines.
Use high-quality potting mix and ensure containers have good drainage to prevent root rot and nutrient buildup.
Keep an eye on spacing; overcrowding stunts growth and invites disease, so thin seedlings early for healthier plants.
For a harvest boost, consider succession planting—sowing small batches every two weeks—for a steady supply even in limited growing windows.
Mulching the top of containers with straw or compost keeps roots cool and reduces the need for frequent watering.
Finally, keep a simple garden journal noting what works and what doesn’t; these personal notes become invaluable over time, helping you refine your approach for even greater success next season.