Introduction to Growing Brussels Sprouts
Curious about brussels sprouts growing time? You’re not alone—Brussels sprouts are becoming increasingly popular in home gardens thanks to their robust flavor and impressive nutritional benefits. Packed with fiber, vitamins C and K, and cancer-fighting compounds, these miniature cabbages are a powerhouse addition to any meal.
Home gardeners are drawn to Brussels sprouts not only for their health benefits but also for their unique taste—especially since homegrown sprouts develop an even sweeter flavor after being kissed by a light autumn frost. If you’ve ever wondered how to capture that farm-fresh taste in your own backyard, you’re in the right place.
This guide will walk you through everything you need to know about Brussels sprouts growing time—from when to plant and how to nurture these slow-growing veggies to the best ways to harvest them for maximum flavor. We’ll also cover common troubleshooting tips to help you overcome any bumps along the way.
Whether you’re a seasoned gardener or planting sprouts for the first time, you’ll find practical insights and step-by-step advice to ensure your Brussels sprout harvest is bountiful and delicious. Let’s get started!
Choosing the Best Brussels Sprout Varieties
Selecting the right Brussels sprout variety is crucial for a bountiful and tasty harvest, especially since these cool-weather veggies perform differently based on your local climate and harvest timing.
If you’re in a region with a short growing season, early-maturing types like ‘Jade Cross’ or ‘Catskill’ are smart picks—they mature faster, usually within 85–90 days, and deliver compact yet flavorful sprouts.
For those with a longer season, mid- to late-season varieties like ‘Diablo’ and ‘Long Island Improved’ bring higher yields and often have larger, densely packed sprouts with a sweeter flavor profile that improves after frost. Some varieties, such as ‘Falstaff,’ even bring a purple hue and a mild, nutty taste, making them both a culinary and visual delight.
Beyond flavor and harvest timing, keep an eye out for disease resistance; modern hybrids like ‘Tasty Nugget’ and ‘Bubbles’ are bred to resist common issues like clubroot and mildew, helping ensure a healthy crop.
When sourcing seeds or seedlings, it pays to stick with reputable suppliers known for quality and freshness. Look to established companies like Johnny’s Selected Seeds, Territorial Seed Company, or Baker Creek Heirloom Seeds for a wide selection and reliable service.
If buying seedlings locally, choose healthy, stocky plants without yellowing leaves or signs of pests. Asking at local garden centers can also provide tips on what works best in your area’s conditions.
By matching your variety choice to your climate and growing window, and sourcing from trusted suppliers, you’ll set yourself up for consistent success—and tastier sprouts—year after year.
Planting Brussels Sprouts: Timing, Location, & Method
For the best Brussels sprouts harvest, timing and location are everything. Start seeds indoors 14-16 weeks before your expected first fall frost, since these cool-weather veggies thrive best when they mature in chilly weather. If you’d rather sow directly outdoors, wait until soil temperatures have warmed to at least 50°F but aim to start in late spring for a fall crop — Brussels sprouts often taste sweetest after a few light frosts.
Choose a sunny spot that receives at least six hours of direct sunlight daily; Brussels sprouts won’t produce well in shade. For soil, aim for rich, well-draining loam with plenty of organic matter. Amending with compost before planting is a smart move. Ensure your soil’s pH hovers between 6.5 and 7.5, as overly acidic soils can cause stunted growth and nutrient issues.
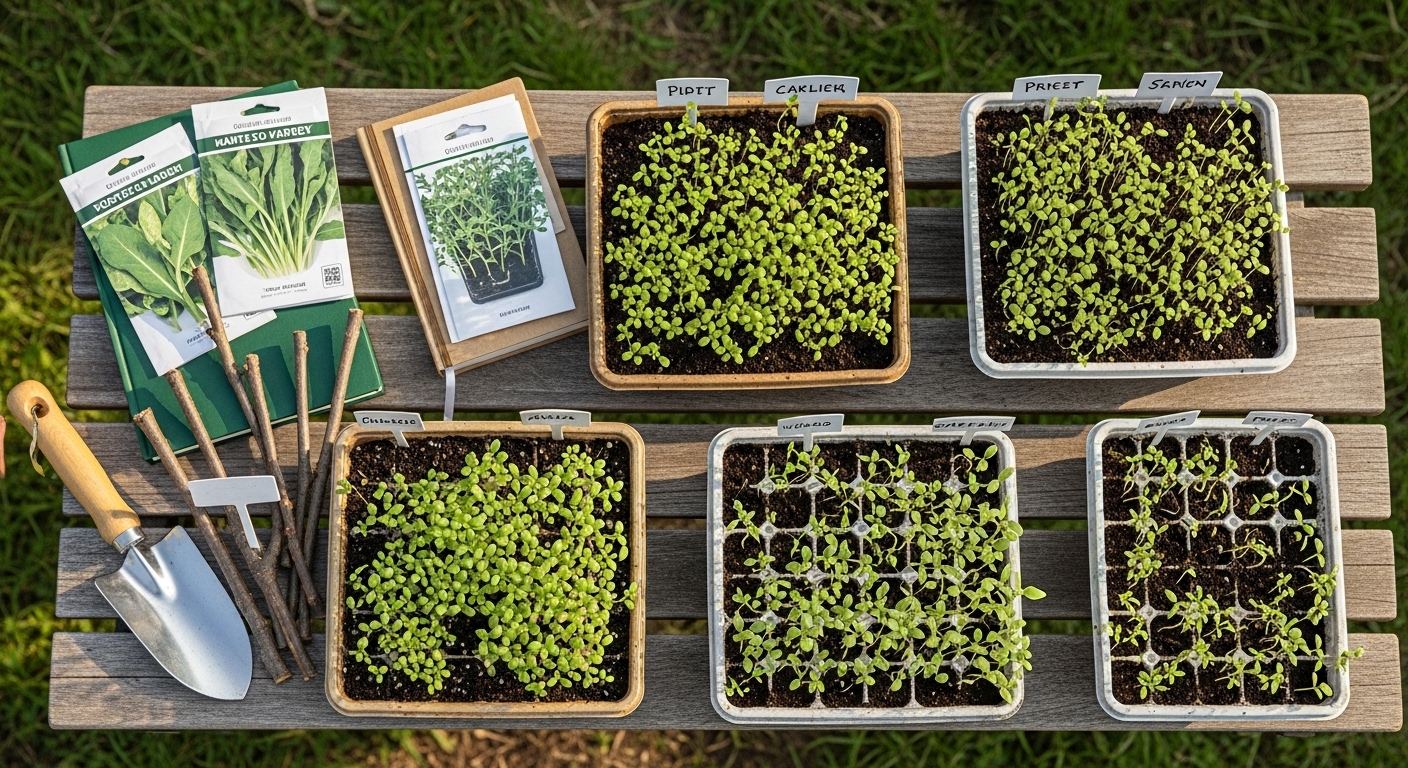
Sowing Seeds Indoors
When sowing seeds indoors, plant them about a half-inch deep in trays or small pots, keeping the soil moist but never soggy. A heat mat can help seeds germinate faster, usually within a week. Once seedlings reach about three inches tall and develop two sets of true leaves, thin them so the strongest remain, or transplant them to single cells.
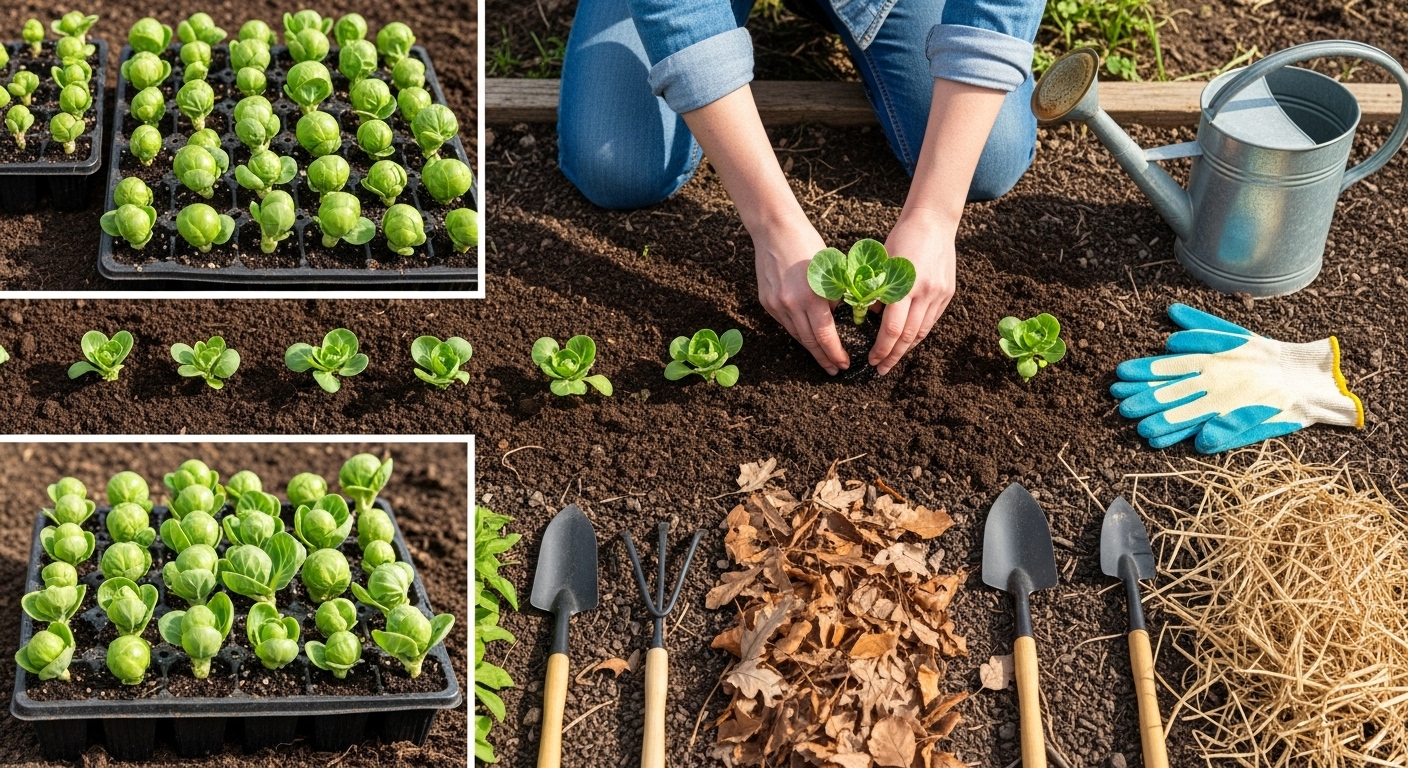
Hardening Off and Transplanting
Harden off seedlings by gradually exposing them to outdoor conditions over a week before transplanting. When moving to the garden, space plants 18-24 inches apart in rows about 30 inches apart, burying transplants up to their bottom leaves to encourage sturdy stems. After transplanting, water deeply and mulch with straw or chopped leaves to maintain moisture and suppress weeds.
Ongoing Care
- Keep the soil consistently moist, especially during dry spells — uneven watering can cause sprouts to bolt or split.
- Side-dress with compost or a balanced fertilizer once plants are established.
- Watch for pests like cabbage loopers or aphids.
- Remove any lower leaves turning yellow to improve air circulation and boost plant health.
With this step-by-step care, your Brussels sprouts will have the strong start they need for a harvest of delicious, compact sprouts in late fall.
Essential Care: Watering, Feeding, and Maintenance
Keeping your vegetable garden thriving starts with smart, attentive care. Water deeply and consistently, aiming for about one inch per week, preferably in the early morning to reduce evaporation and avoid leaf diseases. Setting up a drip irrigation system or soaker hose makes this even easier and more efficient.
Mulching—using straw, grass clippings, or shredded leaves—helps retain soil moisture, prevent weeds, and regulate soil temperature. Apply a two- to three-inch layer around your plants, but keep it a few inches away from the stems to prevent rot.
Regular feeding is essential: most vegetables benefit from a balanced fertilizer applied at planting and again every four to six weeks. Always read the specific needs on your seed packets or plant labels—for example, leafy greens often crave extra nitrogen.
Support taller plants like tomatoes and beans with stakes or cages early to avoid damaging roots later. Check supports regularly as plants grow.
Pruning, especially with crops like tomatoes and peppers, encourages airflow, reduces disease risk, and ensures energy goes to fruit production rather than excess foliage.
To prevent bolting, or premature flowering—especially common with cool-season crops like lettuce—keep plants well-watered and provide some afternoon shade during hot spells.
Good spacing is another pillar of maintenance: follow guidelines on seed packets for each variety to avoid crowding, which leads to poor growth and more disease.
Stay on top of weeding, either by hand or with a hoe, to prevent competition for water and nutrients.
Finally, practice crop rotation each year: don’t plant the same family of vegetables (like tomatoes and peppers, or broccoli and kale) in the same spot for at least three years. This breaks disease and pest cycles, giving your garden a fresh, healthy start with every new season.
Pest and Disease Problems (and How to Solve Them)
Battling pests and diseases is a natural part of gardening, but with the right approach, you can keep problems under control without resorting to harsh chemicals. Common garden pests like aphids and caterpillars can quickly damage plants—aphids cluster on new growth and suck sap, while caterpillars chew through leaves.
Meanwhile, diseases such as clubroot, which causes swollen, deformed roots in brassicas, and powdery mildew, which covers leaves with a white powdery coating, are frequent troublemakers. Early detection is key: check plants regularly, turning leaves over to spot tiny insects, eggs, or unusual markings.
Prevent problems by encouraging diversity in your garden—plant a mix of flowers and veggies to attract beneficial predators like ladybugs that feast on aphids.
Organic Solutions for Pests and Diseases
When you spot a problem, organic controls work well:
- Knock aphids off with a blast of water or remove them by hand.
- Pick off caterpillars early in the morning when they’re easiest to find.
For fungal diseases, follow these tips:
- Keep foliage dry by watering at the base of plants.
- Space plants properly to allow good airflow.
- Remove diseased leaves promptly.
Practice crop rotation to avoid soil-borne diseases like clubroot, and improve drainage by adding compost or planting in raised beds. Mulching also helps prevent disease spores from splashing onto leaves.
By monitoring plants closely, acting quickly at the first sign of trouble, and using organic methods, you can safeguard your garden’s health while avoiding synthetic pesticides.
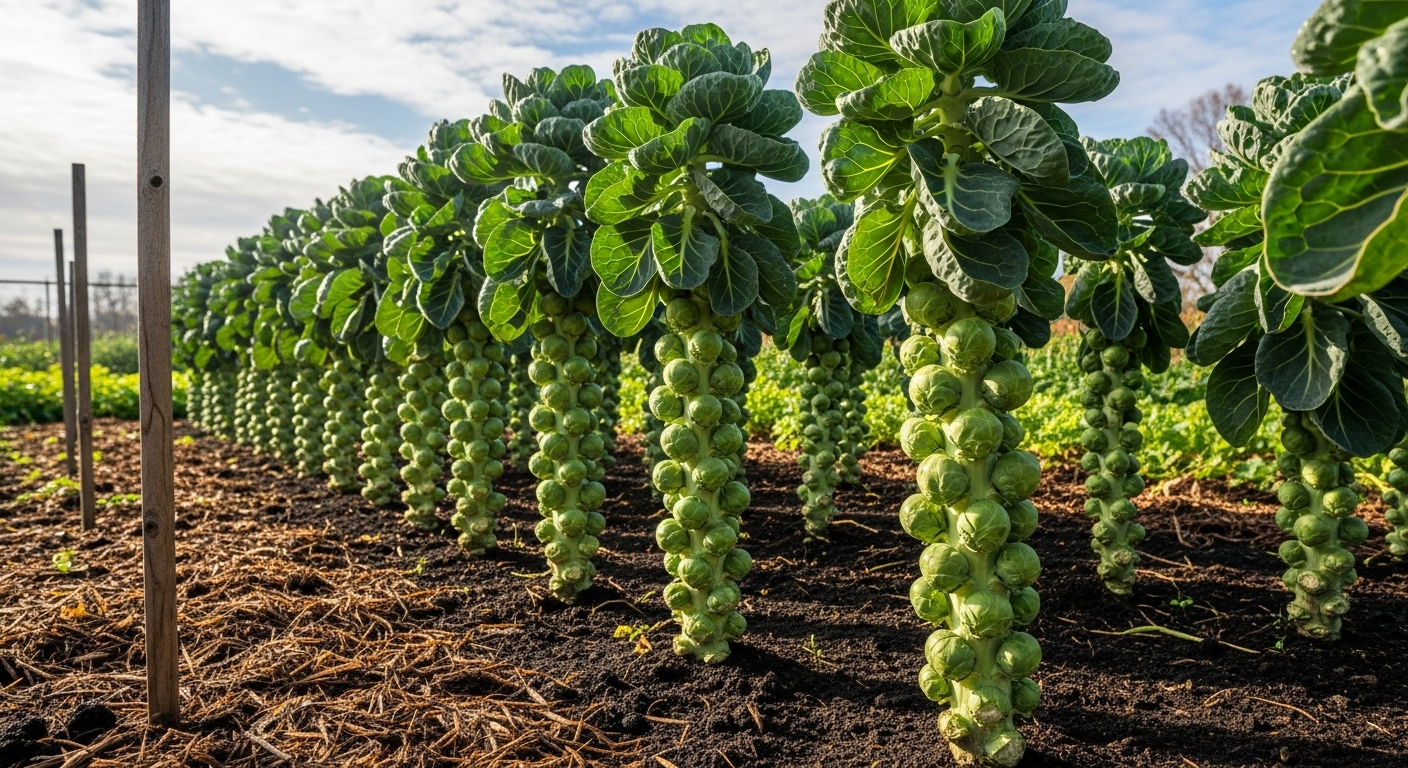
Harvesting and Storing Your Brussels Sprouts
Knowing when to harvest Brussels sprouts is key to getting the best flavor and texture from your crop. Look for firm, bright green sprouts about one to two inches in diameter—generally, they’re ready to pick when they feel solid and easily snap off the stalk.
Start harvesting from the bottom of the stalk up, as those sprouts mature first; simply twist them gently or use garden shears to avoid damaging the plant. Most healthy plants yield about 1-2 pounds of sprouts over the season, but you can encourage more growth by snapping off the plant’s central growing tip (the small cluster of leaves on top) when lower sprouts reach mature size—this signals the plant to put more energy into the remaining sprouts.
After picking, remove any yellowing leaves to keep the plant healthy and productive.
Storing Brussels Sprouts
For storage, keep unwashed sprouts in a perforated plastic bag in your fridge’s crisper drawer, where they’ll stay fresh for up to two weeks. If you have a surplus, Brussels sprouts freeze well:
- Blanch them in boiling water for 3-5 minutes.
- Plunge them into ice water to stop the cooking process.
- Dry and pack them into freezer bags.
Properly frozen, they’ll maintain good quality for up to a year, making it easy to enjoy homegrown flavor long after the harvest season is over.
Troubleshooting & Frequently Asked Questions
Many beginner gardeners encounter common problems like slow growth, small sprouts, or yellowing leaves, but these issues are usually easy to fix with a few simple tweaks.
If your plants are growing slowly or struggling to get started, check that they’re receiving enough sunlight—most vegetables and herbs need at least six hours of direct sun each day.
Small sprouts often result from overcrowded seeds or compacted soil; thin seedlings so each has room to thrive, and gently loosen the soil to promote better root growth.
Yellow leaves can signal overwatering, poor drainage, or a need for nutrients—allow the soil to dry slightly between waterings, ensure pots and beds have good drainage, and consider a balanced organic fertilizer to replenish spent nutrients.
Another frequent question is about pests: regularly inspect both sides of leaves, remove unwanted bugs by hand, and try natural repellents like neem oil when needed.
If you’re seeing mold or fungus, increase airflow around your plants and water at the base instead of overhead.
Most importantly, don’t be discouraged by occasional setbacks—gardening is a learning process, and experimenting with different techniques each season will help you discover what works best in your unique space.
Keep notes on what you try and the results, and soon you’ll be troubleshooting with confidence and enjoying healthier, more productive plants.