Introduction to Growing Brussels Sprouts in Winter
brussels sprouts frost protection is essential for gardeners who want to enjoy a bountiful winter harvest of these tasty, nutritious vegetables. Brussels sprouts are naturally cold-hardy, making them a top choice for winter gardening—even thriving in chilly conditions that send other crops into dormancy. In fact, a light frost can actually enhance their flavor, transforming the little sprouts from slightly bitter to sweet and nutty—a phenomenon many seasoned gardeners anticipate each year.
But while these vegetables tolerate cold exceptionally well, prolonged exposure to hard freezes and heavy snow can still threaten your plants, making strategic protection crucial for continued growth and a healthy harvest.
Whether you’re an experienced gardener or just starting to experiment with winter crops, knowing how to protect your Brussels sprouts from frost and snow can make the difference between a so-so crop and an abundant, flavorful one. From choosing the right planting time in fall to using mulch, row covers, or even upcycled household materials as insulation, there are simple and effective techniques suited to any garden—or even a patio planter.
In this blog post, we’ll dive into why Brussels sprouts are so well-suited for winter growing, explore how cold improves their taste, and provide step-by-step guidance on effective frost protection. We’ll also look at how to spot frost damage, when to harvest, and other practical tips to keep your Brussels sprouts thriving through winter’s chill. With the right approach, your garden can supply fresh, home-grown sprouts even when snow blankets the landscape outside.
Selecting the Best Brussels Sprouts Varieties for Winter
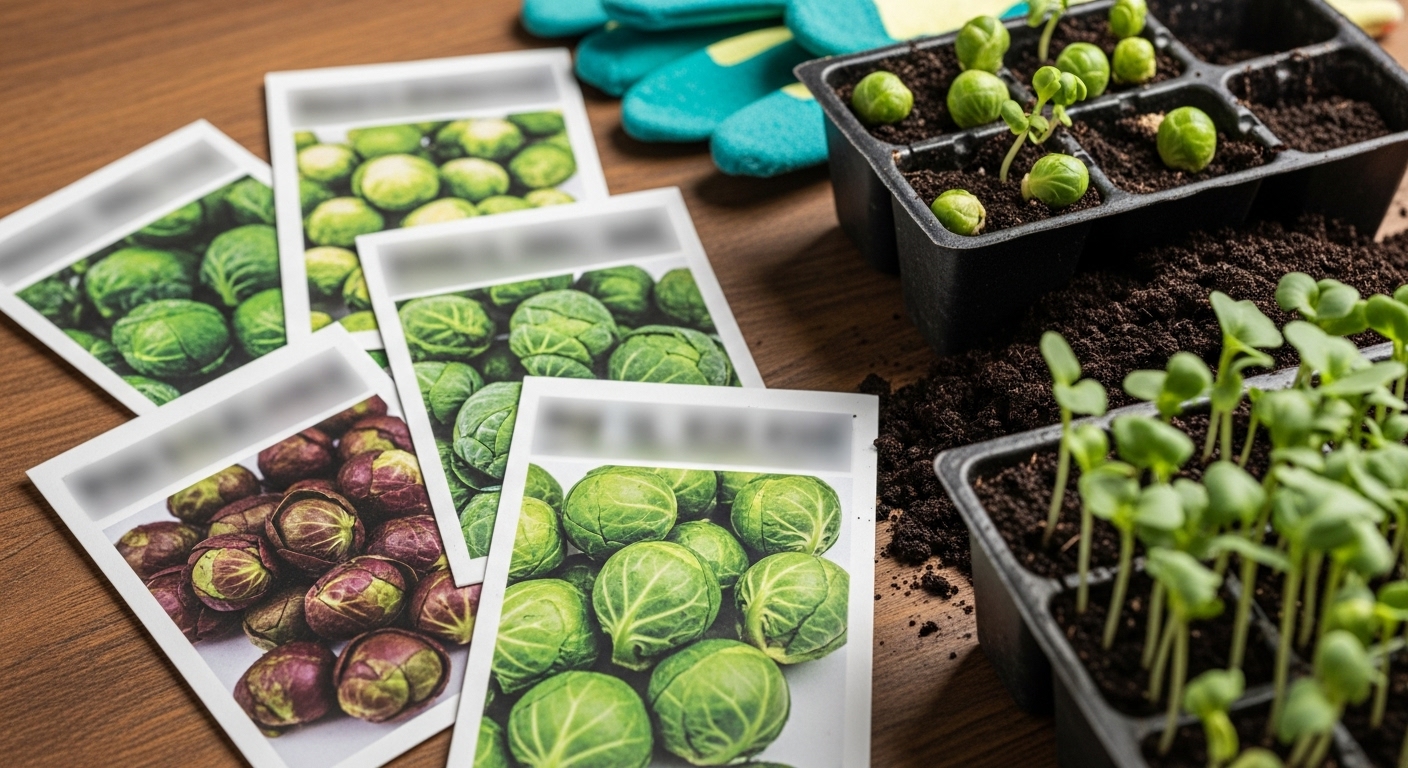
When choosing Brussels sprouts for a winter harvest, it’s smart to pick varieties that mature within 125 days and can handle chilly weather. Reliable options include Diablo, a favorite among gardeners for its dense, flavorful sprouts and frost tolerance, and Long Island Improved, a classic cultivar known for compact growth and excellent cold resilience.
Jade Cross and Redarling are also excellent choices. Both mature in under four months and develop sweeter flavors after a light frost, making them ideal for winter picking.
When hunting for seeds or starter plants, choose reputable suppliers with positive reviews and a clear reputation for quality. Many experienced growers prefer local nurseries or trustworthy online stores like Johnny’s Selected Seeds or Baker Creek Heirloom Seeds. Look for seed packets labeled specifically for short-season or cold-hardy varieties, and check the packaging dates to ensure freshness. If possible, ask for locally adapted strains, which often outperform generic options in harsh conditions.
For an extra edge, consider starting seeds indoors in midsummer, then transplanting strong seedlings outside in late summer or early fall. This ensures your plants are well established before winter sets in.
By selecting the right cultivar and sourcing robust seeds or starts, you’ll set yourself up for a rewarding winter harvest of tender, flavorful Brussels sprouts.
Planting and Timing Strategies for a Successful Winter Crop
Getting your winter crop off to a strong start hinges on knowing when to plant for your specific region. In northern zones like the Midwest or Northeast, aim to start seeds indoors in late summer—around mid-July to early August—since your first frost can hit as early as late September. Southern areas with milder winters, such as the Southeast or Pacific Coast, can start seeds outdoors as late as September or even October.
If your growing season is short, begin seeds indoors 6-8 weeks before the planned outdoor transplanting. For example, if your average first frost is October 1, sow seeds in mid-August. Use large seed-starting containers—at least 2-4 inches deep—so roots grow strong and aren’t stunted before transplanting. A cramped pot can delay growth and make seedlings struggle outdoors.
When your plants reach a sturdy, transplantable size (usually 3-5 leafy “true” leaves), it’s crucial to “harden them off” gradually. Over 7-10 days, move seedlings outdoors for a few hours a day to a sheltered spot, slowly increasing their exposure to sunlight and lowering nighttime temperatures. This gradual acclimation boosts frost tolerance, helping young plants transition from cozy indoor conditions to the tougher realities outdoors.
For especially cold snaps, cover transplants with frost cloths or cold frames for extra insurance while they develop hardiness. Taking these timing and planting steps ensures a robust, resilient winter crop—from kale to carrots—ready to thrive, even as temperatures drop.
Essential Care and Maintenance During the Winter
Winter gardening doesn’t mean your plants are on their own; regular care is essential even as temperatures drop. Start by adjusting your watering routine: plants need less frequent watering in winter, but it’s crucial to keep the soil lightly moist, especially for overwintering vegetables and perennials. Check soil moisture before each watering—over-watering in cold weather can lead to root rot.
Fertilizing also shifts in winter—hold off on high-nitrogen fertilizers, as most plants aren’t actively growing, and excess nutrients can stress roots. Instead, focus on nourishing the soil with slow-release organic compost early in the season.
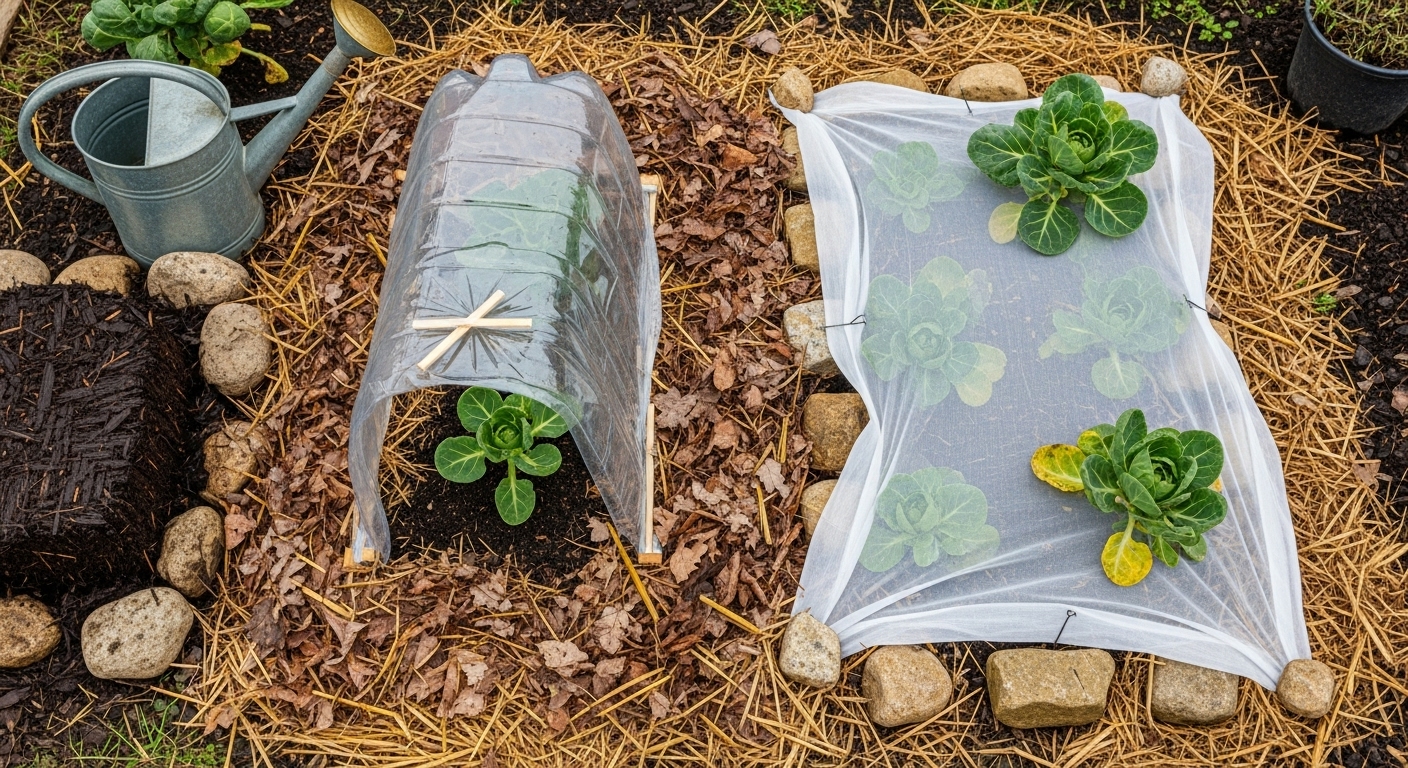
A thick layer of mulch—like shredded leaves, straw, or wood chips—helps insulate roots, retain moisture, and reduce soil temperature swings.
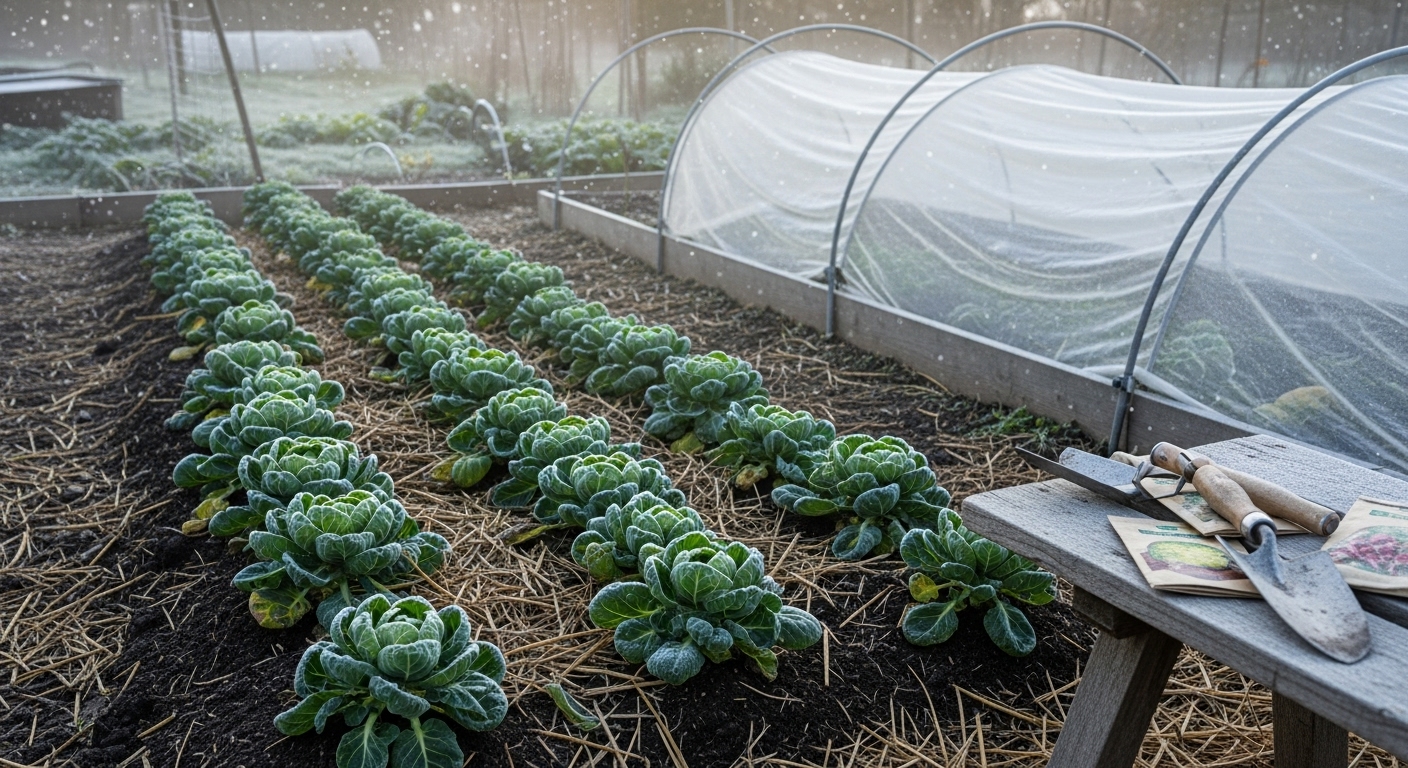
For frost protection, simple solutions like row covers or garden fleece can save tender crops from cold snaps; just drape the material over stakes or hoops and secure the edges on chilly nights. Cloches (upcycled plastic bottles work in a pinch) are great for young seedlings and small plants that need an extra layer of defense.
If you’re dealing with persistent pests like slugs or aphids—which remain active in mild winters—try removing debris and old leaves where they can hide, and use organic traps or barriers. Fungal issues such as mildew can also arise in damp winter conditions, so prune overcrowded stems and space out plants to improve airflow.
Before the first hard frost hits, thin out dense foliage and “top” certain vegetables—like kale or Brussels sprouts—by removing upper leaves. This not only channels energy toward the roots, resulting in hardier plants, but also encourages a sturdier harvest.
Winter maintenance might seem minimal, but a little attention now ensures your garden wakes up healthy and productive come spring.
Harvesting Brussels Sprouts After Frost
Brussels sprouts are one of those rare garden gems that actually taste better after a frost. Cool weather triggers the plants to convert stored starches into sugars, giving the sprouts a noticeably sweeter, nuttier flavor—many home gardeners even wait for a light frost before their first big harvest.
To time your harvest just right, watch for sprouts about 1 to 2 inches in diameter (roughly the size of a large marble) that feel firm and compact when gently squeezed. The lower sprouts on the stalk usually mature first, so always start picking from the bottom and work your way up.
To harvest, simply twist each sprout off the stalk with a downward motion, or use a clean, sharp garden knife to carefully cut them free, being cautious not to damage the plant or the remaining sprouts. For ongoing quality and maximum yield, check your plants every week for mature sprouts and remove any yellowing leaves, since healthy foliage supports continued growth.
In fact, you can keep harvesting well into winter—Brussels sprouts tolerate repeated frosts and often stay fresh and tasty in the garden even after the holidays, especially in milder climates. Just be sure to pick before the sprouts become soft, loose, or start to split, which are signs that quality is declining.
For those facing harsher winters, a layer of mulch or row cover can help extend your harvest window by providing extra insulation. So don’t rush to clear your beds at the first sign of chill—take advantage of late-season sweetness and enjoy Brussels sprouts at their peak.
Preserving and Storing Winter Brussels Sprouts
Keeping winter Brussels sprouts fresh and flavorful is easy with the right storage and preservation methods. Store unwashed sprouts in the refrigerator’s crisper drawer in an open paper or mesh bag, where they’ll stay crisp for up to two weeks—check regularly and remove any yellowing leaves.
If you’re lucky enough to have a root cellar, Brussels sprouts retain even more freshness when kept cool (32–40°F) and humid. Ideally, leave them on the stalk and place them upright in a bucket of damp sand.
To preserve your bounty for longer, try blanching the sprouts for a few minutes before freezing them in airtight containers or freezer bags. This simple step helps maintain their color and texture until spring.
Pickling is another tasty option: slice sprouts thin, then pack them into jars with vinegar, garlic, and spices for a tangy addition to winter salads or cheese boards.
No matter how you store or preserve them, Brussels sprouts are versatile in the kitchen. You can:
- Roast them with olive oil for crispy edges
- Shred raw sprouts for bright slaws
- Toss frozen ones straight into stir-fries and soups
By combining smart storage with preservation techniques like freezing and pickling, you can enjoy your winter harvest in hearty meals all season long.
Common Problems and Troubleshooting Winter Growing
Winter growing comes with its own set of challenges, and knowing how to troubleshoot common problems can save your crops. One frequent issue is the sudden appearance of pests like aphids and spider mites, which thrive in warm indoor spaces or protected greenhouses. To combat these, regularly inspect your plants and remove pests by hand or with a gentle spray of water. Non-toxic insecticidal soap can also be effective, but always test it on a small area first.
Another problem is rot, especially root rot caused by overwatering in cold, damp conditions. Make sure containers and beds have proper drainage, only water when the top inch of soil feels dry, and avoid watering in the late afternoon so foliage dries before nightfall.
Stunted growth is also common due to low light and cooler temperatures. To enhance growth, clean your greenhouse glass or cold frame to maximize sunlight, and consider using low-cost LED grow lights to supplement dim days. If you notice leggy or weak plants, prune back excess growth and rotate crops for even light exposure.
For plant recovery, remove damaged or diseased leaves to prevent the spread and encourage new growth. In addition, boost plant resilience by adding a balanced, slow-release fertilizer to replenish nutrients lost to winter stress.
Above all, observation is key—catch issues early by walking through your garden regularly. With a proactive approach, you can troubleshoot small problems before they become bigger setbacks, helping your winter crops stay healthy and productive right up to harvest.