Introduction
When it comes to transplanting bell peppers, getting it right is crucial for healthy plants and an abundant harvest. A successful transplant doesn’t just happen by luck—it’s about knowing when to move seedlings, how to prepare them, and using the best planting techniques. Even seasoned gardeners sometimes struggle with peppers that fail to thrive after transplanting, often blaming pests or weather when the real issue is usually timing or method.
In this blog post, you’ll find a complete guide covering every step of the process: recognizing when your seedlings are ready, prepping both your plants and the soil, and moving them gently to avoid transplant shock. Whether you’re growing in a backyard garden or containers on your patio, you’ll soon have confidence in transplanting bell pepper seedlings for vigorous growth and strong yields. Let’s get started and set your plants up for success!
Choosing the Right Time to Transplant
Knowing when to transplant your seedlings can make all the difference in their survival and growth. A common sign that your plants are ready is when they have at least two to three sets of true leaves—not just the small seed leaves they first sprouted with, but their first “real” foliage.
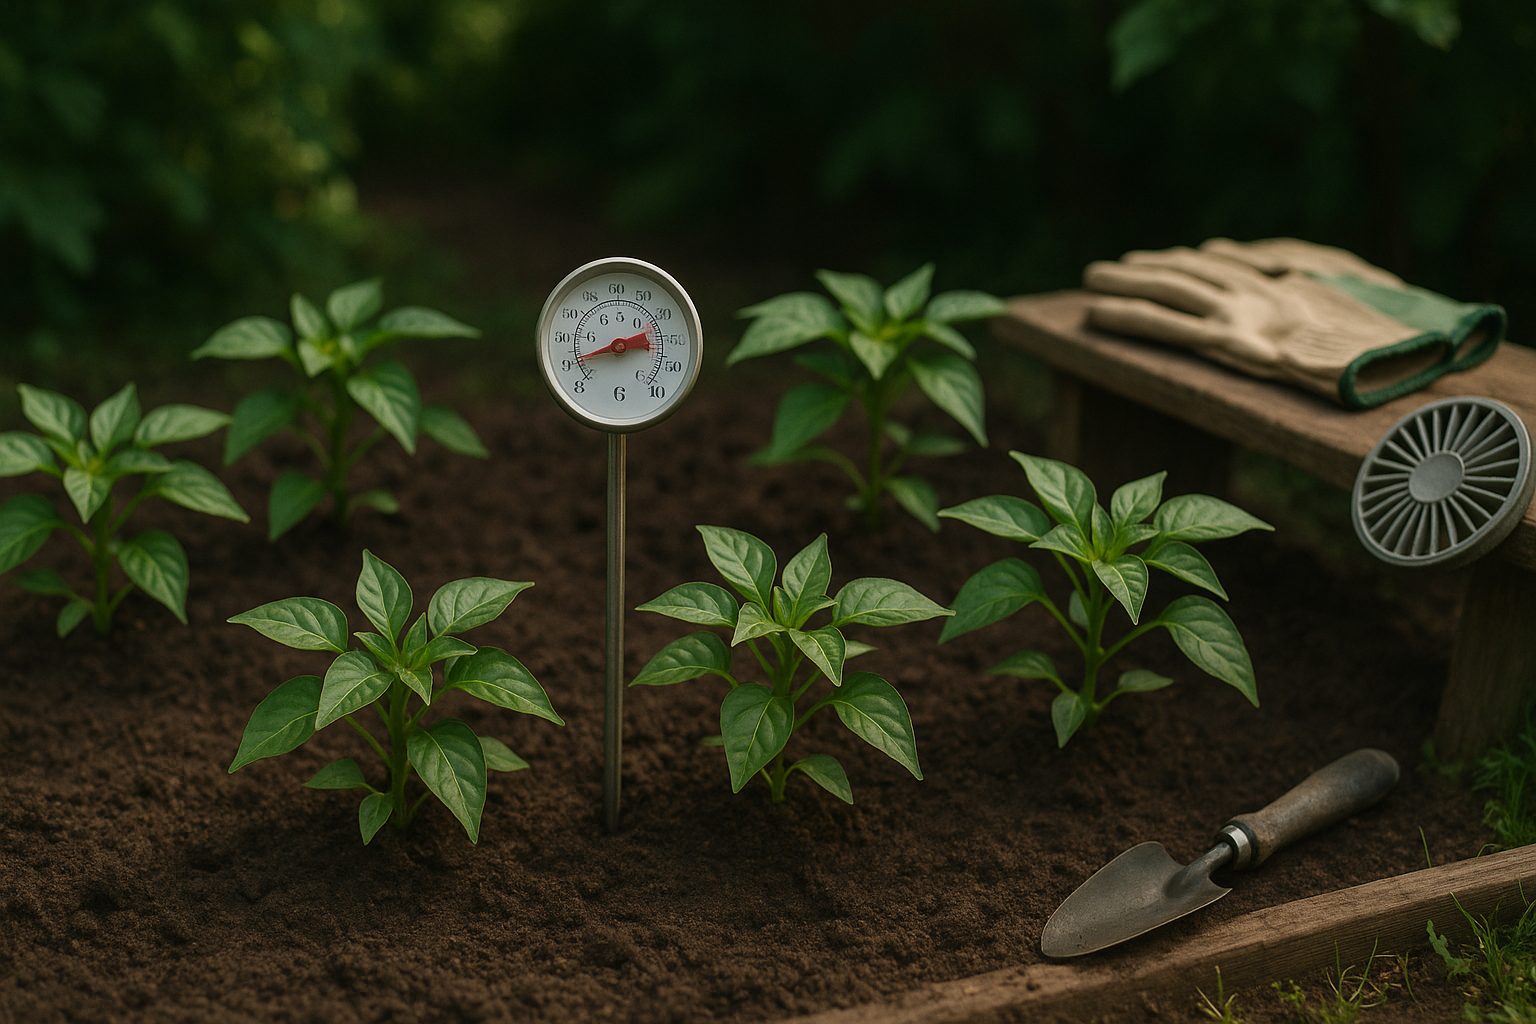
Size matters too; for most vegetables and flowers, seedlings are usually sturdy enough once they’re three to four inches tall and roughly 4-6 weeks old. Timing your transplant to the weather is just as important—wait until all danger of frost has passed and soil temperatures are consistently above 55-60°F (13-16°C), which you can check with an inexpensive soil thermometer found at garden centers.
Cool, overcast days or late afternoons are best for lessening transplant shock, as harsh midday sun can stress young plants. Transplanting too early, especially before the frost risk is gone, can be disastrous: even a light frost can kill tender seedlings or stunt their growth. Likewise, moving plants outdoors when the soil is cold and wet can lead to root rot or damping-off disease.
Rushing the process may result in transplant shock—wilting, yellowing, or failure to thrive—which sets your garden back by weeks. To ease the transition, try hardening off seedlings by gradually introducing them to outdoor conditions for a few hours a day over a week, shielding them from harsh wind and sun at first.
By watching for these readiness signals and choosing the right weather and soil conditions, you’ll give your plants the strongest possible start in your garden.
Preparing Pepper Seedlings for Transplant
To give your pepper seedlings the best start in the garden, it’s crucial to harden them off before transplanting. This process involves gradually introducing seedlings—previously coddled indoors—to the harsher realities of outdoor weather.
Start by placing them outside in a sheltered spot for an hour or two on a mild day, then bring them back in. Each day, increase their outdoor time by an hour or two, avoiding direct midday sun at first and shielding them from strong wind or cold nights.
After 7-10 days, the seedlings will develop thicker stems and tougher leaves, making them better able to withstand sun, wind, and fluctuating temperatures.
When the time for transplant arrives, minimize shock by watering them thoroughly both the night before and an hour prior to planting; ensure the soil in their new spot is moist but not soggy.
If transplanting on a hot, sunny day, consider temporarily protecting new transplants with a lightweight row cover or a homemade shade tent, and use barriers like garden fabric or even upturned pots to break harsh winds.
Always inspect your seedlings beforehand—discard any with yellowing, spots, mushy stems, or stunted growth, as these may carry diseases that could spread. Healthy seedlings should have strong, green leaves and no signs of pests.
Take your time with this step; it’s easier to prevent problems now than treat sick plants later. By following these steps, you’ll help your pepper plants adjust smoothly and thrive in their new home.
Transplanting Steps: How to Move Seedlings Safely
Choosing the right pot or cell size is key to a smooth transplant and robust root growth. For most seedlings, select containers that allow at least an extra inch of room on all sides of the current root ball—too small, and roots become crowded; too big, and water sits unused.
When you’re ready to transplant, water seedlings an hour beforehand to minimize root shock and make removal easier. To remove a seedling, gently loosen the soil around the roots with a small spoon or stick, carefully lift it by the leaves (never the delicate stem), and cradle the root ball so it stays intact.
Place the seedling into a prepared hole at the same depth it grew at before—planting too deep can rot the stem; too shallow exposes fragile roots. For spacing, check seed packet recommendations; most vegetables and flowers do best with at least 4–6 inches between plants in-ground, while container spacing depends on the plant’s mature size and pot diameter.
After planting, press the soil lightly around the roots, water immediately to settle the soil, and provide light shade for the first couple of days if moving outdoors. This gentle aftercare helps seedlings adjust, reduces transplant shock, and sets the stage for strong, healthy growth.
Optimizing Conditions After Transplant
After transplanting seedlings, providing consistent care is crucial for their survival and healthy growth. Start with a regular watering schedule—water deeply right after transplanting, then maintain moisture with frequent, gentle waterings to keep the soil evenly damp but never soggy. This helps the young roots adjust and reduces transplant shock.
Protect seedlings from harsh sunlight and strong winds during their first week by using shade cloth, floating row covers, or even upturned pots during the hottest part of the day. These barriers lessen environmental stress, giving roots time to anchor securely.
Mulching around the base of seedlings with straw, shredded leaves, or pine needles is another smart move. Mulch helps conserve soil moisture, suppresses weeds, and keeps root temperatures stable.
About two weeks after transplanting—once you see signs of new leaf growth—begin fertilizing with a balanced, water-soluble fertilizer at half strength, following label instructions to avoid root burn. Opt for an organic option if you prefer, like fish emulsion or compost tea.
You’ll know your transplants are thriving when you see sturdy new leaves, steady upright stems, and vibrant green color emerging. Avoid overwatering or overfeeding, as both can stress plants.
If your seedlings continue producing healthy leaves and show steady growth without wilting or yellowing, you can be confident they’re establishing well in their new home.
Common Problems & How to Troubleshoot
Transplanting can be stressful for plants, and some common issues include transplant shock, wilting, yellowing leaves, and stunted growth.
If your plant suddenly droops or wilts after replanting, it’s likely experiencing transplant shock. Ease the stress by watering deeply right after transplanting and providing shade during the hottest part of the day.
Yellowing leaves might signal overwatering, poor drainage, or nutrient deficiency—check the soil to ensure it’s moist but not soggy, and use a gentle starter fertilizer if needed.
Stunted growth often means the roots haven’t settled in. Avoid disturbing the root ball and give the plant time to adjust before adding more fertilizer.
To prevent problems, always use clean tools, transplant during the cooler hours of the day, and prepare a hole that’s larger than the root ball.
Watch closely for warning signs: limp leaves, slow growth, or discolored foliage mean your plant needs attention.
If symptoms persist for more than a week, reassess watering habits, soil quality, and sunlight exposure.
By staying vigilant and addressing problems early, even beginners can help their transplants recover and thrive.
Frequently Asked Questions About Pepper Seedling Transplanting
When transplanting pepper seedlings, many gardeners wonder whether it’s better to use pots or plant directly in the ground. Both options work well, but pots are ideal if your climate has unpredictable cold spells or limited space—just make sure your containers have good drainage.
If planting outdoors, wait until nighttime temperatures consistently stay above 55°F (13°C) to avoid stunting the young plants.
Seedlings should be thinned so only the strongest remain in each cell or pot. If you started multiple seeds together, snip the extras at soil level instead of pulling them up, which can disturb the roots.
When planting, bury the seedling only up to the first set of true leaves—this encourages a stronger, deeper root system. Peppers shouldn’t be planted as deeply as tomatoes since their stems don’t root above the main stem. If your seedlings look tall and leggy, plant them slightly deeper but avoid covering the actual leaves.
Experienced gardeners find it helpful to transplant on cloudy days or early in the evening to minimize stress and wilting. Keep the soil moist but not soggy, and protect young plants from wind and harsh sun for the first week to help them settle in.
Conclusion & Next Steps
Now that you know the key steps for transplanting and nurturing healthy pepper plants, it’s time to put them into action in your own garden. Following these tips will help your peppers thrive, whether you’re aiming for sweet bells or fiery hot varieties.
For even better results, check out our other guides on ongoing pepper care and expert harvesting tips.
Every gardener’s experience is unique, so we’d love to hear your own transplanting stories or questions—share them in the comments below and join our growing community of pepper enthusiasts!