Bell Peppers – Annual or Perennial?
Are bell peppers perennial or annual? It’s a question that often surprises even experienced gardeners. Botanically speaking, bell peppers (Capsicum annuum) are indeed perennials in their native tropical climates—regions where temperatures remain mild and frost-free year-round. In their natural habitats, these plants can thrive for several years, continuously producing fruit. But in most temperate regions, where winters bring icy temperatures, bell peppers are sensitive to frost and cannot survive outdoors through the cold months. As a result, most gardeners treat them as annuals, planting new seeds or seedlings each spring and reaping a single season’s harvest.
This difference all comes down to climate and USDA growing zones. For example, in Zones 9 and above—think southern Florida or parts of southern California—if given a sheltered spot and occasional pruning, bell peppers can overwinter and bounce back strong. For gardeners in Zones 8 and below, frost signals the end of the growing season, and replants are a necessity. One common misconception is that bell peppers are always annuals because they “die” every year, but the truth is that their lifecycle is simply cut short by cold, not biology.
If you’re curious about extending your bell pepper plant’s life, some home gardeners in cooler climates have success overwintering plants indoors or in greenhouses. With the right care—and a bit of luck—you might just convince your peppers to stick around for more than one harvest!
Choosing the Right Bell Pepper Varieties
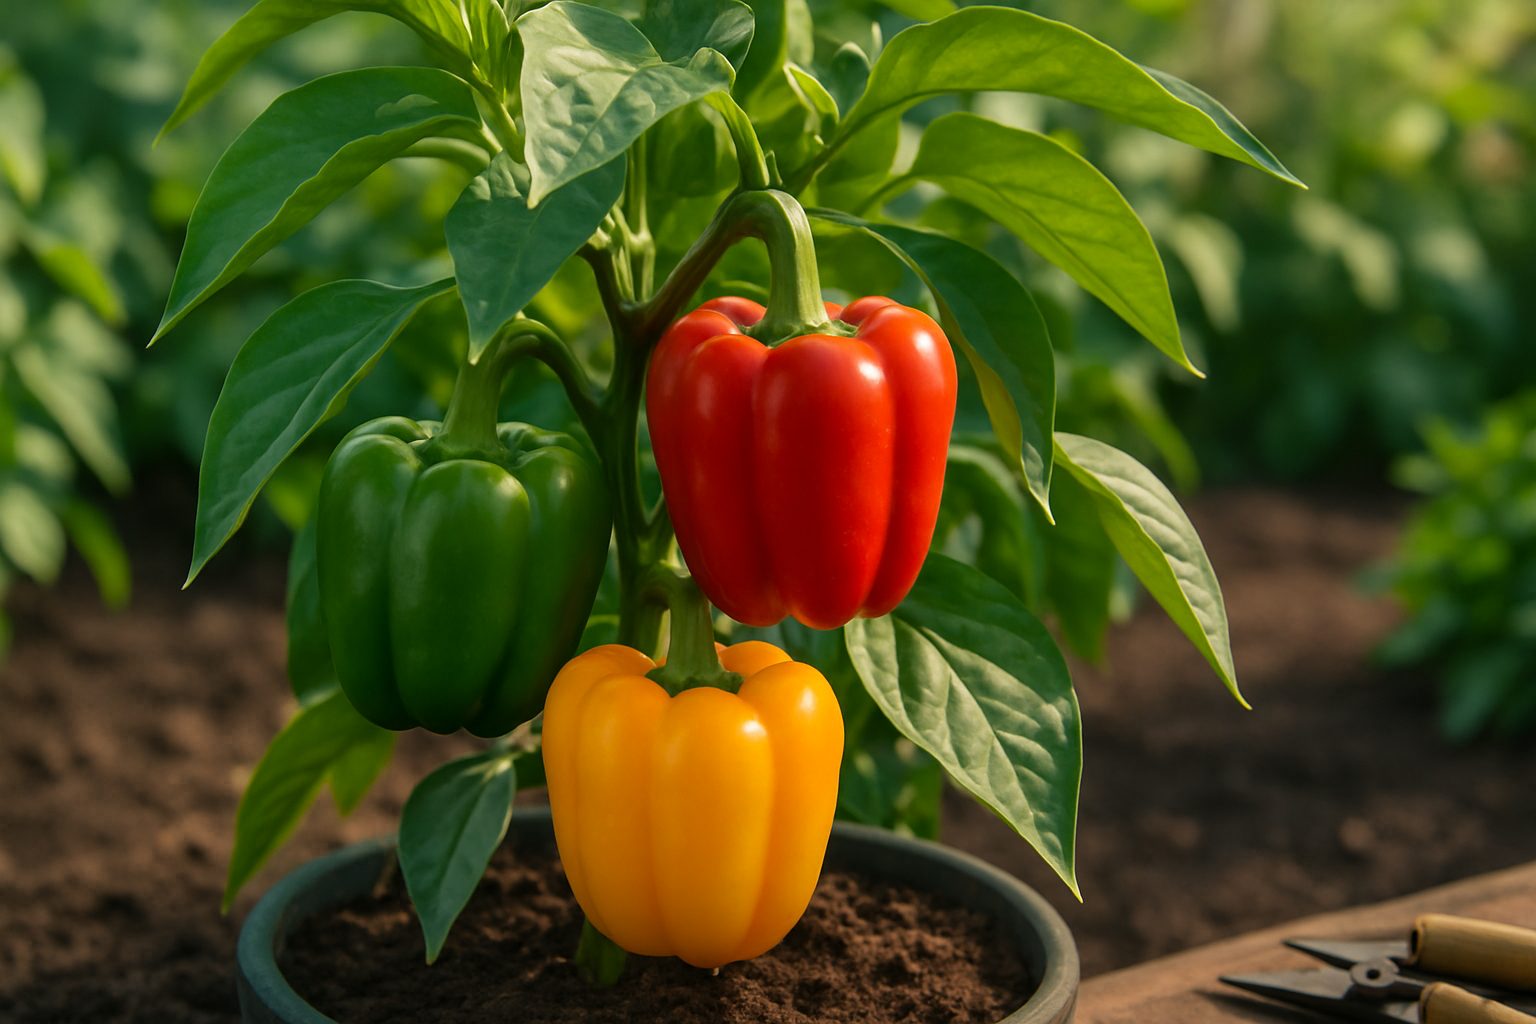
When selecting bell pepper varieties for your garden, start by considering some popular options—like the classic blocky California Wonder, the sweet and thin-skinned Gypsy, and the vibrant, early-maturing Early Sunsation. Bell peppers come in a spectrum of colors, from traditional green to red, yellow, orange, and even purple, each offering subtle differences in sweetness and flavor.
Pay attention to the variety’s growth habits: although most bell peppers are grown as annuals, certain types—especially those with compact, bushy forms—can overwinter indoors or thrive in mild climates, extending your harvests year-round.
If you live in a colder region, look for hardy varieties like King of the North or Islander, which set fruit well in shorter, cooler growing seasons. Gardeners in warmer southern zones can experiment with perennializing peppers by bringing potted plants indoors during cold spells or providing frost protection.
Always check the days to maturity on seed packets—short-season varieties are better suited for areas with limited warm weather. Combine your climate considerations with your taste preferences: some peppers stay crisp and grassy even when ripe, while others develop a fuller sweetness as they change color.
Start with two or three varieties that match both your local conditions and flavor favorites, then adjust as you gain experience with what thrives and tastes best in your garden.
Starting and Growing Bell Peppers Successfully
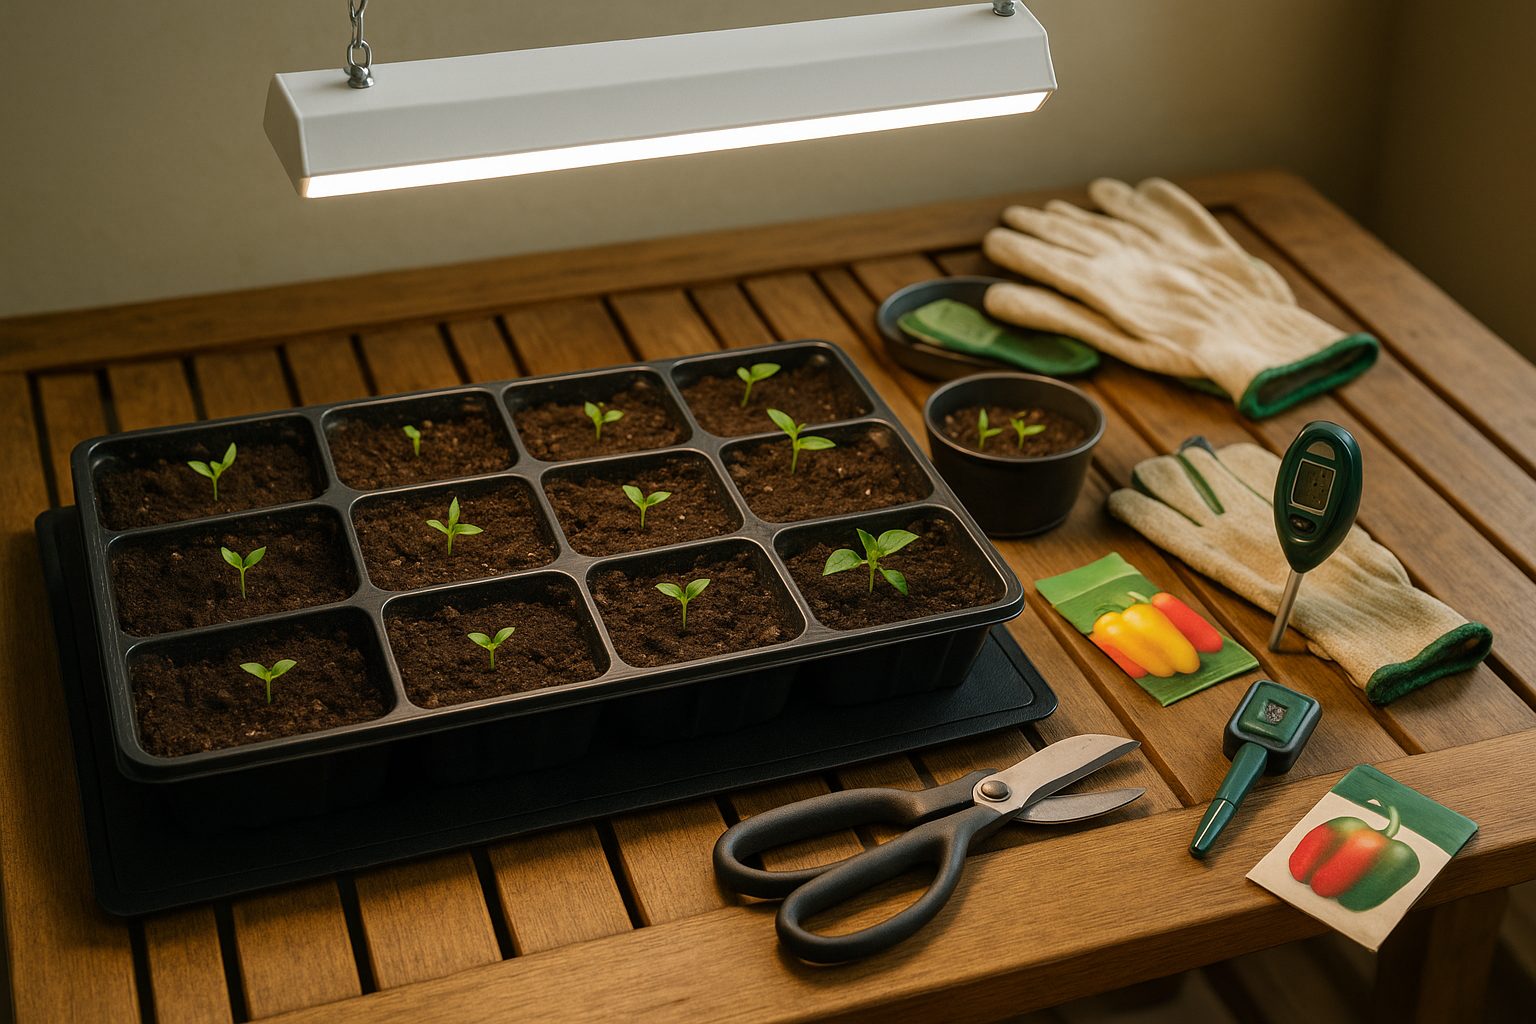
When it comes to bell peppers, gardeners can either start from seed indoors or purchase young plants—each method has its pros and cons. Starting from seed indoors is generally more cost-effective and offers a wider variety selection but requires a longer lead time.
Begin sowing seeds about 8-10 weeks before your area’s last expected frost date—typically late January to mid-February in temperate regions. Seeds need warm, consistent temperatures (around 75-85°F) to germinate, along with plenty of moisture and light. Using a seed-starting mix, a heat mat, and a bright grow light or sunny windowsill will help young sprouts thrive.
In contrast, buying transplants from a nursery is convenient and can save time. These plants are usually ready to go outdoors after the final frost.
Whichever route you choose, bell peppers need well-draining, fertile soil rich in organic matter. Before planting, work compost or aged manure into the soil; peppers thrive in slightly acidic to neutral pH (6.0-7.0).
Choose a location with full sun—at least 6-8 hours daily. Keep the soil consistently moist but not soggy, aiming for deep, infrequent waterings to encourage strong root growth. Apply a balanced fertilizer or side-dress with compost every few weeks once plants begin to flower.
When transplanting seedlings, space them 18-24 inches apart in rows at least 24 inches apart, giving each plant plenty of room to branch and access airflow, which helps prevent disease. Mulch around the base to maintain moisture and suppress weeds. Always transplant on a calm, overcast day or in the evening to reduce transplant shock.
With the right start and steady care, your bell peppers will reward you all season long.
Overwintering Bell Peppers – Extending Plant Life
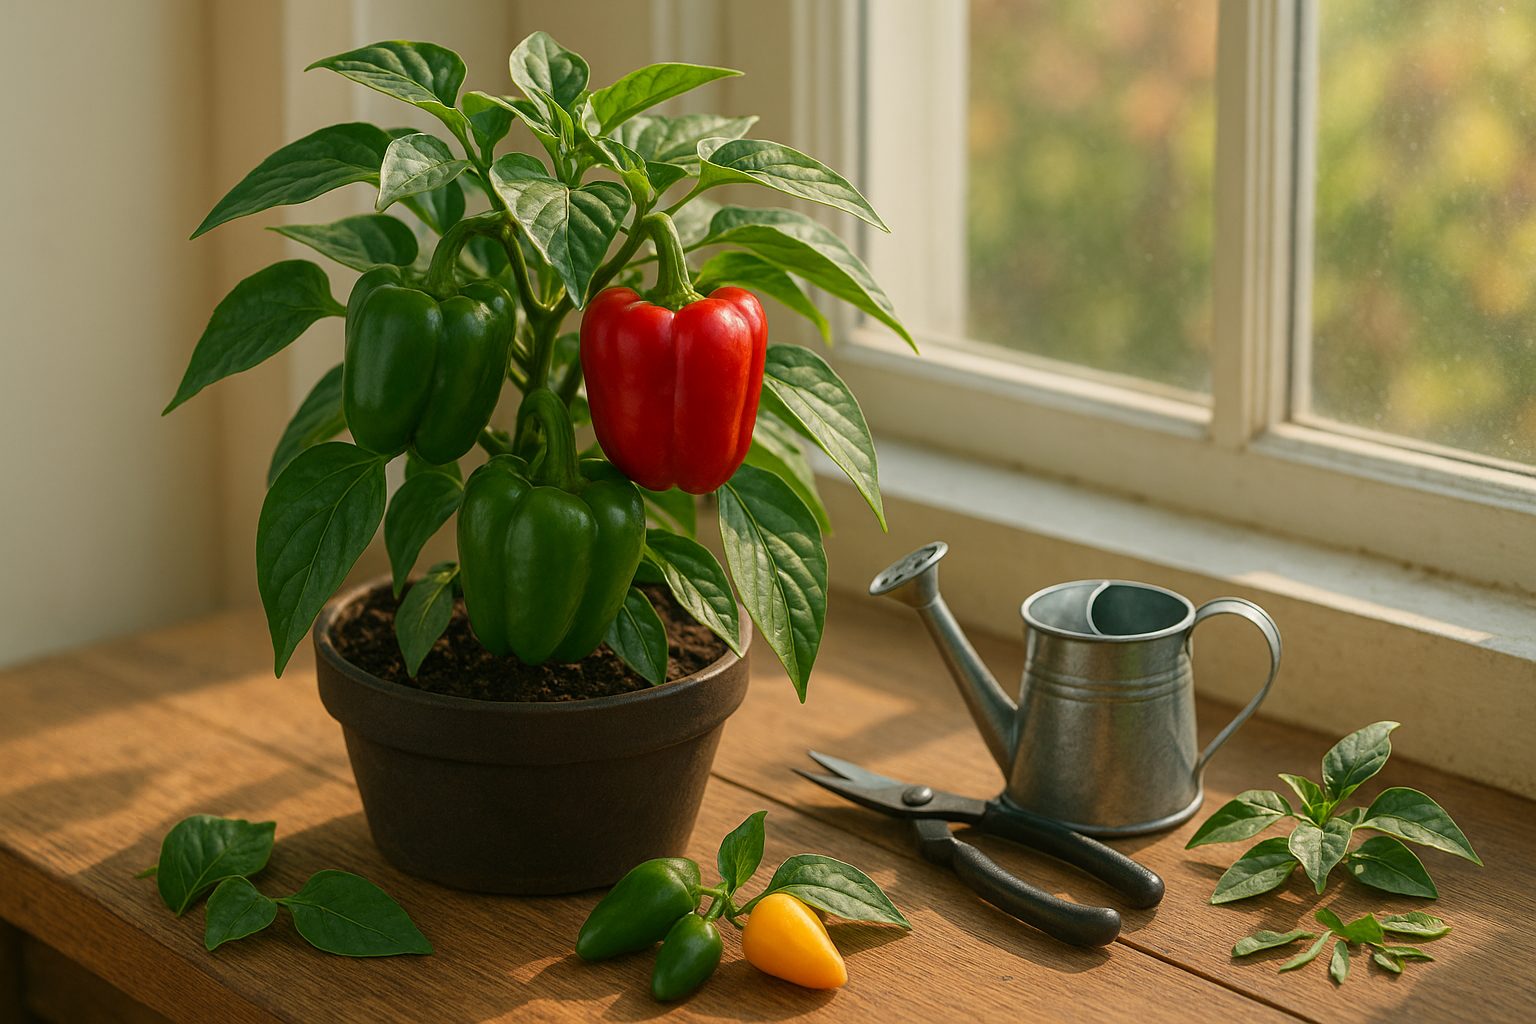
Overwintering bell peppers means keeping your plants alive and healthy through the winter months, allowing them to grow for multiple seasons instead of treating them as annuals. This process offers several benefits: you’ll get a head start on next year’s harvest, save money on buying new plants, and potentially enjoy even larger yields from mature, established peppers.
To begin, start by pruning back your pepper plants—trim stems to about 6-8 inches tall, removing any flowers, fruit, or leaves to limit stress and pests. Dig up the plants carefully, trying to keep as much of the root ball intact as possible, and repot them into containers with well-draining potting mix.
Relocate the potted peppers indoors before nighttime temperatures drop below 50°F (10°C). Place them in a sunny south-facing window or, if light is limited, use grow lights for 12-16 hours daily. Keep humidity levels moderate—around 50-70%—by grouping plants or using a small humidifier, and water sparingly to prevent root rot, letting the top inch of soil dry before watering again.
If space is tight or you prefer to leave plants outside, pick a sheltered microclimate near a south-facing wall where warmth and light are maximized. Protect outdoor peppers with frost cloths, cold frames, or even upside-down clear storage bins to trap heat on especially chilly nights.
In spring, gradually acclimate your peppers to outdoor conditions: bring them outside for a few hours daily, increasing their exposure over 7-10 days. Feed with diluted fertilizer when new growth appears, and transplant back into your garden once the threat of frost has definitely passed, ensuring a strong, productive season ahead.
Pest and Disease Management
Bell peppers are prone to several pests, with aphids and spider mites among the most common culprits. Aphids gather on tender new growth, sucking out plant sap and causing leaves to curl or yellow, while spider mites spin fine webs and create speckled, discolored foliage by feeding on the undersides of leaves. These pests weaken plants, reduce yields, and can even spread viruses.
Bell peppers are also susceptible to diseases like bacterial blight, which causes water-soaked spots that turn brown and spread rapidly, and wilt diseases such as bacterial or fusarium wilt that can quickly kill entire plants by blocking their water-conducting vessels.
To protect your crop, adopt preventive practices like rotating crops, spacing plants to promote air circulation, and removing plant debris to eliminate overwintering sites for pests and pathogens. Mulching with straw or plastic can also help regulate soil moisture and suppress disease.
For organic control, introduce ladybugs to eat aphids, spray neem oil to deter mites, and use copper-based fungicides against blight when necessary.
Be vigilant when overwintering or growing peppers as perennials: older plants can harbor pest eggs and disease spores, so inspect regularly, prune back dead material, and replace affected soil each season to reduce pressure from recurring problems.
Changing pest and disease pressures mean that ongoing monitoring and adapting practices is key to perennial success.
Harvesting and Enjoying Your Bell Peppers
Knowing when to pick your bell peppers makes all the difference in taste and yield. Look for peppers that have reached their full size, feel firm, and have vibrant, glossy skin—colors can range from green to red, yellow, orange, or even purple, depending on the variety. Gently tugging can damage branches, so use clean garden scissors or pruning shears to snip the peppers off, leaving a small bit of stem attached. This helps the plant stay healthy and continue producing more fruit.
Once harvested, bell peppers shine in all kinds of dishes, from crisp salads and stir-fries to stuffed peppers and grilled skewers. They sauté beautifully, add crunch to wraps, and make tasty snacks when eaten raw with hummus.
To store fresh peppers, keep them unwashed in a paper bag or a perforated plastic bag in the refrigerator—this will keep them crisp for up to two weeks. For longer preservation, consider slicing and freezing them or trying your hand at pickling; both methods lock in flavor for months and add a homemade touch to future meals.
With the right harvesting and storage steps, you’ll enjoy the bounty of your garden well beyond the growing season.