Introduction to Growing Peppers
If you’ve ever wondered how to grow bell peppers in your home garden, you’re not alone—peppers are among the most popular choices for backyard growers, prized for their vibrant colors and incredible versatility in the kitchen. From sweet, crunchy bell peppers tossed in summer salads to fiery hot chilies spicing up salsas, these plants offer a rainbow of options for every palate and meal.
Whether you’re a gardening novice or a seasoned pro, peppers make a rewarding addition to any plot or patio container thanks to their relatively simple care requirements and prolific harvests.
Varieties and Flavors
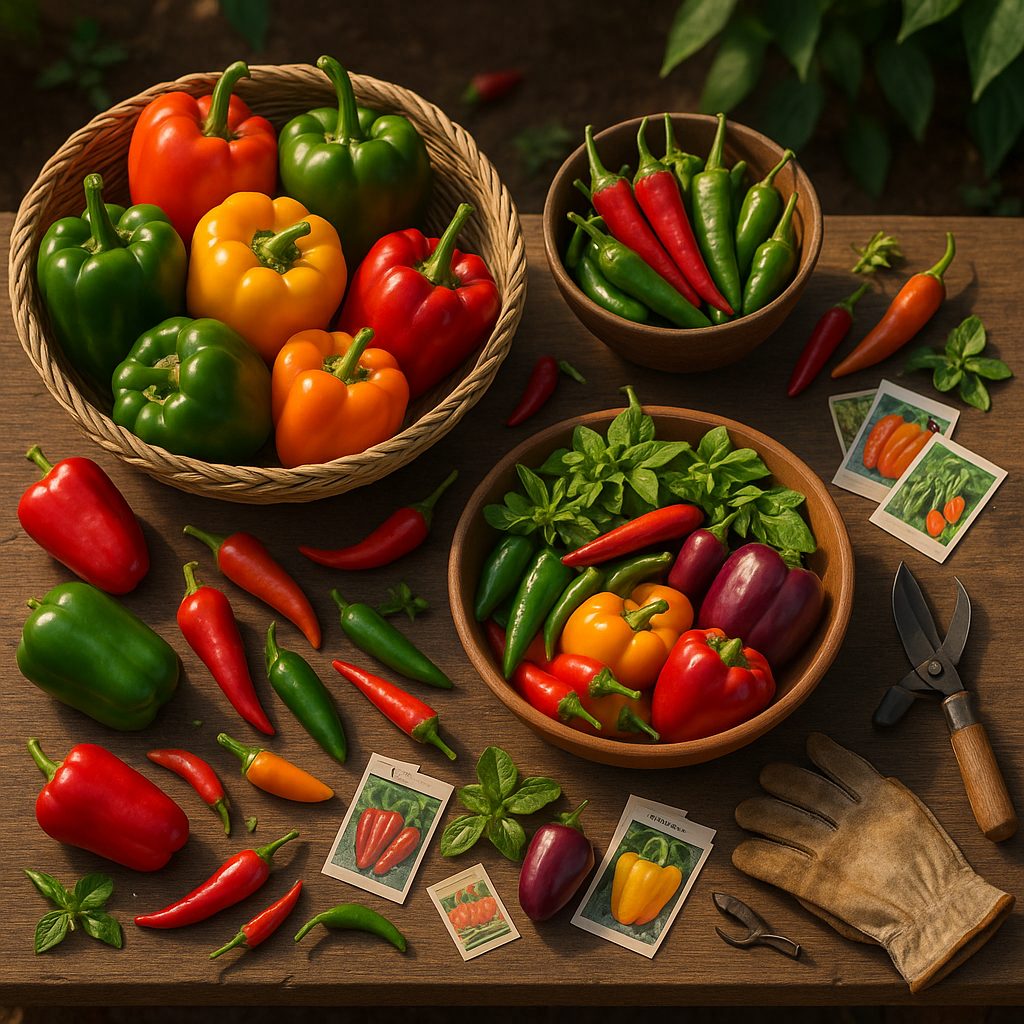
Bell peppers, in particular, are known for their sweet, mild flavor and come in a variety of hues—green, red, yellow, orange, and even purple. If you crave a little heat, hot chili varieties like jalapeño or cayenne can be just as enjoyable to grow. There are also specialty peppers, such as banana or pimiento, each bringing its own distinct personality to your garden and dishes.
Growing Conditions
Peppers thrive in warm, sunny locations with well-drained soil and benefit from consistent watering, making them flexible enough to suit small raised beds, large pots, or even indoor setups under the right lights.
Benefits of Growing Your Own Peppers
Not only do peppers add color and flavor to your meals, but growing them yourself puts you in control—allowing you to choose varieties tailored to your taste and pick them at the peak of freshness. Whatever your level of gardening experience, this complete guide will help you master the art of homegrown peppers and enjoy the fruits of your labor all season long.
Choosing the Right Pepper Variety and Preparing Seeds
When choosing the right pepper variety for your garden, start by considering the flavors and heat levels you enjoy. Sweet peppers like bell peppers, banana peppers, and pimento are known for their mild, sometimes fruity taste, making them perfect for salads, stuffing, or grilling. On the other hand, hot peppers such as jalapeños, habaneros, cayennes, and ghost peppers offer varying degrees of spicy heat—ideal for those who love a fiery kick in salsas and sauces.
Beyond flavor, evaluate the specific varieties available. Bell peppers are classic sweet options, while poblano and Anaheim provide a mild heat. For those seeking intense spice, habanero or Carolina Reaper push the heat scale to its limits.
Once you’ve narrowed down your preferences, consider whether you want heirloom or hybrid seeds. Heirloom peppers reproduce true-to-type and feature unique flavors, while hybrids are bred for traits like disease resistance and higher yields. If you live in a cooler climate, early-maturing varieties like Early Jalapeño may perform better. Southern gardeners might opt for heat-loving types such as Hot Banana.
Also, look for seeds labeled with resistance to common diseases like bacterial spot, especially if you’ve had trouble with these issues in the past.
Saving Seeds from Fresh Peppers
If you want to save seeds from a fresh pepper, start by selecting the ripest, healthiest peppers on the plant. Cut the pepper open and wear gloves if handling hot varieties. Carefully remove the seeds and spread them out on a paper towel to dry for at least a week—make sure they’re fully dry to avoid mold.
Store dried seeds in a labeled envelope or small glass jar kept in a cool, dark, and dry place. An airtight container in the refrigerator works well. Properly stored, pepper seeds can remain viable for several years, allowing you to grow healthy plants season after season.
Planting and Soil Preparation
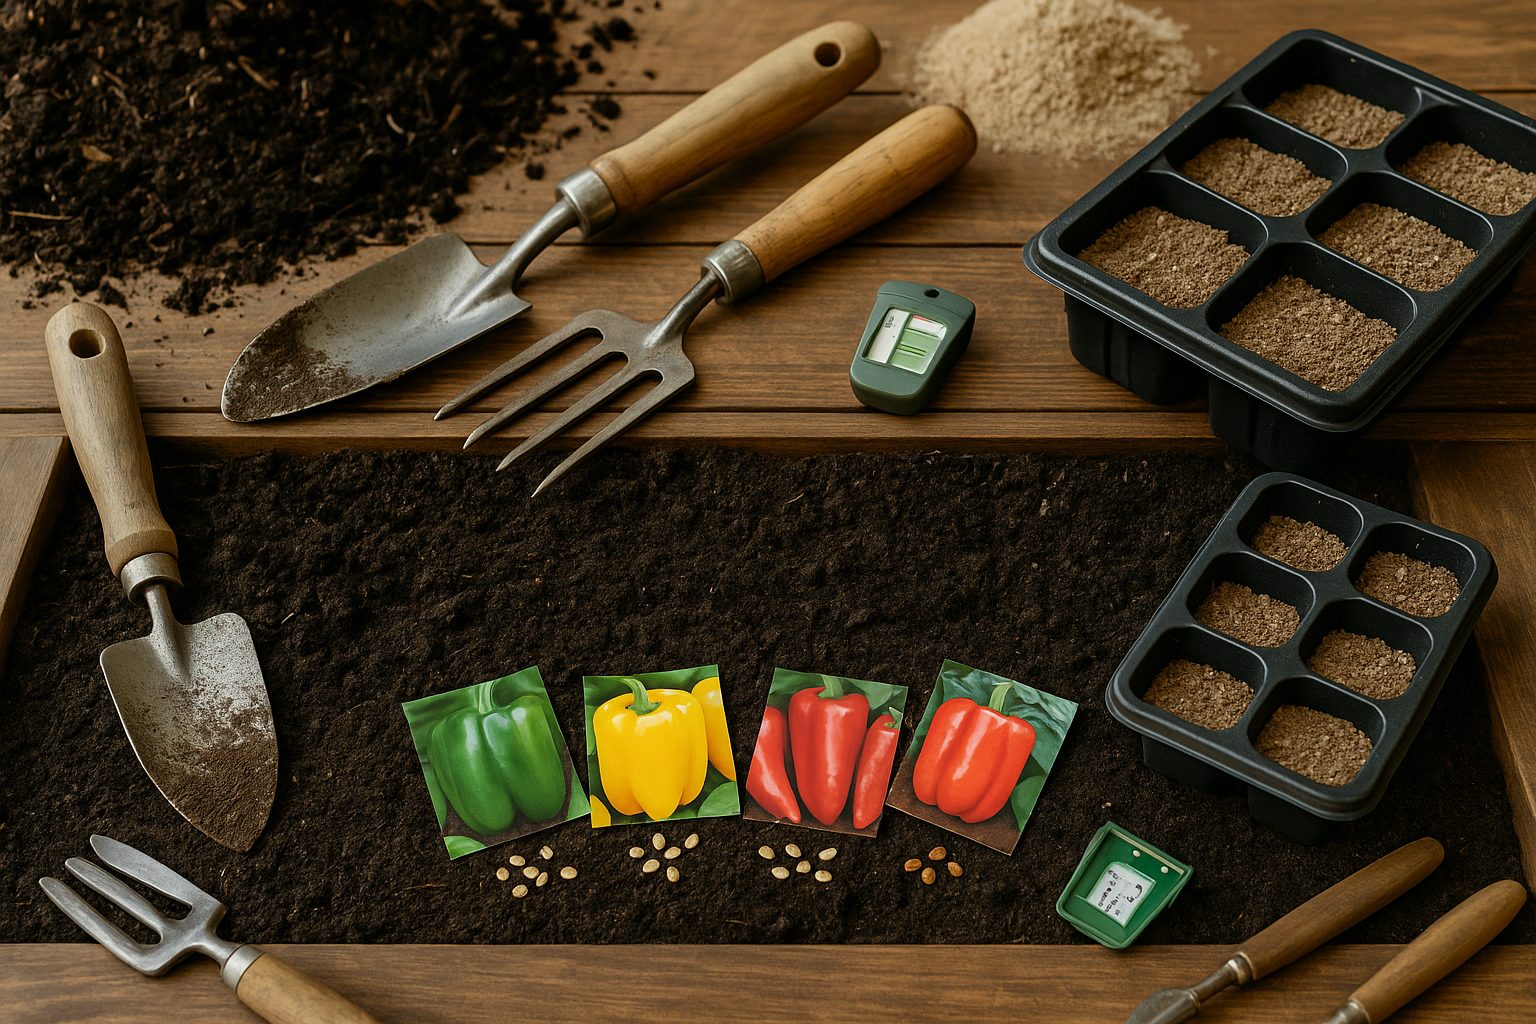
Getting your soil and timing right can make all the difference between a bountiful garden and a struggling one. Start by choosing well-draining soil; roots that sit in waterlogged earth are prone to rot. If your garden soil feels sticky and forms clumps when wet, mix in sand or fine gravel to improve drainage.
Next, boost organic matter by adding compost, well-rotted manure, or leaf mold—these enrich the earth, encourage healthy microbial life, and help retain just the right amount of moisture. Aim for a soil pH between 6.0 and 7.0, which suits most vegetables and flowers. If you’re unsure, inexpensive soil test kits are available at garden centers. Adjust pH by adding lime to raise it or sulfur to lower it as needed.
When it comes to planting, consider your climate and plant preferences. Starting seeds indoors is great for crops needing a long growing season, like tomatoes and peppers—set seeds 6–8 weeks before your last expected frost date. This gives you sturdy seedlings to transplant after the last frost.
Direct sowing seeds outdoors works well for cold-hardy or fast-growing crops like radishes, carrots, or lettuce. Planting can start as soon as soil can be worked in spring. For transplants, be sure to “harden off” young plants by gradually exposing them to outdoor conditions over a week, reducing shock.
A typical planting timeline might look like this:
- Start seeds indoors in early spring (February for many regions)
- Harden off seedlings in mid to late spring (April)
- Transplant or direct sow outdoors after the danger of frost has passed (late April or May)
Mark dates on your calendar for each step, and don’t forget to label your plantings outside! This attention to soil and timing sets up your plants for a healthy, productive season.
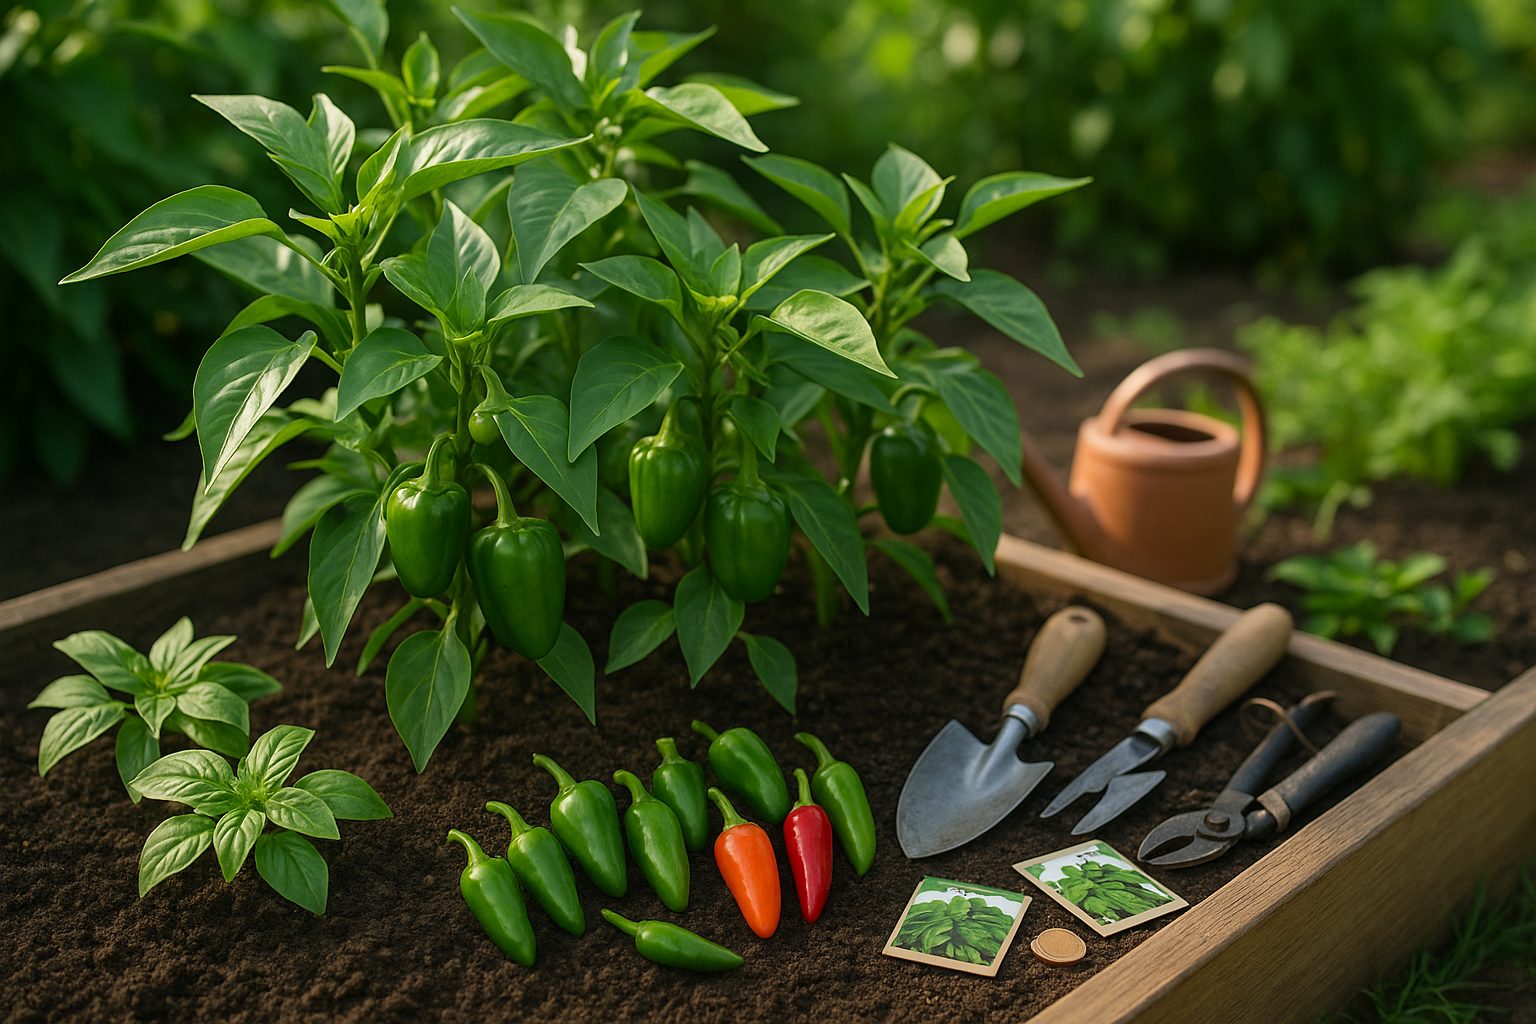
Pepper Plant Care and Growth Tips
Pepper plants thrive when they receive plenty of sunlight—aim for at least 6 to 8 hours daily in a spot sheltered from strong wind. If you’re growing indoors or in an area with a short summer, a south-facing window or grow light works wonders.
Water your peppers deeply but let the top inch of soil dry out between waterings to avoid root rot. A consistent schedule—like every two to three days during hot months—helps prevent stress. Peppers prefer warmth, ideally between 70°F and 85°F during the day and not dipping below 55°F at night. Consider using row covers on chilly nights or mulch to insulate the roots.
For fertilization, use a balanced fertilizer every two weeks at half strength once flowers appear, or side-dress with compost midseason to provide slow-release nutrients. Mulching with straw or shredded leaves keeps soil evenly moist, suppresses weeds, and can reduce disease by preventing soil from splashing onto leaves.
As plants grow, staking or using small cages prevents branches from snapping under the weight of fruit, especially for taller varieties. Regularly prune damaged leaves or non-productive lower branches to improve airflow and direct energy to fruit production. Space your pepper plants at least 18 to 24 inches apart for good circulation and easy access.
To encourage higher yields, gently shake flowering branches every few days or use a soft brush to move pollen between flowers—especially in greenhouses where natural pollinators are scarce.
If you notice yellowing leaves, leaf drop, or stunted growth, check that your watering is consistent, as peppers dislike soggy or bone-dry roots. Yellowing can signal a nitrogen deficiency—top-dress with compost or use a mild organic fertilizer. Leaf drop may be due to sudden temperature swings or overwatering; try stabilizing conditions and check for pests like aphids. For stunted plants, inspect roots to ensure they’re not root-bound (especially if growing in containers) and verify they’re getting enough sunlight and nutrition.
With attention to these care tips, your pepper plants should yield a healthy, robust harvest all season long.
Managing Pests and Diseases
Peppers are popular garden crops but often fall prey to a range of pests and diseases. Common pests include aphids, which cluster on new leaves and stems, sucking plant sap and spreading viruses. Spider mites, tiny but destructive, cause yellow stippling on leaves, while cutworms chew through young stems at soil level.
Among diseases, bacterial spot, powdery mildew, and blossom end rot frequently trouble pepper plants, leading to leaf spots, rot, and fruit deformation.
Preventing these problems starts with smart gardening practices:
- Ensure proper plant spacing to promote airflow and reduce humidity, since crowded plants are more vulnerable to both pests and disease.
- Rotate crops each year to prevent soil-borne pathogens from building up — a simple tip is to avoid planting peppers (and other nightshades like tomatoes) in the same spot for at least two seasons.
- Companion planting also helps; for example, marigolds repel aphids, and basil can deter thrips.
- Regularly inspect plants and remove dead or diseased material promptly.
For organic treatment, insecticidal soaps or neem oil can control soft-bodied pests, while copper-based fungicides address early signs of fungal or bacterial disease. Chemical options — like pyrethroid insecticides for stubborn infestations — should be used as a last resort and strictly according to label directions to protect pollinators.
Combining vigilant garden hygiene, thoughtful planting, and timely intervention keeps pepper plants healthier and your harvest more abundant.
Harvesting Peppers and Proper Storage
Knowing the right time to harvest peppers can make a big difference in their taste and shelf life. Generally, a pepper is ready to pick when it reaches its mature size (check the seed packet for specifics), feels firm, and displays full, vibrant color—green peppers often turn red, yellow, or orange when fully ripe, while some varieties are meant to be enjoyed green.
If you’re unsure, look for a glossy sheen and a slight give when pressed gently. Peppers can remain on the plant after reaching full size to develop a sweeter or spicier flavor, but too much delay can lead to wrinkling or rot, especially in wet weather.
To harvest, use sharp scissors or pruning shears, making a clean cut just above the fruit’s stem. Avoid pulling or twisting, as this can damage both the pepper and the plant, reducing future yields.
Once picked, fresh peppers can be kept in the fridge for up to two weeks; place them in a paper or mesh bag to encourage airflow and prevent mold. If you have a bumper crop, consider slicing and freezing them for later use—no blanching required.
Drying is an excellent option for chili types: simply string them up in a warm, airy spot or use a food dehydrator. For a tangy treat, try making pickled peppers; a quick vinegar brine preserves their crunch and flavor for months and is easy to prepare at home.
With these methods, you’ll enjoy the freshest peppers and reduce waste, whether you’re cooking with them now or planning ahead for the colder months.
Handling Hot Peppers Safely and Final Growing Tips
When handling hot peppers, always wear disposable gloves to protect your skin from the intense oils that can cause burning or irritation. Even with gloves on, be careful not to touch your eyes, nose, or mouth. Once you’re finished, wash your hands thoroughly with soap and warm water.
Consider using dedicated cutting boards and utensils for hot peppers, and clean surfaces well to avoid accidental contact later. If you do get pepper oil on your skin, rubbing alcohol or dairy products like yogurt can help neutralize the burn.
Common Pepper Growing Issues
Watch for signs of pests like aphids or spider mites; using insecticidal soap or neem oil can help as needed. Yellowing leaves often indicate overwatering or nutrient deficiencies, so check your soil moisture and apply a balanced fertilizer if necessary.
Tips for Better Pepper Growth
If your peppers aren’t ripening, make sure they get plenty of sunlight and avoid excess nitrogen, which encourages foliage growth at the expense of fruit.
- Staking: Larger varieties or those with heavy fruit benefit from support to prevent stems from breaking.
- Watering: Consistent watering is key.
- Sunlight: Provide lots of sunlight.
- Soil: Use well-draining soil.
- Patience: Some varieties take longer to mature.
Don’t be afraid to try several types—mild jalapeños, fiery habaneros, or sweet banana peppers—to find what works best in your garden and kitchen. With a little care and curiosity, you’ll be rewarded with bountiful, flavorful harvests each season.