Introduction
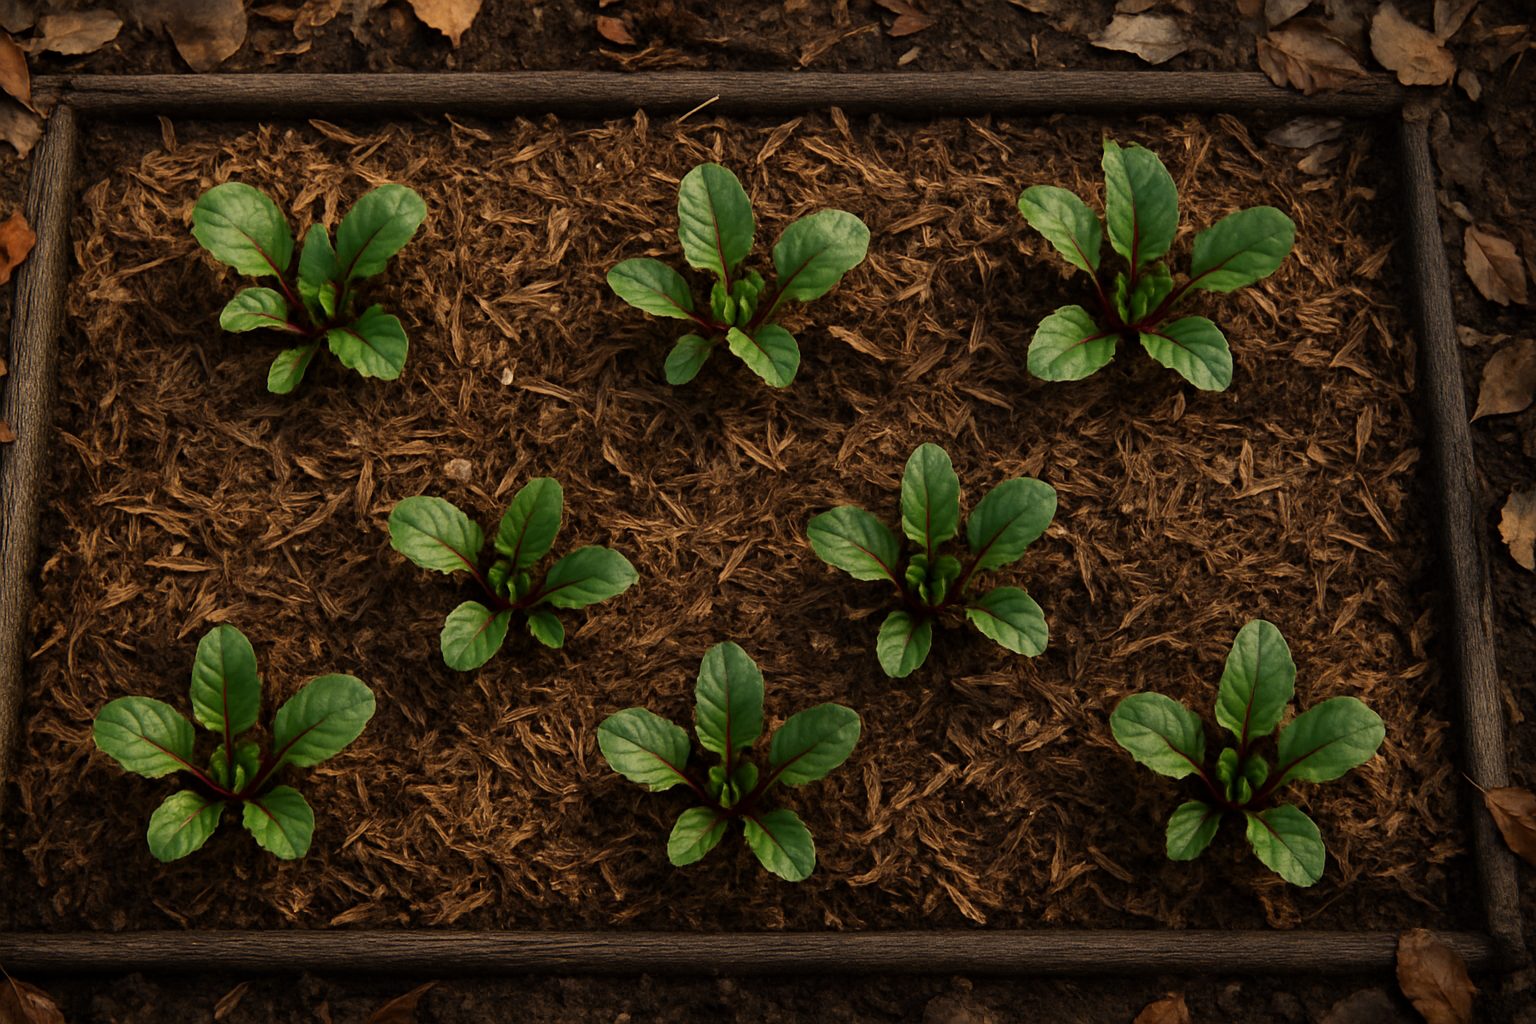
Mulching beets is a simple yet powerful technique every gardener should consider to boost beetroot health and harvest size. Mulching involves covering the soil around plants with materials like straw, leaves, or compost to protect roots, retain moisture, and suppress weeds.
For beets—which thrive in cool, loose soil—mulching offers real benefits: steadier soil temperatures, fewer weeds stealing nutrients, and less water stress during heatwaves. Done right, mulching can even help keep beet roots tender and sweet rather than tough or woody.
In this post, we’ll break down exactly when and how to mulch your beet patch throughout the seasons, tailoring advice for spring, summer, fall, and even winter, when beets can overwinter. Whether you’re new to gardening or hoping to perfect your technique, you’ll get clear, practical advice to keep your beets thriving all year.
Ready to see how season-by-season mulching can make beet growing easier and more productive? Let’s dig in.
When to Mulch Your Garden
Timing is crucial when it comes to mulching your garden because getting it right directly impacts soil temperature, weed suppression, and moisture retention. For most climates, early to mid-spring is ideal—after the soil has warmed up but before weeds have had a chance to take over.
If you mulch too early, you could trap cold air in the soil and slow plant growth; too late, and persistent weeds could already be established, making them harder to control. Your location makes a big difference: in cooler northern regions, waiting until the soil is consistently above 50°F is wise, while in warm climates, laying mulch a bit sooner helps conserve moisture before the first big heat.
The types of plants you grow also matter—vegetables and annuals thrive when mulched after seedlings have emerged, whereas perennials and shrubs benefit from a layer just as new growth begins.
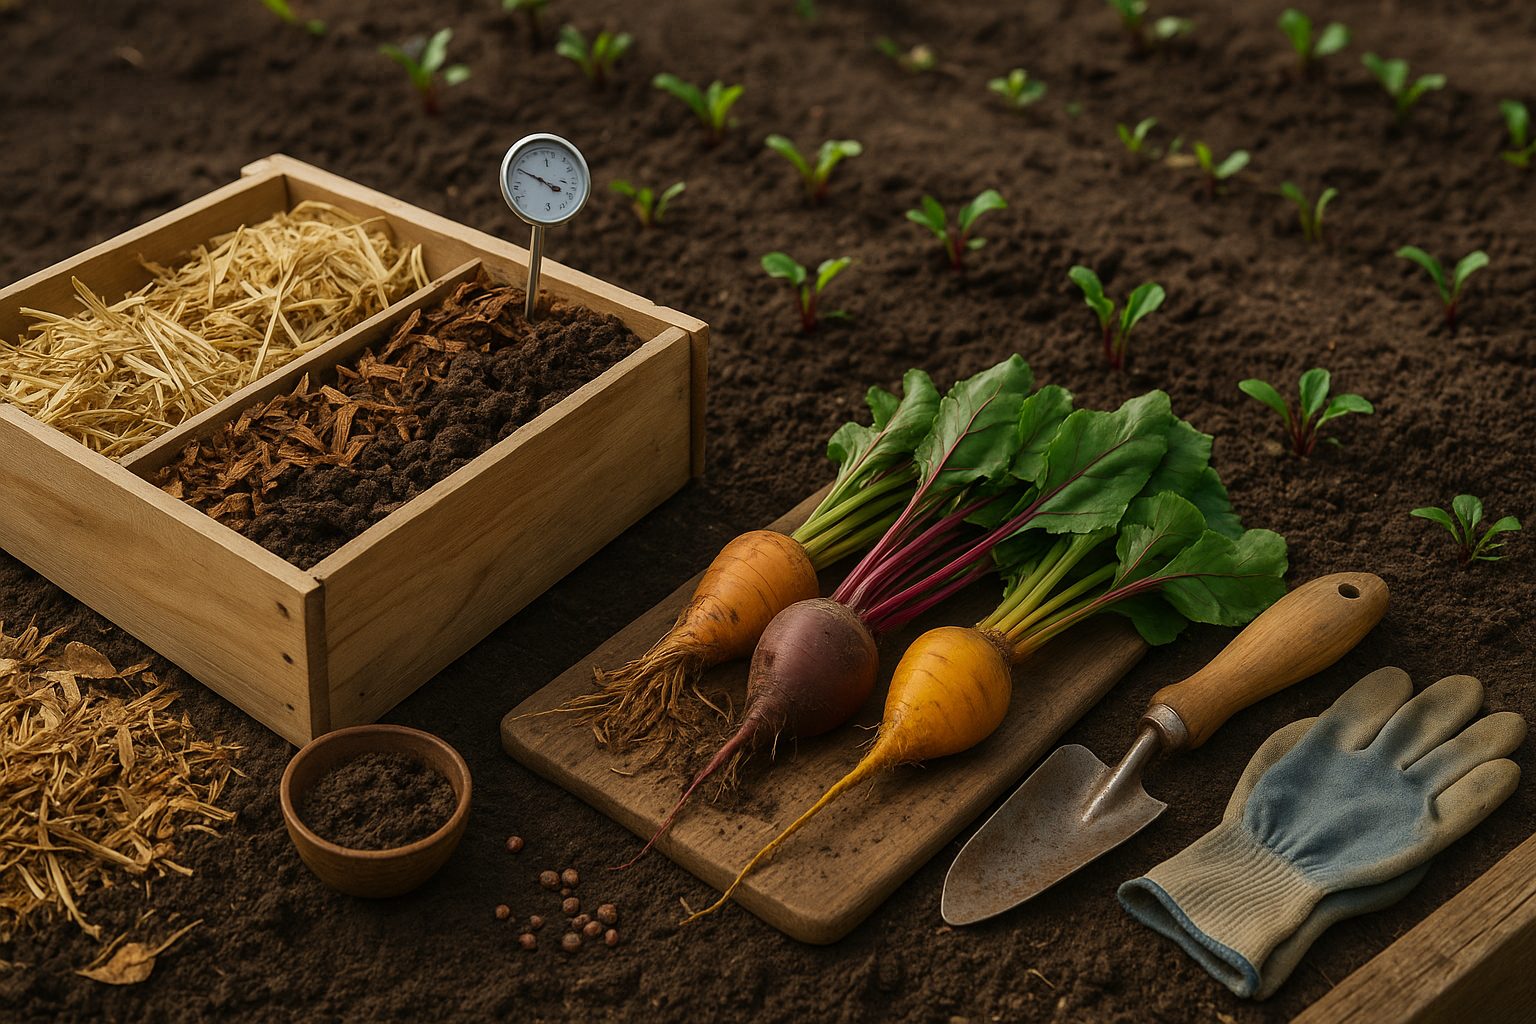
A common mistake is piling on mulch while the ground is still cold and wet, which can invite root rot or hinder growth; always check soil warmth with a simple thermometer or even by touch. Another misstep is mulching right up to plant stems or tree trunks, which can harbor pests or trap too much moisture—instead, leave a few inches of breathing room.
By tailoring your mulching timing to your climate, soil conditions, and the specific needs of your plants, you’ll help ensure a thriving, weed-free garden all season long.
Spring Mulching Tips
spring mulching is one of the easiest ways to set your garden up for a healthy, productive season. Laying down mulch after the last frost but before weeds start popping up helps warm the soil, encouraging faster seed germination and jumpstarting plant growth.
Mulch also locks in valuable moisture at the root zone, reducing how often you need to water—a real bonus as temperatures rise. Plus, a thick layer of mulch smothers weed seeds, saving you countless hours of spring weeding.
For spring, organic mulches like shredded leaves, bark chips, compost, or straw are popular choices because they break down over time and enrich the soil. Inorganic options, such as landscape fabric or gravel, work well for pathways or permanent beds where you want long-term weed control.
When applying mulch, wait until the soil has warmed and isn’t too wet—usually after the last frost date in your area. Spread 2–3 inches of mulch evenly around your plants, keeping it a couple of inches away from stems and trunks to prevent rot. If you’re using compost or fine mulch, a thinner layer (about an inch) is sufficient, as it will settle and decompose quickly.
Remember to check for weeds and remove them before you mulch; otherwise, they could find a way to sprout right through. Mulching at the right time and with the proper materials not only beautifies your garden beds but also gives your plants the best start for spring’s busy growing season.
Summer Mulching Strategies
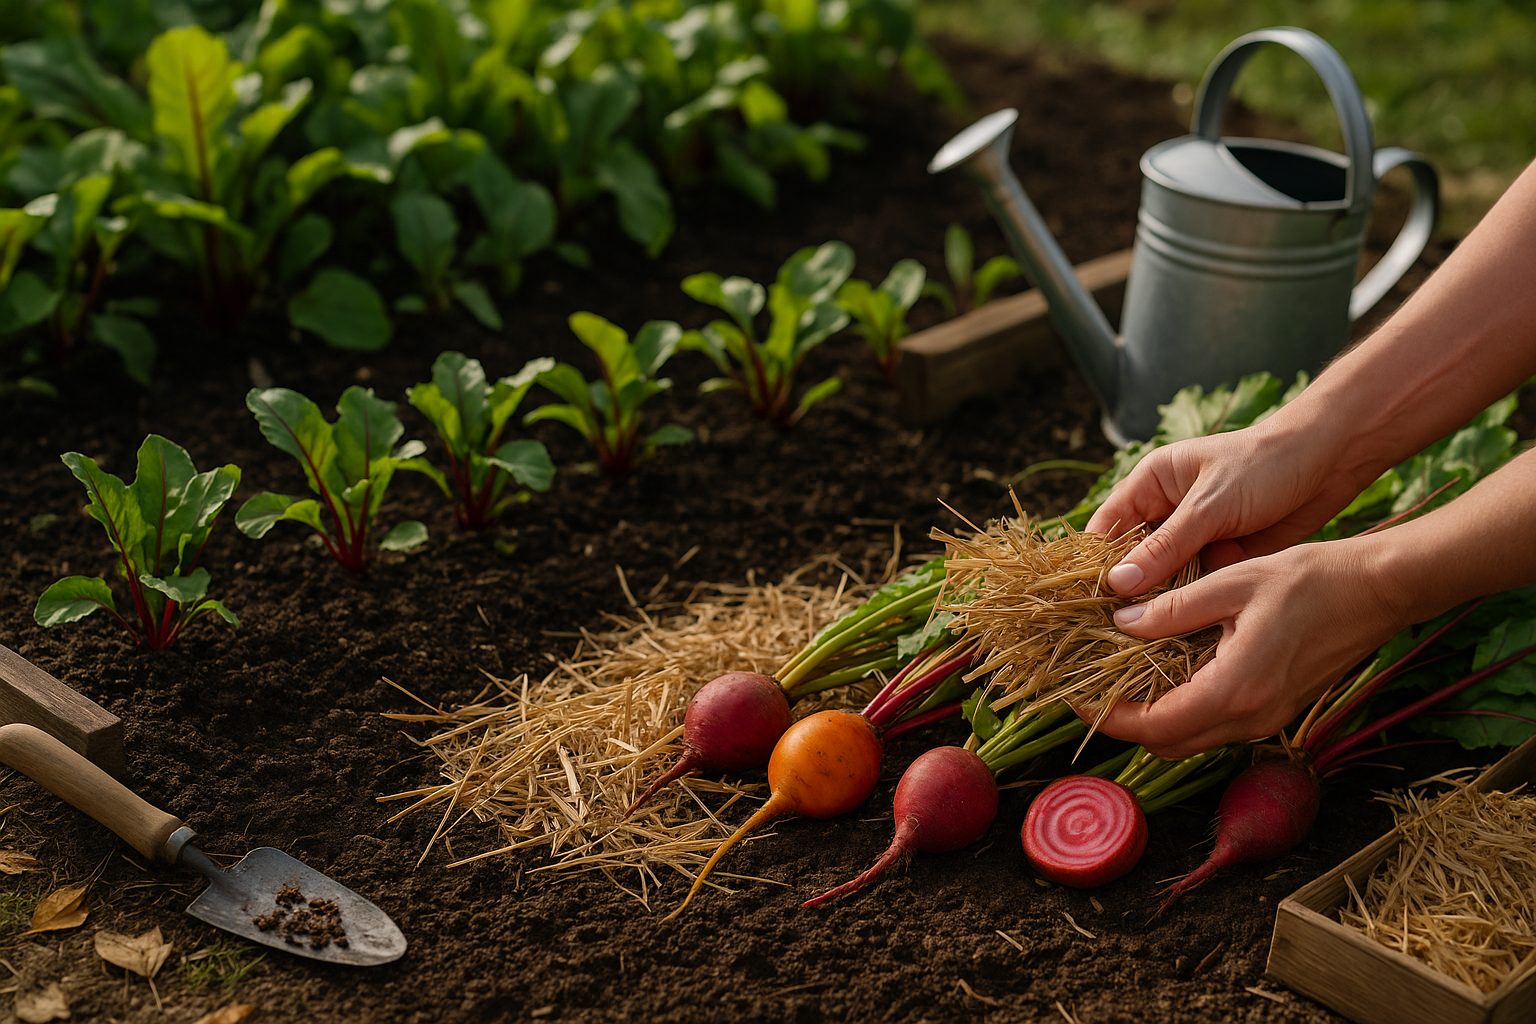
Mulching is a gardener’s secret weapon during the summer, helping your plants thrive despite soaring temperatures and unpredictable rainfall. By blanketing the soil with 2-4 inches of mulch, you effectively lock in much-needed moisture, reducing how often you need to water and protecting roots from dehydration.
Mulch acts as a natural thermostat, keeping soil temperatures steady even on the hottest days. For summer, choose mulch materials that either reflect heat or insulate well—light-colored straw, shredded leaves, or pine bark are great options, as they ward off excessive soil heat and help prevent roots from baking. Avoid dark, dense mulches like rubber, which can trap heat.
Make sure your mulch layer remains thick enough—aim for at least 2 inches—but don’t pile it against plant stems or tree trunks, as this can invite disease and pests. Throughout the season, check your beds every few weeks: mulch can break down faster in summer, so replenish any thin spots or areas disturbed by wind or watering.
This simple habit pays off with happier, healthier plants, fewer weeds, and less wasted water all summer long.
Fall Mulching: Preparing for Winter
Fall mulching is a simple yet essential step in prepping your garden for the winter months. As temperatures drop, a proper layer of mulch acts like a cozy blanket for your perennials, shielding them from damaging freeze-thaw cycles that can push roots upward—a phenomenon called winter soil heaving.
Without mulch, plants are far more vulnerable to sudden temperature shifts and harsh winds, which can dry out or damage roots. The best materials for fall mulching are organic options like shredded bark, pine needles, straw, or chopped leaves, since these break down gradually and enrich the soil as they decompose.
Differences in Fall Mulching
Fall mulching differs from spring or summer mulching. Rather than focusing on suppressing weeds or conserving summer moisture, the goal in fall is to insulate and stabilize soil temperatures throughout winter.
How to Apply Fall Mulch
When applying mulch in the fall, wait until after the first hard frost so rodents aren’t tempted to nest beneath it. Spread a 2-4 inch layer evenly around plants, keeping mulch at least an inch away from stems or crowns to prevent rotting.
Pay special attention to garden beds on slopes or in windy spots where heavy rains and snowmelt can erode soil; mulching helps anchor and protect these vulnerable areas.
A little extra effort now can mean healthier, hardier plants that bounce back quickly once spring arrives.
Winter Mulching Best Practices
Mulch acts as a protective blanket for garden soil during the winter, helping to stabilize temperature swings that can stress plant roots. Applying a thick, even layer—about 2 to 4 inches—of materials like shredded leaves, pine needles, or straw keeps the soil consistently cool and reduces freeze-thaw cycles that may heave roots out of the ground.
It’s important to apply mulch only after the ground has frozen solid, usually in late fall or early winter. This timing discourages rodents and insects from burrowing into warm, insulated soil and minimizes the risk of fungal diseases lingering in moist environments.
As spring approaches and nighttime temperatures consistently stay above freezing, gradually pull mulch back from around plant crowns and stems. This allows the soil to warm up faster, encouraging healthy growth and preventing rot. If a late frost is predicted, you can lightly cover tender plants again temporarily.
By following these simple steps, you’ll help your garden transition smoothly through the seasons, protecting your plants from both winter’s chill and spring’s sudden warmth.
When Not to Mulch (and Common Mistakes to Avoid)
While mulching is generally beneficial, there are certain situations where it can do more harm than good. For example, applying mulch too thickly or during wet seasons can trap excess moisture against plant stems, leading to root rot and fungal diseases. This is especially risky for succulents and other drought-tolerant plants that require well-drained soil.
Avoid mulching right up against the base of trees or shrubs—this “volcano mulching” invites pests like voles and can cause bark decay. Some vegetable seeds, such as carrots and lettuce, may struggle to germinate if covered with mulch too early because the soil stays too cool or seedlings can’t break through.
Be cautious about mulching over newly planted annuals or areas where bulbs are just starting to emerge in spring. To avoid problems, watch for warning signs like foul smells (a sign of anaerobic, rotting mulch), mushrooms or mold growth, wilting plants despite plenty of water, or visible signs of pests.
If you spot these issues, pull mulch back from plant stems, thin out thick layers (keeping mulch two to three inches deep at most), and let the area dry out before reapplying. Remember, the right mulch at the right time makes all the difference—so monitor your plants closely and adjust your mulching habits as needed.
Choosing the Right Mulch for Each Season
Selecting the best mulch for your garden starts with understanding the two main types: organic and inorganic. Organic mulches, such as grass clippings, wood chips, and straw, break down over time, enriching the soil with valuable nutrients. These are ideal for vegetable gardens or beds with perennials and flowering plants.
Inorganic mulches, like gravel, rubber, or landscape fabric, don’t decompose and are better suited for pathways or around trees and shrubs where you want long-term weed suppression.
When choosing mulch, consider your local climate:
- Straw and grass clippings are great for cooler climates because they insulate soil and retain moisture.
- Wood chips offer slow breakdown and are versatile across many environments.
- For heat-prone regions, opt for lighter mulches like straw to deflect sunlight and keep roots cool.
Always match mulch to your plant’s needs; for example, acid-loving plants like azaleas thrive under pine needle mulch, while vegetable gardens benefit from compost or grass clippings that break down quickly.
For a sustainable approach and to save costs, make your own mulch by using lawn clippings, shredding fallen leaves, or chipping pruned branches—just be sure these materials are free from disease and pesticides.
Local garden centers also often offer bulk mulch sourced from nearby tree trimmings or municipal compost, which cuts down on packaging and transport emissions.
Remember, applying a two- to three-inch layer is usually sufficient, and refreshing mulch each season keeps your garden thriving year-round.
Conclusion & Next Steps
As you plan your seasonal mulching routine, remember these essential tips:
In spring, apply a fresh 2-3 inch layer of mulch after the soil has warmed but before weeds take over—this helps lock in moisture and jumpstarts plant growth.
Summer calls for monitoring and topping up mulch to keep roots cool and suppress weeds during the hottest months.
In autumn, spread mulch after leaf drop to insulate perennials and protect against freeze-thaw cycles, while winter mulching is most useful for newly planted beds in colder climates, safeguarding tender roots from harsh conditions.
Every garden is unique, so don’t be afraid to experiment with materials like straw, bark, or compost, and pay attention to how your plants respond—take notes and adjust your approach as needed.
Watching for signs of over- or under-mulching, such as waterlogged soil or stunted growth, can help you fine-tune your strategy for the best results.
For more in-depth information, check out resources from your local extension office, master gardener programs, or gardening forums online—these communities offer real-world advice and seasonal tips tailored to your region.
With attentive observation and a willingness to learn, you’ll become a mulching pro in no time.