
Introduction
Starting seeds indoors can be a game-changer for gardeners, giving you a jump-start on the growing season and paving the way for stronger, healthier plants. However, issues like leggy beet seedlings can quickly turn this promising head start into a frustrating setback.
If you’ve ever noticed your beet sprouts growing tall, thin, and floppy instead of sturdy and robust, you’re not alone—it’s one of the most common challenges faced by beginners. Much of the problem comes down to nailing the right balance of light, temperature, and moisture. Too little light or too much warmth can cause your seedlings to stretch skyward in search of better conditions, leaving them weak and vulnerable.
In this article, we’ll break down the causes behind leggy beet seedlings, reveal reliable ways to create optimal indoor growing conditions, and share real-world tips—including setting up affordable grow lights and using common household items for better airflow. Whether you’re growing beets for colorful salads or nutritious juicing, we’ll help you diagnose what’s going wrong and show you proven steps for transforming those spindly shoots into thriving future beetroots.
Keep reading for solutions that will set you—and your seedlings—up for success.
Choosing the Right Seeds and Timing
Selecting the right seeds is the first step in a successful indoor garden, and it starts with knowing which plants thrive when started inside. For vegetables, tomatoes, peppers, and lettuce are great choices because they need an early start and transplant well outdoors.
Many common herbs—like basil, chives, and parsley—grow quickly from seed indoors, adding flavor to meals within weeks. Flowers such as marigolds and zinnias can boost your garden’s color and are easy to sow inside.
When purchasing seeds, always check the packet for details: look for notes on “suitable for indoor sowing” and pay attention to germination times (how long it takes seeds to sprout), which helps you plan ahead. The packet also lists days to maturity and recommended timing relative to your area’s last frost date, which is crucial for scheduling your planting.
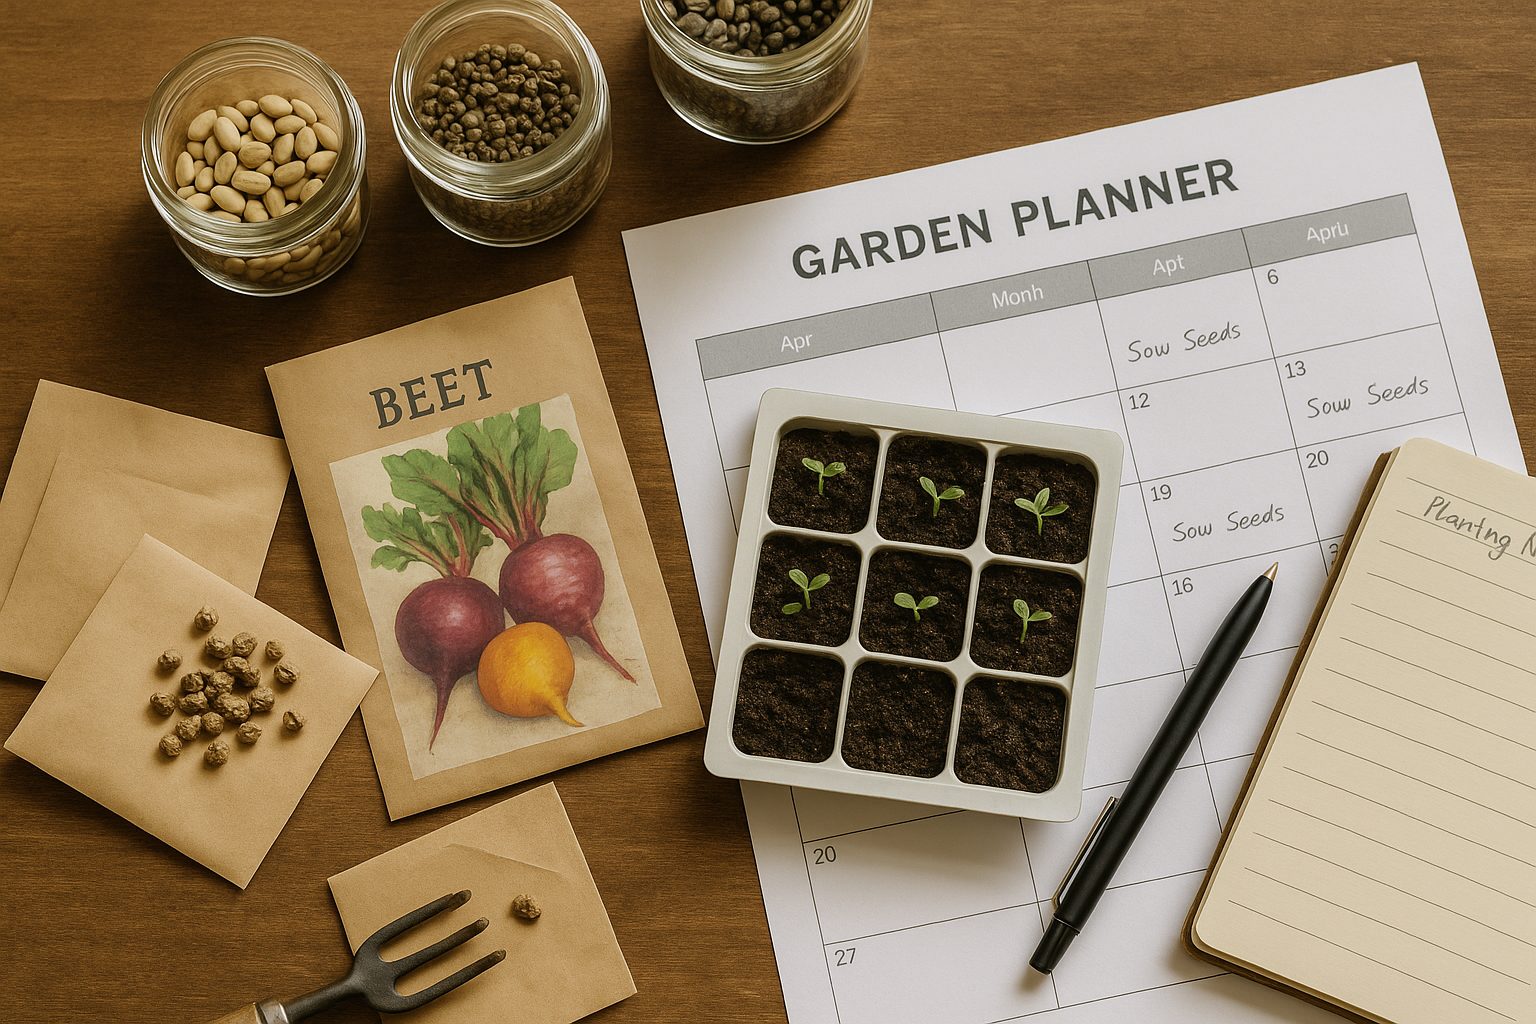
To make the process simple, use a printable calendar or a free online garden planner to map out when to start each type of seed based on your zone—most seed companies include a zone map, or you can find your last frost date online through your local extension office.
Mark the “start indoors” dates by counting backward from your region’s last average frost, so that your seedlings are ready at the ideal time for transplanting outside. For instance, if your last frost is around April 15th and your seed packet says “start 6-8 weeks before last frost,” you’d sow those seeds indoors in late February or early March.
Setting reminders on your phone or marking a wall calendar can help you stay on track, ensuring robust plants and a thriving garden from the very start.
Setting Up Your Space: Light, Temperature, and Containers
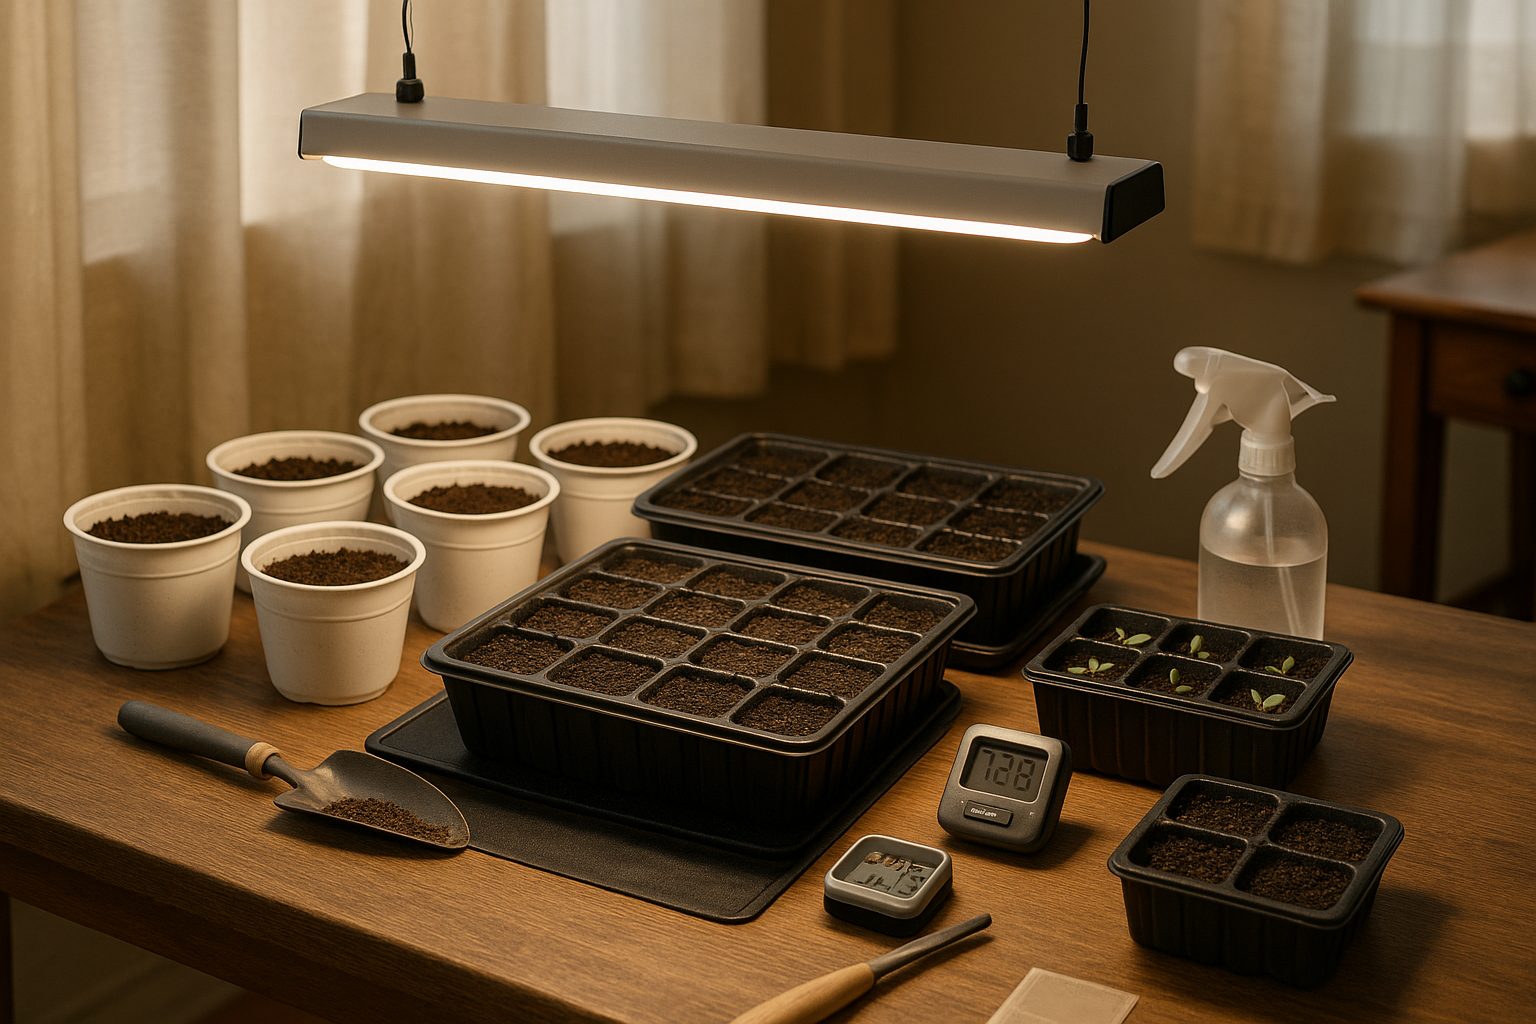
Getting your seed-starting space right can make all the difference in how well your seedlings grow, so start by focusing on light. Most seeds need plenty of bright, indirect sunlight; a south-facing window is ideal, but keep in mind that cloudy days or limited sunlight in winter can slow growth. If you don’t have access to enough natural light, using an LED or fluorescent grow light helps keep seedlings strong—just position the lights a few inches above the plants and keep them on for about 14–16 hours a day.
Next, maintain a consistent, warm temperature, since most seeds germinate best around 65–75°F (18–24°C). If your room tends to be chilly, try using a seedling heat mat placed under trays—these provide gentle, bottom-up warmth that encourages quicker sprouting. Be sure to check daily so the soil stays warm but not hot, and avoid drafts from windows or doors that could chill delicate shoots.
When it comes to containers, there’s flexibility: you can reuse clean yogurt cups, buy cell packs or peat pots, or try homemade paper pots. The key is ensuring good drainage—poke holes in the bottom of repurposed containers and always use a tray to catch excess water. Before planting, disinfect any reused pots with a diluted bleach solution (1 part bleach to 9 parts water) and fill containers with fresh, sterile seed-starting mix. This prevents disease and gives your seeds the best chance at healthy development.
With thoughtful attention to light, temperature, and well-prepared containers, your seedlings will have the strong start they need to thrive.
Preparing the Perfect Seed Starting Mix
When it comes to starting seeds, using a dedicated seed starting mix is a game-changer compared to regular garden soil. Garden soil can be heavy, dense, and may contain weed seeds, diseases, or pests that hinder delicate seedlings. Seed starting mixes, on the other hand, are specifically blended to be lightweight and sterile, creating the perfect environment for tiny roots to develop and breathe.
For homemade options, many gardeners swear by a simple mix of:
- One part peat moss or coco coir (which holds moisture)
- One part perlite or vermiculite (for aeration)
- A small amount of compost (for gentle nutrients)
Store-bought seed starting mixes, such as Miracle-Gro Seed Starting Potting Mix or Espoma Organic Seed Starter, offer convenience and are usually pre-sterilized and finely textured for optimal sprouting.
No matter which mix you choose, it’s vital to keep moisture levels just right — aim for consistently damp but not soggy soil. A good trick is to mist the surface daily and cover trays with a plastic dome until seedlings emerge, removing the cover as soon as you spot green shoots to prevent fungal growth. If the mix dries out, soak the tray from the bottom for a few minutes to rehydrate evenly.
By choosing the right mix and managing moisture carefully, you set your seeds up for healthy, vigorous growth from day one.
Sowing, Watering, and Spacing Seeds
Sowing seeds is simple, but it’s important to adjust your approach based on the size of the seed. For tiny seeds, like lettuce or petunias, sprinkle them gently over moist soil and press them down lightly with your palm or a piece of cardboard—don’t bury them, as they need light to germinate.
Medium seeds, such as tomatoes or peppers, should be planted about 1/4 inch deep, usually two or three seeds per cell or pot, then thinned later. Larger seeds like beans and squash are best sown about 1 inch deep—make a hole with your finger or a pencil, drop in the seed, and cover.
Regardless of size, pay close attention to the recommended spacing on your seed packet. Crowding seeds can lead to stretching, weak stems, and increased risk of disease. For example, tomato seedlings need about two inches between them to avoid becoming “leggy,” while bush beans thrive best when spaced three inches apart.
When it comes to watering, bottom watering is the gold standard for young seedlings. Simply place pots or seed trays in a shallow tray of water and let them absorb moisture from below for 15-30 minutes. This helps avoid splashing soil and reduces the risk of damping-off disease—a common seedling killer. Afterward, remove excess water so roots don’t get waterlogged.
Maintain even moisture; seeds should stay damp but never soggy. If you’re unsure, touch the soil: it should feel cool and just slightly moist. Mist the top only if the surface starts drying out.
By customizing sowing depth, giving each seed ample room, and using careful watering techniques, you’ll give your seeds the best possible start for strong, healthy growth.
Nurturing Seedlings: Light, Air Circulation, and Strong Growth
Nurturing healthy seedlings goes beyond watering and waiting—it’s about understanding how they respond to their environment. One key concept is phototropism, which is how seedlings naturally bend toward their light source. If you keep your trays on a sunny windowsill or under a grow light, you might notice the stems leaning.
To prevent this, rotate your trays daily or use reflective surfaces or overhead grow lights to ensure every seedling gets even light. This helps prevent long, leggy stems and encourages upright, sturdy growth.
Air circulation is just as important; stagnant air can lead to weak, fragile stems and increases the risk of mold or fungal diseases. Setting up a small oscillating fan nearby, on a gentle setting, simulates outdoor breezes and encourages seedlings to develop thicker, more resilient stems.
For a low-tech solution, lightly brush your hand over the tops of the seedlings a few times daily—this simple action mimics natural movement and helps trigger stronger growth.
Keep a close eye on your seedlings for common issues:
- Yellowing leaves might mean overwatering.
- Dry, crispy edges suggest they’re too close to the light or lacking humidity.
- Fuzzy white patches on soil or stems indicate mold; increase airflow and let the surface dry between waterings.
Adjust your care based on these cues—move lights up or down, water less or more, or shift trays to a brighter spot. With a bit of observation and tweaking, even beginners can foster robust, thriving seedlings ready for the garden.
Transplanting Seedlings Outdoors: Hardening Off and Timing
Transplanting seedlings outdoors is an exciting step in your gardening journey, but rushing the process can leave fragile plants struggling to survive. Before moving seedlings from the cozy indoors to the unpredictable outdoors, it’s essential to harden them off—a gradual acclimation to sun, wind, and fluctuating temperatures.
Start about a week before transplanting by placing seedlings outside in a sheltered, shaded spot for just one or two hours on the first day. Increase their exposure by an hour or two each day, gradually introducing direct sunlight. Remember to bring them in if the weather turns harsh—cold, heavy rain, or strong winds can undo your careful work.
When it comes to timing, wait until both the air and soil are suitably warm; most veggies thrive after the last expected frost and once the soil feels warm to the touch (around 60°F for heat-loving plants). Use local frost date charts or a soil thermometer as guides.
To reduce transplant shock, water seedlings thoroughly before and after moving them, and aim to transplant on a cloudy day or in the late afternoon to limit sun stress. Handle seedlings gently by their leaves (not stems), and plant them at the same depth they were growing indoors, firming the soil gently around each one.
Adding a light mulch can help maintain moisture and moderate soil temperatures, further supporting your young plants as they settle in. With patience and careful attention to these steps, your seedlings will adapt smoothly and be well on their way to a healthy, productive season outdoors.
Conclusion
Starting seeds indoors may seem intimidating at first, but the process comes down to a few key steps: choose quality seeds, use the right soil mix, provide adequate light and warmth, and keep your seedlings moist but not soggy. Remember, every gardener starts somewhere—don’t be afraid to try new methods, tweak your setup, or even make mistakes.
Keeping notes about what works and what doesn’t each season will help you improve your results year after year. The reward for your effort is well worth it: indoor seed starting gives you a head start on the growing season, lets you choose from a wider variety of plants, and often produces sturdier, healthier transplants.
Embrace the learning curve, enjoy the process, and watch as your confidence—and your young plants—grow stronger with each attempt.