Getting Started with Growing Beets
Growing beets with kids is a fun and educational activity that can spark curiosity, teach responsibility, and add fresh nutrition to your family meals. Beets are naturally packed with vitamins and minerals, making them a healthy addition to your diet—plus, they’re simple for children to help grow from seed to harvest.
Their vibrant roots aren’t just easy to cultivate; they’re also versatile in the kitchen, ideal for roasting, grating into salads, or blending into smoothies and baked treats kids will love.
For families new to gardening, beets are an excellent starter crop: they don’t need much space and thrive in containers, raised beds, or small garden plots, making them accessible whether you have a big backyard or a sunny patio.
In most climates, beets grow best in cool weather, either in spring after the last frost or in early fall, and they only require watering two to three times a week and a few hours of daily sunlight. The time commitment is surprisingly manageable—most beets are ready to harvest in just 6–8 weeks, so kids can watch their progress and see fairly quick results.
Starting is simple: let your children help sprinkle beet seeds about an inch apart in moist, well-draining soil, then gently cover and water them. As the plants sprout, kids will enjoy thinning the seedlings (which also helps the roots grow better), and they can pull weeds together as a team.
Weekly check-ins to water, observe growth, and measure beet diameter build great gardening skills and a sense of accomplishment.
When the tops of the beets pop up from the soil and reach the size of a golf ball or larger, it’s harvest time—a perfect hands-on science lesson and a chance to prepare a meal together from your homegrown bounty.
Selecting Beet Varieties & Planning Your Plot
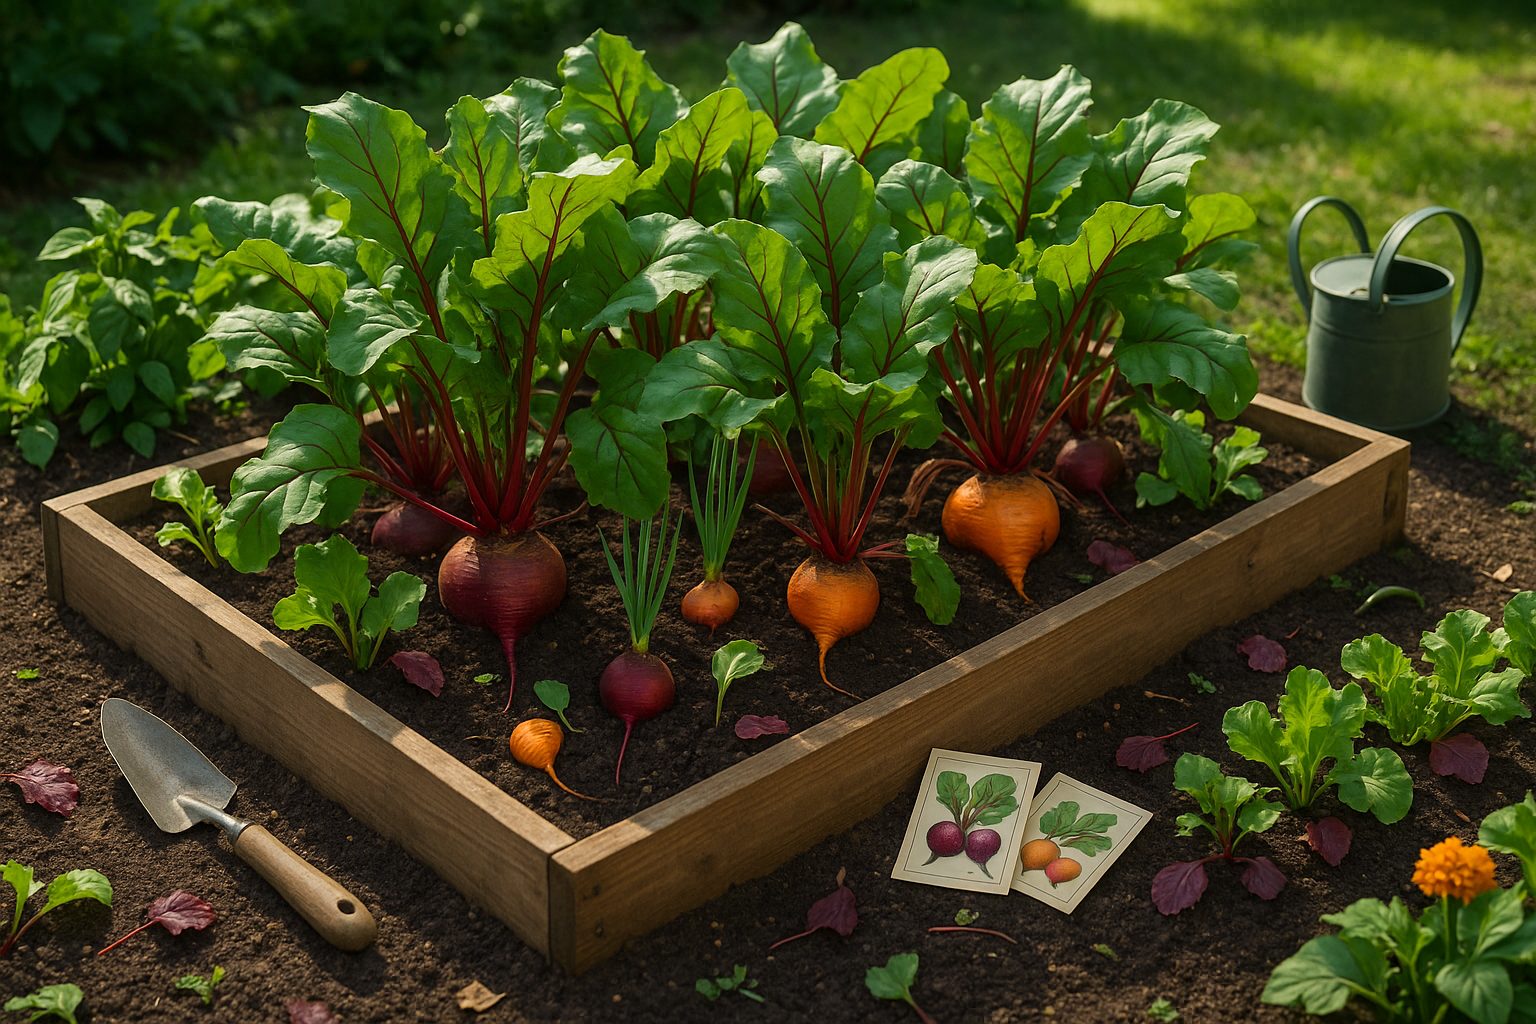
Choosing the right beet variety can make all the difference in your harvest. Classic Detroit Dark Red is popular for its reliability, rich color, and relatively quick harvest time of about 55 days, making it perfect for gardeners looking for a steady supply. For something a bit sweeter and gentler on the palate, try Chioggia, famous for its eye-catching pink and white rings—this variety also matures quickly but is best enjoyed fresh, as it doesn’t store quite as long as its darker cousins. If you need beets that keep well into the winter, Lutz Green Leaf is a standout, capable of producing extra-large roots that can be harvested late and stored for months. Yellow varieties like Golden Beet offer a mild, less earthy taste and won’t bleed color all over your salads or hands, great for those who aren’t fans of the traditional beet flavor.
When picking your beet type, consider your region’s growing season: heat-tolerant varieties suit warmer climates, while fast-maturing types are ideal for places with short springs and falls. Also, think about whether you love roasted roots, fresh salads, or want greens for sautéing—the flavor and texture can vary widely.
Once you’ve picked your seeds, planning your beet plot is key. Choose a sunny spot with loose, well-drained soil, as beets develop best in light, airy conditions. Rotate beets to a different part of the garden each year to reduce disease risk—by not following beets or other root crops with more root crops, you keep soil-borne pests at bay.
Companion planting can also give your beets a boost:
- Plant alongside onions or bush beans for natural pest deterrence
- Avoid proximity to pole beans, which can stunt beet growth
By mixing and matching varieties and growing strategies to suit your garden and table, you’ll set yourself up for both a beautiful harvest and a delicious array of dishes throughout the year.
Soil Preparation and Sowing
Preparing your garden bed for beets starts with checking and adjusting the soil pH, as beets thrive in mildly acidic to neutral soil, ideally between 6.0 and 7.0. You can easily test your soil using an inexpensive home testing kit, available at most garden centers. If the pH is too low (acidic), add garden lime; if it’s too high (alkaline), peat moss or elemental sulfur can help.
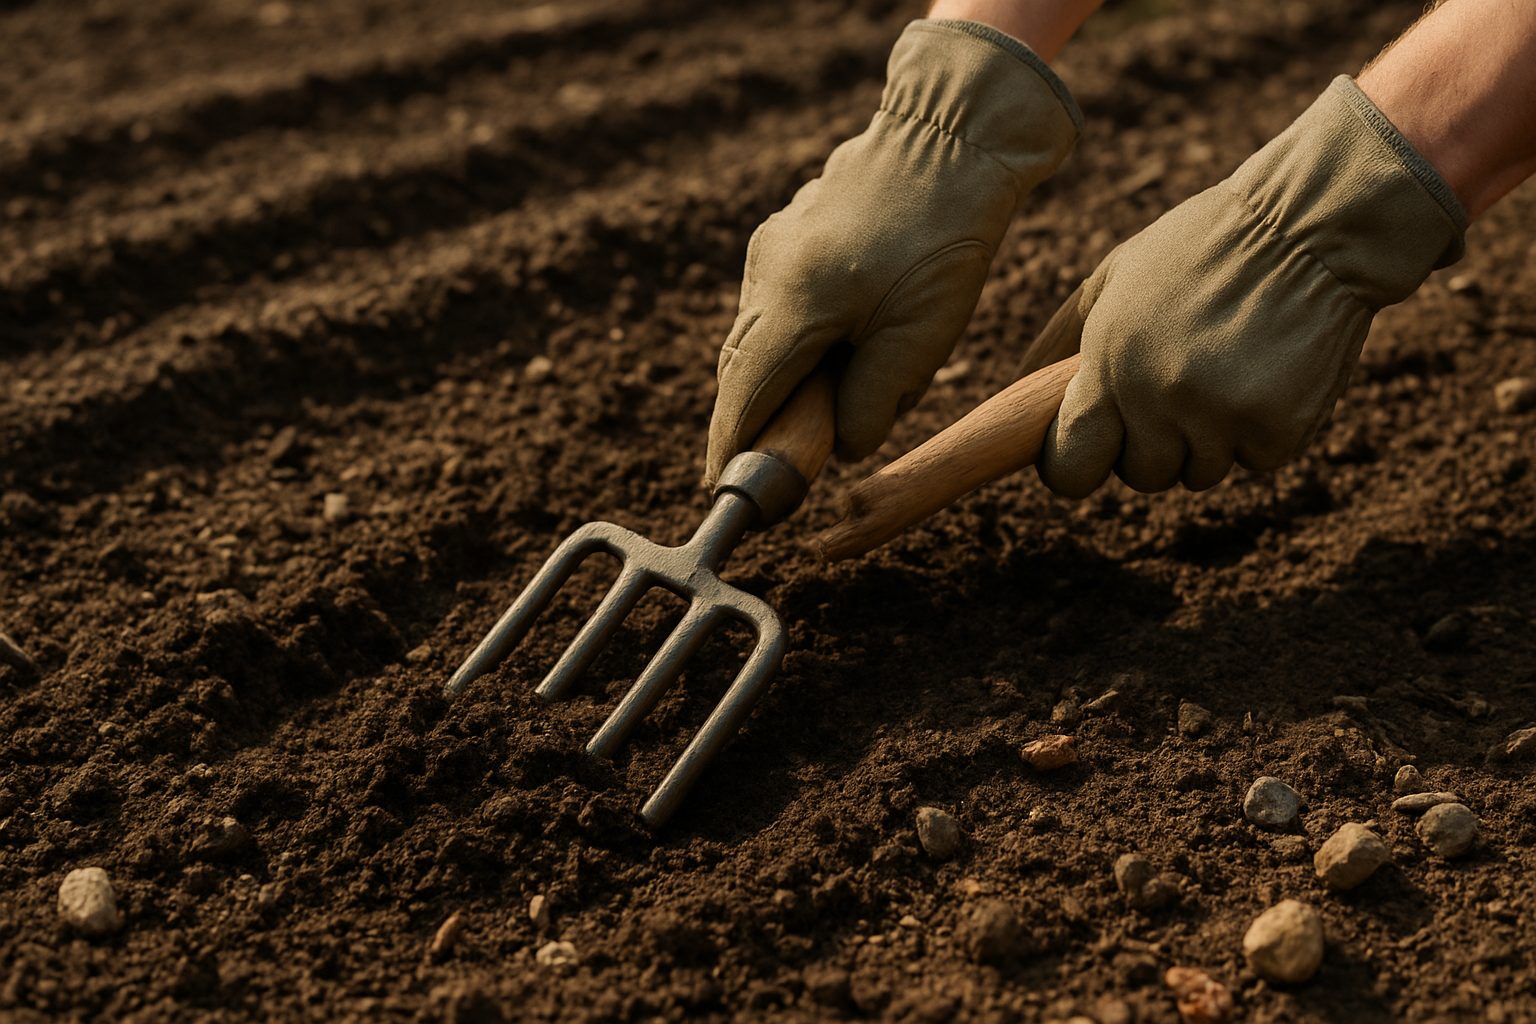
Next, use a garden fork or tiller to loosen the soil to a depth of 12–18 inches, breaking up clumps and removing rocks, sticks, and debris. This step is crucial for root crops like beets, as obstacles in the soil can lead to misshapen roots or stunted growth. Once loosened, incorporate two to three inches of well-rotted compost or organic matter into the top layer to provide essential nutrients and improve drainage.
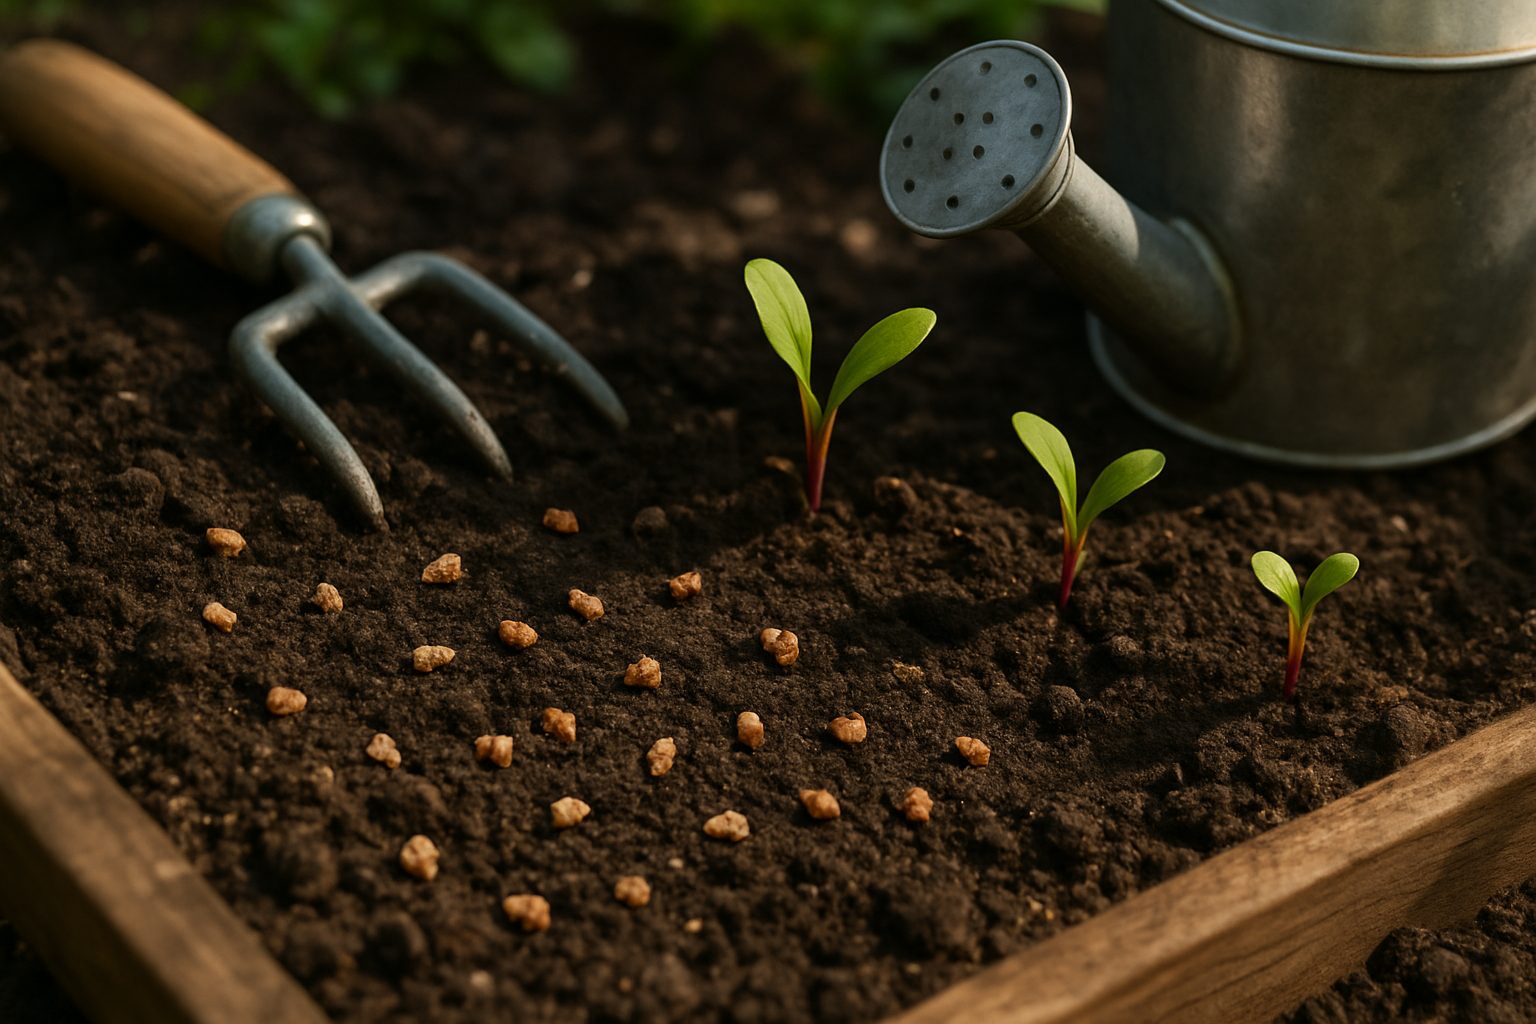
When your bed is ready and after the last frost date has passed, sow beet seeds directly into the soil, spacing seeds one inch apart in rows that are about 12–18 inches apart. Plant seeds about half an inch deep, covering them lightly with soil. Keep soil consistently moist but never waterlogged, as uneven moisture can impact germination and root development.
Since beet seeds are actually seed clusters and may result in multiple seedlings from one spot, thin them when seedlings reach two inches tall, leaving three to four inches between plants. This gives each beet enough space to grow full-sized roots.
For a steady supply of beets instead of one big harvest, try succession planting: every two to three weeks, sow a new row of seeds until midsummer. This way, you can enjoy fresh beets continuously, rather than facing a glut or a gap in your harvest.
Remember, consistent weeding and gentle cultivation around seedlings are important, as young beets don’t compete well with weeds. By following these steps, you’ll set your beet crop up for a healthy, productive season.
Caring for Beets Throughout the Season
To keep your beets thriving throughout the season, pay close attention to their changing needs as they grow. Early on, keep the soil consistently moist but not soggy; water young seedlings lightly two to three times per week to help establish strong roots. Then, switch to deeper soakings once a week as beet roots begin to swell. Aim for about one inch of water per week, adjusting based on rainfall and making sure the soil stays damp a few inches down.
Mulching is a powerful ally—spread a two-inch layer of straw, shredded leaves, or untreated grass clippings around your beet rows. This not only conserves soil moisture but also suppresses weeds that can steal nutrients. Regularly hand-pull weeds close to your beets, or use a hoe for areas between rows, but be gentle near shallow beet roots.
As for feeding, beets are moderate feeders. Mix a balanced organic fertilizer or compost into the soil before planting, then side-dress with a nitrogen-rich fertilizer (like blood meal or fish emulsion) once the greens are a few inches tall. Avoid overfeeding—yellow leaves or sluggish growth may indicate your beets need a boost, but too much nitrogen can encourage leafy tops at the expense of root development.
Keep an eye out for pests like leaf miners or aphids. Floating row covers can protect young plants, while a strong spray of water or insecticidal soap helps control aphids. To prevent common fungal diseases such as leaf spot or powdery mildew, avoid watering from above and provide good airflow by thinning seedlings to the right spacing.
Rotate your crops each year and remove diseased leaves promptly to reduce disease pressure further. By tuning in to your beets’ needs at every stage, you’ll set yourself up for a healthy, productive harvest.
Harvesting Your Beets
Knowing when your beets are ready to harvest can make all the difference in taste and texture. Most beet varieties mature between 50 and 70 days after planting, but it’s best to check their size as well. Pull back a bit of soil to see the beet top—when it’s about the size of a golf ball (1.5–3 inches in diameter), the roots are usually tender and sweet. Oversized beets can become woody, so don’t let them linger too long.
Another cue is visual: beet tops often push up above the soil, and you can gently press or squeeze the crown to feel for firmness. To harvest, use a garden fork to lift the soil 2–3 inches away from the base of the plants, loosening it before gently pulling beets by their stems. This helps minimize breakage or bruising of the roots, which can hasten spoilage.
Be sure to brush off excess soil but resist washing until use, as water can promote rot during storage.
Don’t forget the greens! Young, tender beet greens can be picked at any stage—even while roots are developing—and are edible both raw in salads or sautéed like spinach. Just be careful to only snip a few leaves from each plant at a time, leaving at least half so your beets can keep growing well.
Once you harvest the entire plant, separate the greens from the roots right away to keep both fresher longer. Beet greens add a mild, earthy flavor to omelets, soups, or grain bowls—simply wash and chop before tossing them into your favorite dish. Using all parts of your beets means less waste and more flavor in the kitchen.
Storing and Using Your Beets
Once you’ve harvested your beets, start by gently brushing off excess soil and trimming the leafy tops, leaving about an inch of stem to prevent bleeding during storage. Avoid washing beets until you’re ready to use them, as moisture can promote spoilage.
For short-term storage, place unwashed beets in a perforated plastic bag or a container lined with a paper towel and refrigerate; they’ll typically stay fresh for up to two weeks. For long-term storage, beets do well in a cool, humid root cellar—arrange them in layers in a box of damp sand, peat moss, or sawdust, keeping them just barely moist but not wet.
If you want to preserve beets even longer, consider pickling, canning, or fermenting them. Homemade beet pickles retain bright flavor and add zing to salads and sandwiches.
Using Your Beet Harvest
When it comes to enjoying your harvest, beets are remarkably versatile. Try slicing them raw for salads, roasting them with olive oil for a sweet, earthy side, or blending them into a morning juice for a vitamin boost.
Roasted beet wedges tossed with balsamic vinegar make a colorful addition to grain bowls, while finely grated beets can be mixed into burgers or veggie patties for added moisture and nutrients.
And don’t forget the greens—they’re delicious sautéed or tossed into soups, ensuring no part of your beet goes to waste.
Troubleshooting Common Beet Problems
Beets are generally hardy and reliable, but several issues can crop up during the growing season. One common frustration is poor germination; beet seeds have a tough outer coating, so soaking them overnight before planting or lightly roughing them up with sandpaper can improve germination rates.
thin seedlings to 2-4 inches apart, as overcrowding leads to undersized roots. If beets start flowering early (a process called bolting), it’s often due to fluctuating temperatures or planting too early in spring. Once bolting starts, roots become woody, so it’s best to pull the plants and start fresh for sweeter harvests.
Pest Problems
Pests like leaf miners can leave telltale squiggly trails on leaves—pick off and destroy affected foliage or cover plants with row fabric early on. Flea beetles chew small holes, but a simple spray of neem oil or spreading diatomaceous earth around the plants can help naturally control them.
Disease and Maintenance
Beets are also vulnerable to fungal diseases, especially in wet weather. To minimize spread, ensure good air circulation, avoid watering overhead, and promptly clear away decaying leaves.
If you notice several plants struggling with stunted growth, yellowing leaves, or severe pest damage despite your best efforts, it’s often wiser to remove them—this prevents problems from spreading and opens up space for healthier beets to thrive.
As a rule of thumb, if new leaves keep dying back or roots remain smaller than a golf ball late in the season, pulling them is the best way forward. Regular monitoring and early action can turn most troubles into small bumps along the path to a successful beet harvest.
Getting More Out of Your Beet Patch
Saving beet seeds for future planting is an easy way to make your beet patch more sustainable and cost-effective. Let a few of your healthiest beets overwinter in the ground or store them indoors if winters are harsh. In their second year, these beets will send up tall flower stalks; once the seed heads are dry and brown, carefully collect them and store the seeds in a cool, dry place for next season.
For a continuous harvest, schedule a second crop by sowing beet seeds in late summer—about 8-10 weeks before your first fall frost—so you’ll enjoy tender, sweet beets well into autumn.
Make Beet Growing a Family Affair
Get kids involved by letting them plant seeds, measure plant growth, or create fun taste-test experiments with different colored beets (think red, golden, and striped ‘Chioggia’!). Try starting a “beet journal” together to track progress, sketch plants, or note which recipes the family enjoys most, turning gardening into both an educational and bonding experience.
Connect with Fellow Gardeners
To boost your beet success and meet fellow gardeners, look for local community gardens, extension offices, or social media groups dedicated to home vegetable growers. Many areas offer free or low-cost workshops and seed swaps—perfect for learning tips, trading beet varieties, and sharing your own gardening wins or questions.
Even a quick search for “[Your City] community garden” can connect you with a supportive network eager to help you grow and enjoy your best beet harvest yet.