Introduction
Vertical arugula growing isn’t just a gardening trend—it’s a smart, space-saving solution for anyone craving fresh, peppery greens right at home. A vertical arugula garden means growing arugula upward using shelves, pallets, wall-mounted planters, or other creative structures to maximize limited space. It’s especially popular among urban gardeners and apartment dwellers, where sunny windowsills or balconies are precious real estate.
Imagine stepping outside your kitchen to snip fresh arugula leaves for a salad or sandwich, no matter how small your living space. Besides easy access to homegrown greens, vertical gardening can also dress up bare walls and improve air quality.
In this guide, you’ll discover how to plan your vertical arugula garden, choose the right containers and locations, assemble your garden step-by-step, and care for your plants to ensure continuous, healthy harvests. Whether you’re a seasoned gardener or a beginner looking for low-fuss fresh food, this article will walk you through creating and maintaining your own thriving vertical arugula garden right where you live.
Choosing the Right Location and Structure for Vertical Arugula Growing
When it comes to vertical arugula growing, selecting the right location and structure is essential for a healthy, productive harvest. Arugula thrives in cool temperatures between 45°F and 65°F and needs at least 4 to 6 hours of sunlight daily, making both indoor and outdoor options viable if these conditions are met.
For indoor setups, a bright east- or south-facing window is ideal, though grow lights can supplement natural light when needed. Outdoors, pick a spot that receives morning sun with some midday shade, especially in warmer climates, to prevent the leaves from bolting too quickly.
One of the main benefits of vertical gardening is space efficiency, but it’s still important to maintain good airflow around the plants to reduce the risk of disease.
When choosing structures, consider these options:
- Wall planters: Sleek and stylish, perfect for kitchens or balconies where space is limited and fresh greens are within easy reach.
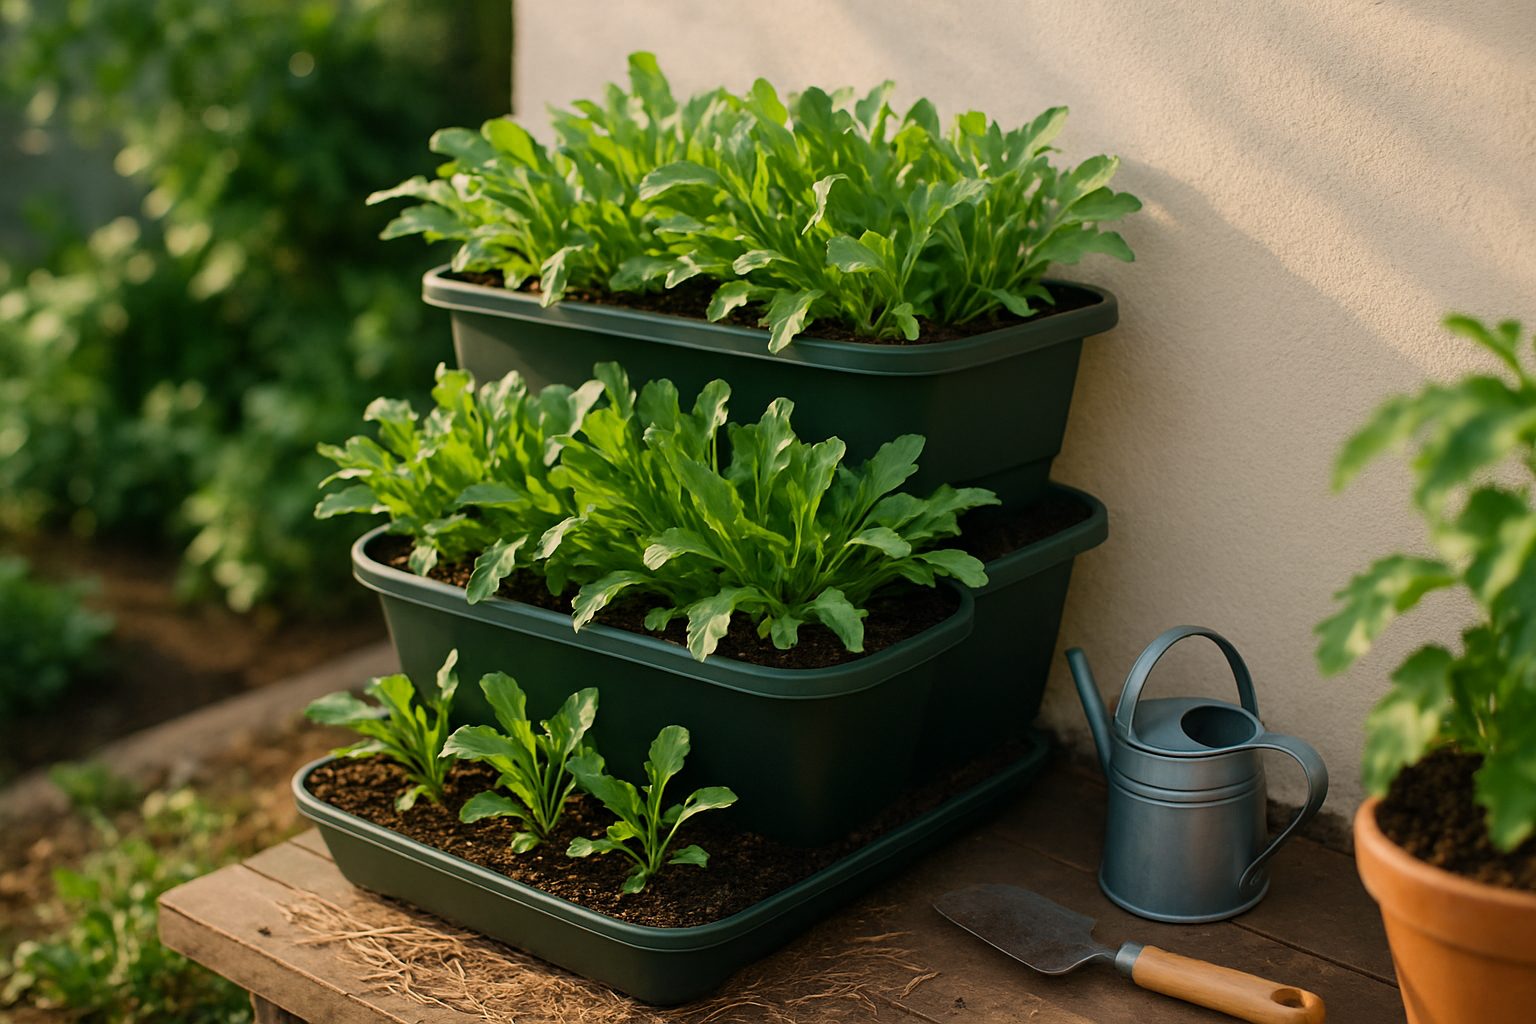
- Tiered shelves: Provide ample room for multiple rows, ideal for patios or against sunny fences, and easy to set up.
- Pallet gardens: A budget-friendly choice—just use untreated wood and stand them upright for convenient access to each plant pocket.
- Hanging pocket planters: Usually made from fabric, these are lightweight, portable, and great for renters or apartment dwellers, as they can be hung from railings or hooks.
When selecting your site, think about accessibility for regular watering and harvesting. Also, consider how the garden will enhance your living space—a vibrant green arugula wall can be as much a statement piece as a garden project.
Essential Materials and Tools for Vertical Arugula Growing
To get started with vertical arugula growing, it’s important to gather the right materials and tools. First, choose containers designed for vertical setups—these can be anything from stacked pots and hanging planters to repurposed wooden crates or plastic bottles. Make sure the containers have good drainage holes to prevent waterlogging, as arugula roots are prone to rot if they sit in excess moisture.
Next, fill your containers with a high-quality, loose, and fertile potting mix. Amending the soil with compost or worm castings will boost nutrients and help maintain moisture without becoming soggy. Arugula seeds are easy to source and are sometimes sold specifically for cut-and-come-again harvests, which are perfect for vertical gardens.
For watering, consider installing a simple drip irrigation kit to make maintenance easier and more efficient. If that’s not an option, a regular watering can works well—just be sure not to overwater. Sturdy mounting hardware, like brackets, wall hooks, or shelving, is also necessary to securely attach your vertical garden to a wall, fence, or balcony rail.
To make assembly and ongoing care simpler, optional tools include a cordless drill, hand trowel, gloves, and a level to ensure your setup is straight and stable. For those seeking sustainable solutions, consider upcycling old gutters, wooden pallets, or food-grade buckets. These options not only save money but also reduce waste.
Choosing eco-friendly materials and reusing household items can make your vertical arugula growing project greener and more rewarding—all while keeping the setup tailored to your space and style.
Step-by-Step Assembly Guide for Vertical Arugula Growing
Start by choosing your preferred structure for vertical arugula growing—popular options include tiered planter towers, vertical wall-mounted pockets, pallet gardens, or repurposed shelves. For indoor spaces or balconies, opt for compact, lightweight designs that can be easily mounted or stood upright. Begin assembly by installing the main frame or rack according to the manufacturer’s instructions. If you’re using a DIY pallet or wall-mounted system, secure it with sturdy anchors and screws into a stud or concrete wall to ensure it supports the combined weight of soil and water. For balcony railings, use adjustable brackets rated for outdoor use to keep your setup safe and stable. Freestanding frames should be placed on level ground; use outdoor-rated levelers or brick pavers under the corners to prevent tipping, especially in windy conditions. Once the structure is secure, insert planter pots, growing vessels, or fabric pockets, making sure each has proper drainage holes to prevent waterlogging of arugula roots.
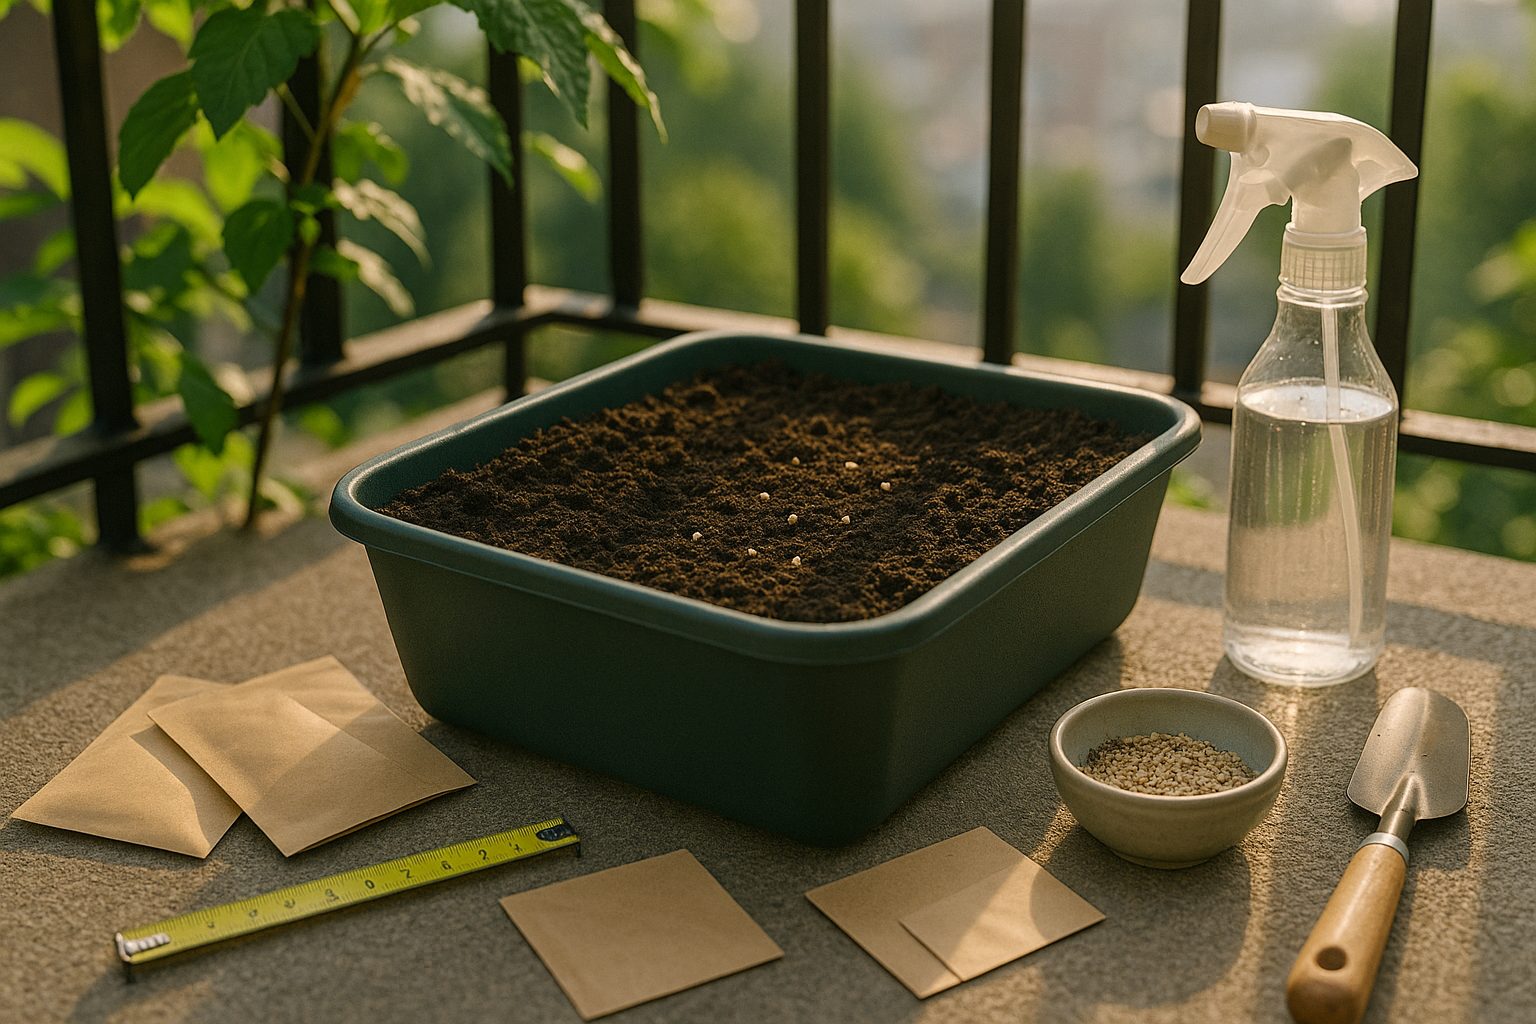
Next, fill each container or planting pocket with high-quality, light garden soil or a mix of potting soil, compost, and perlite for good drainage. Lightly moisten the soil before filling—this helps it settle and reduces air pockets that can hinder root growth. Gently tap or shake each planter to level the soil, but avoid overfilling; leave about an inch of space from the rim to contain water during irrigation. Before planting, smooth the soil surface and evenly scatter arugula seeds, pressing them about 1/4 inch beneath the surface. Mist lightly with water, then cover with a thin layer of vermiculite or light potting mix for consistent germination. Position your vertical garden to receive at least four to six hours of sunlight daily for optimal growth.
Common assembly issues include leaning or unstable frames—usually solved by checking for levelness and tightening mounts. If water drains too quickly, try using a denser potting mix or line your planters with a bit of cocoa coir. Conversely, if containers aren’t draining well, poke or clear drainage holes to prevent root rot. Throughout installation, periodically step back to check alignment and stability, especially with wall-mounted systems that can sag if overloaded on one side. Take your time during assembly—careful setup ensures lush, productive vertical arugula growing all season long.
Planting and Caring for Arugula
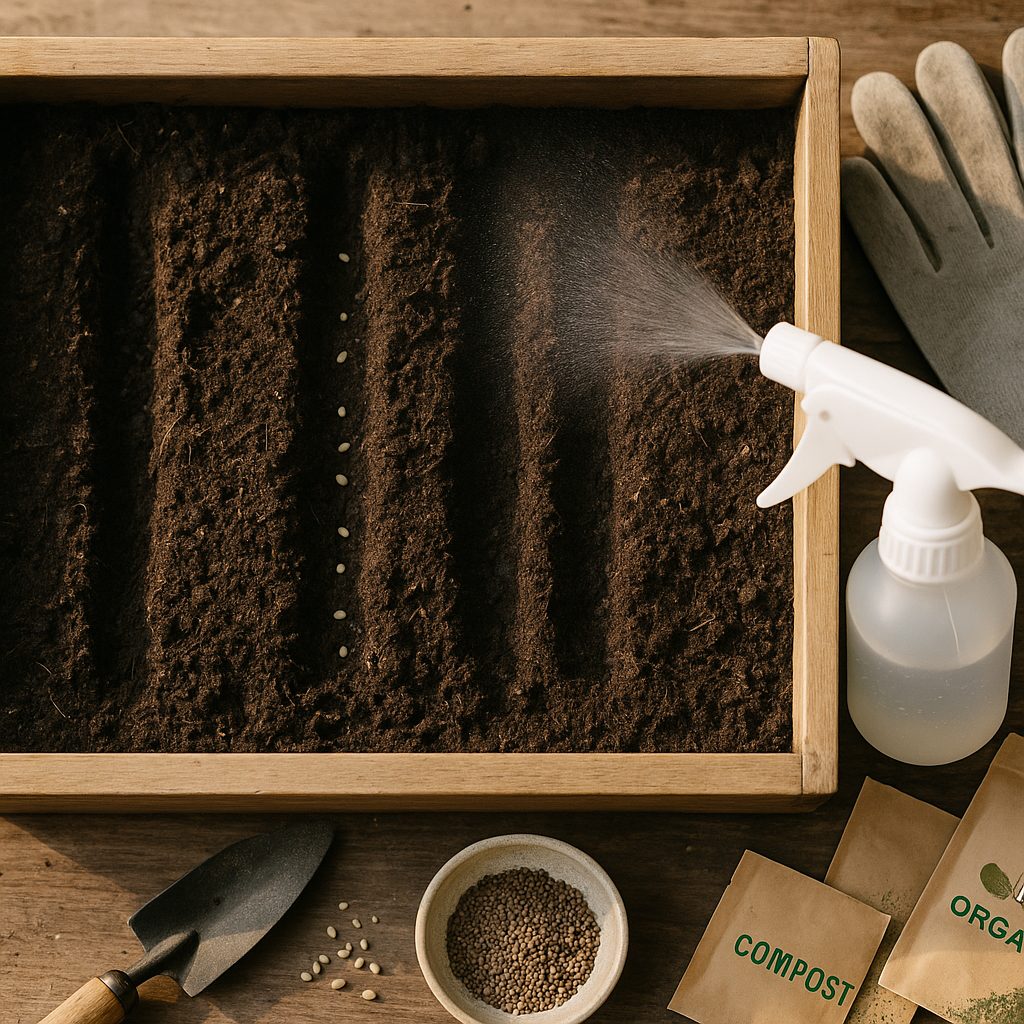
When it comes to vertical arugula growing, you can start directly from seeds or use seedlings to get a head start. For seeds, use shallow troughs or pockets in your vertical garden structure, pressing the seeds about ¼ inch deep and spacing them a couple of inches apart. Arugula thrives in a cool, moist environment, so place your vertical setup where it will get morning sun and some afternoon shade—especially in hot climates.
If planting seedlings, gently remove them from their starter pots, tease out the roots if they’re bound, and tuck them into individual pockets, making sure the root ball is covered and upright. Water gently but thoroughly after sowing or transplanting, and keep the soil consistently moist but not soggy. Vertical planters tend to dry out faster than ground beds, so check moisture daily, especially in warm weather.
Arugula isn’t a heavy feeder, but monthly applications of a diluted organic liquid fertilizer (like fish emulsion or seaweed extract) can boost leaf production. As seedlings grow, thin them so there’s 4–6 inches between each plant—use the thinnings in salads!
Companion Planting and Pest Management
For companion planting, tuck herbs like basil or chives nearby to deter aphids and confuse flea beetles, which are common pests for arugula. In a vertical garden, air circulation is usually better—helping prevent disease—but keep an eye out for powdery mildew. Space your plants so leaves don’t touch, and prune away any crowded or yellowing foliage to reduce fungal issues.
Netting or row covers can help block flying insects from reaching tender leaves. For persistent pests like aphids or flea beetles, try a strong spray of water or use insecticidal soap—always test on a single leaf first.
Maintenance Tips
- Check all pockets regularly for soggy soil to prevent root rot.
- Rotate crops season-to-season to limit disease buildup in vertical containers.
With attentive care, your vertical arugula growing setup can produce lush, peppery greens all season long.
Harvesting and Enjoying Your Arugula
Knowing when and how to harvest is key to getting the most out of your vertical arugula growing experience. Arugula leaves are at their best when they’re young and tender, usually about 3 to 4 inches long—just three to four weeks after planting. For peak flavor and continued harvests, use clean scissors to snip the outer leaves, allowing the center to keep growing for future use.
Harvesting in the early morning helps preserve crispness and reduces wilting. If you want a larger crop, you can cut the whole plant just above the soil, which often encourages a second, smaller flush of leaves. Once picked, gently rinse the arugula in cool water, pat dry, and store it in a breathable produce bag in the fridge—where it should stay fresh for up to a week.
Arugula’s peppery bite enlivens salads and adds zing to sandwiches, burgers, and wraps. For a unique twist, blend fresh leaves into a pesto with walnuts and parmesan, or sprinkle handfuls onto pizzas, pastas, and omelets after baking. Try layering arugula beneath roasted root vegetables or stirring it into grain bowls for extra color and flavor. Don’t be afraid to experiment—vertical arugula growing keeps this vibrant green within arm’s reach, perfect for spontaneous kitchen creativity.
Troubleshooting and Maintenance Tips for Vertical Arugula Growing
Vertical arugula growing provides fresh greens in compact spaces, but even the best setups can face some challenges. Uneven watering is a common issue—arugula prefers consistent moisture, so make sure all tiers receive equal water by checking drippers or adjusting watering schedules.
If you notice leaves yellowing or wilting unevenly, it’s a clear sign to adjust your care routine. Pests such as aphids and flea beetles can also appear in vertical gardens; inspect both the tops and undersides of leaves weekly, and treat infestations promptly with soapy water or neem oil.
Another frequent challenge is bolting, where arugula quickly flowers in warm weather. To delay this and enjoy tender greens longer, keep your garden in partial shade and harvest leaves regularly.
For ongoing success, follow this maintenance checklist:
- Check soil moisture daily, especially during hot weather
- Prune damaged or yellowing leaves
- Inspect for pests twice a week
- Refresh topsoil or add compost monthly to support growth
Don’t forget to step back and assess your vertical system’s performance. Are certain spots less productive? Is drainage even? Small adjustments based on regular observation will lead to healthier arugula and a more rewarding vertical garden over time.
Conclusion
Building a vertical arugula garden is an easy, space-saving way to enjoy fresh greens right at home. With just a few materials—like wall planters, quality soil, and arugula seeds—you can create a thriving edible display, even if you only have a balcony or a sunny wall. Vertical arugula growing maximizes small spaces and makes harvesting simple, so beginners can succeed with ease. Don’t let limited room or lack of gardening experience hold you back; give it a try and enjoy the taste of homegrown arugula! Have questions or tips to share? Drop them in the comments—we’d love to hear from you.