Introduction to Growing Arugula Indoors
Growing arugula indoors is a rewarding way to enjoy fresh, zesty greens all year long—right from your windowsill or kitchen counter. Not only does arugula grow quickly, making it perfect for impatient gardeners, but its peppery leaves add a flavorful kick to salads, sandwiches, and pesto recipes.
Best of all, arugula is a forgiving plant, thriving even in small spaces and under artificial lights, making it an excellent choice for beginners. By opting for an indoor garden, you avoid many common outdoor challenges like pests, unpredictable weather, and a short growing season.
Imagine snipping off a handful of vibrant leaves whenever you want to whip up a fresh salad or garnish a dish—no trip to the grocery store needed. Growing arugula indoors also lets you have greater control over your growing environment, ensuring a steady supply of greens any time of year.
Whether you’re short on outdoor space or just want to add a touch of green to your home, cultivating arugula under lights is easy, convenient, and yields delicious results. Let’s get started on bringing the freshness of the garden right into your home—no green thumb required!
Choosing the Right Supplies and Setting Up
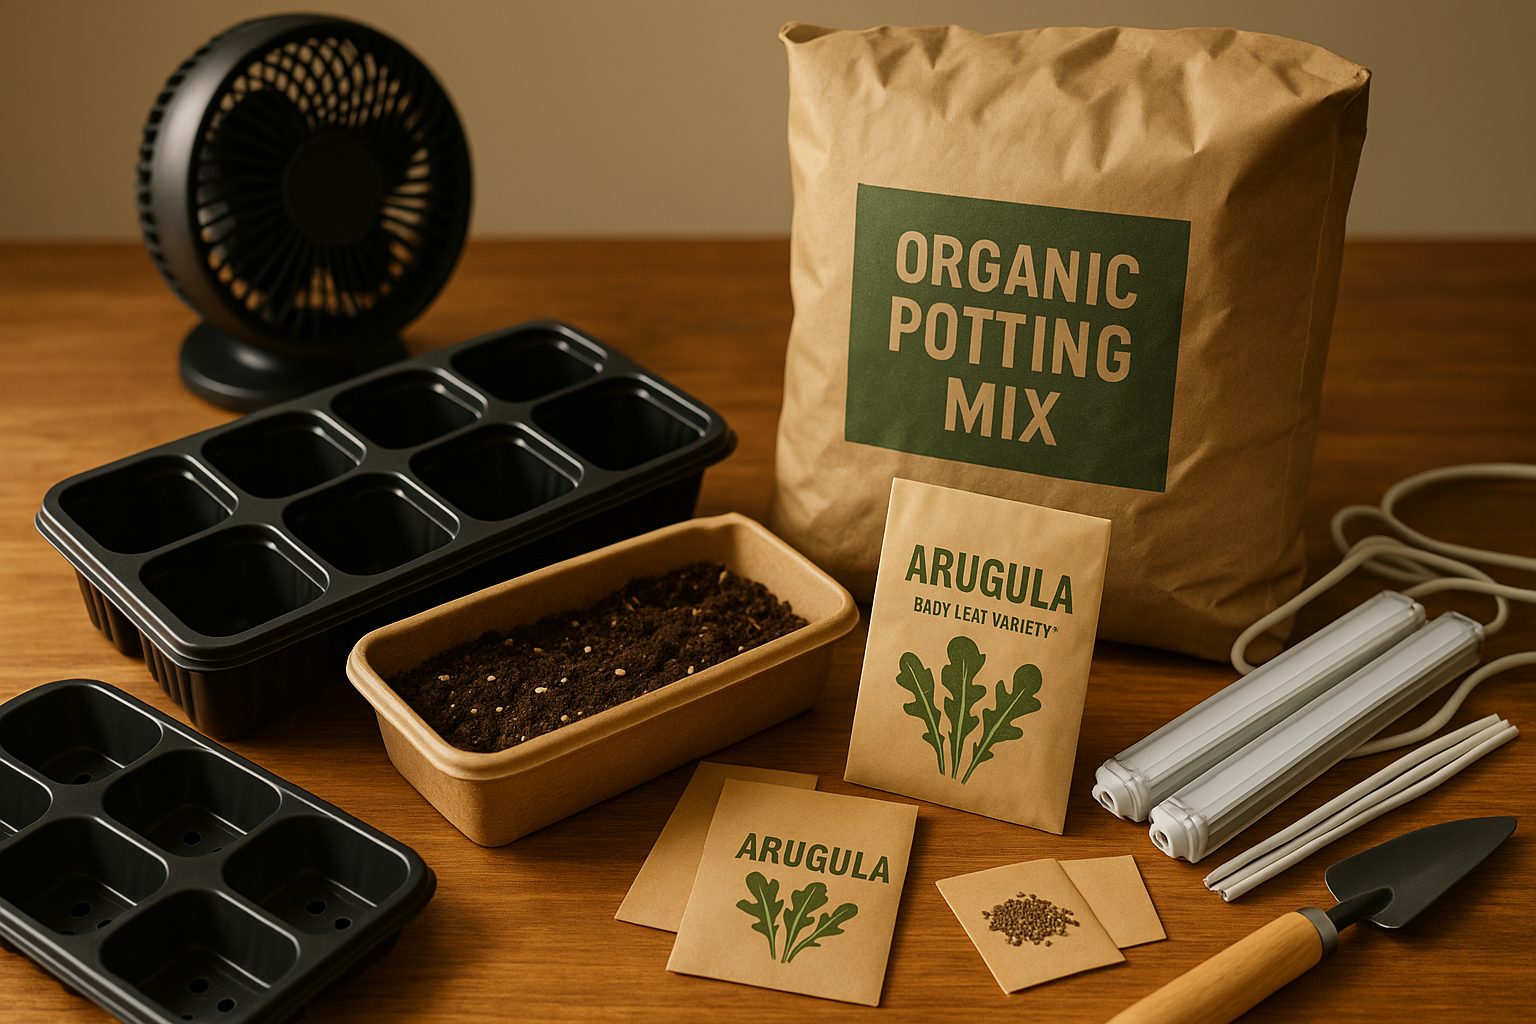
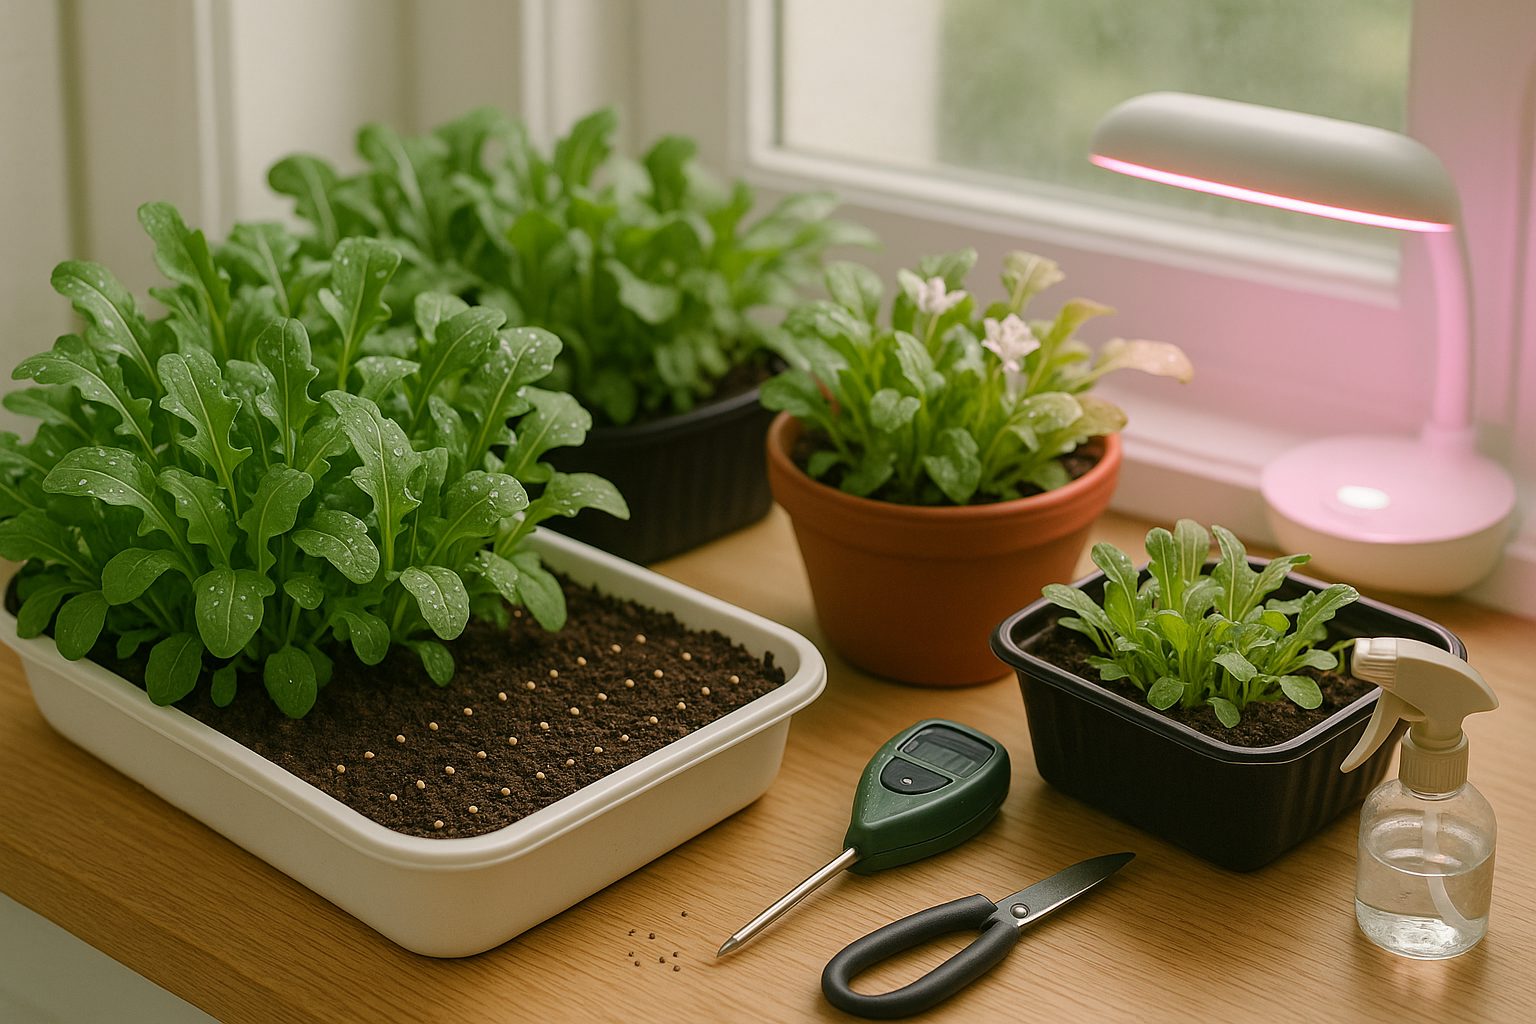
To get started with indoor arugula gardening, gather the basics: shallow containers or trays with drainage holes, a high-quality organic potting mix (not garden soil), and fresh arugula seeds. For lighting, if you have a sunny south-facing window that gets at least 6 hours of light per day, that’s perfect. Otherwise, invest in affordable LED grow lights to ensure your arugula receives enough brightness to thrive.
Place your setup in a spot with steady temperatures between 60–70°F, away from cold drafts or heat sources like radiators, as fluctuating temperatures can stunt growth. Good airflow helps prevent mold—if your space feels stuffy, a small fan set on low nearby can make a big difference.
When choosing arugula varieties for indoor growing, look for fast-maturing, compact types such as Astro or Rocket, which are known for quick germination and tender leaves even in containers. Seeds labeled as “baby leaf” are especially suited for small spaces and repeated harvesting. Always check seed packets for growth habits and maturity times to pick what fits your space and harvesting preferences best.
With these supplies and tips, you’ll set yourself up for a lush, flavorful indoor arugula harvest.
Step-By-Step: Planting Arugula Indoors
Starting arugula indoors is easy when you follow a few key steps for success. Begin by filling a shallow tray or small pots with high-quality potting mix—arugula thrives in loose, fertile soil that drains well.
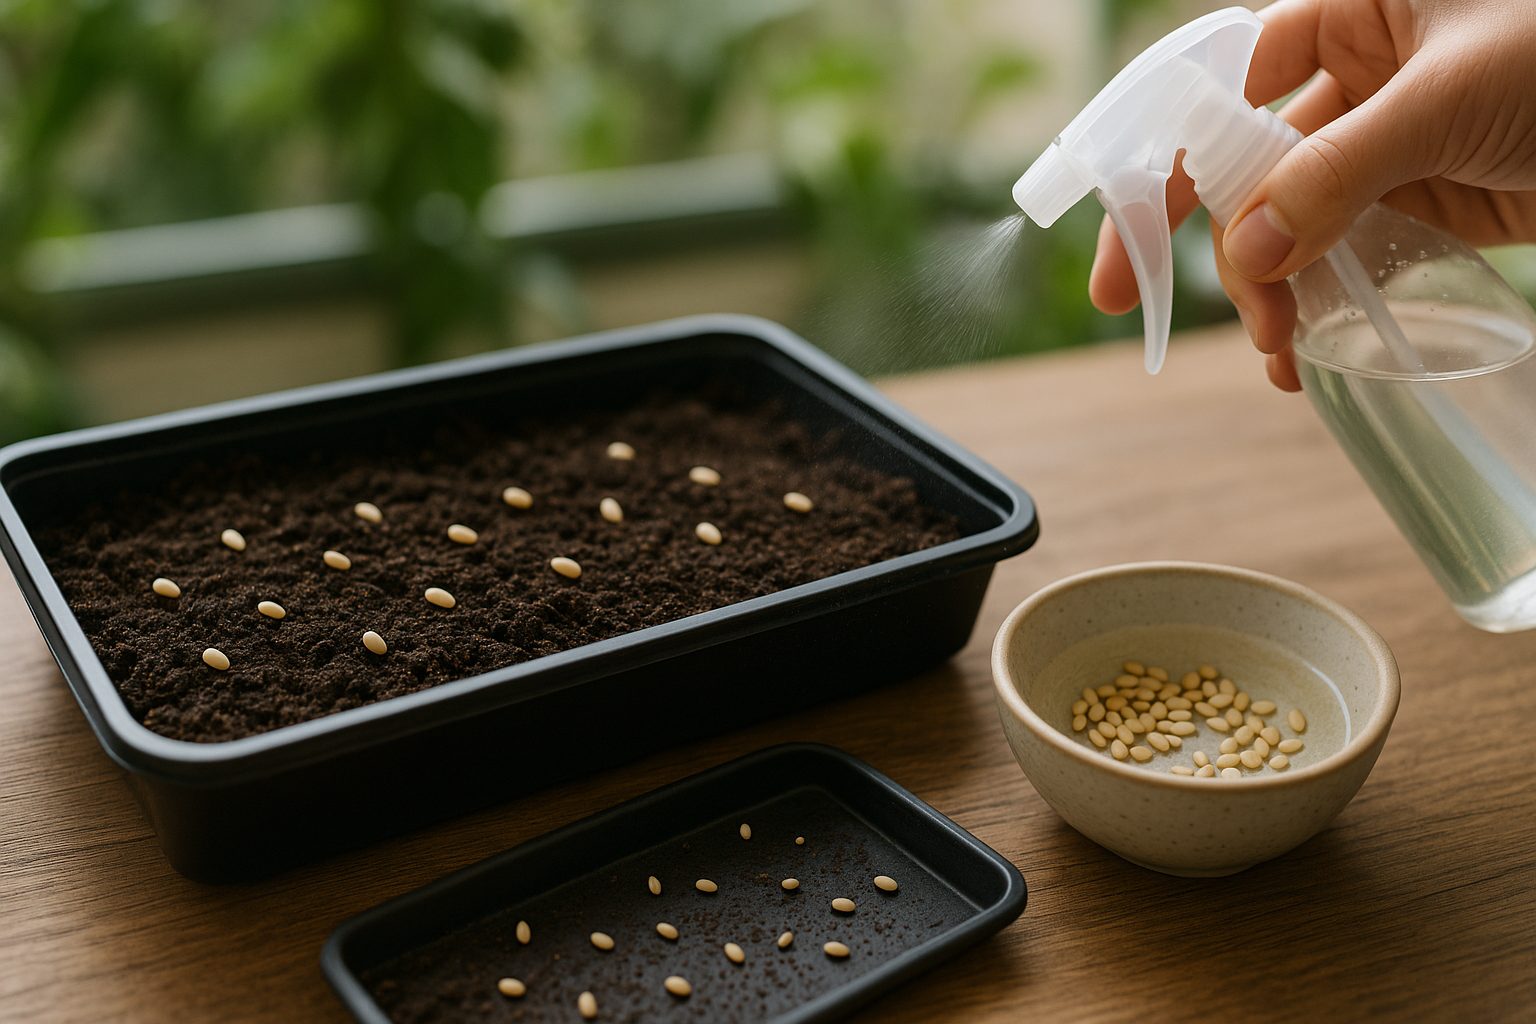
Gently firm the soil, then plant the seeds about a quarter-inch deep (roughly 0.5 cm) and space them at least 1 inch apart so they have room to grow. For even better germination, consider pre-soaking your arugula seeds for a few hours before planting; this can speed up sprouting, especially if your home is on the cooler side.
After sowing, lightly water the soil with a spray bottle or a very gentle stream—just enough to keep it consistently moist but never soggy. Overwatering is a common mistake that can cause seeds to rot before they even sprout.
Place your tray in a warm, bright location—ideally near a south-facing window or under grow lights—to encourage germination, which typically takes about 5-7 days. Avoid covering the seeds with heavy layers of soil, as this can smother the delicate sprouts.
Another rookie error is neglecting to thin the seedlings; once your arugula has a couple of true leaves, trim overcrowded areas so the strongest plants have space to thrive.
With these simple habits, your indoor arugula crop will be off to a healthy, vibrant start.
Lighting and Care for Healthy Growth
Giving your indoor plants the right light is key to healthy growth. Most houseplants thrive with bright, indirect sunlight for about 6 to 8 hours a day, so try placing them near an east- or west-facing window where harsh midday sun won’t scorch the leaves. If natural light is limited, a simple LED grow light can fill in—just position it 6–12 inches above your plant and run it for 12–16 hours a day.
Leggy, stretched stems are a sign your plant is reaching for more light, so consider moving it closer to a window or upgrading your grow light if you notice this.
For watering, let the top inch of soil dry out before adding more water, and always check the soil moisture with your finger or a moisture meter rather than sticking to a strict schedule.
Many popular indoor plants love humidity—grouping plants together or placing a small tray of water nearby can help keep the air moist. Healthy, vibrant leaves are a good sign you’re meeting their needs, but droopy, yellowing foliage can signal overwatering or dry air.
For fertilizing, feed your plants every 4–6 weeks during their active growing season (spring and summer), and opt for an organic liquid fertilizer or compost tea for a safe, gentle nutrient boost. Always dilute fertilizers according to label instructions to prevent damage.
With a bit of attention to lighting, watering, humidity, and feeding, your indoor garden will reward you with lush, happy growth.
Harvesting Arugula Indoors: Tips and Timing
Knowing when to harvest arugula grown indoors can make all the difference in flavor and yield. For microgreens, snip the stems once they are about two inches tall and have developed their first set of true leaves—usually 7-14 days after sowing.
If you prefer mature leaves, wait until they are at least three to four inches long but still tender and bright green; this usually happens within four weeks.
To keep your arugula plant producing, use the “cut and come again” method: trim the outer leaves with clean scissors, leaving the inner, smaller leaves and the growing crown untouched. This encourages regrowth and can give you multiple harvests from the same plant.
Harvest in the morning when the leaves are most hydrated for the best texture and flavor. For ongoing harvests, pick only what you need every couple of days rather than stripping the plant completely.
After cutting, rinse the leaves gently and pat them dry. Store them in a loosely sealed bag with a paper towel inside your refrigerator crisper. Properly stored, arugula can stay fresh for up to a week.
Extra Tip: Stagger Your Planting
For a steady supply of fresh greens, try planting your seeds in small batches every two weeks. This ensures you won’t be overwhelmed with harvests or face gaps in production, making your windowsill garden more manageable and rewarding.
Common Problems, Pests & How to Avoid Them
Growing arugula indoors comes with its own set of challenges, but with a few simple precautions, you can keep problems to a minimum. yellowing leaves often signal overwatering or a lack of nutrients—make sure your pots have drainage holes and let the top inch of soil dry out before watering again.
Indoor pests like aphids, spider mites, and fungus gnats occasionally pop up, even though arugula is naturally more pest-resistant than many leafy greens. To tackle them organically, try a gentle spray of diluted neem oil or insecticidal soap, and wipe any affected leaves carefully to remove bugs.
If you notice mildew or mold on leaves, it’s often a sign of high humidity and low air movement: space your pots apart and use a small fan to keep air circulating. Avoid crowded plantings and give each arugula plant room to breathe—this not only helps airflow but also reduces the risk of fungal issues.
Check your leaves regularly for any odd spots, holes, or sticky residue, and act quickly if you spot trouble. Finally, stick to a consistent but moderate watering schedule, avoid letting water pool on leaves, and occasionally rotate pots so all sides get light.
Staying alert and maintaining a clean grow space are key to enjoying healthy, pest-free arugula indoors.
Enjoying Your Indoor Arugula Harvest
Harvesting arugula from your indoor garden means you have a constant supply of zesty, peppery greens right at your fingertips. Enjoy the freshest flavor by tossing a handful of leaves into salads—arugula pairs well with cherry tomatoes, shaved parmesan, and a splash of lemon vinaigrette for a quick, gourmet boost.
Try slipping a few leaves into sandwiches or wraps for a satisfying crunch, or sprinkle them over pizza just after baking; the warmth will slightly wilt the arugula, releasing its aromatic bite. If you’re feeling adventurous, chop arugula into scrambled eggs, blend it into pesto, or mix it into grain bowls for a nutritious, vibrant finish.
Homegrown arugula is not only more flavorful than store-bought, but it’s also richer in antioxidants and vitamins A, C, and K thanks to its immediate freshness—no long transit or storage times to dull its nutrient content. The taste is noticeably sharper and more robust, and every harvest is an opportunity to experiment and find your favorite preparations.
With your own greens, you can snip just what you need, reducing food waste and always enjoying ultra-fresh, irresistibly tasty leaves. Let your creativity guide you; the possibilities for enjoying your homegrown arugula are endless, so make the most of each crisp, garden-fresh leaf!