Introduction
If you’re eager to add fresh, peppery greens to your salads, learning how to direct sow arugula is a perfect place to start. Arugula is a popular leafy green known for its distinct, spicy flavor that elevates everyday dishes. Not only is it packed with nutrients, but it also thrives in most gardens thanks to its rapid growth and minimal care requirements.
You won’t need any fancy tools or special skills—direct sowing arugula means planting the seeds straight into your garden soil, so you can skip indoor seed trays or lengthy transplants. This makes it an ideal choice for beginner gardeners or anyone craving a quick, reliable harvest.
In this guide, you’ll discover straightforward steps to prepare your soil, plant and space the seeds, and care for your young arugula plants. We’ll also share practical tips to help you avoid common pitfalls and enjoy a steady supply of this flavorful green from your own backyard. Whether you want to grow just a small row for sandwiches or fill a raised bed, these easy-to-follow instructions will help you succeed with your first arugula crop.
When and Where to Plant Arugula
Arugula thrives best when planted in the cool temperatures of early spring or fall, preferring weather between 45°F and 65°F. If you live in a region with hot summers, it’s wise to sow arugula seeds as soon as the soil can be worked in spring, then again in late summer for a fall harvest. Heat will cause the leaves to bolt and turn bitter.
Choose a garden spot that gets at least 4-6 hours of sun daily; in warm climates, partial shade helps keep the arugula leaves tender and slows bolting. The ideal soil should be well-draining and rich in organic matter, so mixing in compost before planting gives a great nutrient boost. Aim for slightly acidic to neutral soil with a pH between 6.0 and 7.0, and keep the soil consistently moist but not soggy.
To maintain a steady supply of fresh leaves, practice succession planting: sow a new batch of seeds every two to three weeks while temperatures are favorable. This way, you’ll always have young, flavorful arugula ready to pick. Even containers work well for arugula, allowing you to move plants out of intense heat or frost as needed.
With these simple strategies, you can harvest peppery greens almost year-round, no matter your space or experience level.
How to Plant Arugula: Seed to Seedling
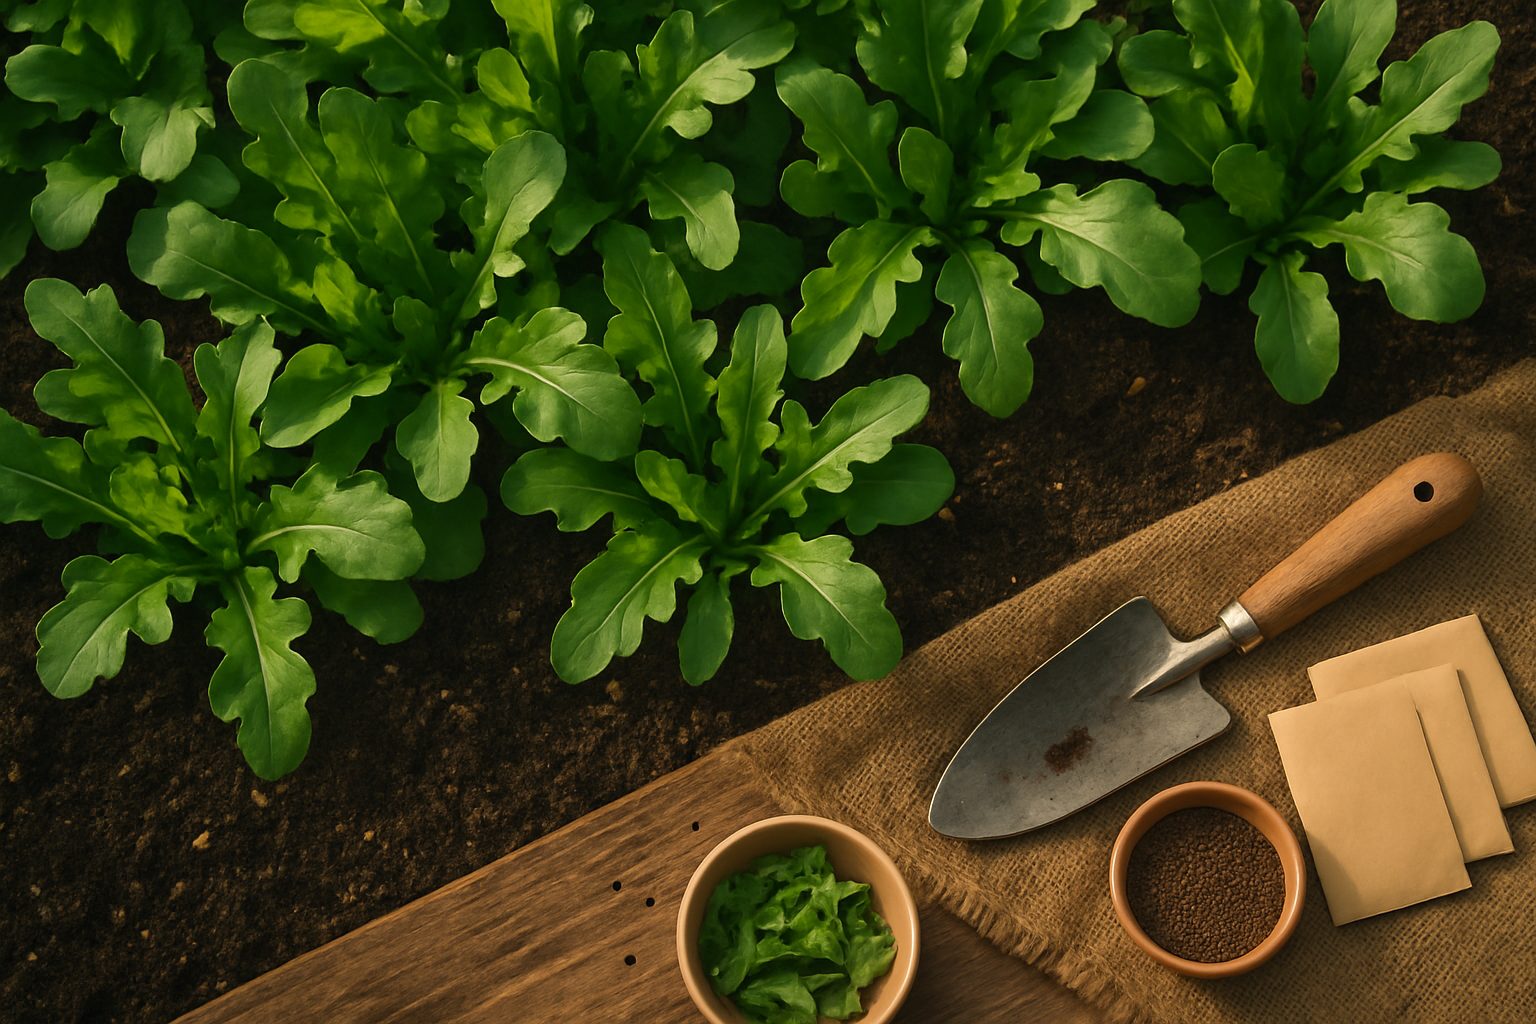
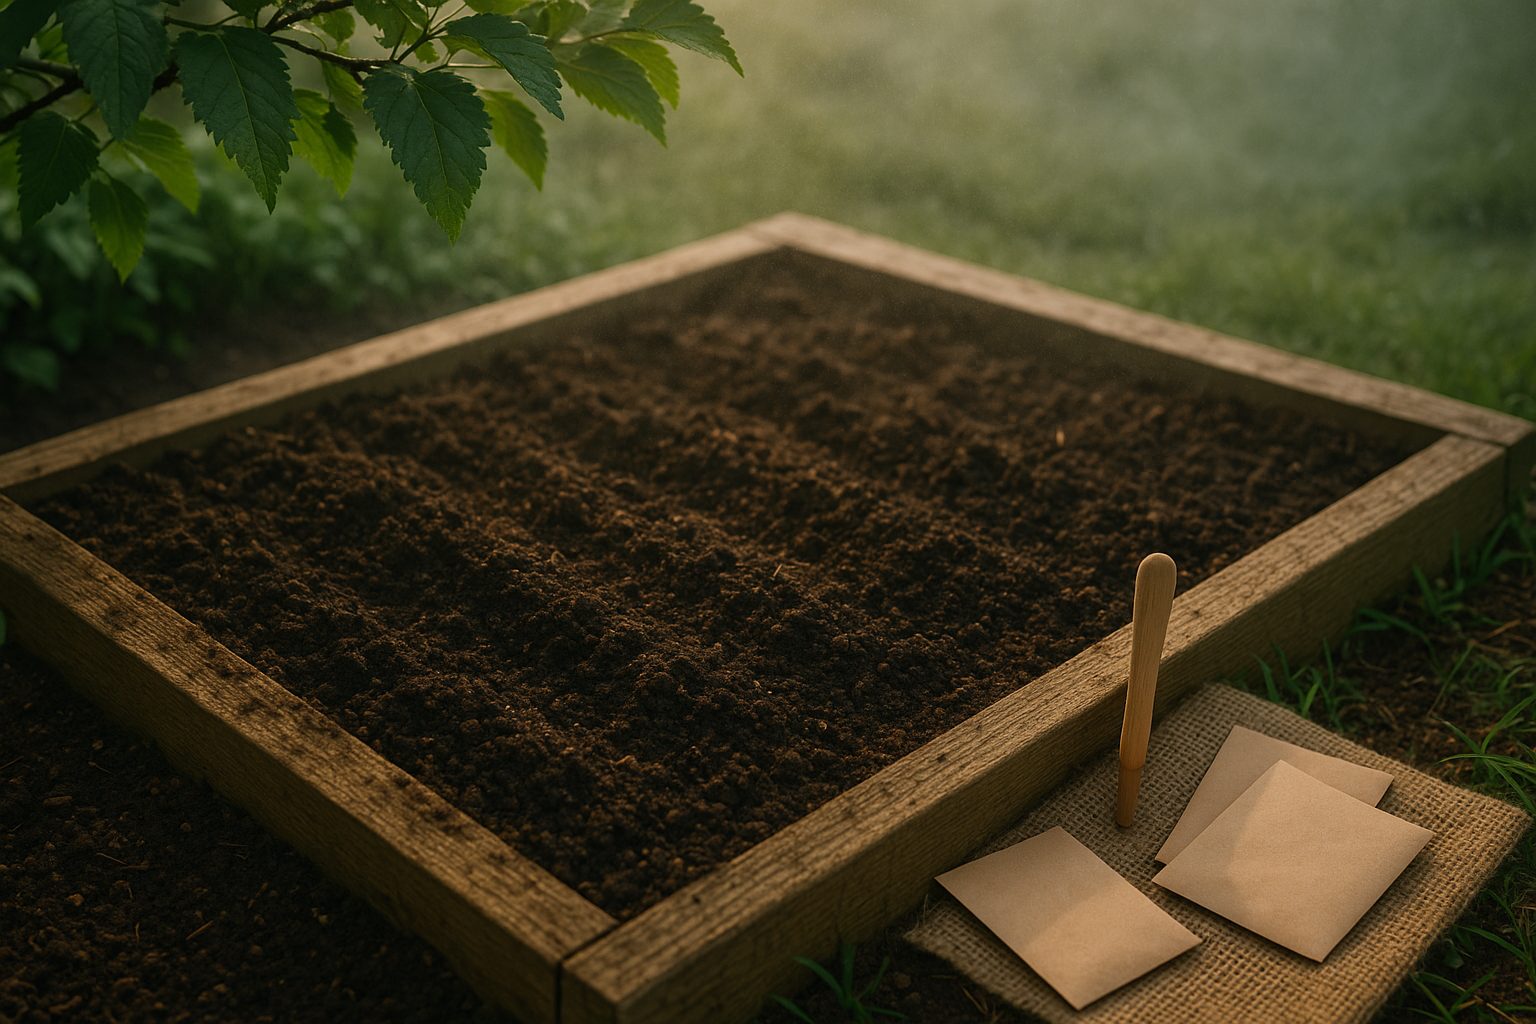
Whether you’re sowing arugula seeds outdoors or starting them indoors, begin by choosing a spot with well-draining, fertile soil and full to partial sunlight. Loosen the soil to a depth of about six inches and mix in compost or aged manure to boost nutrients.
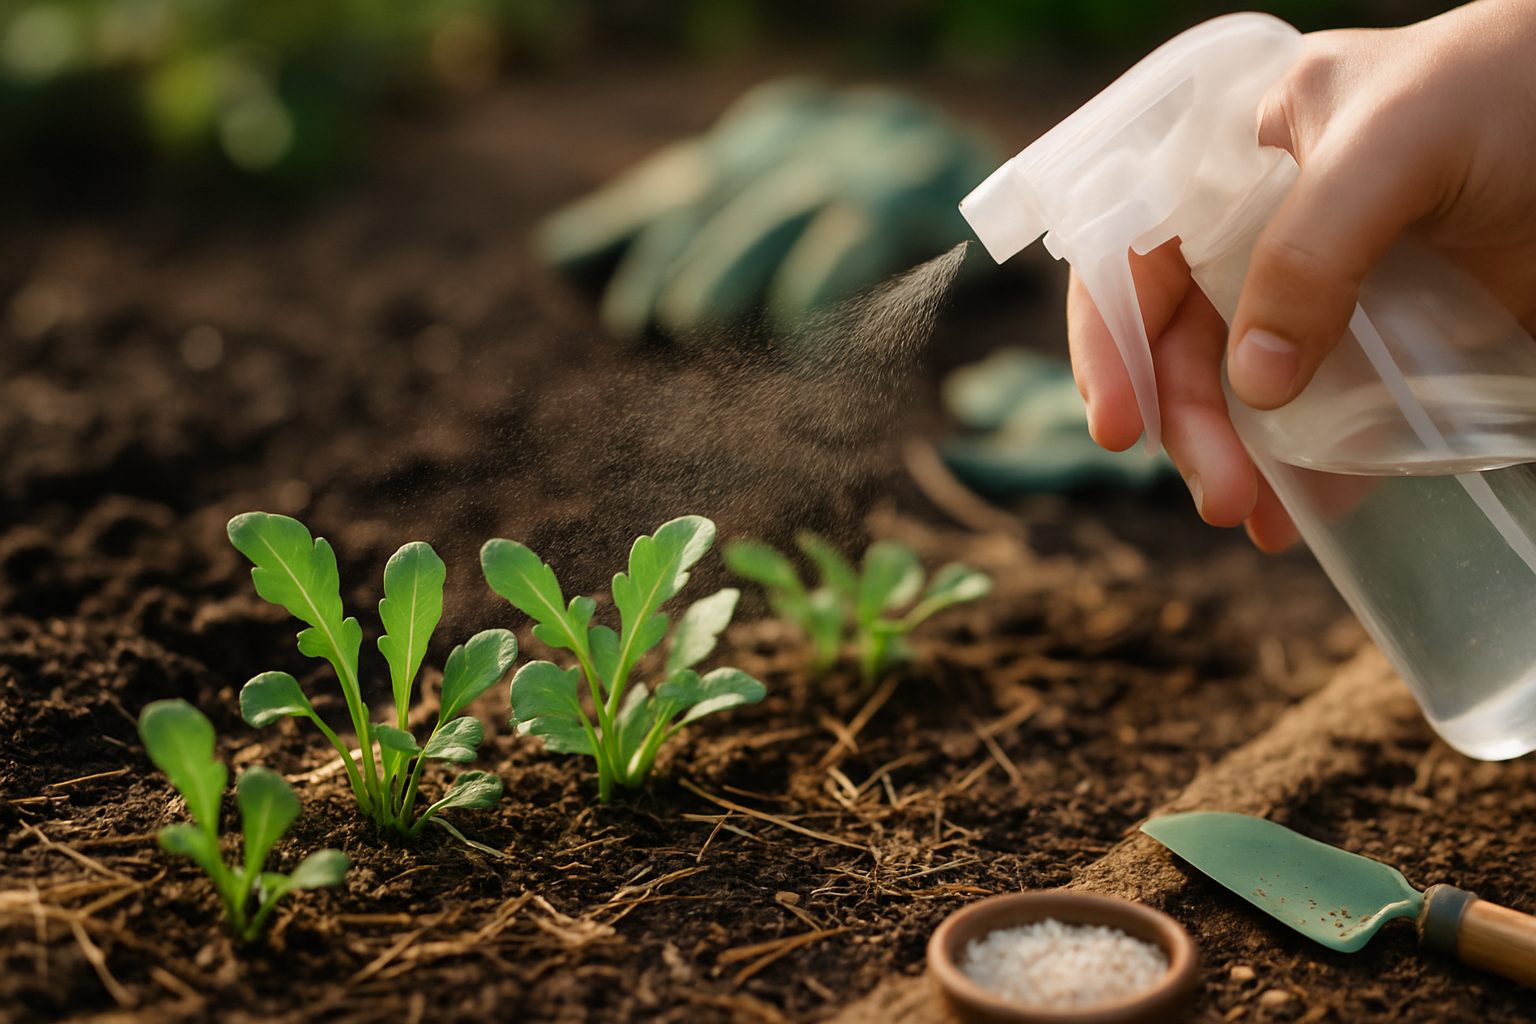
For outdoor planting, wait until the soil temperature is at least 40°F (arugula loves cool weather), then sow seeds directly in rows spaced about 12 inches apart. Lightly sprinkle seeds on the soil surface, cover with ⅛ inch of soil, and gently pat down. Keep the seeds 1 inch apart for baby leaves, or up to 4 inches for mature plants. Water lightly but consistently so the soil stays damp but not soggy; using a spray bottle works well for gentle watering.
If you’re starting indoors, use a seed tray filled with seed-starting mix. Sow seeds the same way, keeping the tray under a grow light or on a sunny windowsill. Aim for even moisture to help seeds germinate, which usually happens in 5–10 days.
When seedlings have at least two sets of true leaves, harden them off for about a week by gradually exposing them to outdoor conditions. Then transplant them outside, spacing them 4–6 inches apart. Mulching around the seedlings can help retain moisture and prevent weeds.
To encourage strong germination, always use fresh seeds and avoid letting the soil dry out—arugula seeds need consistent moisture to sprout well.
With these steps, you’ll go from seed to tender arugula greens in no time, perfect for salads or sandwiches.
Caring for Arugula: Watering, Thinning, and Problem Prevention
Arugula thrives with consistent, moderate watering—aim to keep the soil evenly moist but never soggy. Early morning is the best time to water, allowing leaves to dry during the day and helping to prevent fungal issues.
Once seedlings are about two inches tall, it’s important to thin them by gently pulling or snipping until there’s about 4 to 6 inches of space between each plant. This gives your arugula room to mature and improves air circulation, which helps keep mildew and other diseases at bay.
Keep an eye out for pests like flea beetles and aphids, which can leave tiny holes in the leaves or cause plants to wilt. Floating row covers can be placed early in the season to keep these pests off, while a gentle spray of water or insecticidal soap works well for mild infestations.
Watch for downy mildew or leaf spot—common signs include yellow or brown patches on the leaves. These fungal issues are best prevented by watering at the soil level and ensuring your plants aren’t overcrowded. Proper spacing and good air circulation go a long way.
If infection strikes, remove affected leaves promptly and avoid overhead watering. Regularly check your plants and remove weeds that attract pests or hinder airflow, and you’ll be rewarded with healthy, flavorful arugula throughout the season.
Harvesting and Using Arugula
Timing your arugula harvest is key to enjoying its signature peppery flavor without any bitterness—aim to pick leaves when they’re young, usually 3-4 inches long, about 4-6 weeks after planting.
Use the “cut-and-come-again” method for a continuous supply throughout the season: snip outer leaves with clean scissors, leaving the center intact so new growth can emerge. This way, you can harvest every few days and keep your plant producing. When the weather warms or the plant starts to bolt (flower), consider pulling up the whole plant, as the leaves get tougher and more pungent.
Once harvested, arugula is incredibly versatile—toss it fresh into salads or use it as a peppery topping for pizza and sandwiches. It also livens up scrambled eggs or pasta dishes and can be blended into pesto for a zesty twist.
For best storage, wash and thoroughly dry the leaves, then wrap them in a paper towel and place them in a sealed container in the fridge; this keeps them crisp for up to a week. If you have a large harvest, try making arugula pesto or adding it to soups, which lets you use up leaves before they wilt.
By picking at the right time and using these simple techniques, you’ll enjoy the freshest flavor and get the most from your arugula crop.
Best Arugula Varieties to Grow
When choosing arugula varieties for your home garden, you’ll find options that cater to different tastes and growing conditions. Standard arugula, often called “Rocket,” is a classic pick—its peppery, nutty flavor is perfect for salads and pizza, and it grows quickly from seed.
For those in warmer climates or looking to extend the harvest into summer, try bolt-resistant fast growers like ‘Astro’ or ‘Apollo.’ These varieties have milder, less spicy leaves and are known for standing up to heat without rushing to flower, which means you’ll get a longer harvest window.
If you’re after more complex flavors, consider wild arugula (Diplotaxis tenuifolia), such as ‘Sylvetta’ or the Italian heirloom ‘Rucola Selvatica.’ These offer deeply serrated leaves and a pungent, spicy edge that’s favored by chefs.
For a splash of color and unique taste, heirlooms like ‘Wasabi’ (with a horseradish-like punch) or ‘Dragon’s Tongue’ (with purple veins) provide visual appeal and conversation-worthy flavors.
Mix several types to enjoy both mild and bold profiles, and stagger plantings every few weeks for steady, fresh greens throughout the season.
Conclusion & Quick Tips
Growing arugula is a rewarding experience, whether you have a sunny backyard or just a windowsill indoors. This leafy green is remarkably easy to care for—seeds sprout quickly, and tender leaves are ready for picking in just a few weeks. Plus, arugula thrives in both cool spring or fall weather and indoor containers year-round, giving you plenty of flexibility.
To boost your chances of success, try staggered sowing; plant a few seeds every week or two so you can harvest fresh leaves continuously rather than all at once. For those short on time or space, arugula microgreens are a fast, nutritious option you can enjoy in as little as 10 days.
The peppery flavor of arugula is perfect for salads, sandwiches, or pizza toppings, so don’t be afraid to experiment with it in your cooking. Whether you’re just starting your gardening journey or looking to expand your homegrown produce, arugula is a fun and forgiving choice.
Grab some seeds, get your hands a little dirty, and watch how quickly your garden—or kitchen windowsill—comes to life.