
Introduction
Arugula raised bed layout is something every home gardener should consider if they want a steady supply of this peppery, fast-growing leafy green. Arugula has become a backyard favorite—not just for its distinctive flavor but also because it thrives with minimal care and can be harvested repeatedly throughout the season. Growing arugula in raised beds offers real benefits: you can customize the soil to its needs, ensure good drainage to prevent waterlogged roots, and enjoy the ease of tending your crops without excessive bending or kneeling. Plus, raised beds make it easier to control weeds and deter pests. Whether you have a spacious backyard or a small patio, creating an efficient DIY raised bed layout tailored for arugula is key to maximizing your harvest. In this post, you’ll find actionable tips and smart examples for organizing your raised bed so you can enjoy lush, healthy arugula all season long—even with limited space or challenging yard conditions.
Choosing the Right Raised Bed Size and Materials
When planning your arugula raised bed layout, selecting the right size and materials is key to a healthy, thriving crop. Arugula roots are relatively shallow, so a bed depth of 6–12 inches is sufficient for vigorous growth, with 12 inches offering extra drainage and better soil health. For width, 3–4 feet allows you to easily reach the center from either side without stepping on and compacting the soil. The length can vary, but keeping beds between 4 and 8 feet long works well for most backyard plots.
As for materials, untreated cedar and redwood are top choices for wood—they resist rot naturally without chemicals, though they tend to be pricier. Pine is more affordable but may break down faster. Metal beds, such as those made from galvanized steel, are durable and sleek but can heat up in strong sun, which might affect the roots. Recycled plastic lumber is another durable and weatherproof option, though usually more expensive upfront. Budget-friendly and eco-conscious options include upcycled materials like bricks, cinder blocks, or old pallets—just be sure they haven’t been treated with toxic substances.
For optimal arugula growth, pick a spot that gets 4–6 hours of sunlight daily, especially important in milder seasons, and is near a hose or watering can for easy maintenance. Avoid low-lying, soggy areas, and make sure you have clear walkways for comfortable planting and harvesting. Taking a little time to consider your raised bed’s size, materials, and location will pay off with lush, easy-to-manage rows of fresh arugula.
Soil Preparation for Optimal Arugula Growth
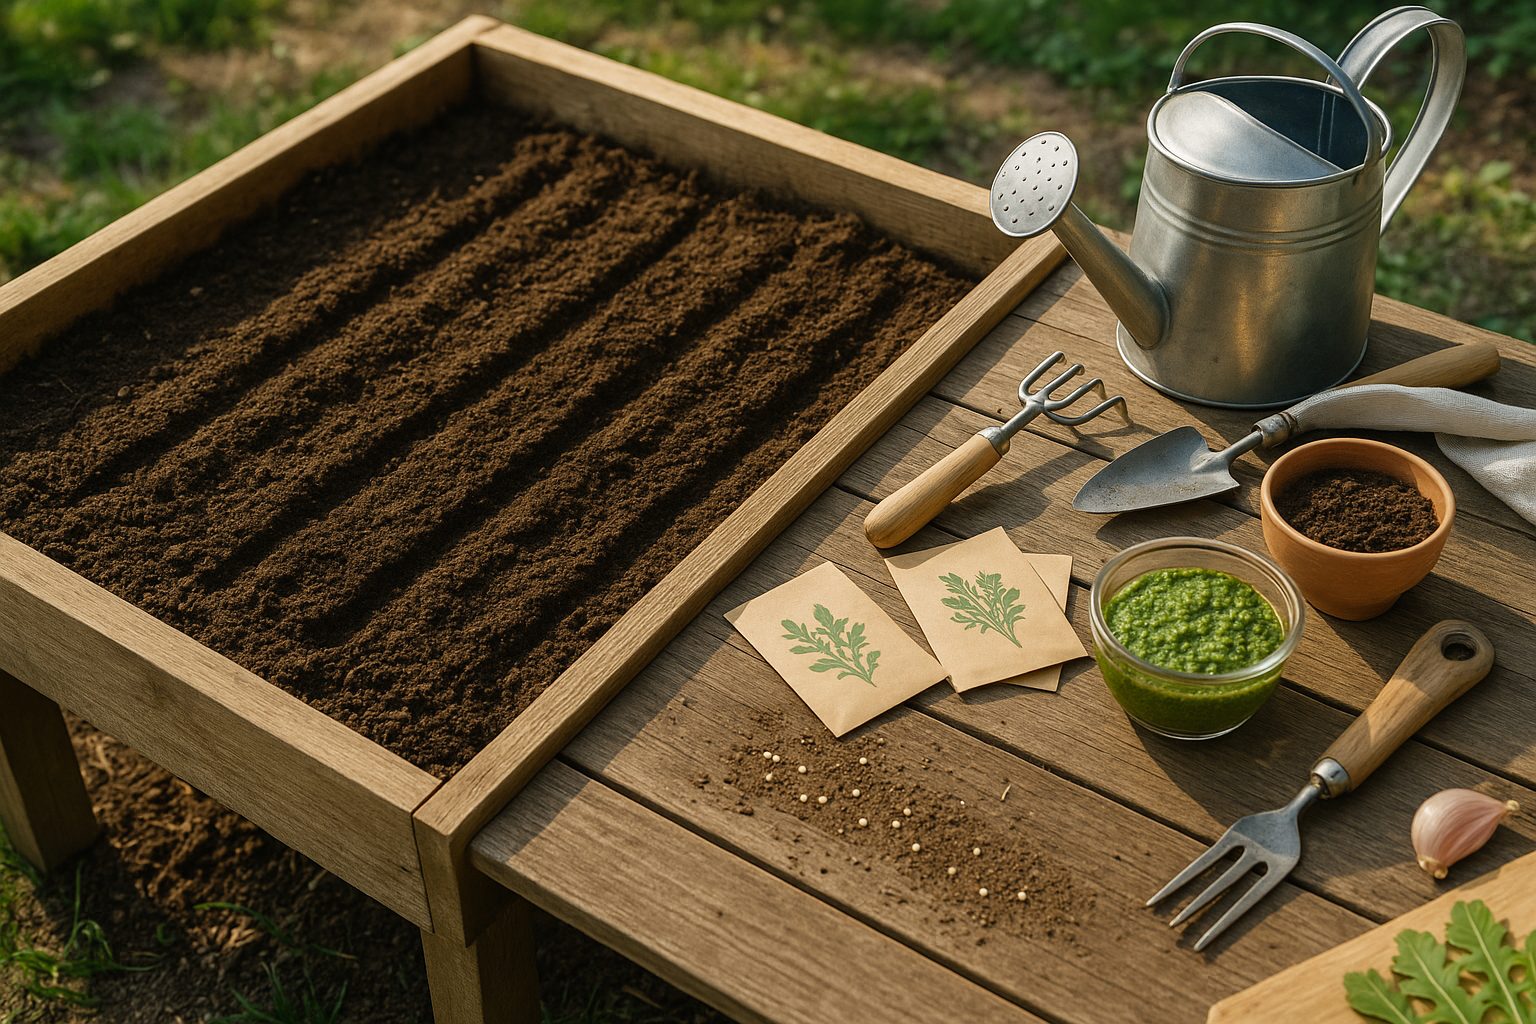
For a thriving arugula raised bed layout, starting with the right soil mix is essential. Arugula prefers a loamy, crumbly texture with excellent drainage to prevent soggy roots and encourage healthy growth. Aim for a mix of about 40% high-quality garden soil, 40% finished compost, and 20% coarse sand or perlite. This blend retains moisture without waterlogging, while the compost’s organic matter boosts nutrients and supports beneficial soil microbes.
Arugula thrives with moderate to high nitrogen levels, which promote its tender, leafy growth. Potassium and phosphorus are important too, but nitrogen is the key nutrient. The ideal soil pH ranges from 6.0 to 6.8—slightly acidic but near neutral. If your soil is too acidic or alkaline, adjust it with garden lime or elemental sulfur, testing first with a soil pH kit.
Regularly enrich your raised bed with organic amendments like worm castings or well-rotted manure before each planting cycle to maintain fertility. During the growing season, a light application of balanced, all-purpose organic fertilizer or a side dressing of compost can give your arugula an extra boost.
To keep soil structure healthy and prevent compaction, avoid heavy foot traffic and use a garden fork to gently loosen the top layer between plantings. In the off-season, consider planting a nitrogen-fixing cover crop—such as clover or peas—to naturally replenish nutrients. Follow these tips, and you’ll enjoy vigorous arugula harvests year after year.
Planning Your Arugula Raised Bed Layout
When planning your arugula raised bed layout, start by choosing between traditional row planting and the popular square foot gardening method. Traditional row planting involves spacing rows about 12 inches apart and thinning arugula plants to 4–6 inches within each row. This method provides easy access for weeding and harvesting but may not maximize your space, especially in a compact raised bed.
Square foot gardening, on the other hand, is highly efficient: divide your bed into 1-foot squares and plant about 4–5 arugula seeds per square. This tighter spacing takes advantage of arugula’s small size and fast-maturing leaves, allowing for more plants and higher overall yields in the same space.
To get the most out of your raised bed, embrace succession planting. Since arugula grows quickly—often ready to harvest in just 4–6 weeks—you can sow new seeds every 2–3 weeks throughout the season. This staggered approach ensures a continuous supply of fresh greens and helps avoid a glut from a single harvest. Interplanting is another smart strategy: pair arugula with slow-growing crops like carrots or onions to fill in gaps while those crops mature, or use fast growers like radishes to stagger harvest times and open up space as you pick.
For companion planting, choose crops such as lettuce, spinach, or beets, which share similar growing conditions and won’t compete for space or nutrients. Add aromatic herbs like dill or cilantro nearby—they not only enhance flavors but also help deter pests naturally. Flowers like nasturtium can attract beneficial insects and repel aphids, making them a great border choice. A simple example layout for a 4×4 raised bed might look like this:
- Corners: Nasturtium or dill
- Outer squares: Alternating arugula and lettuce (4–5 plants per square)
- Center squares: Beets and onions interplanted
- Open squares: Leave one or two for succession planting
This diverse arrangement keeps the soil productive, boosts yields, and promotes plant health with minimal chemical intervention.
Sowing and Caring for Arugula in Raised Beds
Choosing between direct seeding and using transplants is an important part of your arugula raised bed layout. Direct seeding is the most common method because the tiny seeds germinate quickly—often within a week—right where they’ll grow, eliminating transplant shock. This method saves materials and makes succession planting easier. However, it can sometimes lead to uneven spacing and requires thinning after germination.
Transplanting, on the other hand, offers greater control over spacing and lets you start arugula indoors before the outdoor season begins, ensuring an earlier harvest. The downside is the extra effort involved and the risk of disturbing delicate roots.
Whichever method you choose, keep the soil consistently moist but not waterlogged—arugula prefers steady moisture to prevent leaves from turning bitter. Aim for about one inch of water per week, adjusting for rainfall. Mulching with straw or shredded leaves helps retain soil moisture and keeps the bed cooler, reducing watering frequency, especially as temperatures rise.
Once seedlings emerge, thin them to 2-4 inches apart using small scissors to avoid disturbing nearby roots, giving each plant room to grow. In a well-planned arugula raised bed layout, thinning is minimal. For a continuous harvest, reseed every two to three weeks. Regularly removing outer leaves or harvesting baby greens encourages vigorous new growth, keeping your arugula bed lush and productive throughout the season.
Protecting Your Arugula: Pests and Weather
Growing arugula in a raised bed layout is rewarding, but it can quickly attract hungry pests and be vulnerable to the weather. One of the most common pests attacking arugula is the flea beetle—tiny black beetles that leave distinctive pinholes in the leaves. Aphids are another frequent invader, clustering on tender stems and sucking out vital sap. For organic control, encourage beneficial insects like ladybugs and lacewings, or spray a diluted solution of neem oil or insecticidal soap directly onto affected plants.
Physical barriers are especially helpful; covering your arugula with lightweight row covers or fine mesh netting can prevent pests from reaching the plants while still allowing water and light through. If you notice slugs or snails, a simple ring of crushed eggshells or diatomaceous earth around your beds acts as a natural deterrent without chemicals.
Weather can also throw your arugula off balance—hot spells stress the plants and cause bitterness, while cold snaps can stunt growth. To protect your plants from heat, drape shade cloth over hoops during the hottest part of the day, and add extra mulch to keep roots cool and moist. For chilly nights or unexpected frosts, cold frames or even old bed sheets provide effective, temporary warmth. With a little planning, you can keep your arugula healthy and thriving, no matter what nature throws your way.
Harvesting and Successive Planting for Your Arugula Raised Bed Layout
Knowing when and how to harvest is key to maximizing your arugula raised bed layout. Arugula is ready to pick when the leaves are about 3–4 inches long and still tender—at this stage, the flavor is peppery but not bitter. For a cut-and-come-again approach, snip just the outer leaves with scissors, leaving the inner ones intact so the plant continues producing. This method allows for multiple harvests from the same plants over several weeks.
If you prefer the full head method, wait until the arugula reaches about six inches tall, then cut the entire rosette at the base. Keep in mind, though, that arugula tends to bolt quickly in hot weather, and the leaves will become noticeably bitter once the plant sends up a flower stalk.
To keep your supply steady, start a new batch every 2–3 weeks by reseeding small sections of your raised bed as you harvest older plantings. Planting and watering during the cooler parts of the day helps seeds germinate and reduces transplant shock. By staggering your sowing and harvesting, you’ll enjoy a continuous, tender arugula crop throughout the season, making your raised bed both productive and delicious.
Conclusion & Quick Tips
A thoughtfully planned arugula raised bed layout offers many benefits, including improved drainage, easier weed control, and targeted fertilization—resulting in healthier, more productive plants. For beginners, choose a sunny spot for your bed, use high-quality soil rich in organic matter, and keep the watering consistent without over-saturating.
Plant arugula in blocks or rows, spacing seeds a few inches apart to promote airflow and reduce the risk of disease. You can also mix in companion plants like radishes or lettuce to maximize space and help deter pests. Don’t hesitate to experiment with different bed shapes or planting patterns—raised beds are designed to be flexible and can be adjusted season to season.
Start your own DIY arugula bed using these tips and enjoy the satisfaction of harvesting fresh greens right from your garden!